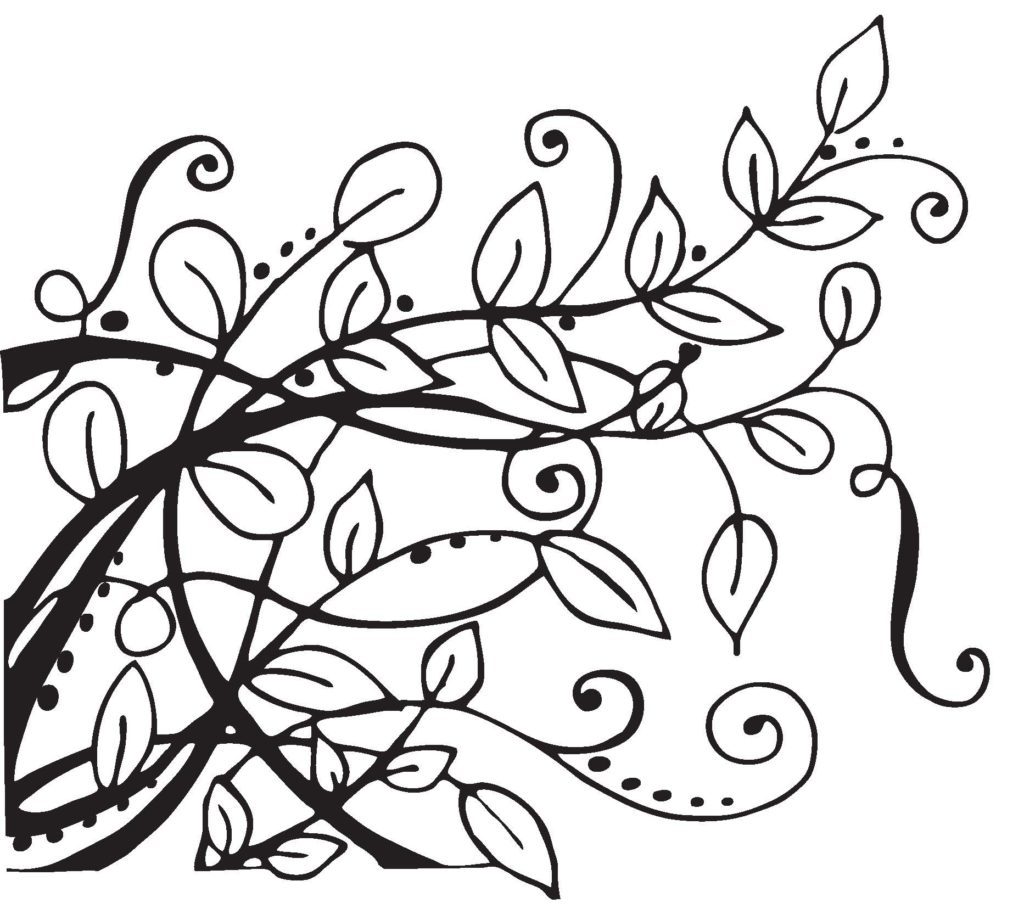
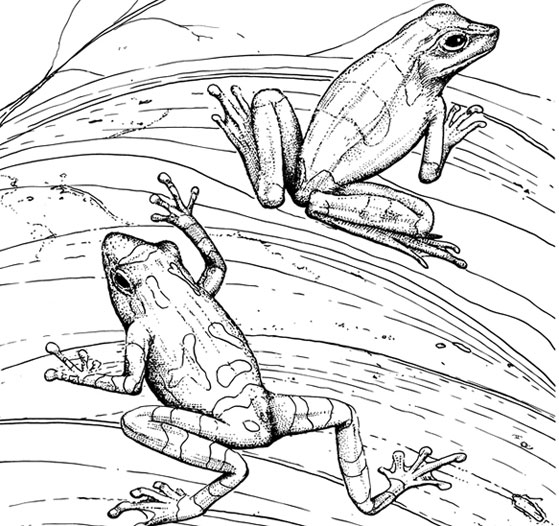
One of the most important parts of wood burning is selecting a great pattern to make into a beautiful piece of art. You can do a portrait-style piece, nature themed artwork, or even simple abstract designs. Your choices really are limitless, especially if you’re already an artist.
If you have never done art before and drawing is new to you, you might find it helpful to read up on how to improve your drawing skills before you move onto transferring wood burning patterns. Getting practice with having a steady hand will help you not only with sketching on wood freehand, but with being more precise with your wood burning pen.
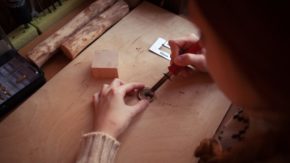
via walnut hollow
Selecting the Appropriate Level of Detail for the Pattern
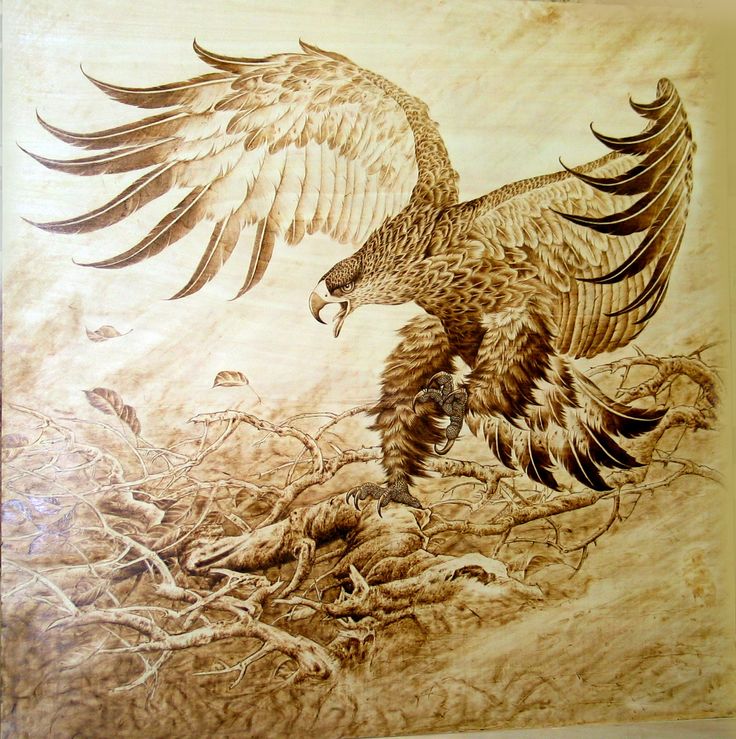
When you are deciding on the appropriate wood burning designs and patterns for your ability and skill level, you should first consider the level of detail the design has. Very fine or small details, advanced textures, or a lot of shading won’t be easy for beginners, so you’ll have to save work like this for later, when you master the craft:
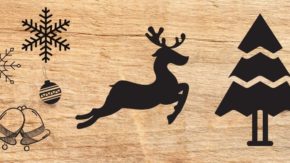
via pinterest
When you’re a beginner, it’s best to start with simpler designs. That way, you have plenty of time to master your woodburning pen, get used to it, and find out exactly how it functions.
You should also think about having any tips or extra tools you might need for your project once you select a design. If you’re still uncertain about which pattern to use, read more about how to choose here.
Choosing a Surface for your Design
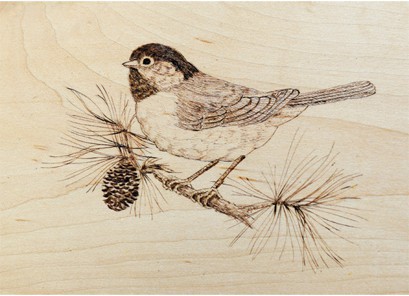
If you’re thinking about patterns, you might already have your wood ready to go. If you already have a surface picked out, first consider which pattern will go along with the color and style of the wood.
Of course, the size of the pattern must fit well onto the wood and looks best if you can leave a natural wood border around it. This will leave your finished product looking more aesthetically appealing.
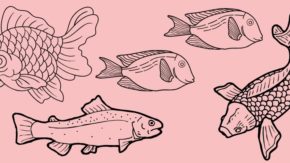
via pinterest
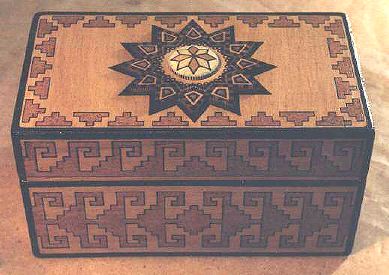
When you are using a design scene based around a single object, such as a barn or animal, it’s simple to reduce or enlarge the picture to fit as needed. But if you’re using tiled or geometric designs, you need to be more careful.
For instance, you might be creating a geometric pattern along the edges of a table or box. In that case, the design would need to finish or meet at a specific point. The wrap-around image has to be seamless and mesh well.
Although this style of pattern might seem simple to create, it does need planning and care to turn out right.
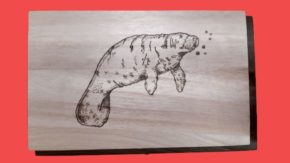
via pinterest
Methods for Transferring Wood Burning Patterns
As soon as you have selected the design for your artwork, there are a few different methods you can choose from to transfer the pattern. You will want to choose depending on the tools you have at your disposal, and your skill level.
The Freehand Method
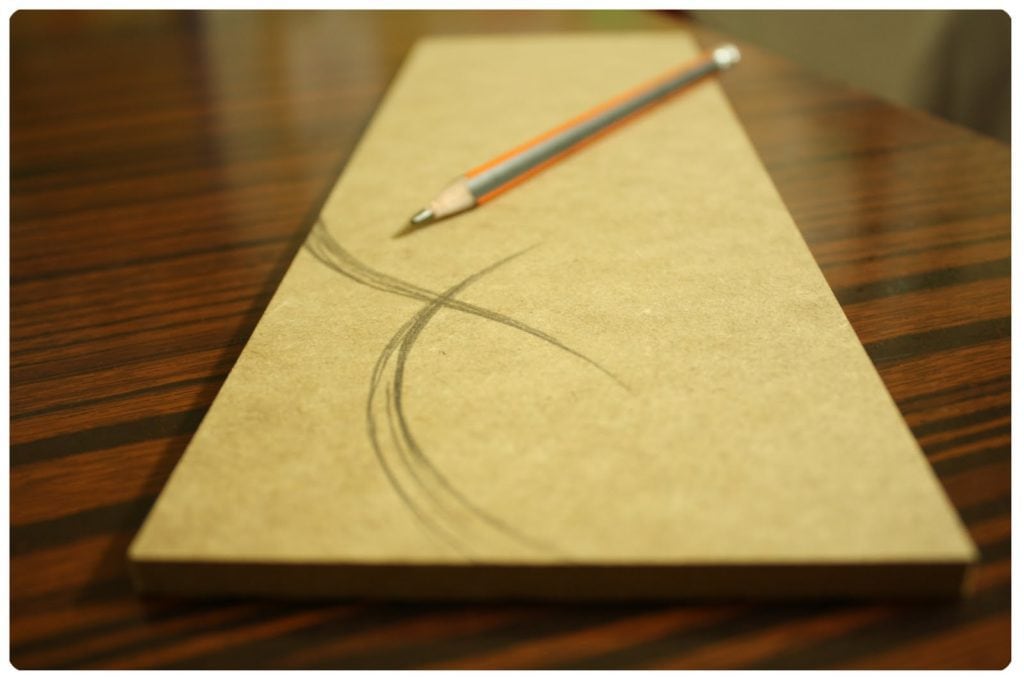
via blogspot
- Use a pencil (ideally soft graphite) to lightly draw onto your wooden surface. Don’t press too hard, since too much pressure will leave indentations that you cannot erase.
- As soon as you’re done with the pattern, you can darken the lines you are satisfied with and want to keep. Then you can erase any unnecessary or extra lines with an eraser.
Carbon Paper or Graphite
via guide patterns
- Sketch your design idea onto a sheet of paper, or print out the pattern you’ve chosen (you can find some free woodburning patterns for downloading here).
- Place your carbon paper or graphite onto the wooden surface. The design should be face down atop your tracing medium. Then you can secure the paper in place using some tape.
- Trace the design using a pencil (2B). Try to apply medium pressure and draw in a flowing motion for the best results. As soon as you’re done, you can fix any mistakes you’ve made with an eraser.
A Transfer Tip
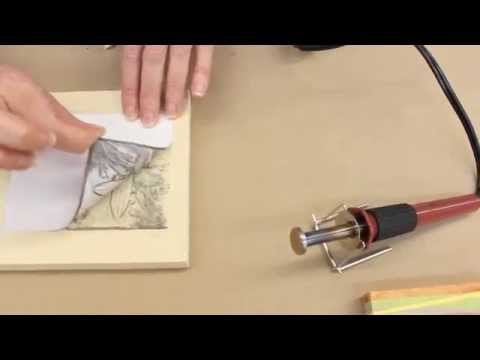
via youtube
- Print out your designed project, ideally using a laser style printer. You will be using a heated transfer tip (a slightly more technical and precise method) to transfer the pattern.
- Put the design where you want it on your wood, keeping it in place with clamps or tape, then heat up the tip you will use to transfer the pattern.
- As soon as the tip is at the right temperature, systematically and slowly brush the tip over the sheet of paper where the ink is. Then take off the paper and your image will be on the wood. Then you’re ready to go.
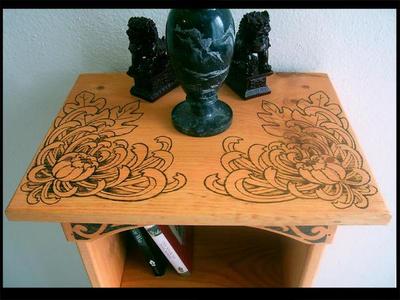
via myspace
Another method to use is a projector for transferring sketches, designs, or patterns onto wood. This allows you to enlarge or reduce the drawing as needed. Again, make sure you don’t press too hard and leave indentions on the wood if you’re using a pencil.
If you’re doing a piece with shadows and shading, these can be added to the wood, using pencil (HB) later on. Follow these instructions, and you’ll end up with a pattern ready to be burned onto whatever surface you choose!
Want more inspiration, check out our wood burning pattern Pinterest board.