The small tells in your joins, edges, tension and bind-off row that give a piece away, with the fix for each, so you know how to make knitting look professional, and crochet too.
You fold the new cardigan over the back of a kitchen chair and step back to look. From across the room it’s perfect.
Up close, a tail pokes out at the underarm. One front edge wobbles. The neck takes a hard tug to get over a head. None of it has anything to do with how well you knit. It all happens in the finishing, which is where homemade turns into handmade, and every one of those flaws has a fix you can do at that same table.
#17 Ends snipped off right at the knot
The fix starts before you ever cut the yarn: leave at least 4 inches.
That number comes from Kate Atherley, a knitting author, teacher and editor, who says to leave “a tail of at least 4 inches” at every cast-on, bind-off and join. Her second rule matters even more: “change direction as you weave… it’s less likely to worm its way out.” A tail that goes one way and then comes back has nothing to slide along.
Where the tail goes depends on the fabric:
- Stockinette: on the wrong side, weave diagonally through the purl bumps for about half the tail, then turn and weave back.
- Garter: run it sideways under every other leg, tucked under one ridge, then come back under the ridge beside it. If both sides of a scarf will show, Atherley suggests duplicate stitch over 4 or 5 stitches instead.
- Crochet: SweetGeorgia Yarns works on the wrong side, goes about two inches in, splits the yarn on purpose two or three times in each stretch, then turns and goes back the other way.
There’s nothing to rip back here. All it takes is a blunt yarn needle and ten quiet minutes.
If you have a sweater sitting somewhere with every end still dangling, it has company. Knitters on Reddit’s r/knitting, in one thread and another, admit to finished sweaters and scarves whose ends were never woven in at all.
#16 The sweater that came out a size off
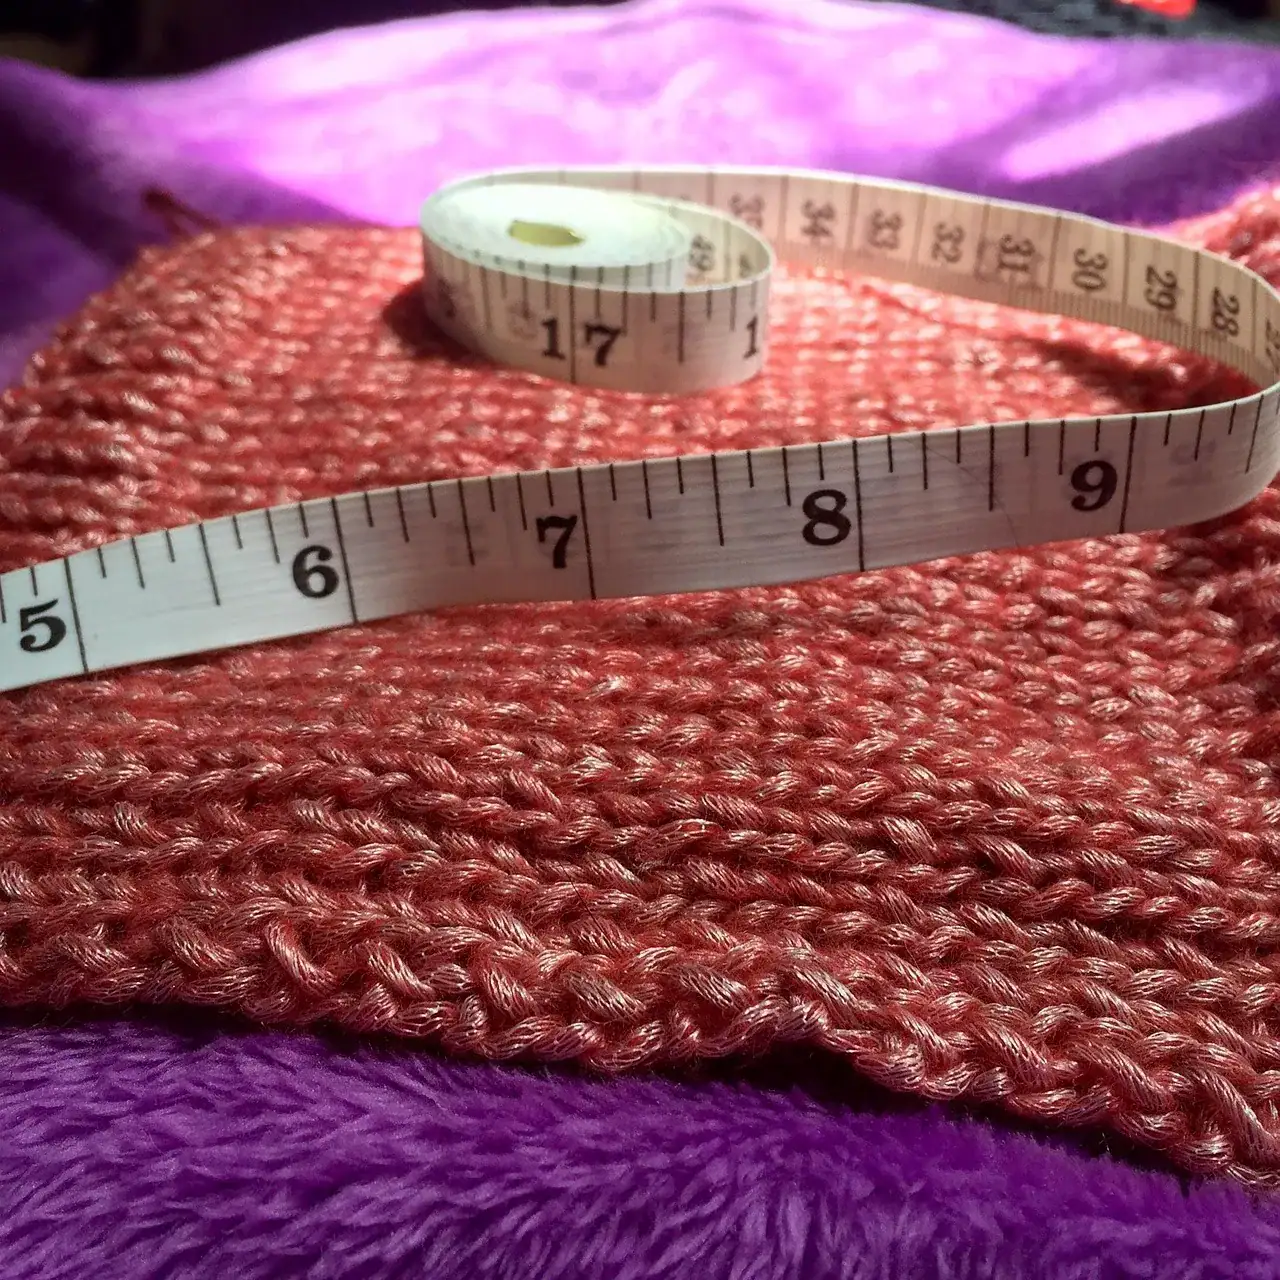
Does a swatch that’s a little off really matter? On a sweater, “a little” works out to about four inches.
Tin Can Knits uses a pattern of 200 stitches at 5 stitches to the inch, which makes a 40-inch sweater. Knit those same 200 stitches at 4.5 to the inch and you get a sweater “4.5″ too big.” Turn it around and knit 5.5 stitches to the inch, and the same stitches come out at about 36.4 inches, about 3.6 inches too small.
Half a stitch per inch, in either direction, and you’ve knit a different sweater.
“I also should have swatched it but at a certain point I just decided that I would be whatever size the sweater turned out to be.”
A knitter who made a vintage-pattern sweater, on r/knitting
If you’d rather not end up there, measure the swatch only after you wash and block it. Tin Can Knits warns that “many yarns change gauge quite drastically with blocking… the gauge after blocking is the really important one to know.”
Brooklyn Tweed goes further. Knit a swatch 6 or 8 inches wide rather than 4, and block it the same way you’ll block the finished garment. Then count the stitches over 4 inches across the center, using a rigid ruler. A tape measure stretches.
For a blanket, towel, or coaster, you can skip the swatch with a clear conscience. Anything that has to fit around a body is a different story.
#15 An acrylic piece that was never blocked
You can block acrylic. What you can’t do is give it the soak-and-towel treatment you’d give wool.
Wet blocking means “saturating a garment in warm water and allowing it to dry.” Steam, though, “is the only method that works for blocking synthetics, like acrylic.” A Crocheted Simplicity agrees that acrylic “doesn’t respond well to wet blocking.”
Lion Brand’s method for steaming acrylic:
- Hold a steamer, or the steam vent of an iron, two to three inches above the fabric.
- Never let the iron plate touch the yarn.
- Move in slow passes.
There’s a line here worth knowing about. Light steam isn’t permanent, so if you don’t like the result, it’s no harm done. Steam it until the fibers start to melt, though, and you’ve “killed” the acrylic. That one is permanent, and the fabric loses its bounce for good. Lion Brand warns that high heat “can melt or flatten the fibers beyond repair.”
Yarnspirations, which makes Red Heart, goes further and advises against any heat or steam on acrylic, since it can leave the fibers limp and stretched. So try the steam on your swatch first, and go gently over any ribbing you want to spring back.
#14 A cast-on edge that pinches in
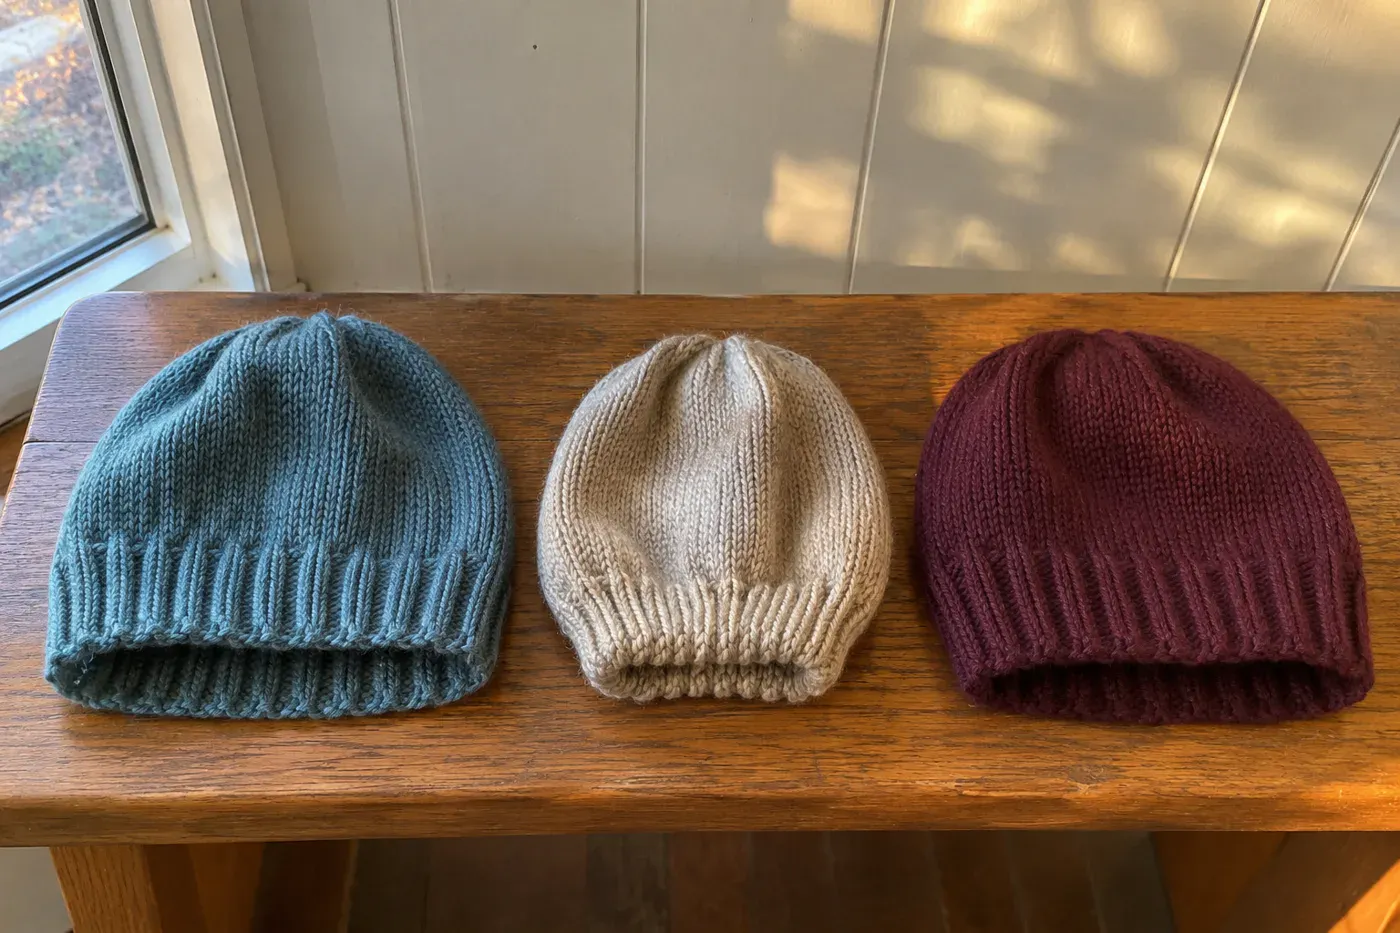
The hat brim fits like a rubber band. The sock top fights you all the way up. The cast-on is pulling tighter than the fabric above it.
The simplest fix: cast on with a needle a size larger, or two needles held together, then switch to your working needle for the first row. That alone gives the edge more give.
When an edge really has to stretch, use the German twisted cast-on. Sheep and Stitch calls it “a flexible stretchy cast on,” “perfect for the brims of hats, tops of socks and cuffs of mittens.” It’s very close to the long-tail cast-on, with one extra twist. If long-tail is your usual, you’re already most of the way there.
On a finished hat, a snug cast-on isn’t worth starting over for unless the hat won’t go on at all. Save the fix for the next one.
#13 A seam that sits up in a ridge
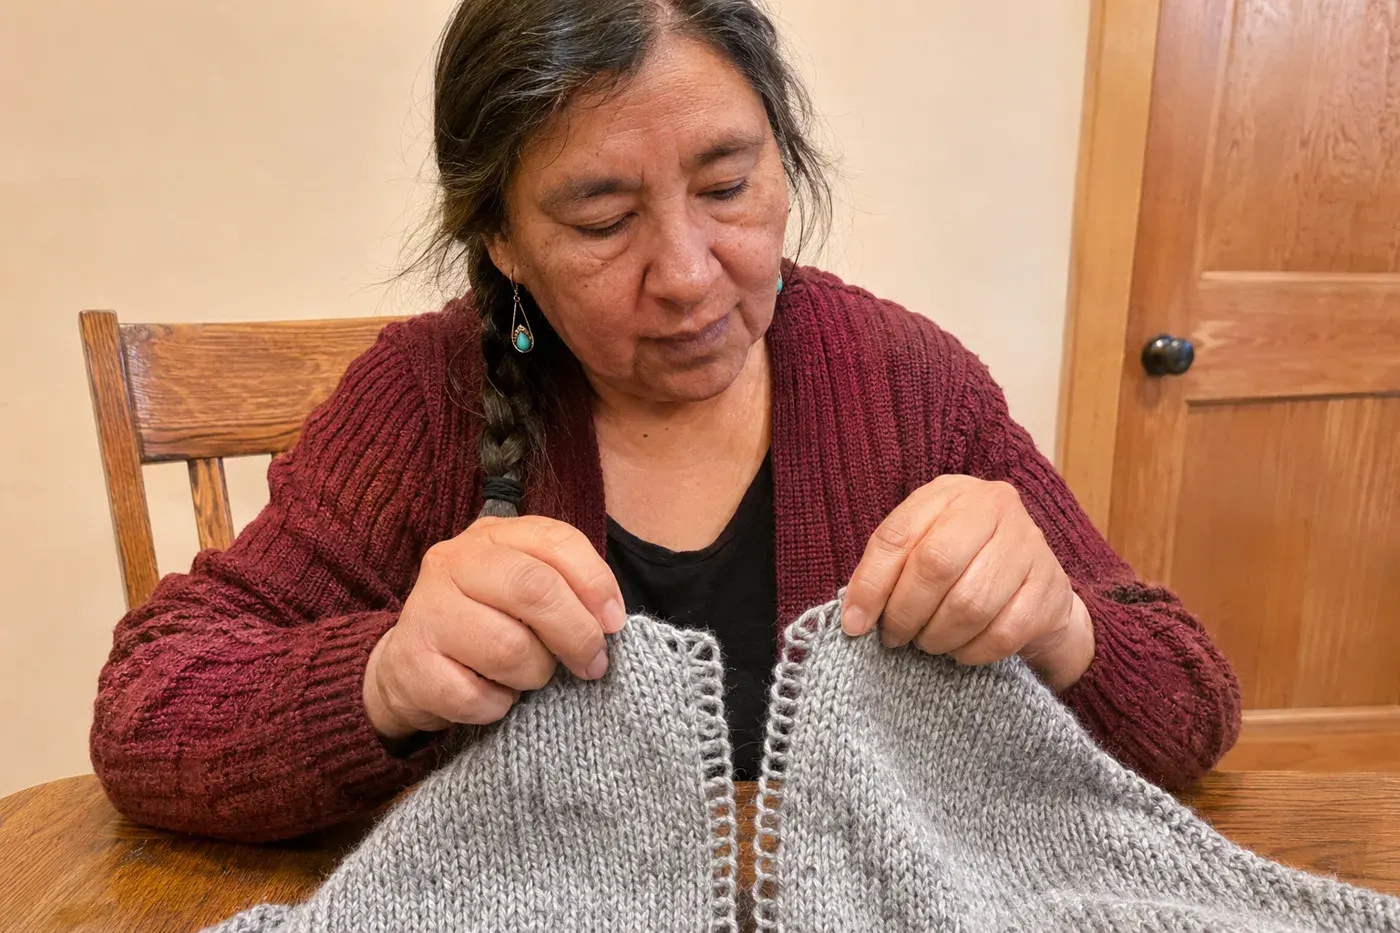
Mattress stitch hides a seam better than anything else, but only when it goes in the right spot.
To find that spot, gently pull the two edges apart. You’ll see “horizontal bars between the stitches,” says designer Ysolda Teague, and those bars are what you sew under. Craft Fix calls it “the golden rule”: work one stitch in from each side, in matching yarn, and the seam nearly vanishes.
How tight should you pull? Ysolda’s test is by eye: “As soon as the yarn disappears, that is probably tight enough.” Leave it loose enough that the seam still stretches a little. It will leave a ridge on the inside. That’s normal, and nobody sees it.
A seam that won’t lie flat sometimes started going wrong back when you knit the edge stitch.
“If it’s a finished edge, make it pretty, but if you’re going to… seam or pick up stitches, don’t add a slip stitch edge.”
Patty Lyons, knitting teacher, on her blog
Designer Megan Goodacre likes a slipped-stitch selvedge (the edge stitch) for edges that will be visible and won’t be sewn, where it forms “an attractive chain.” A garter edge works for side seams, but she admits it makes the seam “a little bumpy.”
A lumpy seam is the cheapest thing in the whole piece to redo. Pick out the sewing yarn and the knitting stays exactly where it was.
#12 Crochet edges that wander in and out
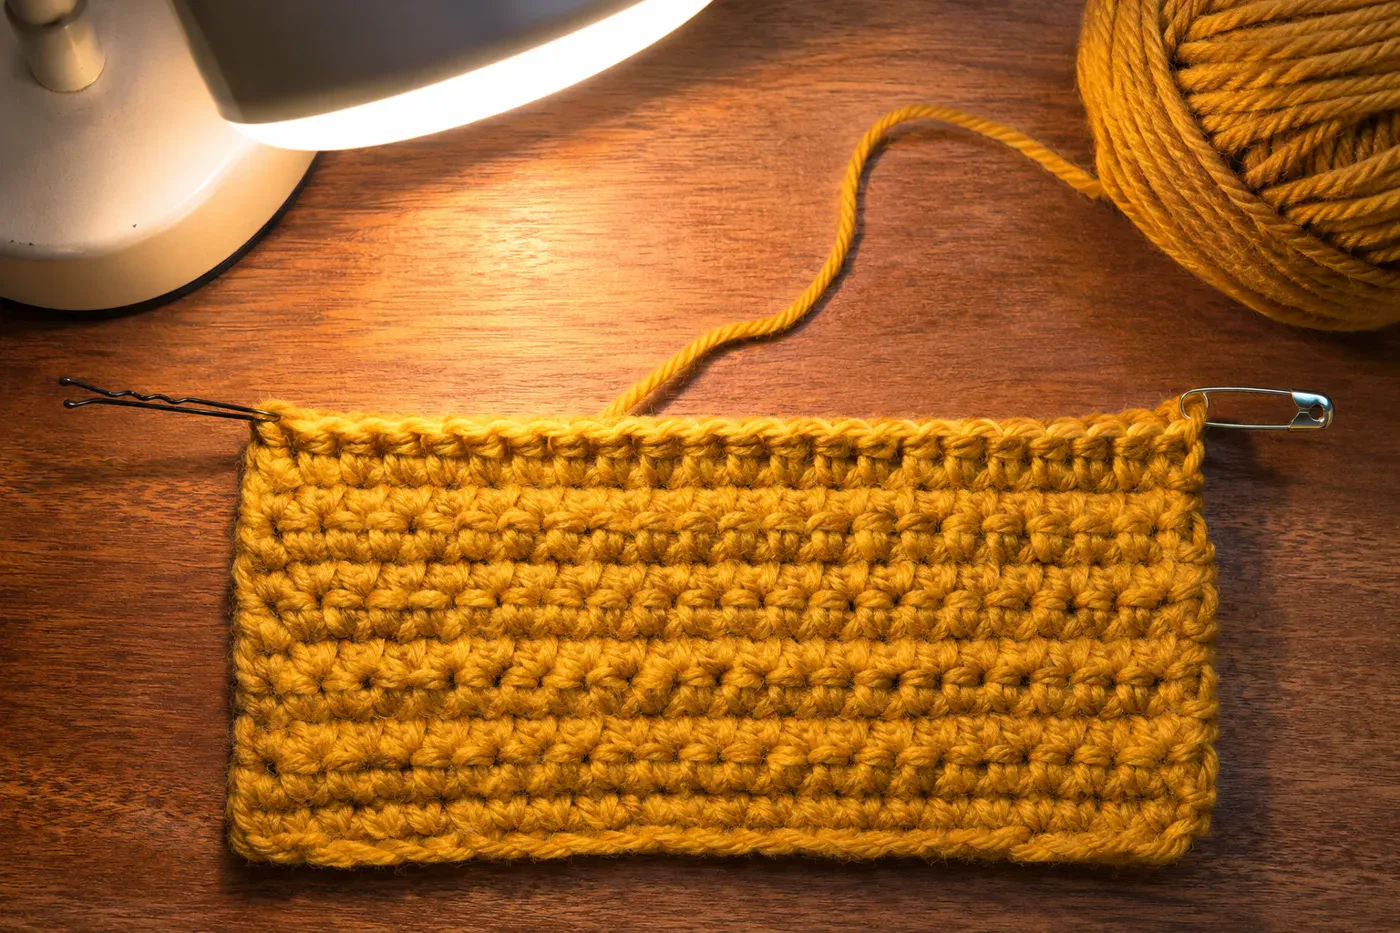
If the piece keeps getting narrower, you’re losing the last stitch of each row. If it keeps getting wider, you’re probably working into a turning chain that wasn’t supposed to count.
Knit&Note puts it well: “The last stitch of a row likes to hide… If you skip it, you lose one stitch per row and the piece gets narrower.”
So does the turning chain count as a stitch? Designer Edie Eckman says that in single crochet it “is usually not counted,” and in half double, double or treble it’s “often, but not always” counted. When it does count, you skip the first stitch. Sigoni Macaroni adds that it “also depends on the designer and the pattern,” so read the pattern notes first.
Chloe Maskill, a full-time crochet artist who has been crocheting about 15 years, mostly doesn’t count it:
- “I personally, 90% of the time, don’t like to count turning chains as stitches because I think that creates a really wonky and wobbly edge.”
- “You always have to do the exact same thing on every row, or else you’re going to accidentally add and drop stitches.”
Her fix catches both kinds of drift: put a stitch marker in the very first and very last stitch of every row. A bobby pin, paper clip or safety pin does the job just as well. Stitches n Scraps slips the marker around the working loop just before making the stitch, and for double crochet puts it in the top of the chain-3.
If you notice the wobble many rows in, or only after you’ve finished, you’re not alone. Under one edge video on TikTok, crocheters say they found out too late. They swap their own fixes: a single crochet border worked all the way around, skipping or always making the chain-one, or working into the side bar.
#11 A knot where you joined a new ball
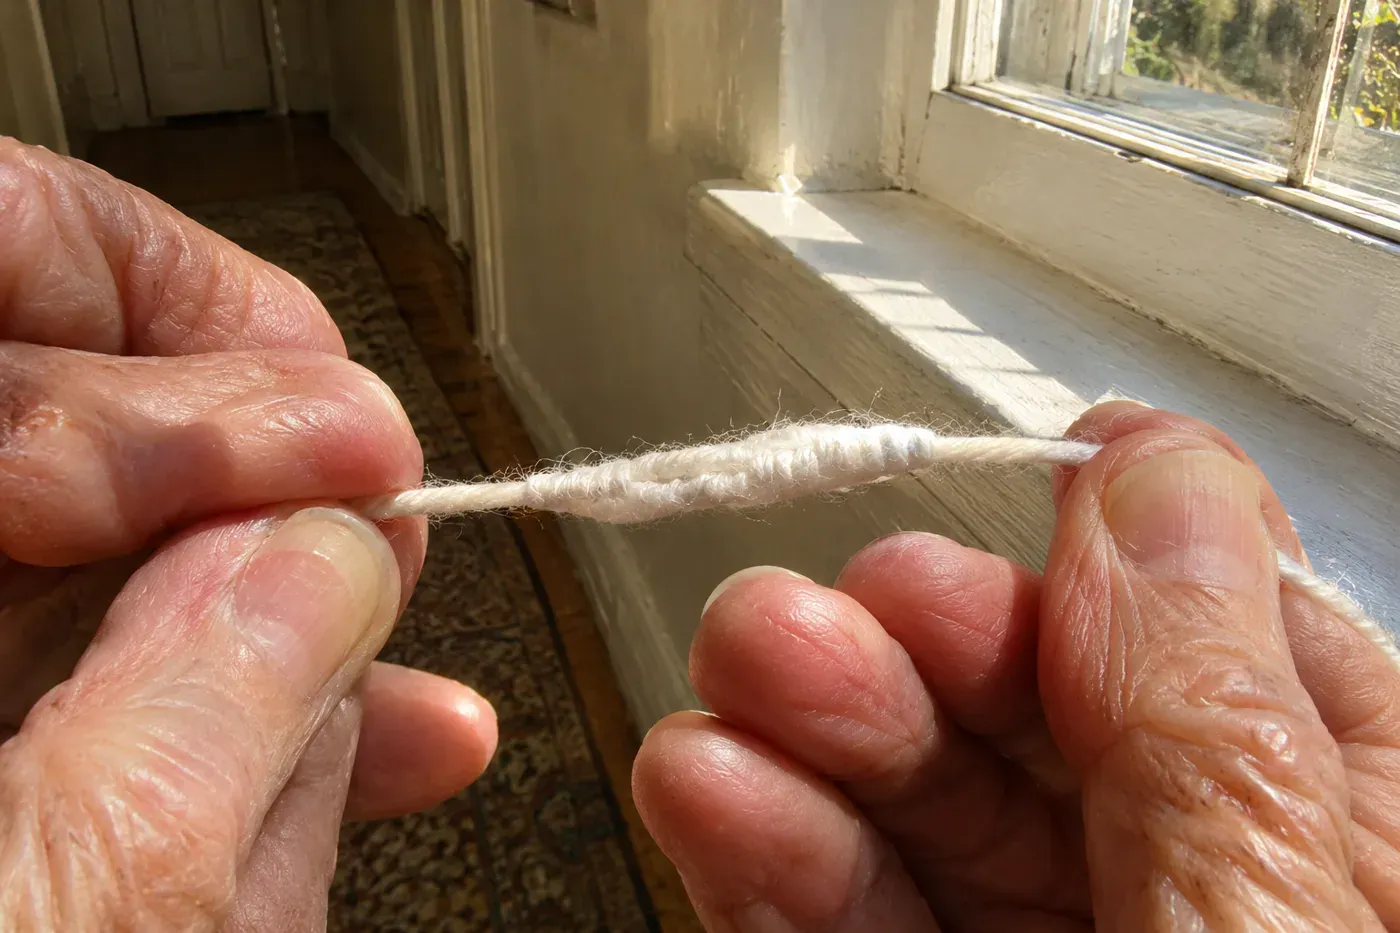
A knot will poke through to the front eventually. Which join you use instead depends on what the yarn is made of.
| Join | Works on |
|---|---|
| Spit splice | Feltable animal fibers only |
| Russian join | Any fiber, but leaves a thicker section |
The spit splice works because animal fibers are feltable, per Nimble Needles. It “does not work on plant-based fibers or superwash yarn”.
That rules out cotton, acrylic and superwash sock yarn. Knit Picks says the felted join works only with non-superwash wools and other feltable animal fibers, so don’t count on it with a 75/25 wool-nylon sock blend either. For all of those, Staci Perry of VeryPink Knits uses the Russian join “if you’re working with a yarn that won’t spit splice, and if a knot in your work is not an option.”
The overlap join is the lazy one, in the best sense. Knit 3 to 5 stitches with the old and new strands held together, then trim the tails later.
#10 A blanket with bare, wavy sides
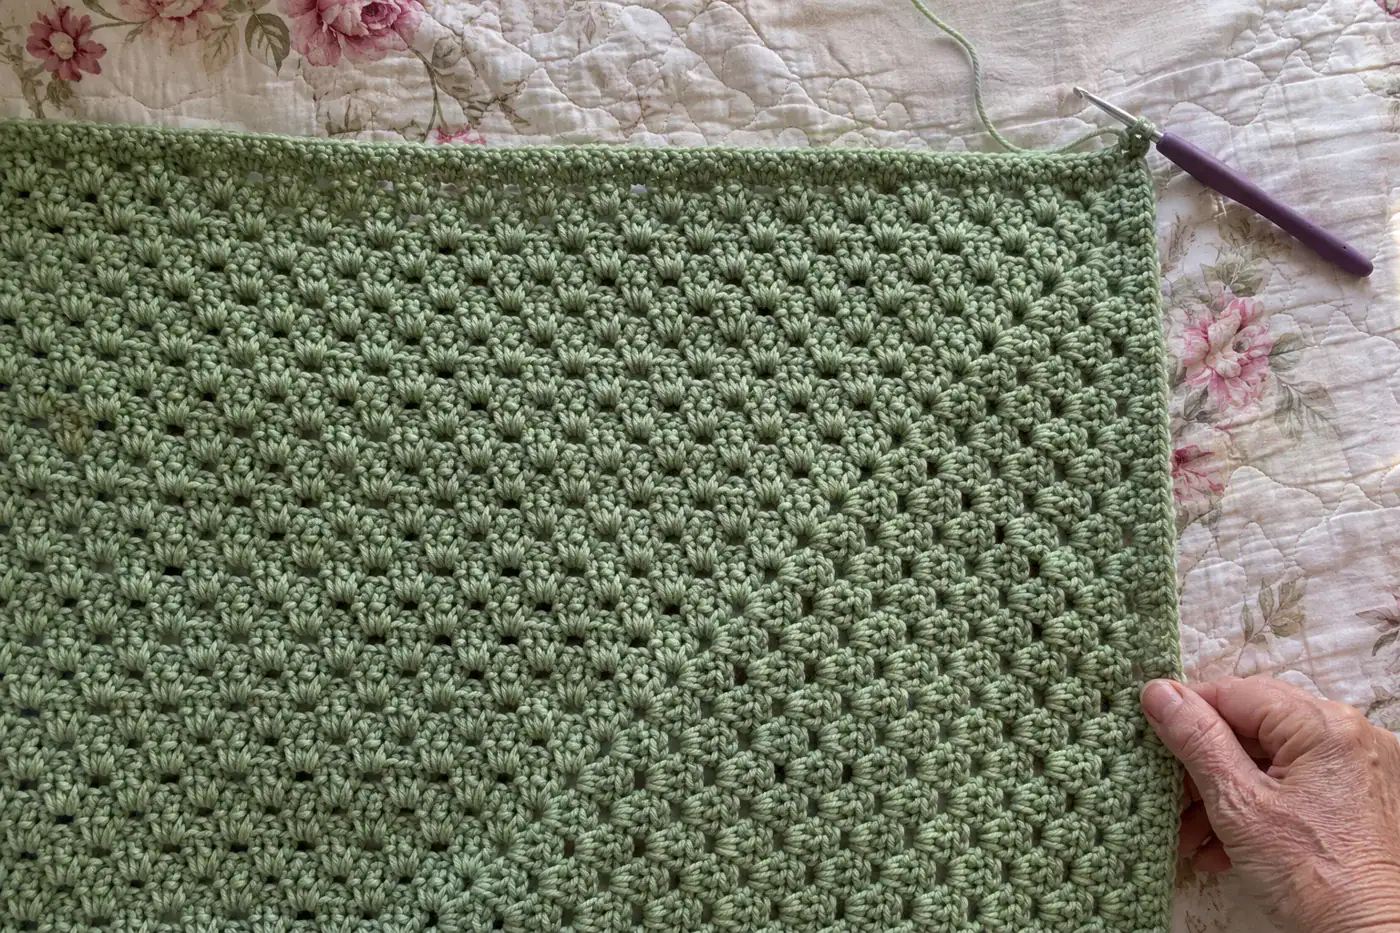
A border pulls a blanket’s edges into line, but only if the stitch count along the sides is right. Get it wrong and the border either ruffles or cinches.
Lion Brand’s starting rule for a single crochet border along the side edges:
- Work 1 single crochet into the end of each single crochet row.
- Work 2 into the end of each half double crochet row.
- Work 3 into the end of each double crochet row.
- Put 3 stitches into each corner stitch.
Treat those as a place to start. If the border ripples, take stitches out or drop to a smaller hook. If it pulls in, add stitches or go up a hook size.
Check the corners after every round, before you continue.
#9 A whole blanket in stiff single crochet
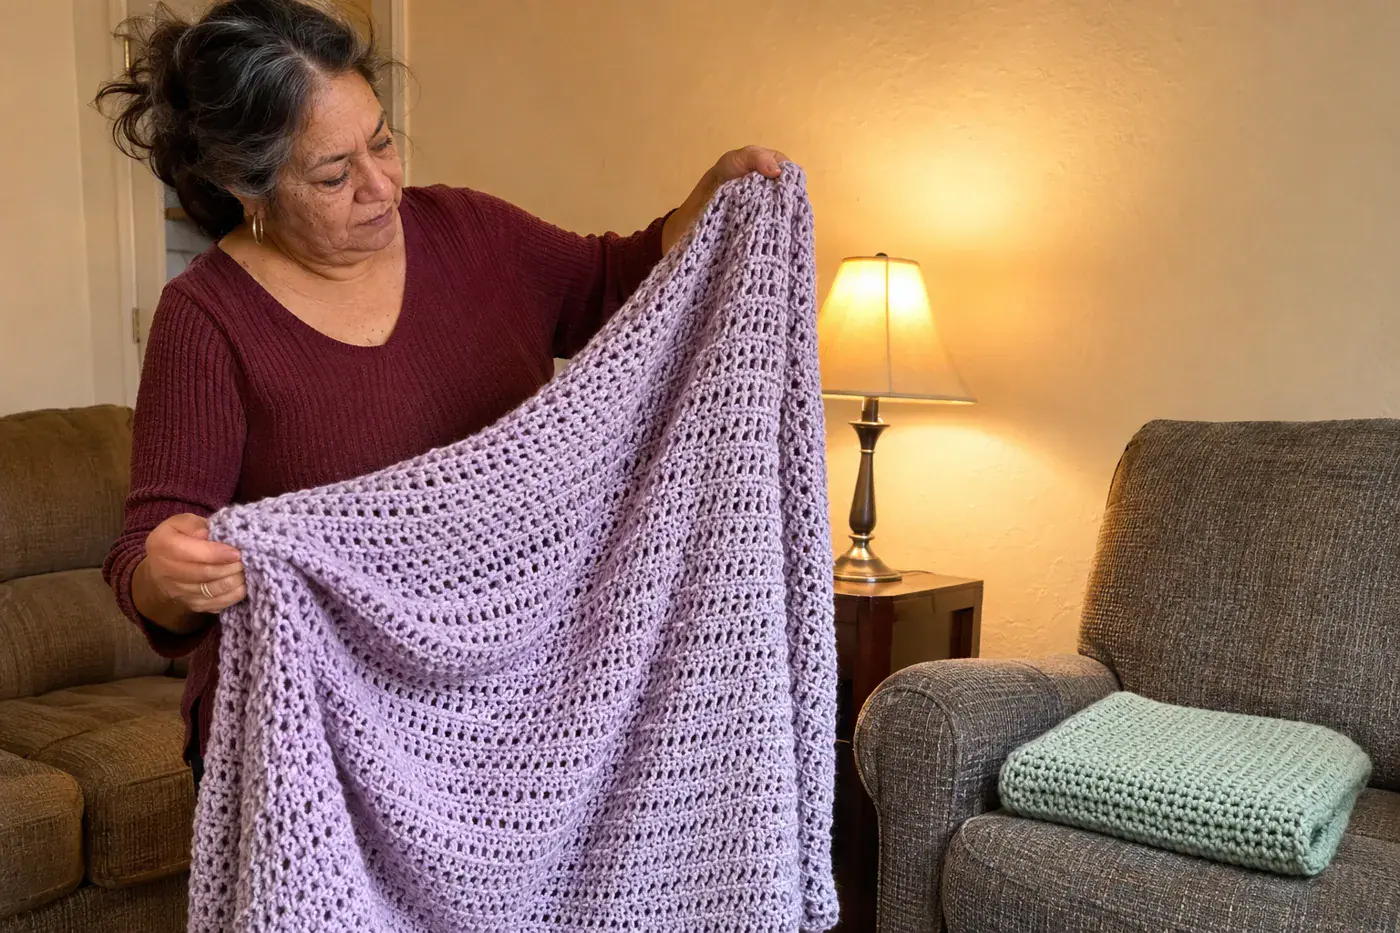
Chloe Maskill, the crochet artist from #12, says her own first project was a queen-size blanket made entirely in single crochet. She brings it up as a warning to everyone else.
“If you want something flowy and drapey and airy, do not use single crochet.”
The reason is stitch height. Double crochet leaves “visible spaces” in the fabric, which is why it drapes more than single crochet’s dense stitches. Weekend Crochet’s call is that “half double crochet is usually better for a warm, stable blanket, while double crochet is usually better for a lighter blanket.”
Match the stitch to the drape you want
- Single crochet: firm and compact, made for dishcloths and sturdy bags
- Half double crochet: about 1.5 times as tall, dense with some drape
- Double crochet: about twice as tall, flexible, with visible spaces
If a single crochet blanket is already finished, keep it. It’s warm, and it isn’t going anywhere. Make the next one in half double and feel the difference the moment you lift it. It takes less yarn, too: in an Interweave yarn-usage test, single crochet covered about 1.9 square inches of fabric per gram, against about 2.2 for half double.
#8 Purl blips where the stripe color changes
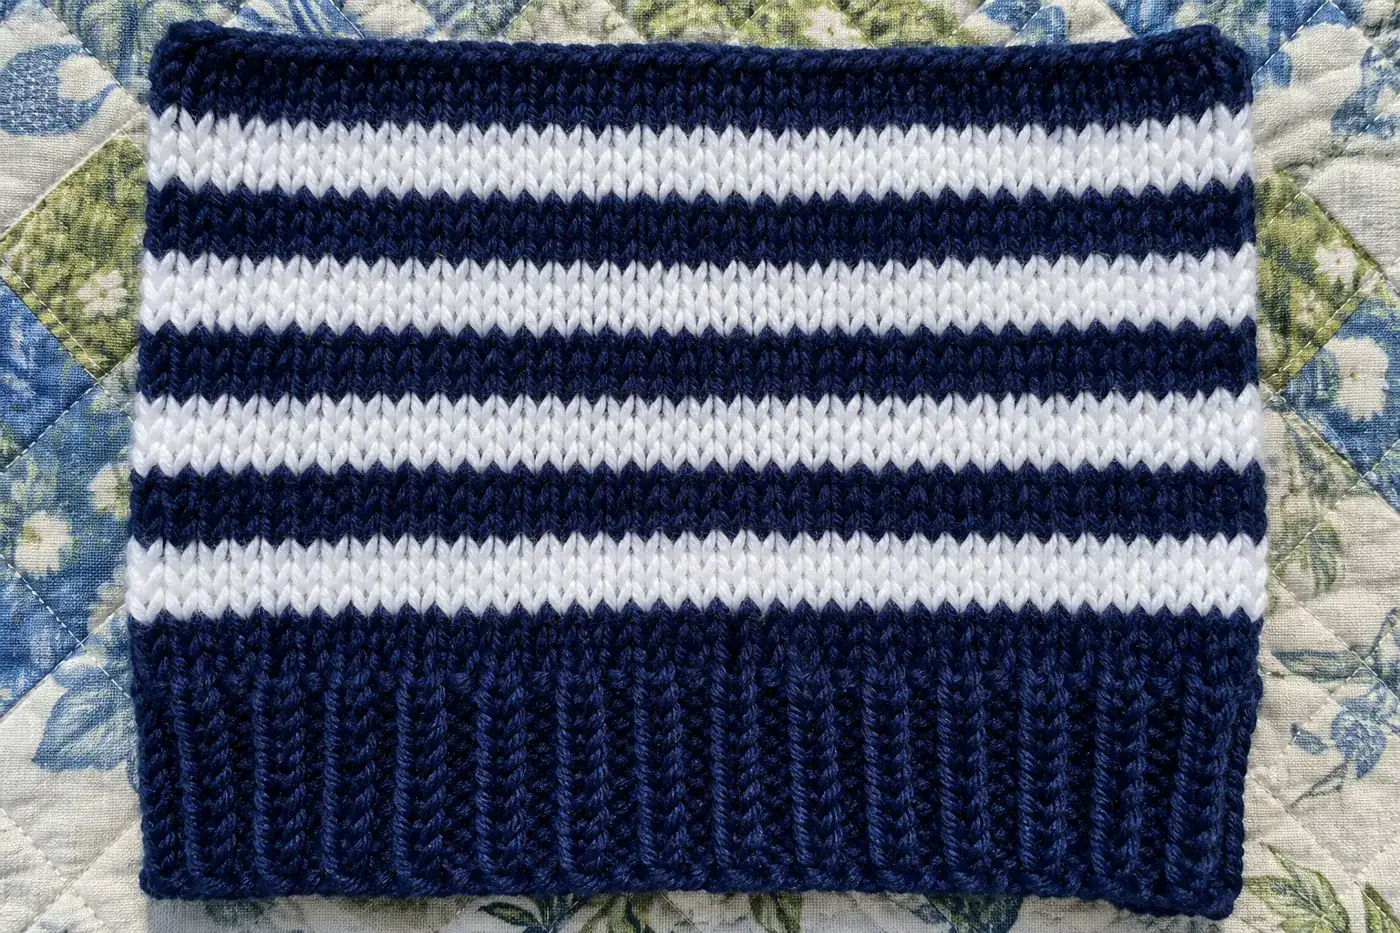
When you purl a new color over the old one, the old color gets pulled up through the front, leaving a broken line of dots right where your stripe should be crisp.
Theresa Vinson Stenersen’s fix in Knitty takes a single row. Knit one full right-side row in the new color before any purl pattern starts. Then go back to the pattern. The color change hides in plain knit stitches, and the purls only ever meet their own color.
Stripes in the round have a different problem: a step where each round begins. Studio Knit’s jogless stripe works like this. Knit the first round of the new color as usual. On the second round, slip the first stitch purlwise, then carry on. It works best on stripes three or more rows deep.
#7 A neckline bind-off with no give
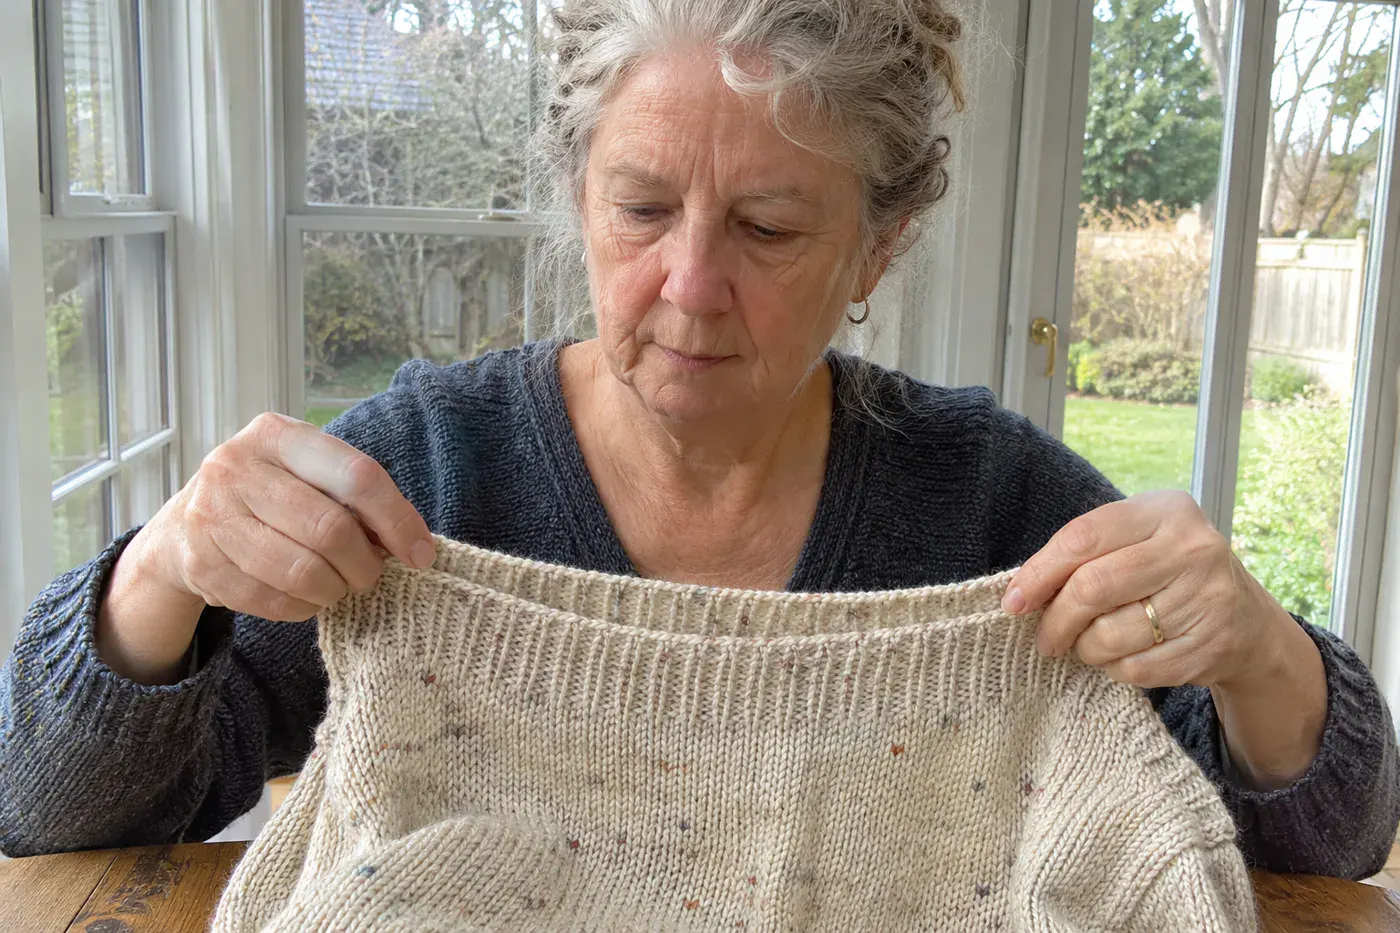
Knitter Susanna Winter tested bind-offs on a single swatch and measured how far each one stretched. The gap is bigger than most of us would guess.
| Bind-off | Stretch | Flare |
|---|---|---|
| Standard | 39% | Not given |
| On a needle 1 mm larger | 65% | 4% |
| Jeny’s Surprisingly Stretchy | 109% | 13% |
Look at the middle row before reaching for anything fancy. Simply binding off on a bigger needle gave a big jump in stretch. In Winter’s test it stretched 65% with just 4% flare, a result she called “surprisingly effective.”
When an edge has to stretch a lot, there’s Jeny’s Surprisingly Stretchy Bind-Off, published by Jeny Staiman, a usability engineer, in Knitty in Fall 2009. Knitty calls it “well-suited to hats, sweater necks, and especially toe-up socks.” You add a yarnover before each stitch you bind off: a reversed one before a knit stitch and a standard one before a purl. That 13% flare is visible, so save it for edges that really need it.
A tight bind-off is worth redoing even on a finished sweater.
#6 Variegated yarn that was prettier in the skein
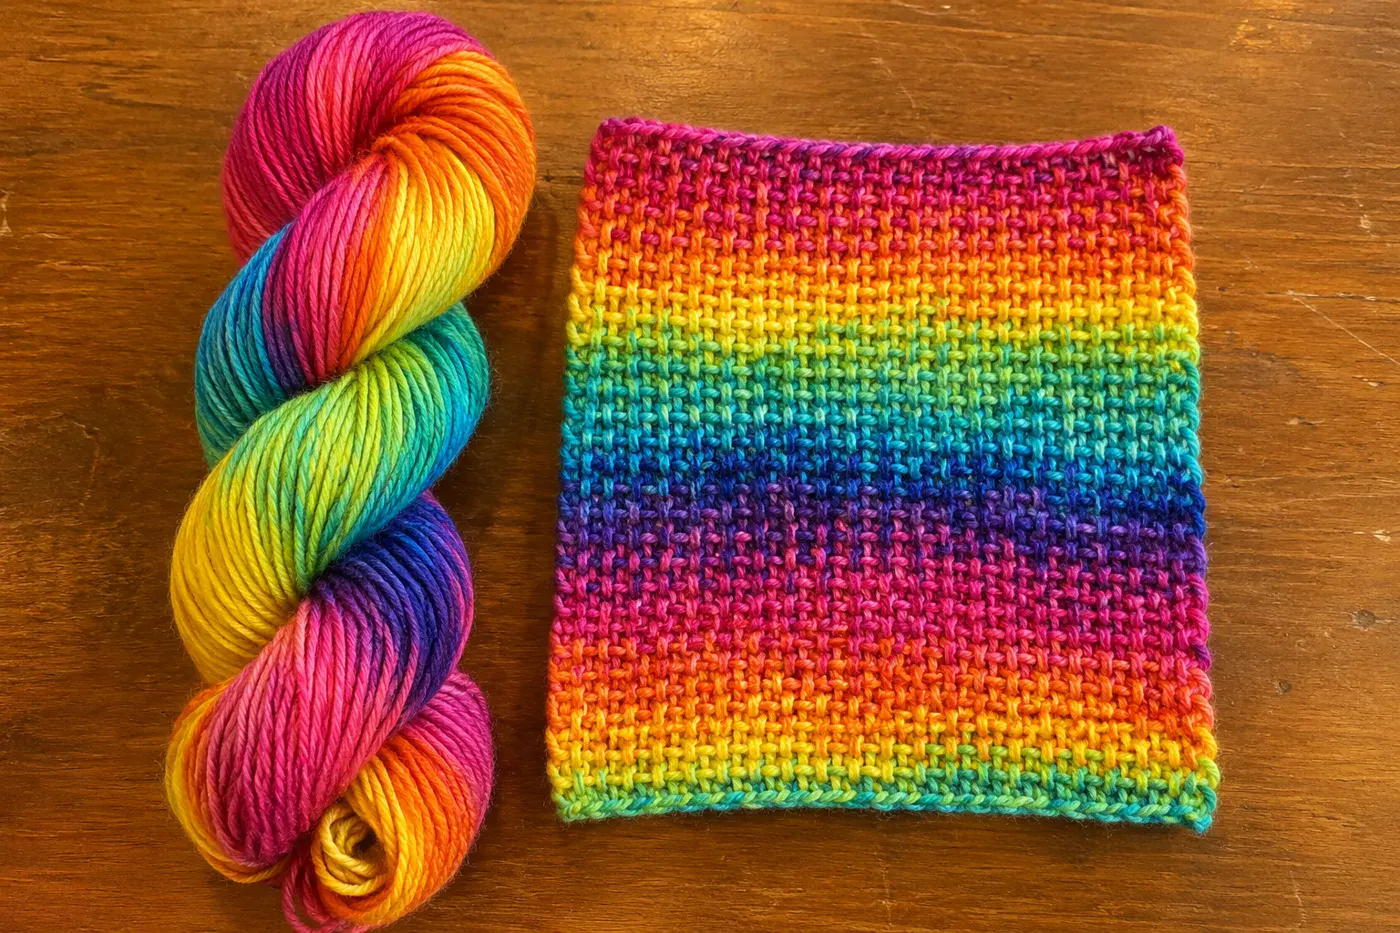
Knitters on r/knitting describe the same story: they buy a gorgeous multicolor skein, knit it up, and end up with puddles of color. Some admit they keep buying them anyway.
The colors bunch up like that for a reason. Purple Lamb, a yarn dyer, explains: “The fewer colors there are and the longer each color section is, the more likely the colors are to pool or stack.” Speckled and splashed colorways resist it. So before you buy, untwist the skein and look at how long each color runs.
If the yarn is already home, change what you knit with it:
- Linen stitch, the woven-looking pattern of slipped stitches, “lessens the problem of colour pooling,” according to Knitting-and.com.
- A “slip 1, k1” mosaic worked with a solid yarn turns the colors into dotted stripes.
- Moss stitch, a wider piece, or bias or corner-to-corner construction all break up the color repeat too.
#5 Granny squares that won’t line up
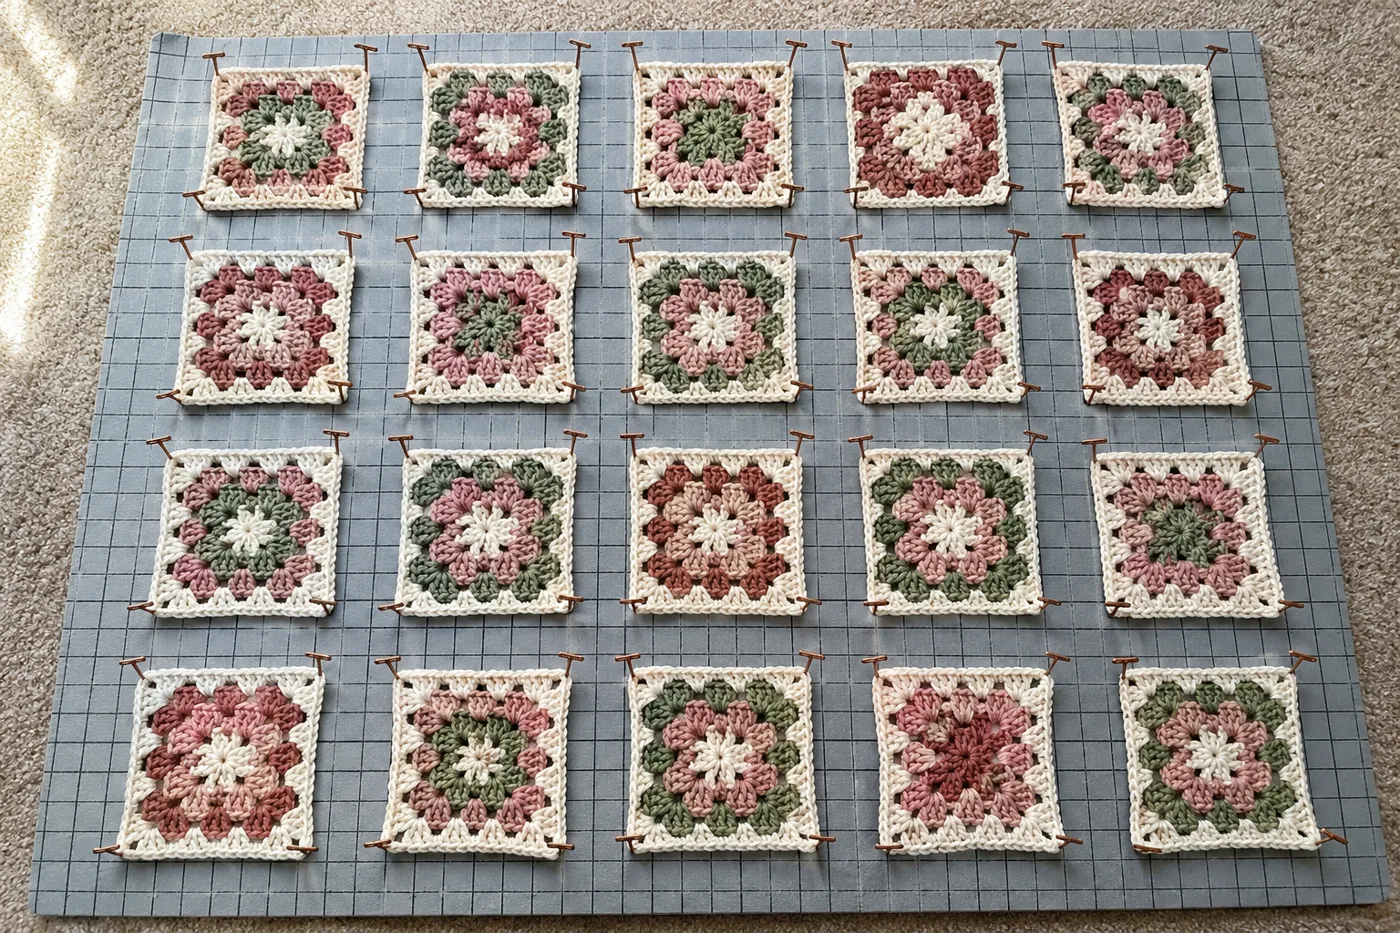
Before you join a single square, block every one of them. B.Hooked Crochet says you should “always block your granny squares before joining them”, pinned to a gridded blocking mat with rust-free T-pins, and the finished project will look a lot neater. Squares made at different times won’t all match until you block them to match.
Then pick a join knowing what each one shows. Lucy Kate Crochet compares the three:
| Join | Front | Back |
|---|---|---|
| Whipstitch | Bulkier, dashes if yarn doesn’t match | Seam shows |
| Slip-stitch join | Barely visible | A clear line of stitch tops |
| Join-as-you-go | No seam at all | No seam, but takes planning |
Whipstitch is “arguably the quickest and simplest,” and in matching yarn it’s perfectly respectable. The slip-stitch join gives you a handsome front and a ridged back. If you don’t want that ridge showing anywhere, join-as-you-go leaves no seam at all, front or back.
#4 Tiger stripes across your stockinette
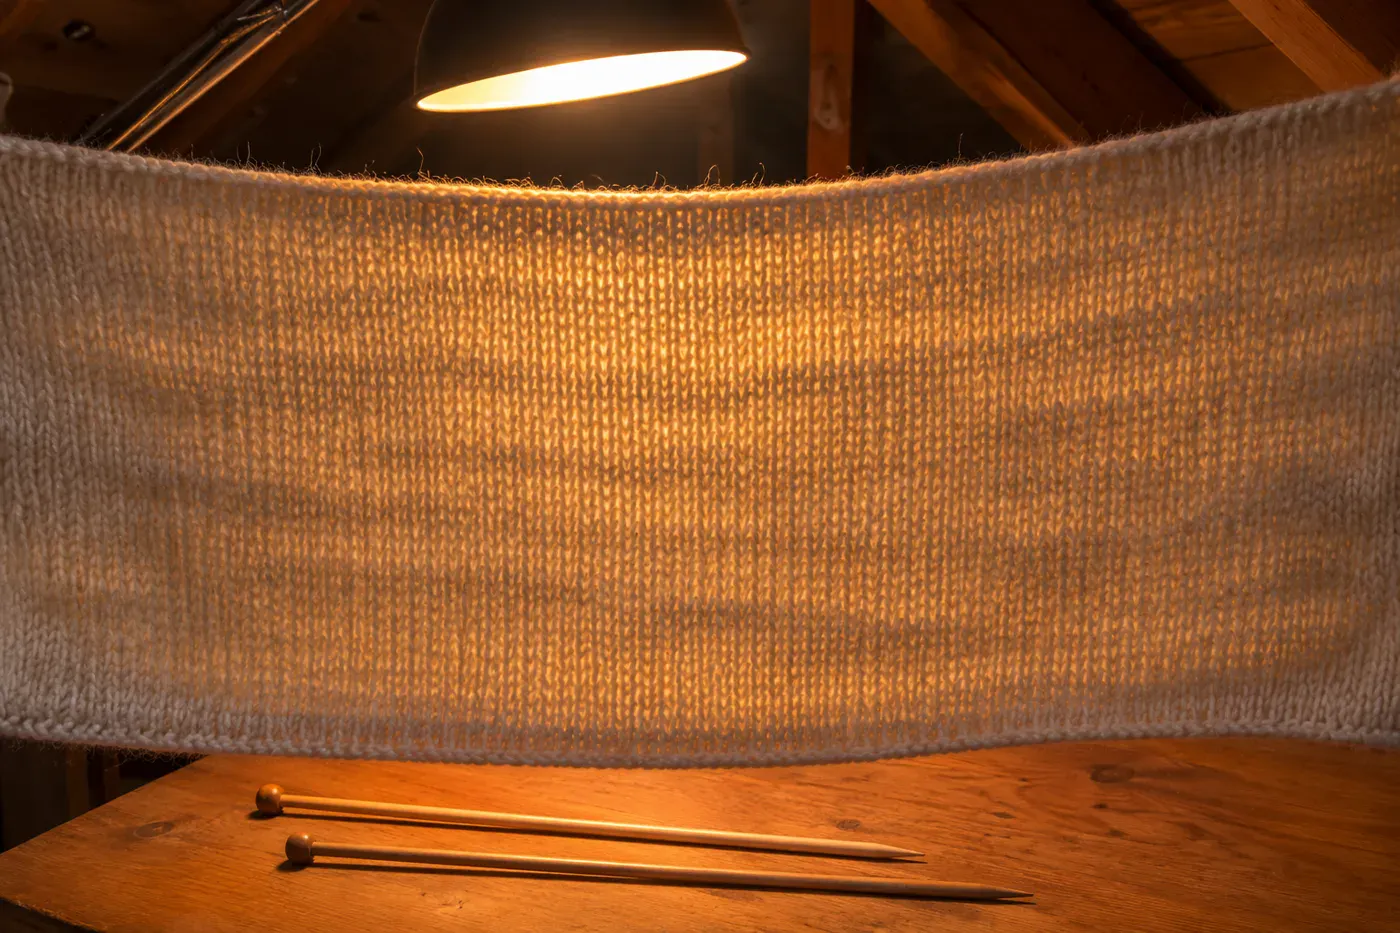
That bumpy, striped look on flat stockinette has a name: rowing out. CocoKnits calls it “a tension defect that creates an uneven texture in flat knitting.” To check for it, stretch the purl side up and down. If you see gaps between pairs of rows, that’s it.
It comes from purling looser than you knit. TECHknitting calls that “a VERY common problem”, and the fix is refreshingly mechanical. If you’re knitting on size 6 needles and your purls run loose, “take a size 5 needle to purl.”
CocoKnits suggests going 1 or 2 sizes smaller on the loose rows only, and trying wood needles instead of metal for a little more grip.
Rowing out shows up in flat knitting, where you alternate knit and purl rows.
#3 A seam line climbing up crochet rounds
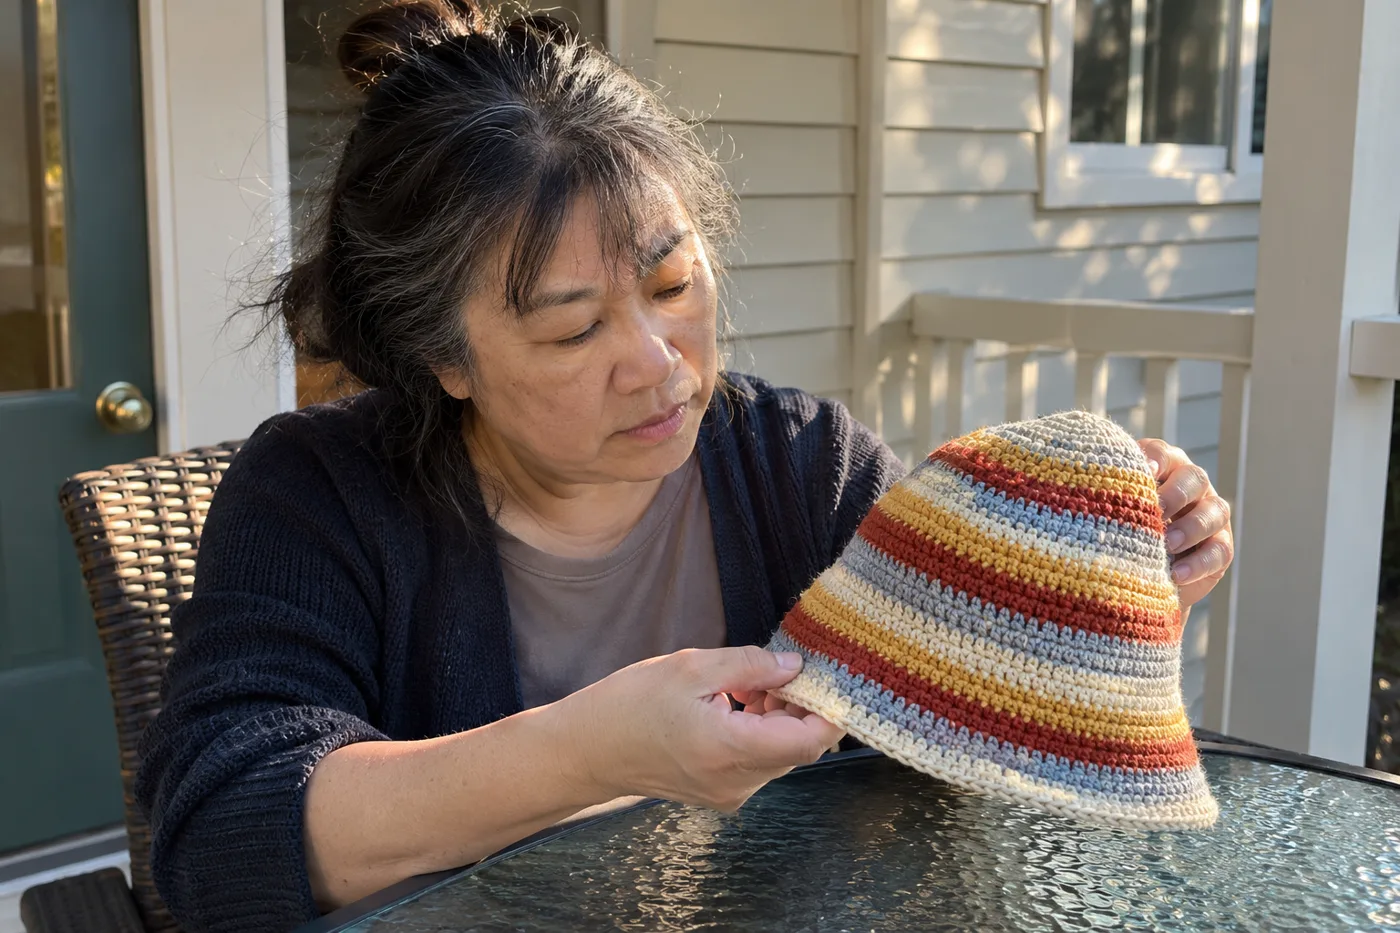
Joined rounds leave a mark. If you start each round in the same stitch as the slip-stitch join, you get “quite a visible seam that will creep slightly to the right”, a crooked line marching up the side of a hat.
The other way is to work in a spiral: no joins at all, just round after round. Look At What I Made calls it “ridiculously easy,” but it leaves a bump at the beginning and at the end.
The fix nobody seems to name is the seamless join. From My Hook says it “avoids the bulky, stepped seam created by slip stitches,” and it suits hats, amigurumi (small stuffed crochet toys), garments worked in the round, and rounds where the color changes. On a striped hat, it’s the difference between a jog and a clean ring.
For a dishcloth worked in rounds, carry on with whatever join you like.
#2 A stitch you’ve been making wrong for years
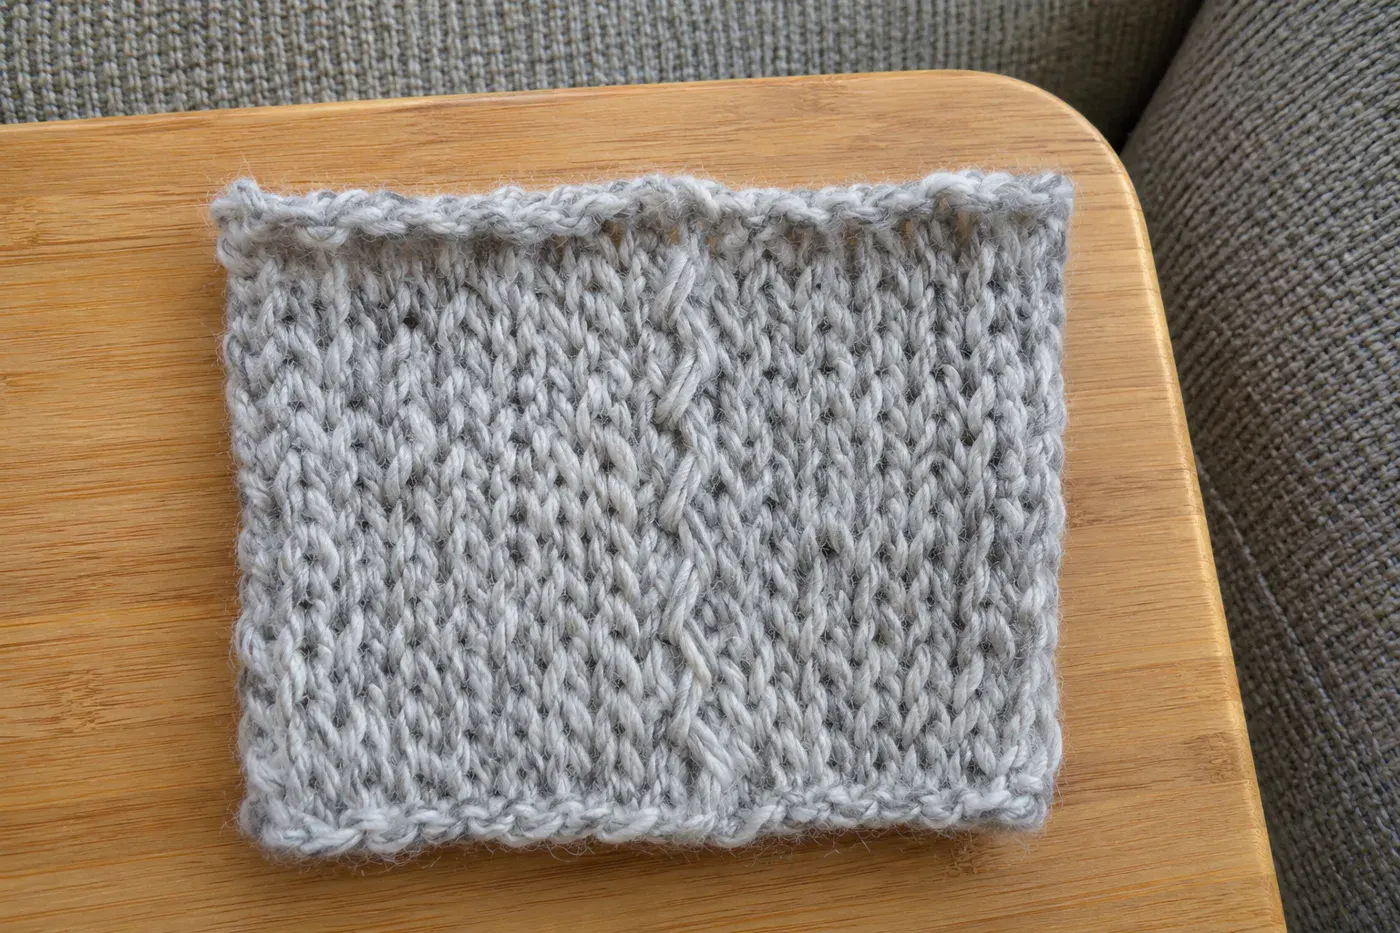
Under one stitch video on TikTok, crocheters confess to making up their own double crochet, going through one loop instead of two, and making a whole scarf or blanket in slip stitch while believing it was single crochet.
That last mix-up is easy to make. A slip stitch is “done in one” motion and “adds essentially no height,” Yarn Bloom Studio explains. The reverse happens too: add one extra step and you’ve made a short single crochet without meaning to.
Knitters have their own version, the twisted stitch. Berroco describes it as “the right leg gets pulled across the stitch to the left side, overlapping the left leg.” A proper stitch has its legs sitting side by side, not overlapping. If your stitch legs look crossed at the bottom, you’re wrapping or entering the stitch the other way round. Dropped stitches put back on the needle backwards twist the same way.
What about the finished pieces? A blanket made entirely in the “wrong” stitch is still one even, consistent fabric. Leave it, and change your habit from the next project on.
#1 A mistake you’d spot from a galloping horse
Here’s the rule that settles the question every maker asks. A quilter learned it in a beginning machine-quilting class in February 2010: “If you were to pass by the quilt on a galloping horse and you could see the mistake, then unpick.”
It works just as well for yarn. One knitter brought it up under a finished vintage sweater on r/knitting: “As for mistakes, quilters have an adage, if you wouldn’t notice it while riding past on a galloping horse, it doesn’t matter.”
Sandi Rosner sharpens it in her post “To Fix or Not to Fix.” She fixes a mistake only if it breaks the visual rhythm of the fabric, or if she catches it right away. She also advises against pointing out your mistakes to anyone, which may be the hardest habit of all to break.
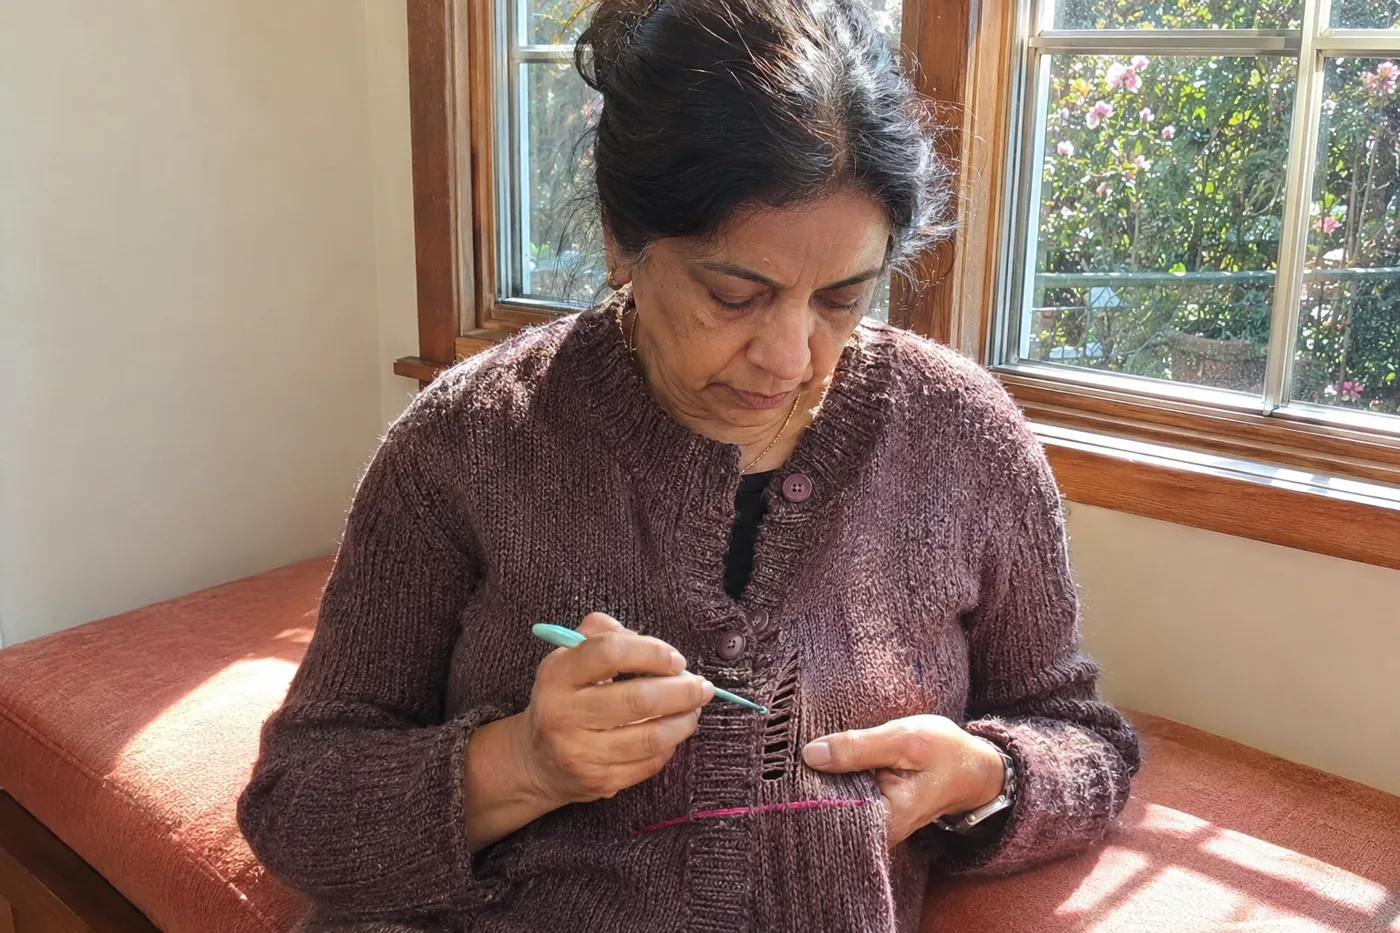
When a mistake does pass the horse test, you often don’t have to frog it, meaning rip it out. A single knit that should have been a purl comes out in one column, following Knit with Henni’s method:
- Work across to the stitch directly above the mistake.
- Drop just that stitch off the needle tip and let it ladder down to the row below the mistake.
- Rebuild it from the bottom up with a crochet hook, one rung at a time.
In crochet there’s no column to drop, so the horse makes the call on its own.
And when a mistake truly means going back rows, a knitter in an r/knitting thread on what separates good knitters from great ones names the habit: “Not being afraid to frog it and start all over again if necessary.”
Before you try anything risky: a lifeline
- A lifeline is a strand run through one row so you can unravel safely back to it
- Use contrasting yarn, string or unwaxed dental floss, the same weight as your yarn or thinner
- Put one in before hat decreases or a color change
- Rip back to it and every stitch is waiting on the strand
The bottom line
In an r/knitting thread on what lifts good work into great work, one knitter put it in a single sentence: “Great finishing skills with attention to detail can bring an item from frumpy to sharp.”
If your stitches have been even for years, that’s good news. The distance between a piece you explain and a piece you don’t is mostly a blunt needle, a steam vent and a ruler that doesn’t stretch.
So turn one finished piece inside out, whatever’s closest. Find the ends, the seams, the edge where the stripes change. Whatever you see there, you know its name now, and how to fix it.
Bonus: Five more checks before you call it finished
Check the lot number on every skein before you start. It reads something like “LOT 12345A.” If you have to mix lots, Lion Brand says to alternate skeins every two rows through the whole piece.
When you pick up a band along a vertical stockinette edge, Plymouth Yarn’s rule is 3 stitches for every 4 rows, or the band goes wavy. In garter, pick up one stitch per ridge.
Buy the buttons before you knit the buttonhole. Kate Atherley says you should “just barely” be able to get the button through.
In stranded colorwork, spread the stitches out along the right needle before you carry the next color across, so the float isn’t too short once the fabric relaxes. Ysolda adds that you should go up a needle size or two if the fabric still puckers.
Rely on the millimeter size on a hook or needle rather than the letter or number, since sizing varies from company to company. Steel hooks run backwards: the higher the number, the smaller the hook.
Questions people also ask
How do I make my knitting look professional?
Most of the gap between homemade and professional comes from five finishing habits. They are a washed swatch, purl tension that matches your knit tension, knotless yarn joins, stretchy cast-on and bind-off edges, and mattress-stitch seams sewn one stitch in from the edge. Craft Fix calls that last one the golden rule of seaming.
How do you fix uneven tension when knitting?
If your stockinette looks striped, your purl rows are probably looser than your knit rows, a flaw called rowing out. The usual fix is to purl on a needle one or two sizes smaller while keeping your regular needle for the knit rows. TECHknitting’s example pairs a size 5 for purling with a size 6 for knitting. It applies to flat knitting.
Do I really need to knit a gauge swatch?
For a sweater, yes: half a stitch per inch can move a 40-inch chest by roughly 4 inches, according to Tin Can Knits’ worked example. For blankets, towels or coasters, where exact size doesn’t matter, designer Jessica of Mama In A Stitch says a swatch isn’t mandatory. Hats and fitted garments still need one.
How do you keep crochet edges straight?
Mark the first and last stitch of every row so you always know where each row starts and ends. A piece that narrows is usually missing its last stitch, and one that widens is usually being worked into a turning chain the pattern doesn’t count, says Knit&Note. Check your pattern notes to see whether the turning chain counts.
Can you block acrylic yarn?
Yes, with steam held two to three inches above the fabric, never letting the iron touch the yarn, per Lion Brand. Light steaming isn’t permanent. Too much heat “kills” acrylic, which flattens it for good and takes away its stretch. Yarnspirations, which makes Red Heart, advises against any heat or steam on acrylic because it can go limp or stretch, so test on a swatch first.
Should I fix a knitting mistake or leave it?
Fix it if you’d see it riding past on a galloping horse, the old quilters’ test, and leave it if you wouldn’t. Sandi Rosner fixes only mistakes that break the rhythm of the fabric. For a single wrong stitch, you can drop just that column and rebuild it with a crochet hook instead of ripping out whole rows.
