If you follow any boho designers on social media, then you’re bound to have come across an array of beautiful macrame plant hangers, wall hangings, and accessories. But if you’re anything like me, then you find this DIY activity incredibly intimidating. How am I supposed to make that out of ordinary rope? It’s actually a lot simpler than you might think. Here’s a list of 9 macrame patterns and knots that even beginners can try.
Materials Needed
The beauty of macrame is that it is an unbelievably affordable art form that requires very few tools to get started. All you need is:
- Cord: This can be any kind of cord, yarn (which is also great for crochet projects), rope, or twine you can get at a hardware or craft store. As you become more advanced, you can start to look into cord made of different kinds of materials or in different sizes and colors.
- Scissors: Any pair will do!
- Support: You need something to tie your knots to. This can be almost anything from dowel rods to drawer knobs you already have at home.
Key Terms
Macrame tutorials and pattern books regularly employ shorthand terms and abbreviations to describe different types of knots. The two most important terms to know are:
- Knotting cord: This is the cord that moves around the others in order to form knots.
- Knot-bearing cord: This is the static cord that the knotting cord wraps around.
If you’re working on more advanced patterns, you can use this glossary of terms as a helpful guide. Otherwise, you’re ready to get started!
Basic Knots
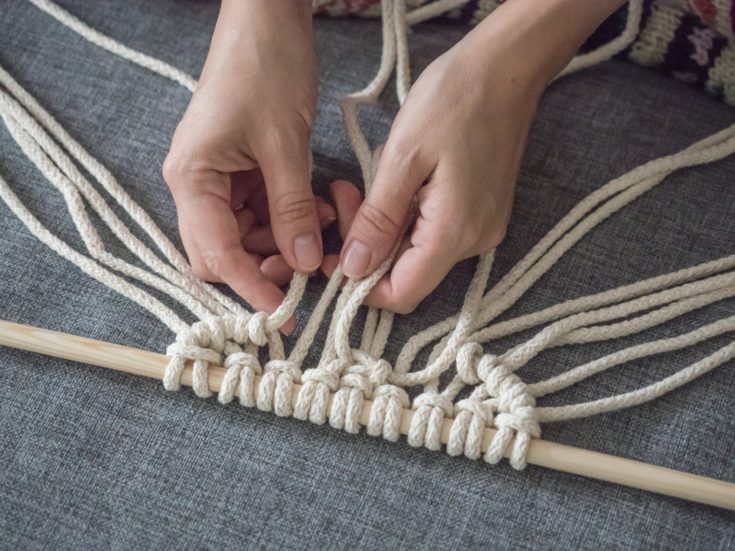
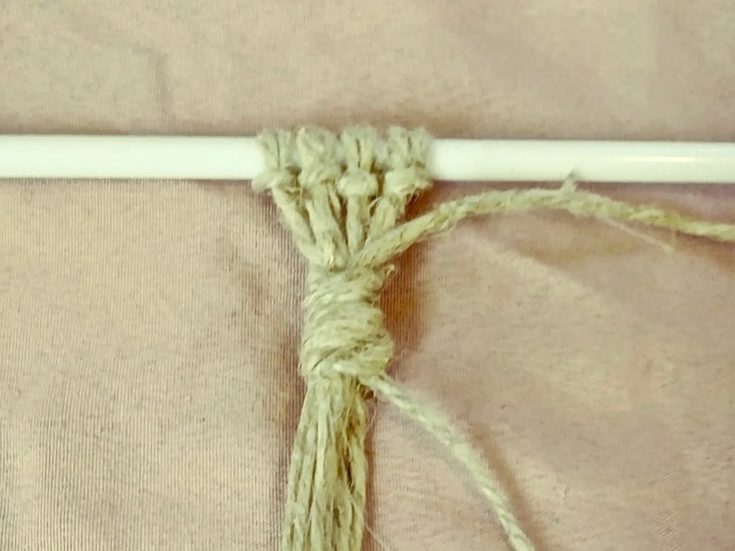
Lark’s head

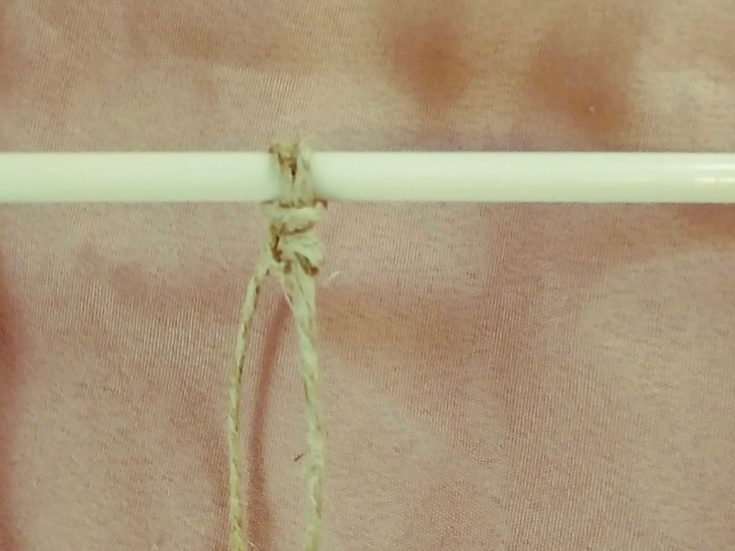
The Lark’s head knot also called a cow hitch, is one of the most commonly used knots in macrame. It’s remarkably simple to learn and is frequently used at the beginning of new projects as a way of mounting the cord onto the support. It also forms the foundation for a lot of other, more complex knots.
To begin, fold your cord in half and place it over your support. The folded loop of the cord will face up, while the two free ends point downwards. Next, bring the loop around the back of the support and pass the two free ends through the loop. The horizontal knot that forms is known as the head.
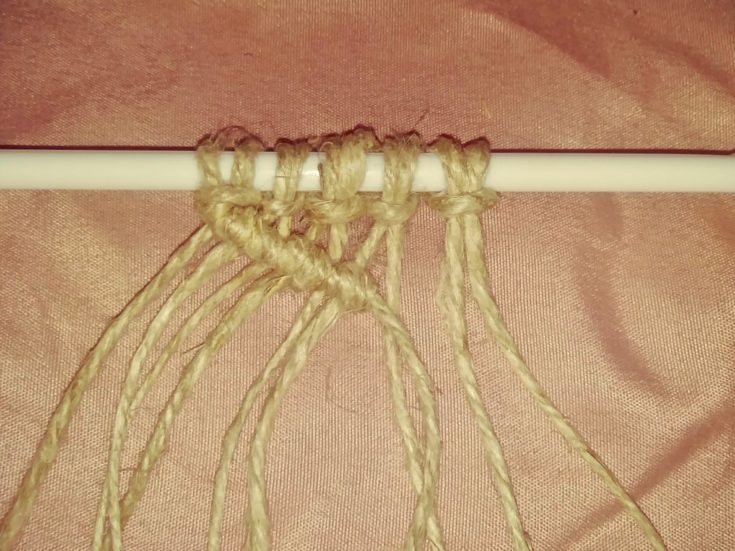
A lot of macrame patterns will describe the head as either facing forwards or backward. This is because Lark’s head knot can also be performed in reverse. In the reverse version, you begin the same way by folding your cord in half. This time, however, you will place the folded cord underneath the support.
When you bring the loop around the front of the support and pass the free ends through, the head of the knot will face the opposite direction.
Square knot
The square knot is the most important foundational knot in macrame. It shows up in a lot of patterns because it is strong and can be used to create a variety of geometric shapes like triangles and diamonds. Square knots require four cords and consist of two half knots worked in alternating left and right directions.
The first step is to form a half knot. Take the leftmost cord and bring it over the middle two knot-bearing cords. Pass it under the rightmost cord to create a backward D-shaped loop. Next, take the rightmost cord and feed it underneath the two middle cords. Pull the rightmost cord over the leftmost cord and through the D-shaped loop. This is the first half of your square knot.
To form the second half of the square, you will simply perform the same steps in reverse. This time, take the rightmost cord and pass it over the two knot-bearing cords and underneath the leftmost cord. Now bring the leftmost cord under the center cords and pull it through the D shape on the right.
You’ve now created a square knot! Advanced patterns will use alternating square knots across eight or more threads to create rows of patterned knots. But don’t be afraid to start with the basics and work your way up!
Spiral Stitch
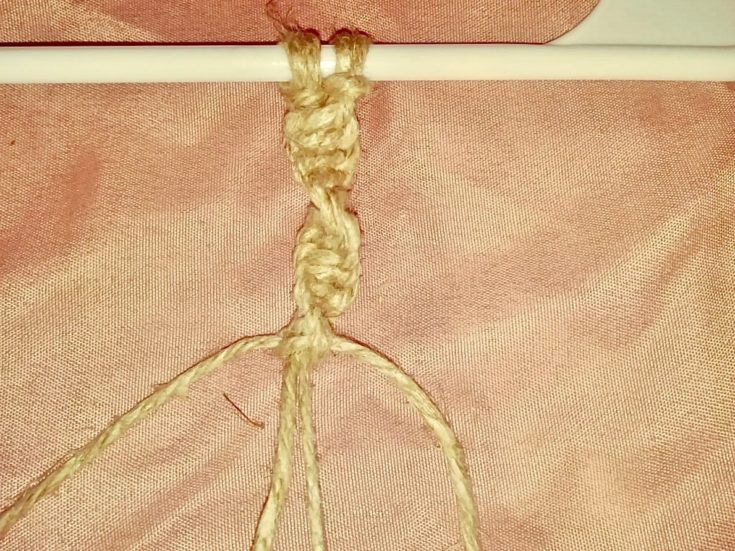
The spiral stitch goes by many names. It is also known as the half knot spiral, half knot sinnet, half square knot, and helix knot. Don’t let the complicated names fool you! This knot is actually really easy to make and is used to add decorative flourishes to any macrame piece.
Like the square knot, a spiral stitch requires at least four cords and begins with a simple half knot. Take the leftmost cord over the middle two cords and under the rightmost cord to create a backward D-shaped loop. Feed the rightmost cord under the middle cords and through the loop to form half of a square knot.
Instead of completing the square, you will simply continue this process, again and again, always starting with the leftmost cord. Over time, the knots will naturally begin to form an elegant spiral.
Half Hitch
Hitches are used to create curves and lines in macrame art. There are a number of different types of hitch knots, but all are variations on the basic half hitch.
To form the half hitch, take your leftmost cord and pull it under the adjacent knot bearing cord, forming the familiar backward D-shaped loop. Next, take the end of the knotting cord and cross it back over the knot bearing cord. Gently pull the cord through the backward D-shaped loop to form a half hitch knot.
In decorative patterns, the half hitch is usually made using two pairs of knotting and knot bearing cords.
Double Half Hitch
The double half hitch knot is a popular variation of the half hitch that can be used to create diagonal lines in macrame projects. It is also known as the clove hitch and is made by simply repeating the half hitch process twice.
Take the knot bearing cord and hold it across your work at the angle you wish to create a diagonal line. You can vary this angle however you like to create harsher or softer patterns. Now, take the knotting cord and make two consecutive half hitch knots on the same knotting cord.
To continue making a diagonal line, grab the next available hanging cord and repeat the process. Continue working double half hitches in a diagonal until you reach the end of the work.
Horizontal Double Half Hitch
The double half hitch knot can also be used to make horizontal lines. This horizontal double half hitch is often used to add new colors to a piece or mark off different sections of a large pattern.
To make the horizontal double half hitch, all you need to do is change the angle of the hanging strands. Instead of holding the knot bearing cord at an angle, simply keep all hanging cords perfectly vertical. Take the leftmost cord and maneuver it around the adjacent cord to form two half hitch knots.
Continue in this manner working your way horizontally across the work from left to right.
Vertical Double Half Hitch
One final variation is the vertical double half hitch knot. This knot is also a great way to add color to a piece. It is often used to create the appearance of rows of horizontal knots in wall hangings and macrame accessories.
Unlike the diagonal and horizontal double half hitches, this vertical knot is made using the same knotting cord throughout. You will begin by measuring and cutting a separate length of cord. Wrap this cord around your first hanging cord, going under and over. Bring the knotting cord back under and over the hanging cord to form a D-shape loop. Pull the knotting cord through the loop.
Using the same separate length of cord as your knotting cord, continue working across the piece from left to right until you reach the outermost edge.
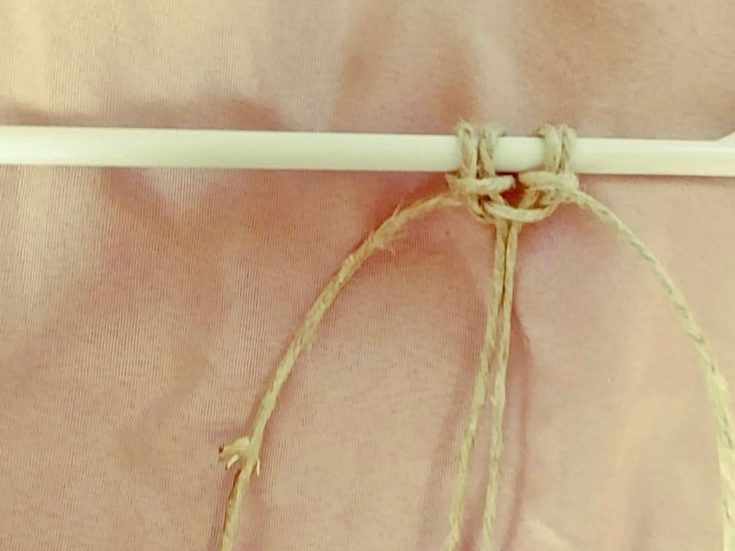
Overhand knot
The overhand knot is the easiest of all macrame knots but is found in almost all macrame patterns. It is often used at the end of a design section to secure the piece or transition to a new type of knot. It can also be used to secure beads and other finishings.
The overhand knot can be made using multiple cords, or just one cord. Simply fold the cords into a loop, pass the ends of the cords through the loop and tighten. If this sounds incredibly easy, it’s because it is! If you’re ready for something more advanced you can try using a linked overhand knot to tie two cords together.
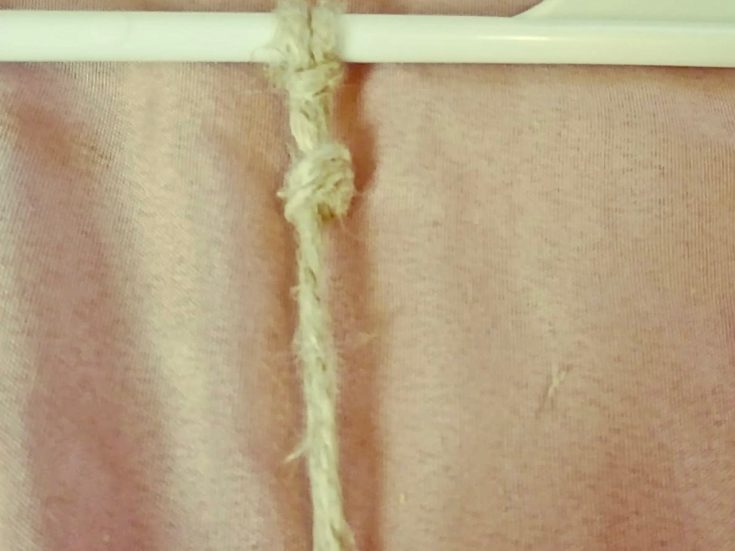
Gathering knot
Another basic knot to master is the gathering or wrap knot. This knot is typically used at the beginning or end of a piece to secure a group of cords together. It is often seen at the bottom of plant hangers and as a finishing flourish on wall art.
First, measure and cut a separate length of cord. The longer the cord, the thicker your wrap knot will end up being. Using this free length of rope, create a long u-shaped loop over-top of the cords you wish to gather. Leave a short tail on the left-hand side and keep the remaining length of cord towards the right.
Wrap the remaining length of the cord around the entire bundle and continue wrapping until only the tip of the loop remains uncovered. To finish the knot, wrap the cord around the bundle one more time and bring the free end through the loop. Take the short tail in your other hand and pull it upwards at the same time as you pull the free end down through the loop. This will effectively hide the knot under the wraps.
Now all you need to do is trim the ends of your cord, and you have a finished piece!
Conclusion
With these simple knots and a little bit of twine, you’ll be more than capable of making your own macrame art.
What do you think? Did you enjoy this list? Let me know in the comments and be sure to share this article with all of your DIY savvy friends.