The paint, glue and finishing tricks that turn a dollar-store pie pan into something that passes for real enamelware, plus real costs and what makes a piece last for years.
The last project starts as two plastic bowls, and it’s the one people will ask about.
It’s October. You’re in the Dollar Tree Christmas aisle with a basket on your arm and a little village bakery in your hand. A dollar fifty. You can already see it on the mantel. You can also see the shiny paint, the seam down the side, and the glitter coming off on your thumb.
That shine is what gives it away. Change the paint, the sealer and the glue, and the best Dollar Tree Christmas crafts stop looking budget friendly. They start looking like a nice gift shop. These are Christmas crafts for adults, made to keep.
What it really costs – Two tabletop trees made into one: $3.50, plus floral foam – Frosted mason jar luminaries: about $5 for the Mod Podge and Epsom salt, plus $1.50 for the jar – Ornament wreath: an estimated $14.75 before berry picks and glue sticks – Tiered treat stand: $5 in candlesticks plus $1.50 glass plates, against $40 to $50 in a shop
#17 Two thin tabletop trees twisted into one

Buy two. A single 18-inch tabletop tree from Dollar Tree now costs $1.75, and it looks exactly like what it is: a pole with some wire on it. Pushed together, two of them look like one of the fuller trees you walked past at the garden center.
Hip2Save’s method is about as simple as crafting gets: “Place both trees up against each other and twist a couple of the branches around the middle to combine them.” Stand them in a block of Dollar Tree floral foam, and you have a $3.50 centerpiece that doesn’t show its trunk.
The same idea works at floor size. House Digest stacked two of Dollar Tree’s 4-foot Noble Firs, at $6 each:
- Take the bases off and lay both trees flat.
- Stack one on the other with the trunks lined up.
- Tie them together every 3 to 4 inches with wired faux branches.
- Bend the branch tips into alternating V shapes, two up and one down.
That last step does most of the work. Branches sticking straight out look like a store display. Bent ones look like a tree someone fussed over.
What can stop you is the shelf. The tabletop tree was out of stock online when we checked. Some shoppers also say their store only ever gets the small ones. If that’s your store, make the centerpiece. If you can find the 4-footers, a $12 floor tree is worth the afternoon.
#16 The dollar-store Christmas village, repainted like ceramic
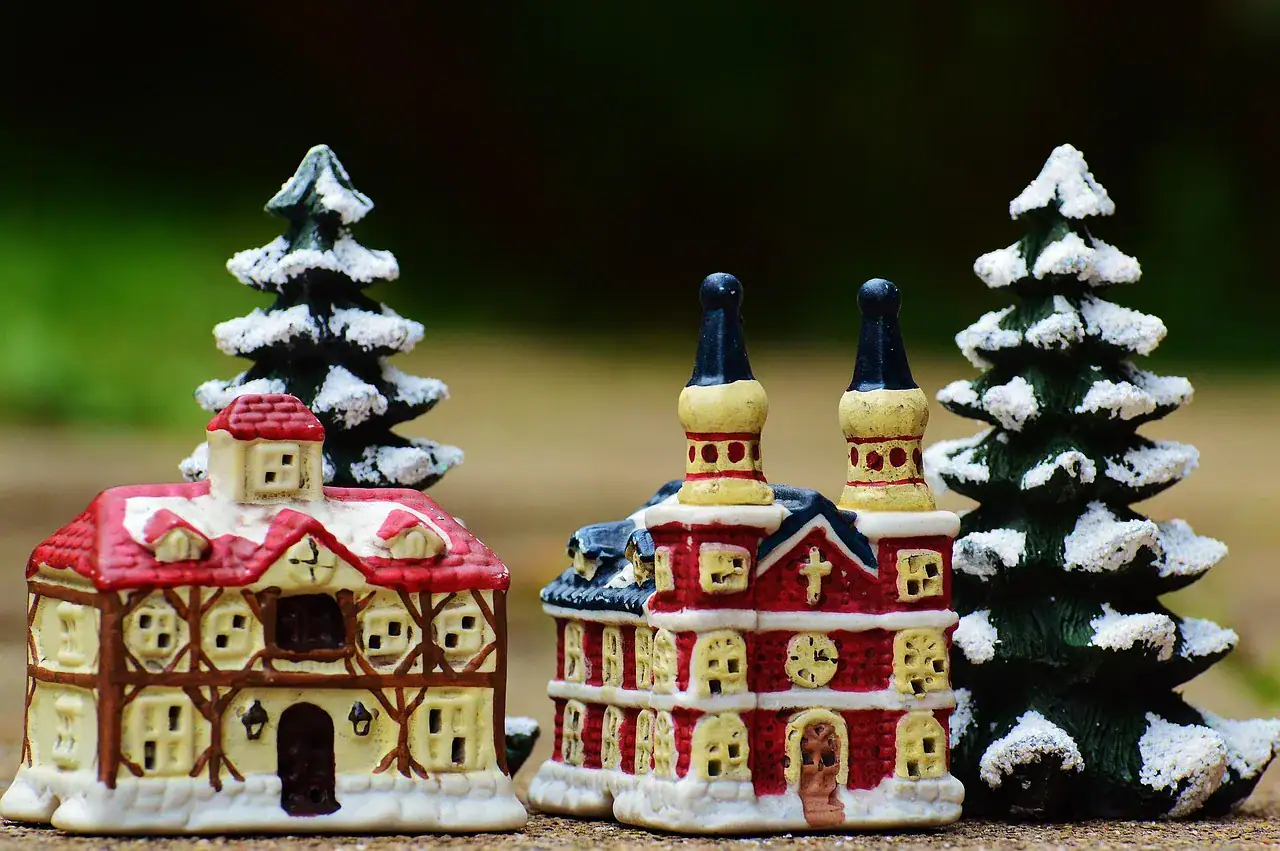
Village painters agree on one rule: skip the gloss. Matte or satin paint is what makes dollar-store pieces look like ceramic.
Dollar Tree’s Cobblestone buildings were $1.50 each in 2025. You could get a florist, a diner, a bakery, a toy store, a church and a Christmas tree farm. Straight off the shelf, they have that candy-wrapper shine. The shine is the giveaway.
“Glossy spray paint screams ‘I painted this,’ but matte reads expensive.” (Penny Pinchin’ Mom, budget decorating blogger)
Sherry of Young House Love repainted pieces that “hail from Dollar Tree.” She found the satin finish “looks so much more convincingly matte and ‘ceramic.'” A crafter who did a whole village said the same thing on r/crafts: “I went with a matte finish because I wanted it to look like they were ceramic.”
The method that hides the factory look comes from Aimee of The Crazy Craft Lady. She sprays flat white primer first, then dabs on FolkArt matte paint in “a pouncing motion to avoid brush strokes.” Brush lines say “craft night.” Pounced paint says “kiln.” For a richer look, she does a second style: hunt club green spray paint, with antique gold picked out on the architectural details.
Then the snow. Sherry wrapped her tiered base in leftover quilt batting. If you quilt, you have a bag of trimmings that has been waiting years for exactly this.
#15 Frosted mason jar luminaries
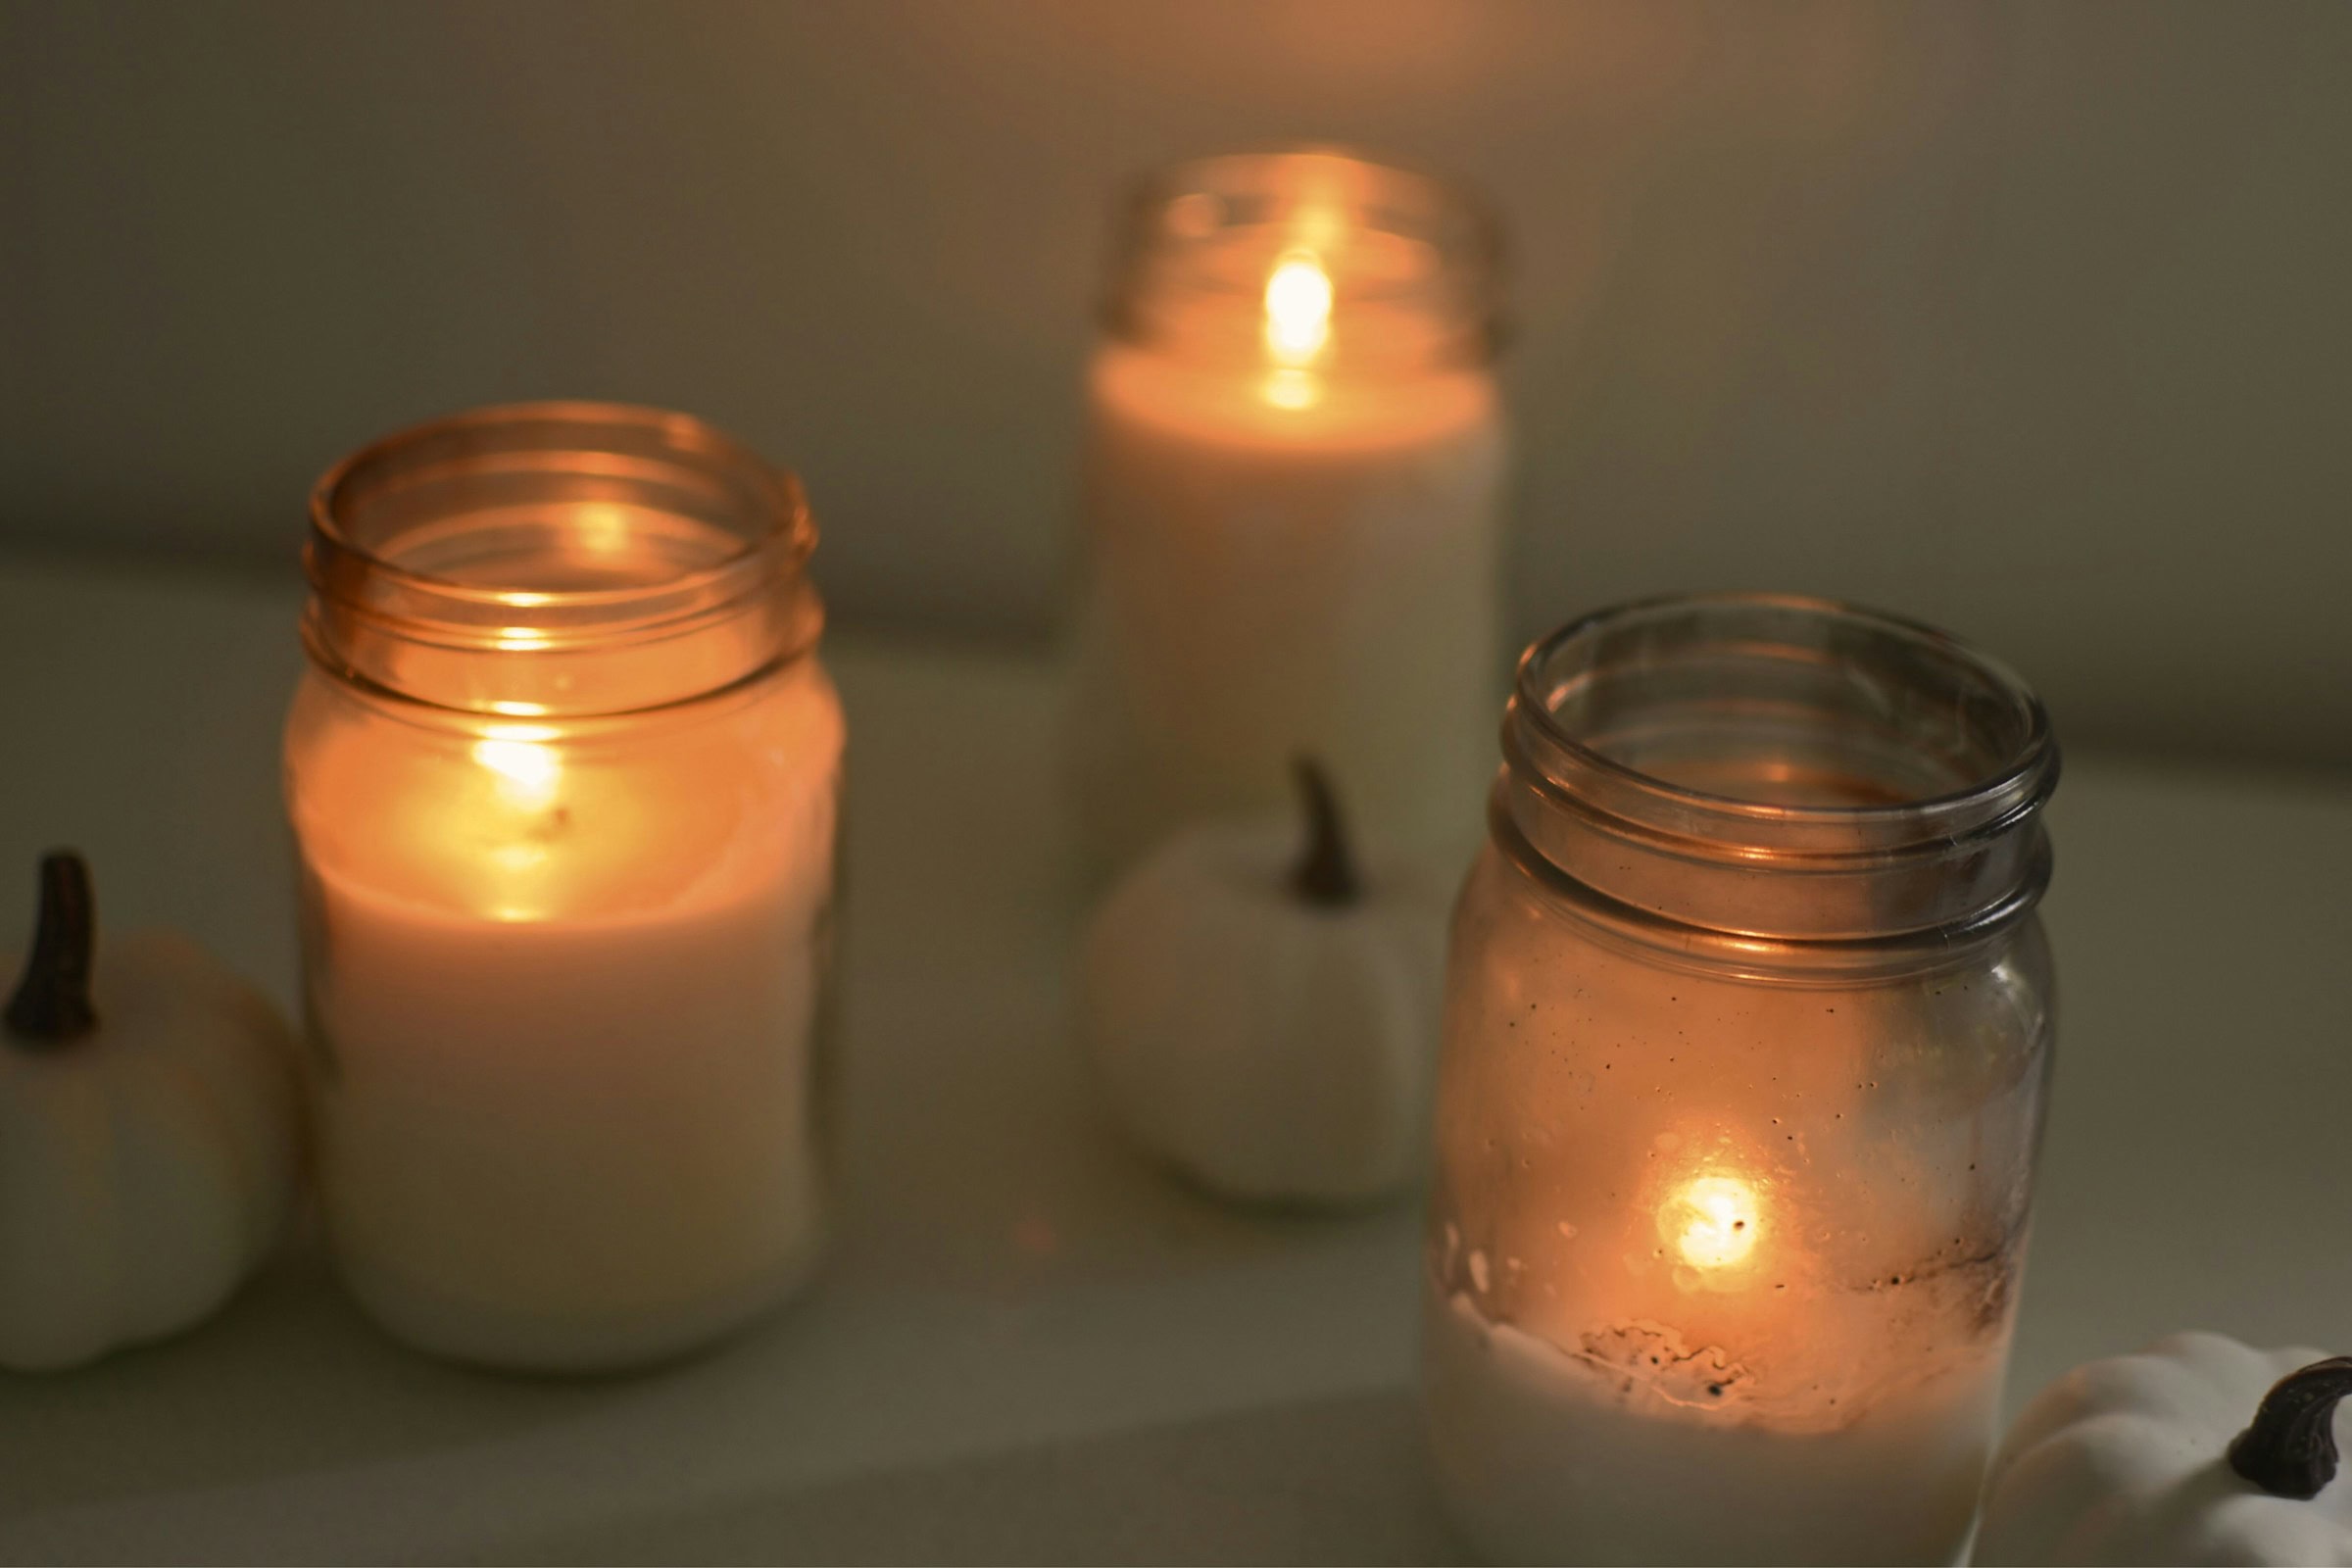
About $5, a 2-hour dry time, roughly 3 hours start to finish, and a jar that glows like frosted glass from a gift shop.
Start with Dollar Tree’s 16-ounce glass canning jar, $1.50 with the lid. Amy of Mod Podge Rocks does the rest with two things you might already have on a shelf: Mod Podge and Epsom salt.
- Brush a medium layer of Mod Podge over the outside. She used Satin, but says “any formula really” works.
- Pour Epsom salt onto a plate and roll the jar through it.
- Let it dry about 2 hours.
She puts the total at $5. If the Mod Podge and the salt are already in your cupboard, the jars are the only new money you spend.
The salt catches light the way real frosted glass does, uneven and sparkly instead of flat. Drop in a flameless tea light, and it can sit on a windowsill next to the curtains all season. Three of them down the middle of a table look like you ordered them from a catalog.
#14 A Dollar Tree ornament wreath, counted out

How many ornaments does it really take? About 99.
Every roundup shows the finished photo. Mother Thyme actually counted. Her 14-inch wreath used seven 12-count packs and one 15-count pack of ball ornaments. She hot-glued them to a Dollar Tree wire wreath form wrapped in Dollar Tree mesh.
Her order of work:
- Pull the hooks off every ornament.
- Glue each one at the top, where the hook was.
- Save the smallest balls for last and push them into the gaps.
- Tuck in a few berry picks.
She spent about $10 in 2021. At today’s prices, with the wire form at $1.25 and the ornament packs and mesh estimated at about $1.50 each, plan on roughly $14.75 before picks and glue sticks. That’s about half again what it used to be.
Count your packs at the register. Going back in December for the eighth pack is how a wreath ends up half-done in the closet.
#13 Last year’s wreath, woven back to life

Somewhere there’s last year’s wreath, a little flat on the side that faced the door. You don’t have to start over.
Kathryn Snearly of Do It On A Dime has made budget decor videos on YouTube since 2011 and appears regularly on Good Morning America. When she talks about pulling greens out of old wreaths, she quotes the grandmother who taught her: “use it up, wear it out, make it do or do without.”
The method that lets you do that comes from Yvonne Pratt at StoneGable. Weave, don’t glue. Push new greens and picks into the old base instead of gluing them in. Weaving, she says, will “save both the greens and the wreath for future use.”
Glue locks a wreath into one year’s look. Woven stems come out in January, go into a bag, and come back in a new combination next December.
#12 Glitter that stays off the carpet
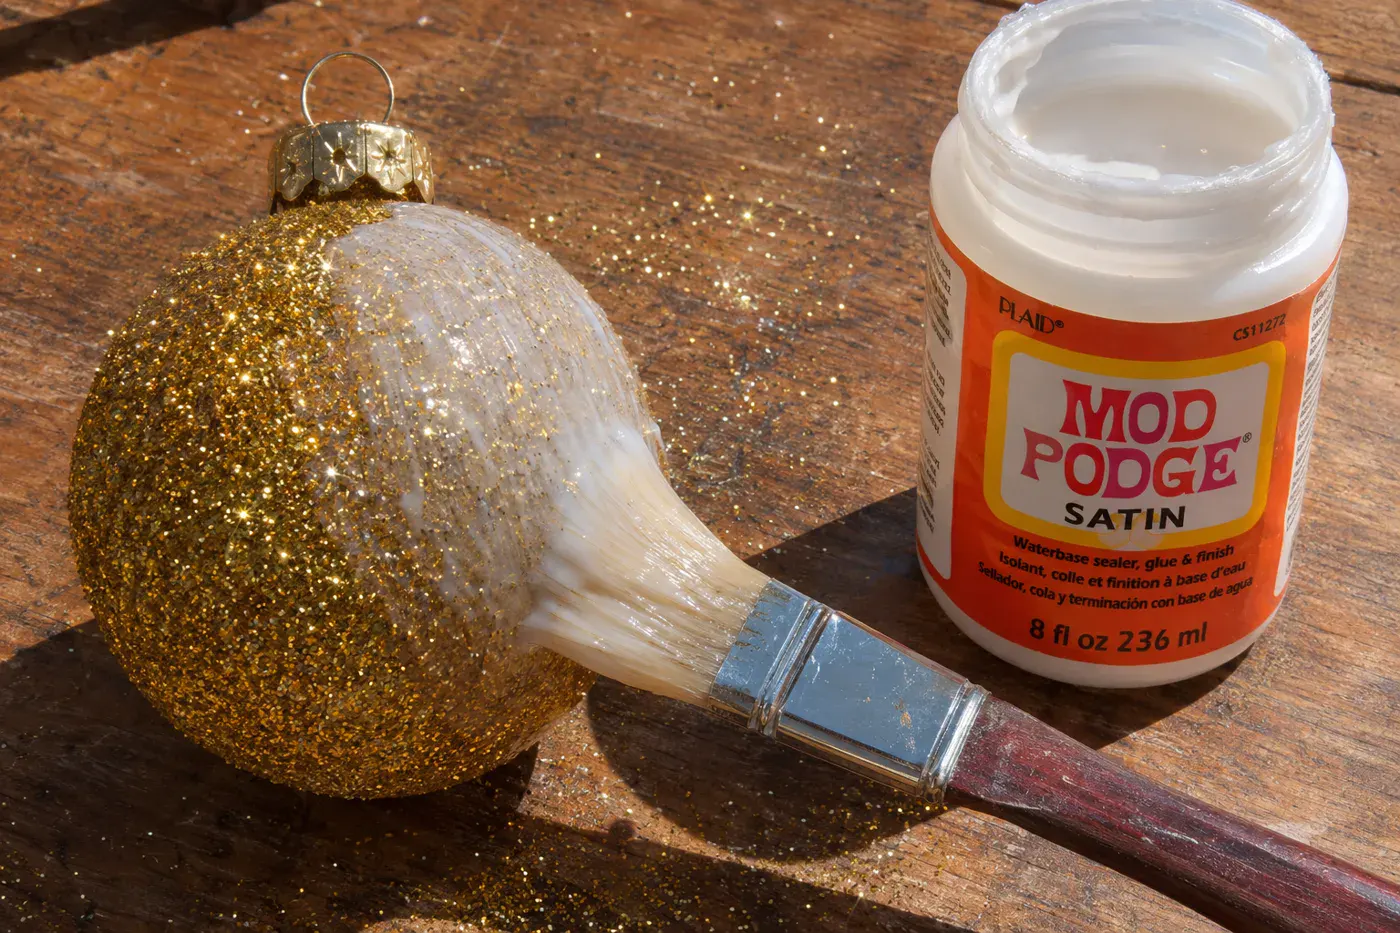
Glitter is the tell. A piece looks fine on the mantel in December. Then it shows up in February, on the carpet, the cat and the sofa cushions, and everyone knows it came from a bin.
The fix is one more step after the glitter dries. Amy of Mod Podge Rocks says to “apply two more coats of Mod Podge over top of the glitter to seal it down so it does not shed,” in Satin or Gloss. If you’d rather spray, Krylon’s Glitter Blast Clear Sealer is sold to do the same job. Krylon says it “prevents glitter from flaking.”
Either one works. The brush-on way uses a jar you probably already own.
For store-bought pieces that are already shedding in the aisle, Penny Pinchin’ Mom’s advice is shorter: skip “anything with glitter that sheds everywhere.” If it’s coming off on your hand in the store, put it back.
#11 White spray paint for a flocked tree
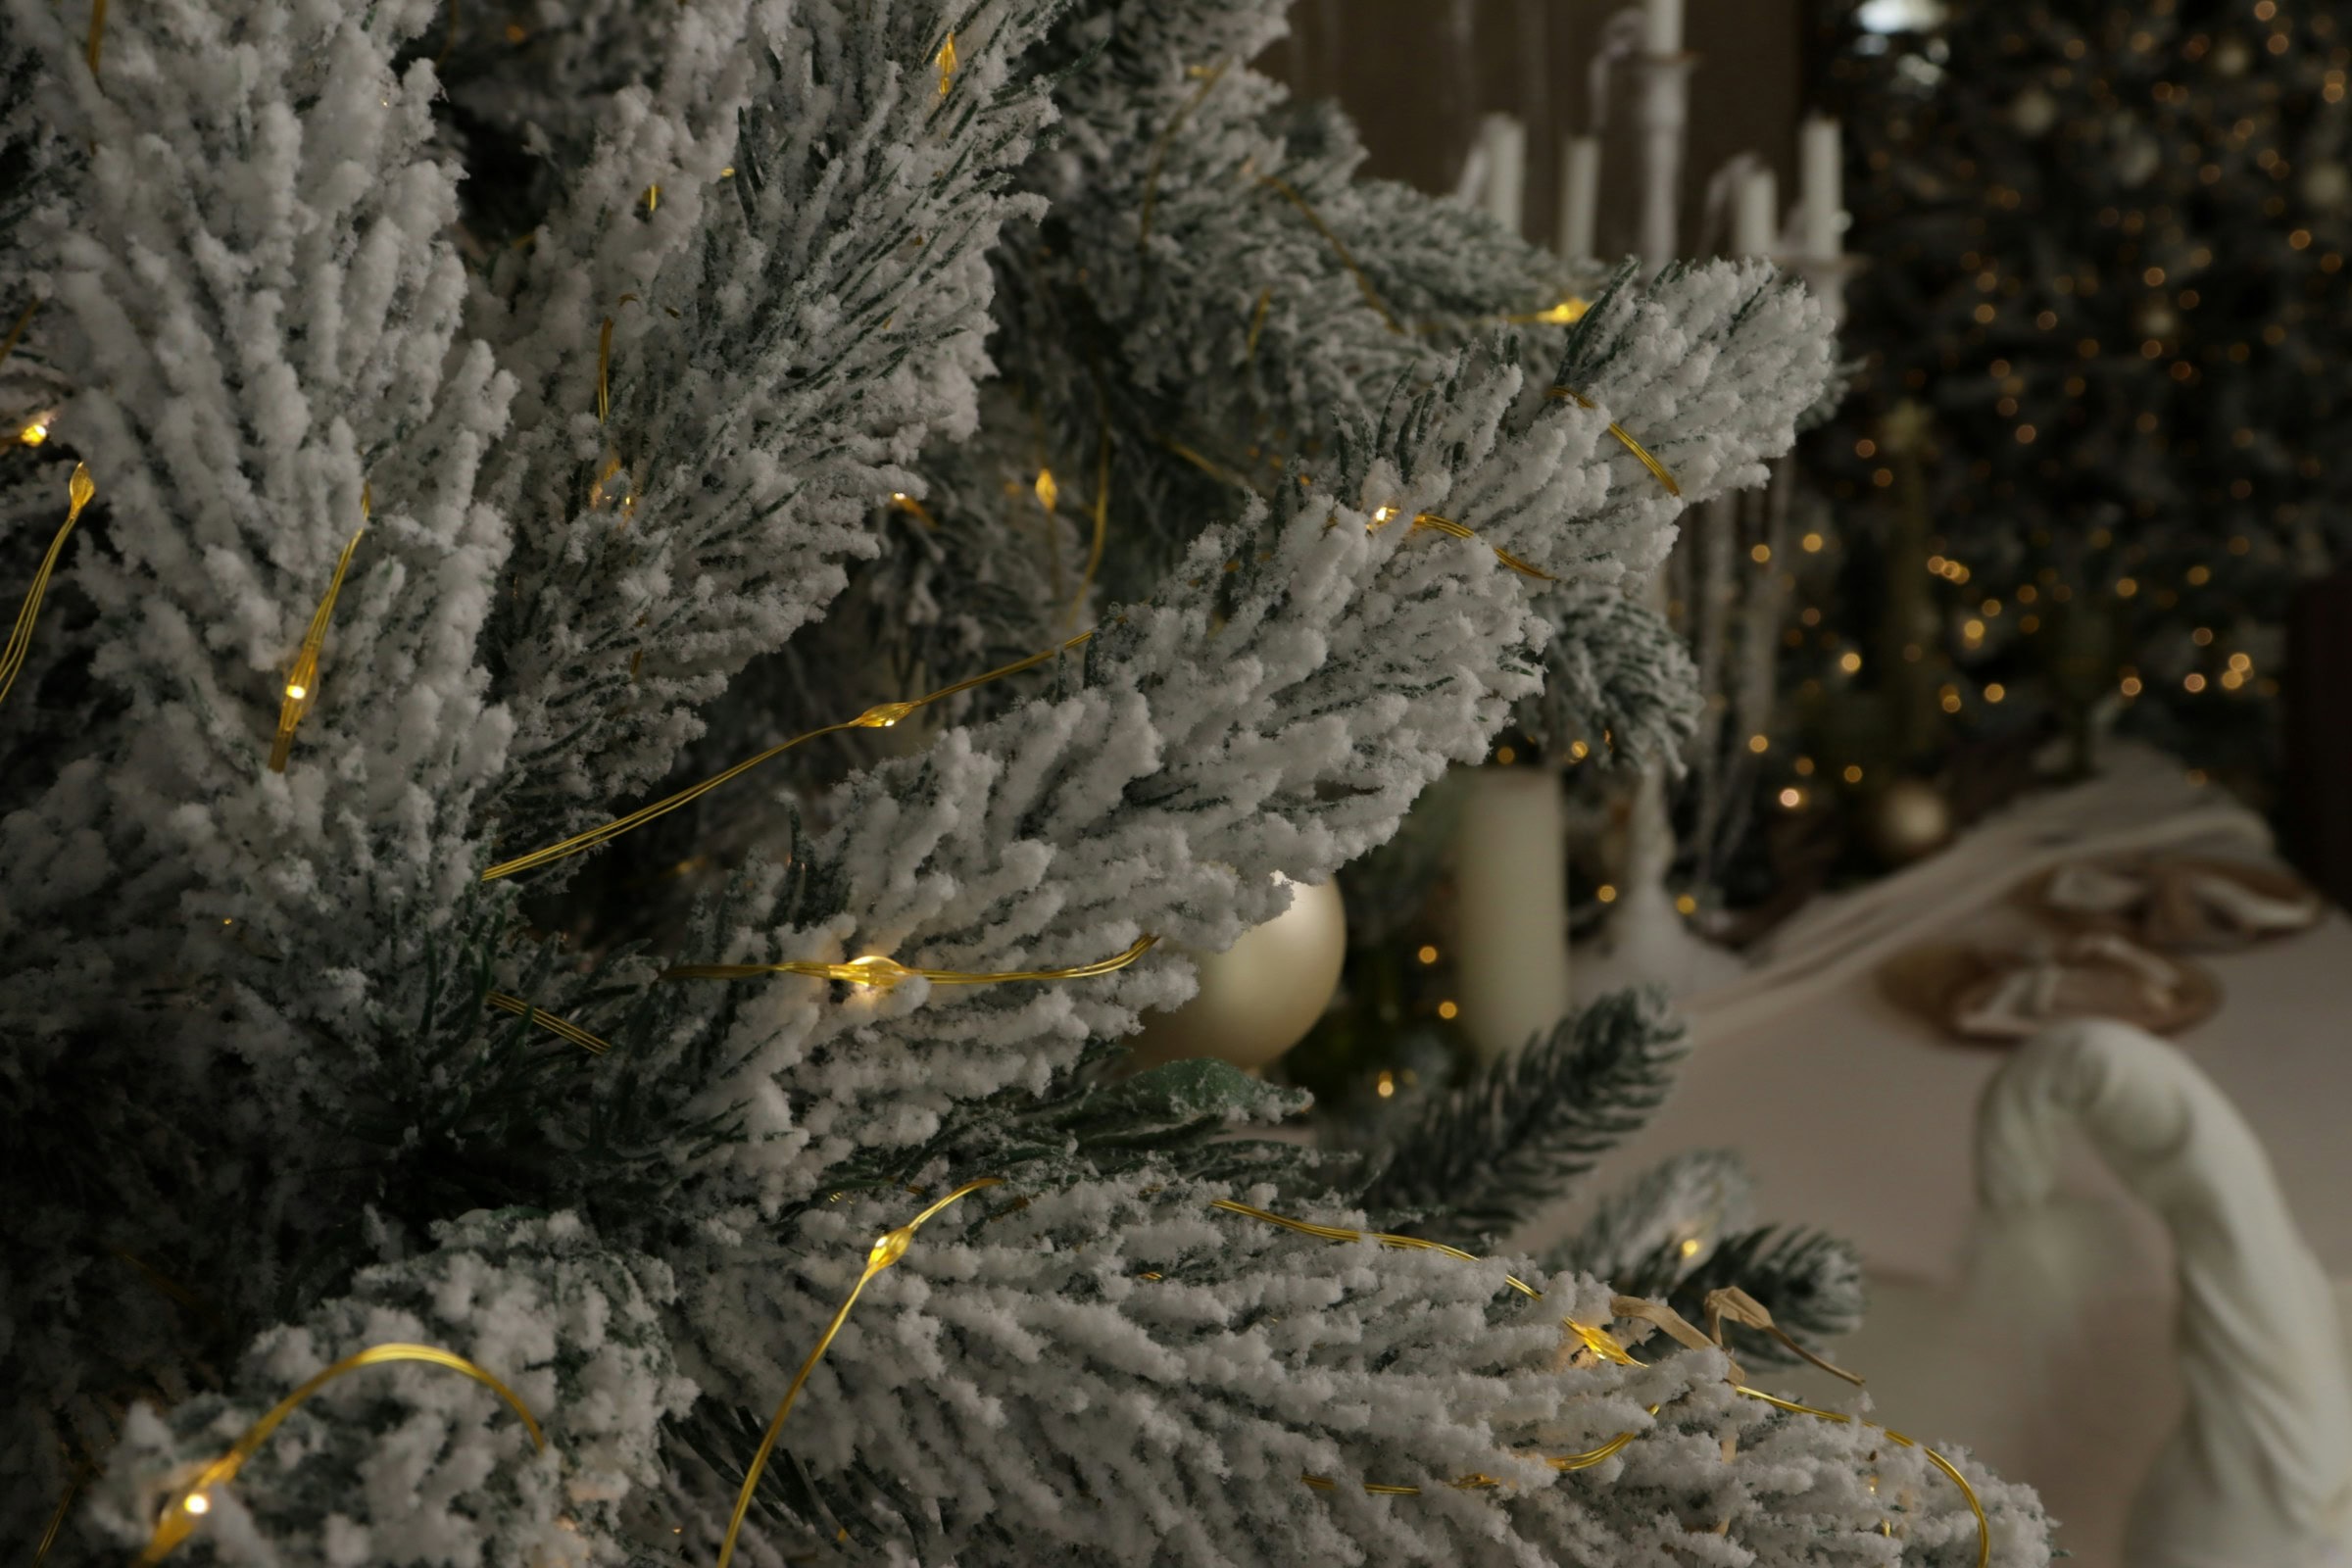
A flocked tree in a nice shop has that soft, just-snowed look. A cheap can of white spray paint gets you most of the way there.
Layne of Crafty Life Mom started with “one of those very thin, tabletop Dollar Tree Christmas trees,” added about 8 garland ties to fill it out, then misted white spray paint across the tips.
Her one warning is the whole technique: “Just don’t go too overboard or you might end up with a completely white tree.” Hold the can well back and stop sooner than feels right. You want the tips caught by snow, with green still showing underneath.
Her total was $5 back when everything in the store was a dollar. The tree alone is $1.75 now. It’s still the cheapest way to get the flocked look.
#10 Clear ornaments swirled with matte paint
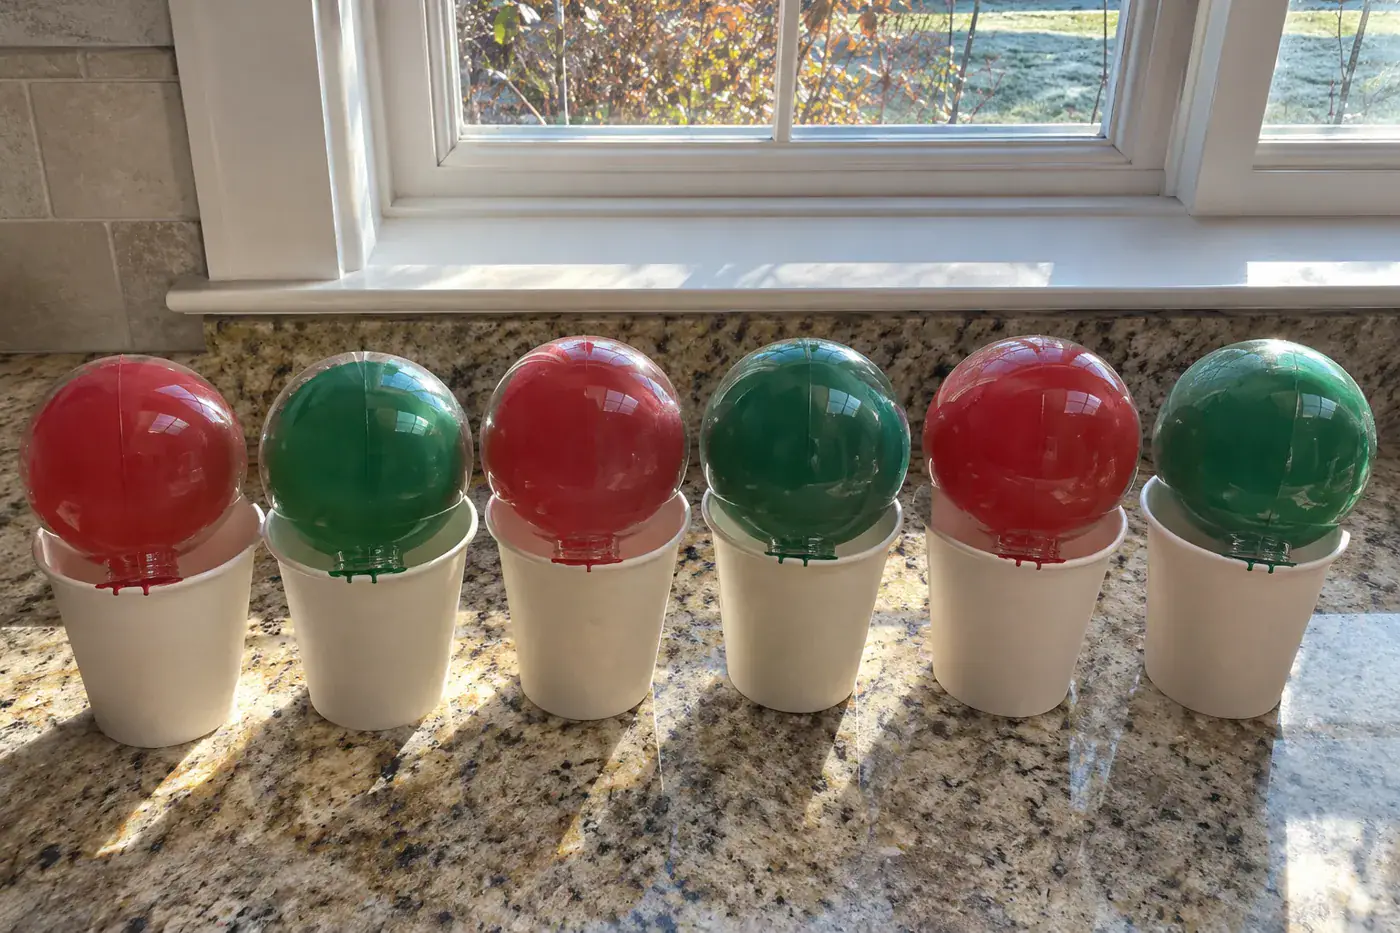
Clear plastic ornaments look like plastic. Fill them with the right paint and they look like solid painted ceramic from across the room.
Sierra Bush of Homemaker and Happy uses about a tablespoon of paint per ornament. Pour it in, then turn the ornament slowly until the inside is coated.
The step that keeps it from pooling at the bottom: set it upside down in a paper cup so the extra drains out. Then wait at least 24 hours before the cap goes back on.
Pick acrylic over enamel. Acrylic dries matte, and matte is what reads as ceramic, the same rule as the village in #16. Katelyn of KraftsbyKatelyn, who makes dollar-store craft makeover videos, explains why acrylic swirls better: “I like to use acrylic because it is a lot thinner than the chalk paint, so it’s going to move around the ornament.”
Plan for a row of paper cups on the counter for a full day. Don’t do these the night before the tree goes up.
#9 A pie pan that passes for enamelware

If you remember a white enamel dishpan with a black rim and a chip or two near the edge, you already know what this is supposed to look like. The trick is getting it to look old instead of new.
Aimee of The Crazy Craft Lady gives a Dollar Tree pie pan a couple of coats of white chalk paint, then black paint on the rim. Here’s the part most people get wrong. They paint the rim neatly, and it looks like a craft project.
Her rule is the opposite: “rougher lines that vary in thickness will make this craft look more like authentic enamelware.” She’s even plainer about it in her video: “The key is imperfection here, right? You want them to be bumpy, you want them to be jagged.”
Finish with a few small black patches on the sides, where real pans got knocked and chipped. Hang it on the kitchen wall with a sprig of greenery or a little painted scene in the middle.
#8 Glass paint baked onto mugs and vases
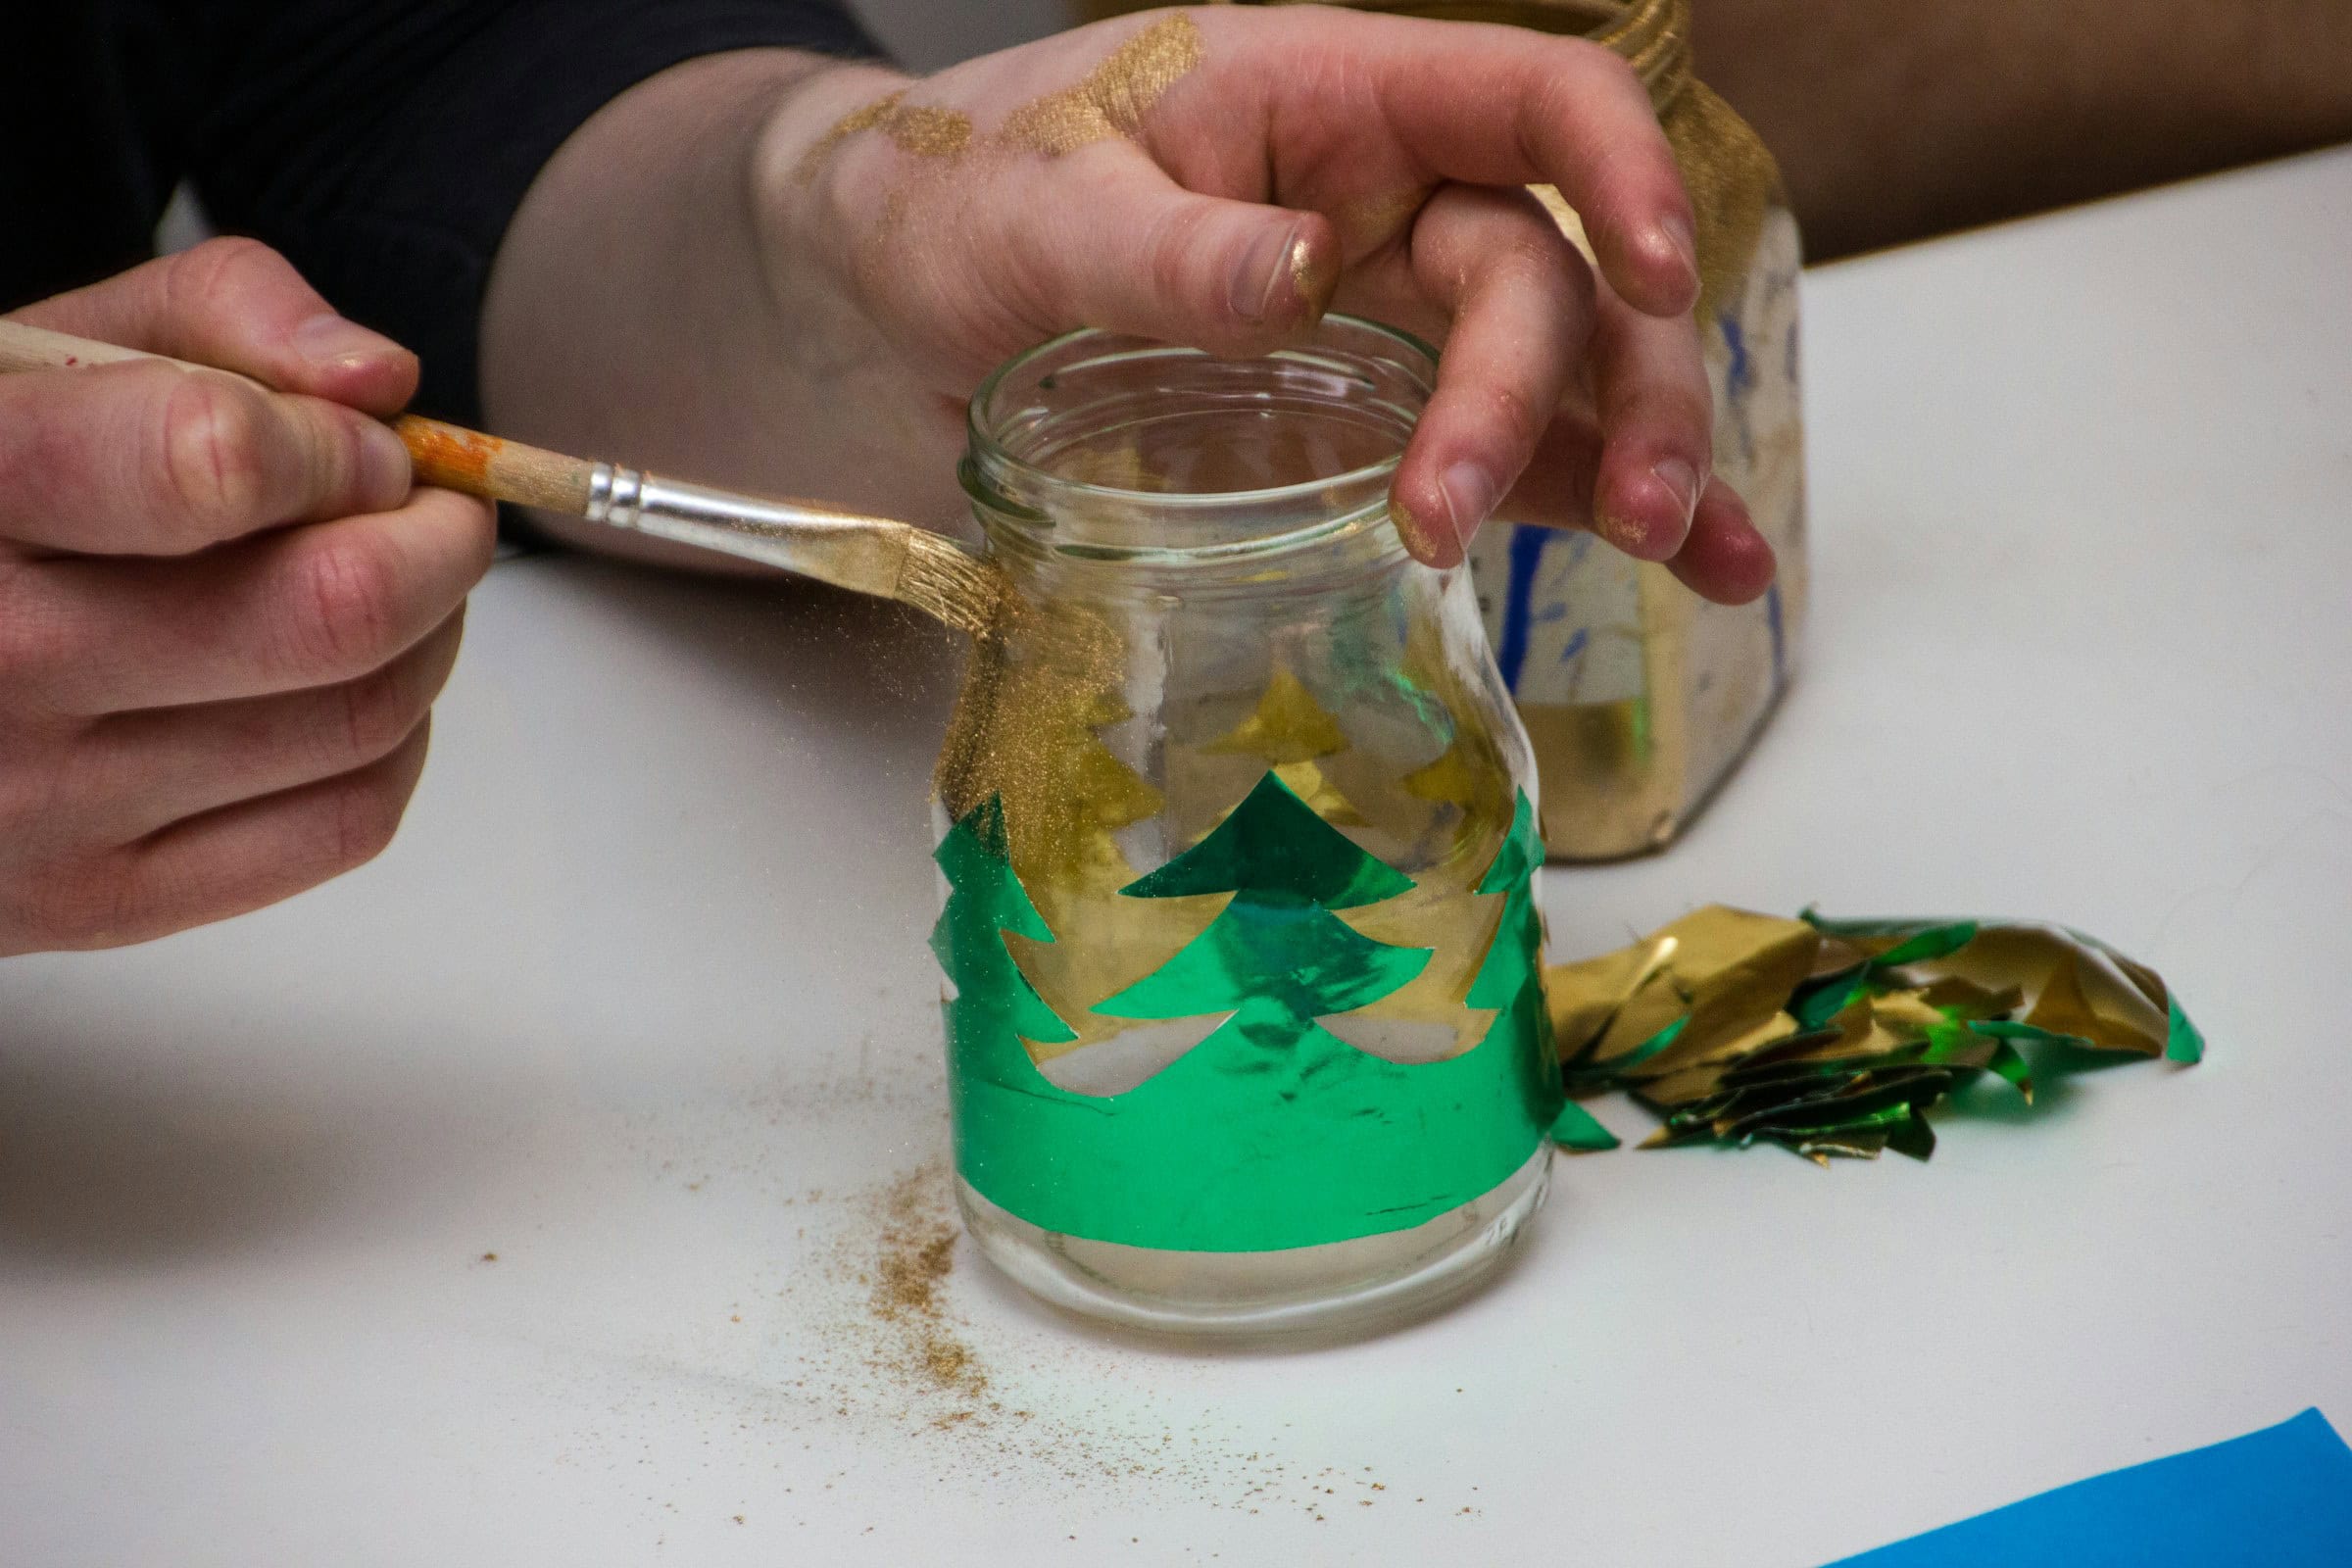
Before you paint a dollar-store mug, ask one question: will it get washed? If it will, regular craft paint isn’t the paint for it.
DecoArt makes a glass paint for glass and glazed ceramic, $3.62 for 2 ounces. It only becomes dishwasher-safe if you follow the whole cure, and DecoArt says to bake it on oven-safe glass only:
- Let the paint dry 4 days.
- Put the piece in a cool oven, then heat it to 275°F.
- Bake 30 minutes.
- Turn the oven off and let it cool inside.
Even baked, DecoArt says the paint is “Not for direct contact with food.” So keep it off the inside and the rim, and paint the outside only below where your mouth goes.
The timing is the real catch. Four days of drying plus the bake means a mug for a gift has to be painted at least 4 days before you hand it over.
If you’d rather use chalk paint you already own, FolkArt’s Home Decor Chalk is about $2 a bottle. Save it for a vase that holds dried stems, and treat anything unbaked as hand-wash only.
#7 An old frame, sheet music and dark wax

A shiny brass frame from the thrift store or the dollar store looks like exactly what it is. Rub it with dark wax and it looks like something you found at an estate sale.
That’s how MaryJo Materazo of Master”Pieces” of my Life gets an antique finish. She puts dark wax on the frame instead of leaving it brass-bright, and the wax settles into the carved grooves the way decades of dust would.
Inside, she uses vintage sheet music from the thrift store, backed with chipboard and held with packing tape on the back. A velvet ribbon becomes the hanger. Small frames work well as ornaments.
Her own line for the whole approach: “Use high end pieces to inspire and recreate the look you are going for at a fraction of the cost.”
#6 Stacked candlesticks on a gold pedestal
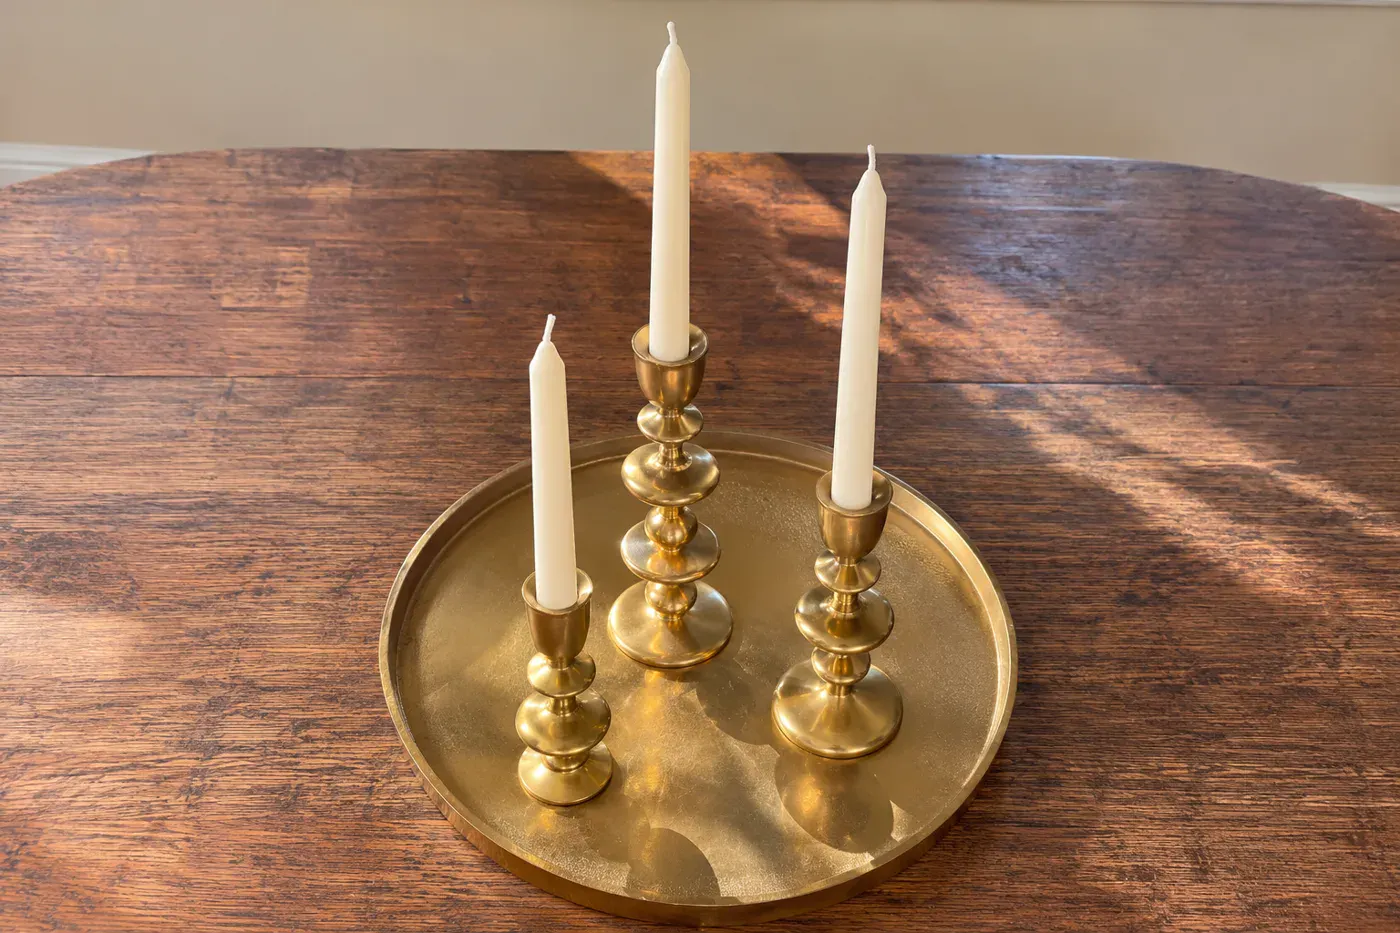
If you’ve been hunting the shop-bought candlestick look for less, this is the plainest version of it.
Simple Made Pretty stacked Dollar Tree tea light holders into tall pedestals with E6000, a clear industrial glue, then sprayed them gold. The set came to about $6. The store-bought sets she compared them with start at $40, so hers cost about a seventh as much.
The clever part is how the candle stays put. She uses what she calls “an old-fashioned trick to get taper candles to fit any candle holder”: crumple a bit of aluminum foil into the cup and press the candle down into it until it stands straight.
Gold spray paint on stacked metal hides the seams that give a cheap holder away. Three heights grouped on a tray, and you’re done.
#5 A decoupaged pizza pan or metal tray
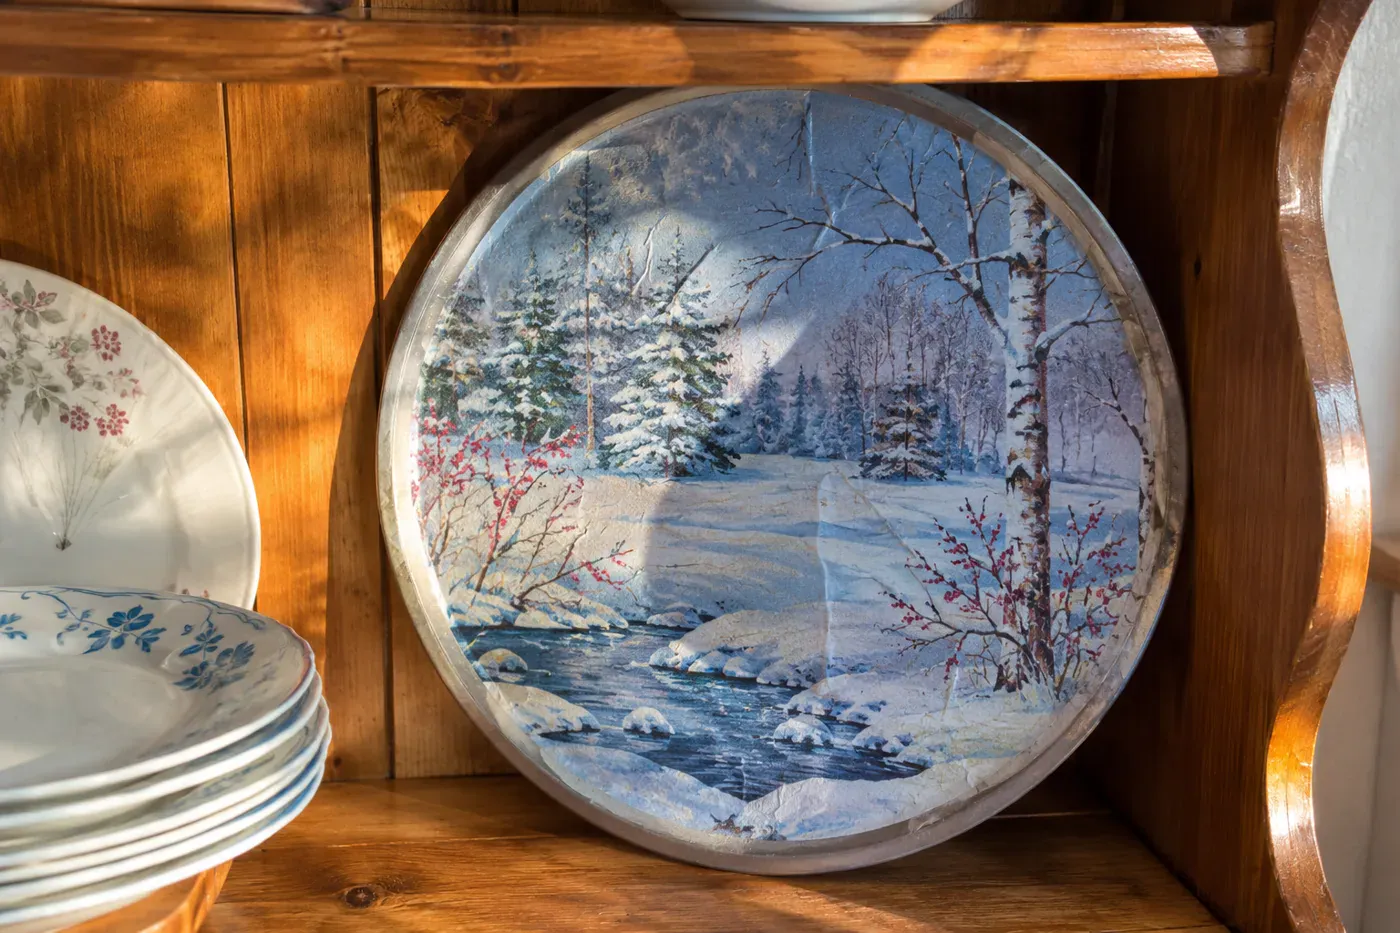
Amber Strong of The Makers Map decoupaged a Christmas scene onto a dollar-store pizza pan, and it “went VIRAL!” on Facebook. Her harder lesson came on a different piece.
On a metal tray, she added a little wooden truck, glued on with the hot glue gun everyone reaches for first. In her words: “the hot glue was not strong enough! I had to use some E6000 glue to get a secure bond between the wood and metal.”
That’s where dollar store Christmas decor DIY often fails: at the glue. Decoupage the paper onto the metal. Anything with weight, like wood, a bow or a bell, gets E6000.
What sticks where – Wood to metal: hot glue lets go, E6000 holds – Wood to wood blocks: E6000, cured at least 4 hours or overnight – Plastic to plastic: E6000 grips better, and it cures in 24 hours – Anything food touches: skip E6000, because its maker says it’s not meant for food contact
#4 Tumbling tower blocks painted into JOY

Those wooden tumbling tower blocks are raw, cheap wood. Paint and glue them right and they turn into a JOY sign that looks hand-carved.
Autumn Baldwin of It’s Always Autumn used Walmart’s Jumbling Tower set for her block crafts. She found that raw wood drinks paint. It needs “3-4 light coats of spray paint,” with 10 to 15 minutes between coats.
Then the glue, which she’s blunt about. Hot glue “does not create a lasting bond on wood. E6000 will.” Let it cure at least 4 hours, or overnight.
Stand three blocks on end, paint a letter on each, and glue them side by side. Overnight is the honest answer. Set them up after supper and leave them alone until morning.
#3 A tiered treat stand from plates and candlesticks

A tiered stand for cookies or petits fours is one of those things you admire in a nice shop every December and never buy. Anthropologie’s run $40 to $50, according to Penny Pinchin’ Mom. Hers took “$5 worth of Dollar Tree candlesticks” and plates. Dollar Tree’s 10.5-inch clear glass dinner plates are $1.50 each.
The usual glue for this is E6000. The catch nobody mentions: its maker, Eclectic Products, says it’s “Not recommended for any items that come into contact with food.” Glue only on the underside, where a plate meets the candlestick below it, and keep the top of every plate clean.
Let it cure at least 24 hours before it carries anything. Then set the cookies on a paper doily, and the stand can come out every Christmas.
#2 Homemade cookies or jam in a dressed jar
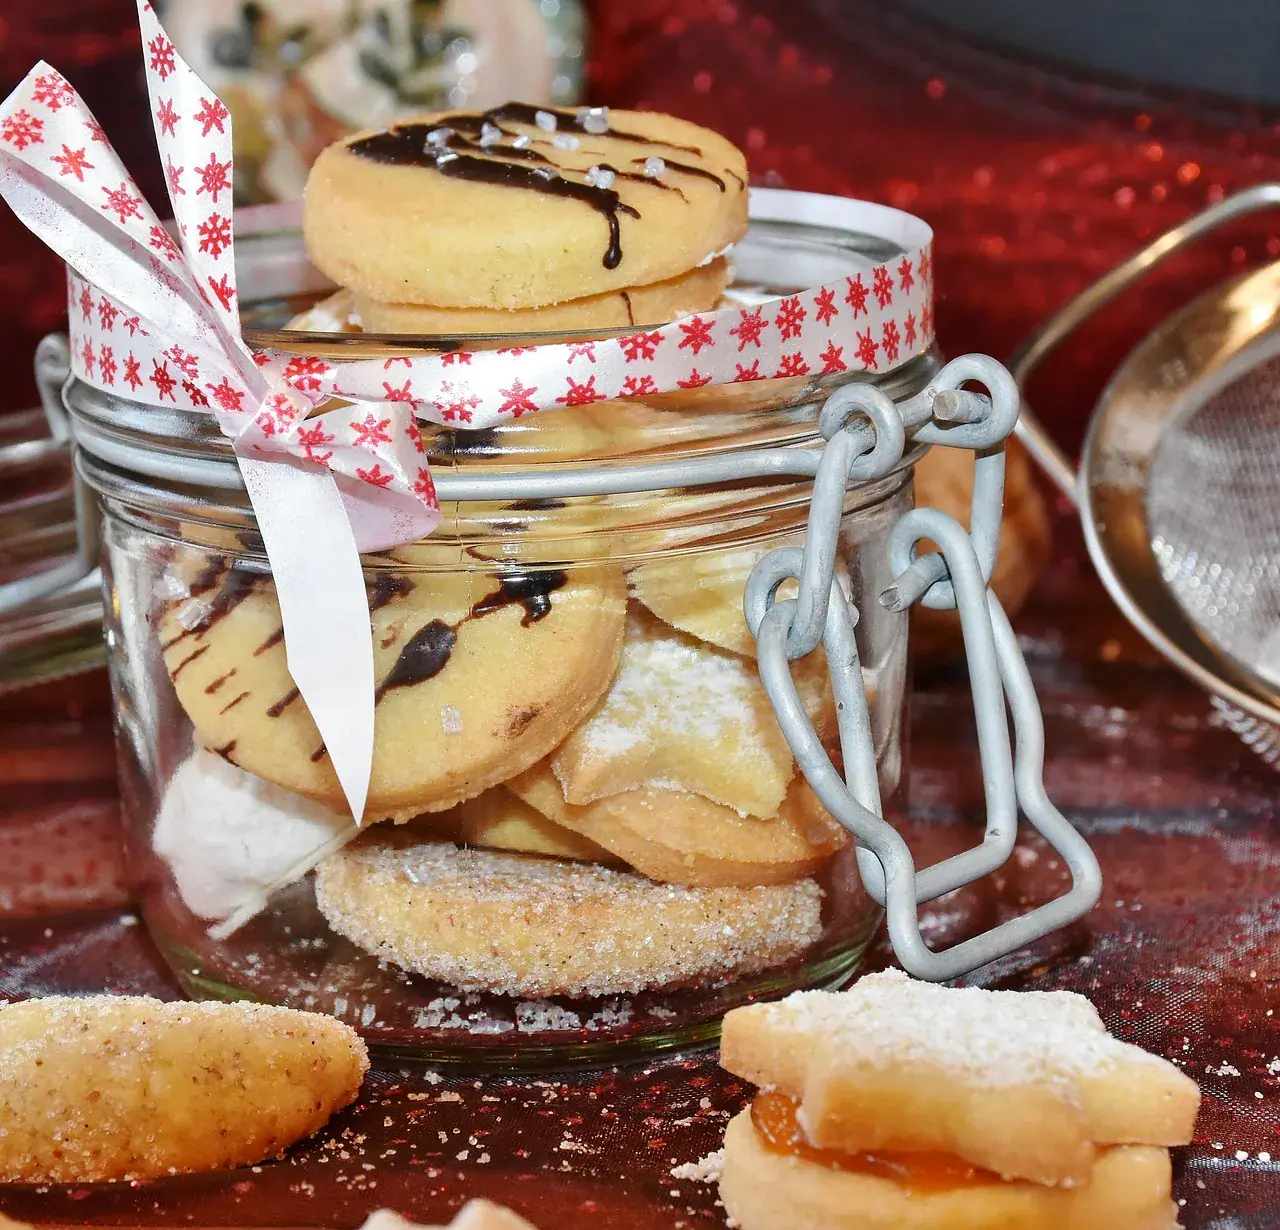
Some gift recipients say they don’t want handmade things they have no place for, and would rather get food.
So give the thing that disappears. Fill Dollar Tree’s $1.50 canning jar with cookies, a cookie mix or jam. Mississippi State University Extension advises that “for shelf-stable gifts like cookies and jams, store them in properly sealed airtight containers,” and to put the ingredients on the label. Their reason is simple: “Always check for any food allergies or dietary restrictions before gifting treats.”
Dress the jar the way a nice shop would. Cut a circle of Christmas fabric from your scrap bin, set it under the ring, and tie on a velvet ribbon. Write the label by hand.
The cookies are gone by New Year’s, and nobody has to find a shelf for them. The jar ends up in a cupboard for years.
#1 The oversized sleigh bell made from two bowls

Two plastic mixing bowls from Dollar Tree, glued rim to rim and painted gold, become a big sleigh bell. It looks like it came off a horse-drawn sleigh in an antique shop. Of everything here, this is the one that makes people pick it up and turn it over.
Kim West of A Girl and a Glue Gun starts with “2 plastic bowls in the same size.” Matching matters: two bowls that are almost the same size leave a lip, and the lip is what gives it away.
The glue is what makes it last. “I like to use E6000 glue because it adheres to plastic a little better than hot glue,” she says. It “needs about 24 hours to cure.” A little hot glue holds the hanging handle in place while the E6000 sets, so nothing slides overnight.
Paint is where most bells go wrong. A heavy coat of gold runs and drips on curved plastic. She sprays “several light coats instead of one heavy coat,” and lets each one dry. Thin coats build up into the deep, even gold of real brass.
The slot and the round holes that make it read as a bell are black vinyl cutouts pressed onto the gold. Cut them by hand or on a cutting machine if you have one.
The glue, at least, won’t mind the front door. Cured E6000 is rated from -40°F to 180°F.
The bottom line
Ordinary store-bought decor isn’t what got expensive. Measured against everything else you buy, household decorative items, lamps and clocks cost an estimated 32% less in 2025 than in 2016, worked out from the government’s price indexes. What costs money is the look: the matte finish, the weight, the soft wear of something old. That’s the part you can make.
Before the next trip down the seasonal aisle, open the closet. Last year’s wreath, the bag of batting scraps, the shoebox of cards, the frames you never hung. Which one is a single evening away from looking bought?
Then buy one tube of E6000 before anything else. Five of the seventeen projects lean on it. It’s what you want holding when you unpack them in 2031.
Bonus: Five small habits that keep a piece looking bought
- Glue somewhere warm with the air moving. E6000’s maker says to apply it between 50 and 90°F and only in a well-ventilated area, so pick a warm room with a window cracked, not a cold garage bench in December.
- Weight anything tall that goes on the porch. Interior designer Rebekah Dempsey puts “sand, bricks, or gravel inside pots to weigh them down,” because “Wind is a real threat to taller arrangements.”
- Don’t pass up a dollar-store sign box just because you hate the front. Amber Strong turns them around: “I can flip them around and decoupage or paint the inside and it gives it a shadow-box look!”
- Have a better story ready when someone says bottle brush trees came from a toilet brush company. Chris Cascio, a curator at Hagley Museum and Library, found no record that the American Addis company in the legend made bristle Christmas trees in the 1930s. A separate, British Addis company later made trees, but from tinsel, not bristles. He also found that by the mid-1970s, Spiegel’s machines turned out 800,000 trees a year.
- Before you pack anything away, write the year and the paint color on the underside. When a chip shows up three Christmases from now, you’ll know exactly what to touch it up with.
Questions people also ask
How much do Dollar Tree Christmas crafts really cost once you count supplies?
Most of these projects run about $3.50 to an estimated $14.75 in total, and more if you have to buy the paint or glue new. Dollar Tree told The Krazy Coupon Lady it hasn’t raised prices on existing $1.25 items but has added higher price points. In practice, that means $1.25 for basics like candlesticks and $1.50 to $1.75 for most Christmas decor. Frosted mason jar luminaries come to about $5 once the Mod Podge and Epsom salt are counted, as Mod Podge Rocks figures it.
What paint sticks to glass and plastic from the dollar store?
For glass that will be washed, use a glass paint made for the job, like DecoArt Glass Paint, dried 4 days and baked at 275°F for 30 minutes on oven-safe glass only. Even then, it’s not for direct contact with food. Inside clear plastic ornaments, plain acrylic swirls well and dries matte, as long as you wait at least 24 hours before capping. On the outside of plastic bowls, several light coats of spray paint go on better than one heavy one.
How do you keep glitter from coming off ornaments?
Brush two more coats of Mod Podge, Satin or Gloss, over the dried glitter, or spray it with a clear glitter sealer. Krylon says its Glitter Blast Clear Sealer prevents glitter from flaking. The brush-on route uses a supply many crafters already own.
What glue holds wood to metal?
E6000 holds wood to metal. Hot glue often lets go: Amber Strong of The Makers Map found it “was not strong enough” for a wooden truck on a metal tray. E6000’s maker says it cures in 24 hours, and full strength can take 48 to 72 hours, so don’t hang the piece the same day.
When does Dollar Tree put out Christmas decorations?
Dollar Tree doesn’t publish a date. Budget blogger Penny Pinchin’ Mom reports the seasonal reset in early to mid October, with the good pieces gone within about two weeks. She also says seasonal stock isn’t restocked the way regular items are, so if you see it, buy it.
What can I use if my Dollar Tree doesn’t have the item shown?
Walmart sells its own Jumbling Tower blocks, which work for the block projects. A thrift-store frame does the job of a craft frame, and leftover quilt batting makes good village snow. If a taper candle won’t fit a holder, crumpled foil in the cup will wedge it straight.


