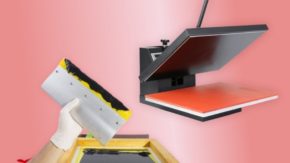
Heat press machines are incredibly easy to use and a great way to add custom graphics to almost any material. Unfortunately, understanding the different temperature settings necessary to transfer your design onto a specific type of material can be quite tricky. I’ve put together this heat press temperature guide for different types of transfer vinyl to help simplify the process!
Getting Started
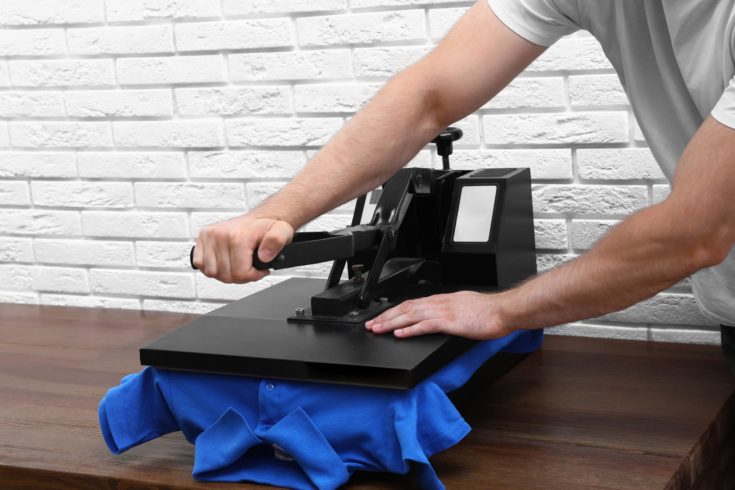
Heat pressing vinyl might seem straightforward, but it actually requires a great deal of advance planning. There are three main considerations to keep in mind when beginning any heat press project. You want to be sure that you employ the right temperature settings, time, and pressure guidelines for both the base material and specific type of transfer vinyl you’re using.
Another important thing to consider is when to peel the plastic liner off your newly transferred designs. The timing of this step can have a big impact on the overall quality and vividness of your final product. Some materials require you to peel off the plastic coating while the fabric is still hot, while others work better after they have fully cooled.
Use this guide as a helpful reference the next time you’re starting a new heat press project or need tips on what settings to use on your machine.
Pressure Settings
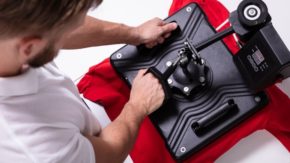
When you’re new to heat pressing, the idea of changing the pressure settings on your machine can seem quite daunting. Luckily, there’s an easy paper test that can help simplify the process.
First, you will need to calibrate your heat press to medium-high pressure, which serves as the standard setting for the majority of projects. Take a piece of printer paper and place the top two inches at the front of the press, with the rest of the page sticking out. Close and lock the lid of the heat press.
Next, pull gently on the piece of paper. Tighten the pressure settings for the machine until the paper no longer moves when you pull on it. Repeat this printer paper test on the right and left sides of the machine until all three sides hold the paper in place evenly.
You’ve now calibrated the machine for medium-heavy pressure. Now when you have to adjust the pressure settings for specific projects, simply lower the pressure slightly for light pressure and increase it slightly for heavy pressure.
Temperature Guide for Base Materials
The temperature of your heat press depends on the unique properties of the base material you want to transfer a design onto. These settings will vary according to the type of fabric, the color of the material, as well as the overall aesthetic you are trying to achieve.
Here are a few temperature recommendations for the most common types of materials.
Polyester
Polyester is a synthetic material commonly classified as a thermoplastic. Thermoplastics are a special group of plastic materials that take on malleable, liquid forms at high temperatures, and solidify when cooled. When transferring onto polyester material, it is incredibly important to work with the lowest temperature possible to avoid accidentally destroying the fabric.
Set your machine to a temperature of around 275F. Some polyester fabric is especially sensitive to heat and may melt or display scorch marks at temperatures as low as 280F. If you can, test a small swatch of the fabric before transferring your design, and do not use the heat press for more than 10 seconds at a time on medium pressure.
Always remove the plastic covering while your design is still hot. If you allow the polyester to cool before peeling away the transfer plastic, then the vinyl will begin to solidify and your design will end up looking patchy.
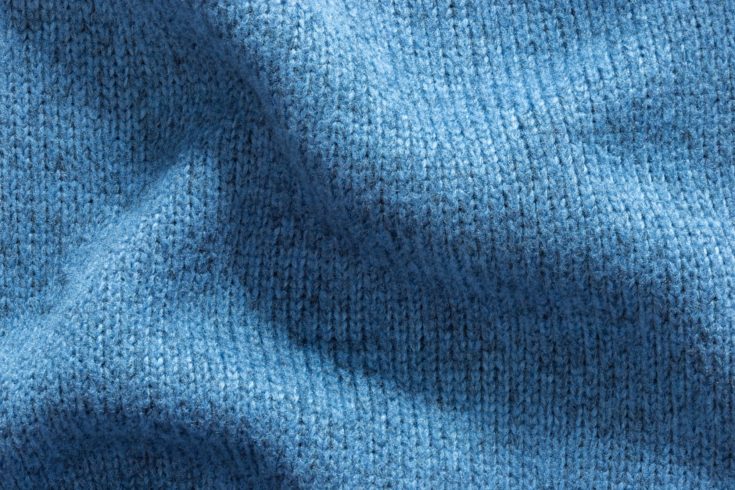
Cotton
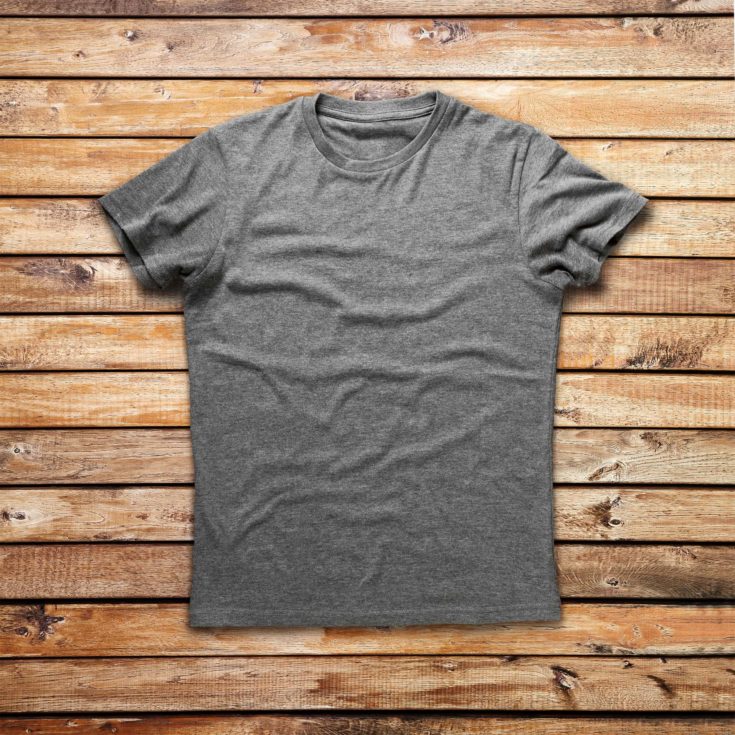
Cotton is a more durable material than polyester and thus requires higher temperature settings. However, specific temperature guidelines can vary depending on the type of cotton that is being used.
On average, keep your temperature at around 380-400F and apply heat with medium pressure for about 15 seconds. For t-shirts and garments made of very dark or very light cotton, increase the amount of time slightly. Vinyl does not show up as well on white and black cotton, so you should apply heat for anywhere between 25-35 seconds in order to ensure the design is fully visible.
Stretch Material
Stretchy fabrics like spandex or Lycra can be tricky to work with. However, if you’ve ever wanted to apply a graphic image to a cute bathing suit or gymnastics leotard, then you need to know the right temperature settings to use on your heat-press.
For stretchy material, try setting your heat press to 330F. Apply heat for 12-15 seconds using medium pressure.
Only remove the plastic covering after the fabric has fully cooled. If you begin to peel off the transfer before the vinyl has had the chance to fully set, then the image will stretch and warp along with the material.
Ceramic or Porcelain
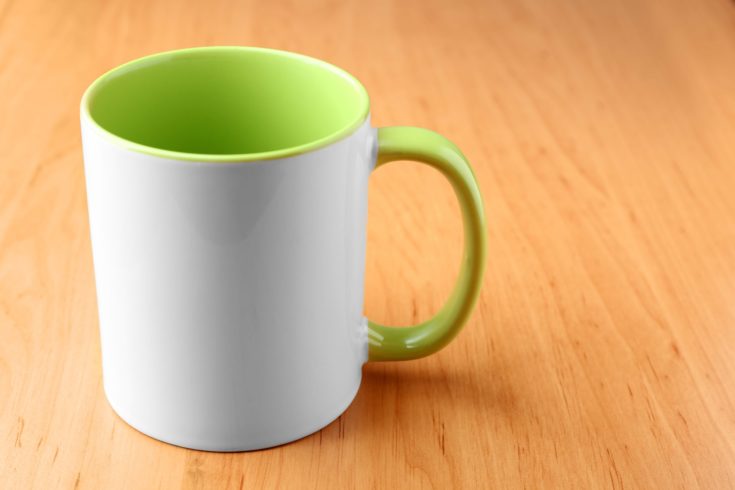
Most people don’t realize that heat transfer is not exclusive to apparel. You can also use heat transfer vinyl to add graphics and catchy slogans to mugs and other ceramic goods.
The key to working with ceramic or porcelain products is to use very high heat for a long period of time. On medium pressure, apply heat at 400F for anywhere between 200-250 seconds. Unlike polyester and lycra, ceramic can withstand temperatures as high as 5000F! So don’t be afraid to leave your mug in the press for a long time.
Burlap
Burlap has recently come back into fashion as a staple for rustic home decor. The key to applying heat transfer vinyl to this sturdy, woven fabric is a combination of high pressure and medium to high heat.
Try setting your machine to 300-330F and medium-high pressure. Continue pressing on the fabric for about 30 seconds. It’s difficult to burn burlap, but even if you do, it will only add to the cozy, pastoral aesthetic!
Vintage Aesthetic
Sometimes, you may actually be trying to achieve a faded, antique look for your project. This type of aesthetic works best on sturdier materials like cotton or burlap, which require higher temperatures to achieve vivid designs.
For a vintage t-shirt design, try setting your heat press to 350F for 10 seconds. The shorter time and lower heat setting will ensure the colors do not fully transfer and the finished product appears slightly faded.
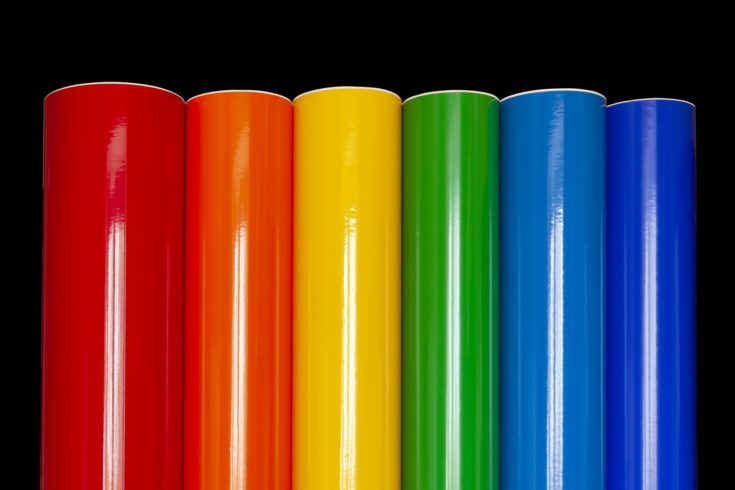
Temperature Guide for Different Types of Vinyl
Temperature and pressure are also highly dependent on the properties of your transfer material. Iron-on vinyl is available in a wide variety of finishes, which need to be heated at different temperatures in order to show up properly.
Here are a few examples of heat transfer vinyls you may choose:
Standard Iron-on Vinyl
Standard heat transfer vinyl is typically marketed as iron-on vinyl. This is because it does not require any special considerations and can be effectively applied with an ordinary iron. It usually comes in solid, matte colors and is widely available.
When working with this type of material, select a temperature in between 300-315F. Apply light to medium pressure for 10-15 seconds, and peel the plastic while warm.
The main consideration when working with standard vinyl is ensuring your design is properly placed on the garment. If you’re new to heat pressing, you may want to consult a heat press placement guide in order to make sure your design is symmetrical and aesthetically pleasing.
Glitter
Looking to add some sparkle to your wardrobe? Glitter vinyl is a great way to add texture and shine to basic t-shirts. It can also be applied to other materials like ceramics and glass to create interesting home pieces.
Set your machine to 300-350F. The thicker the glitter particles, the more heat you’ll need to use. Apply medium pressure for 15-30 seconds and remove the plastic after the garment has had a chance to cool down a little bit but is still warm to the touch.
Metallic or Foil
You can also use various foils and metallic vinyls in order to achieve a high shine, glossy look. Heat foils are a little bit different from transfer vinyl. These products require a separate adhesive material and work by fully melting onto the material. They don’t last as long as vinyl but offer unparalleled shine.
The good news is that foils and metallic vinyls use the same heat settings. Set your machine to 290-300F and apply medium pressure for 15-25 seconds. Keep in mind that foils generally take longer as they must fully meltdown.
Only remove the clear carrier sheet after your metallic piece has fully cooled. This will help your design to maintain its reflective sheen and ensure the longevity of your piece.
Patterned Iron-on
You can also find vinyl with pre-printed patterns and designs, including heat transfers made to look like watercolor paintings. Patterned iron-ons look like traditional vinyl, but typically require much different heat settings.
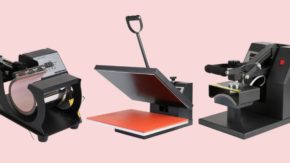
In fact, the “iron-on” name is actually something of a misnomer. While other types of heat transfer materials can be successfully applied with a standard home iron, patterned iron-ons really require the pressure only a heat press can provide. Check out our reviews of heat press machines to find out which one is best for you.
To apply this kind of transfer, set your heat press to 340-350F and apply high pressure for 40-50 seconds. Wait for the fabric to fully cool before removing the plastic sheet. Now, flip the garment over and apply heat for another 15 seconds to ensure the vinyl has fully adhered.
Conclusion
While these guidelines serve as a good reference point, the best way to ensure you are using the right temperature and pressure settings are simply through trial and error. Over time, you’ll start to get a feel for what works best.
In the meantime, did you enjoy this list? Let me know what you think in the comments and be sure to share this article with all of your crafty friends.