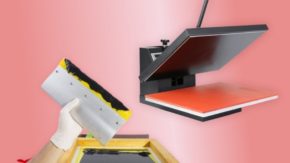
Have you ever tried to use your heat press machine on an uneven surface, like a shirt with buttons or snaps? Or had trouble getting an even seal on your heat transfer vinyl? Heat press pillows are an easy solution to achieving the perfect pressure on all your heat press projects.
They make it possible to work with onesies, bags, and collared shirts, allowing the uneven buttons and surface details to sink into the pillow so that the press plate can actually reach the fabric. They also help to distribute heat evenly through the transfer vinyl and increase the life-span of press projects by reducing the probability of any peeling.
In this tutorial, we’ll teach you how to make a heat press pillow at home so you can get the perfect vinyl application on all your projects.
Supplies You’ll Need for This Tutorial
Pressing pillows are remarkably easy to make, however, they require more specialty supplies than most DIY projects. Here are all the things you’ll need to get started:
Sewing machine
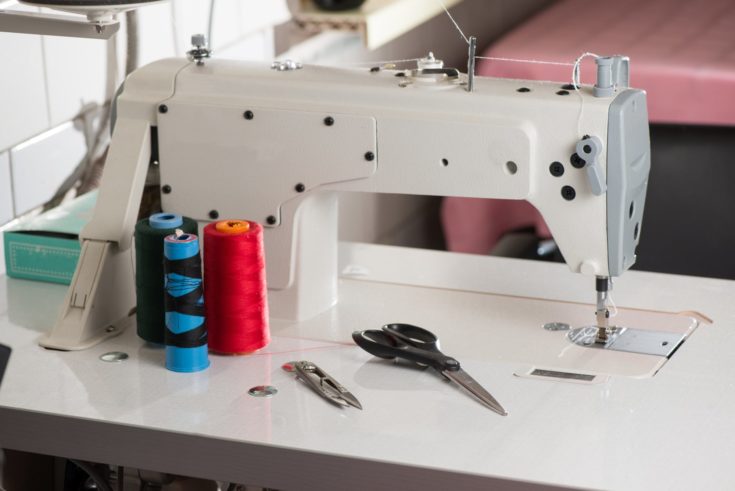
While it is possible to make a no-sew pressing pillow, these stitch-less options are usually less durable and do not last as long as those made with a sewing machine. For this tutorial, you’ll need a sewing machine equipped with thread, needle, and bobbin. You’ll also need a pair of scissors.
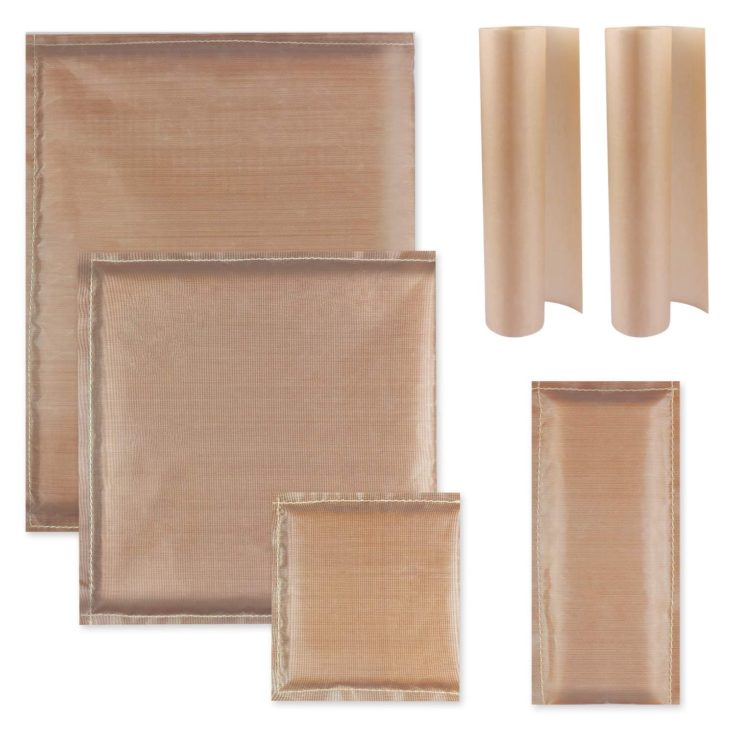
Teflon sheets

Teflon forms the outside of the pillow and helps to protect the garment and press machine from melting into the pillow at high temperatures. You can find teflon sheets in various sizes online or check the inventory at your local craft store.
If you are having a hard time finding Teflon, you can use any heat-resistant fabric, like ironing board cover material. This is a preferred option for anyone who dislikes the unfinished brown look of Teflon. Heat-resistant fabrics come in a huge array of patterns and colors and can result in a much cuter final product.
It is best to purchase teflon in the largest sized sheet available or try using a 16-inch roll that is up to several feet long. Teflon is fairly inexpensive and having a larger surface area will allow you to make several pressing pillows in a variety of sizes from a single sheet.
Just be careful when shopping online. A lot of other sheet-like materials are made out of teflon, including cutting mats, non-stick kitchen supplies, and BBQ mats. Teflon sheets are typically golden brown in color and are thinner than other products.
High-density foam
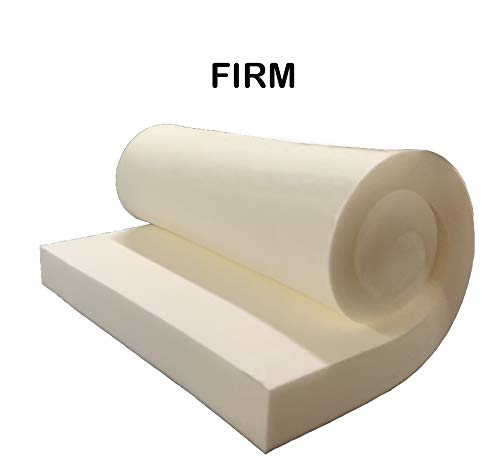
You will fill the pillow with high-density foam, which can also be purchased online. Look for a foam that is firm or extremely firm but is no more than ¼ – ½ inch thick. You can also find foams that have a built-in fire retardant, which will give you an added level of security when working with very high temperatures.
Higher-density foams are better suited for pressing pillows as they enable the press machine to maintain strong pressure during the application. This kind of foam usually comes in very large rolls intended for mattress toppers of large-scale home decor.
Try visiting your local sewing store to avoid having to purchase foam in unnecessarily large quantities.
How to Make a Heat Press Pillow
Step 1. Select an Appropriate Size
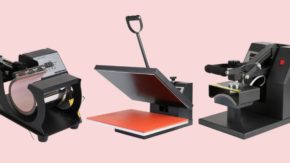
Store-bought heat press pillows come in a variety of sizes, most commonly 5×5 inches, 10×10 inches, 12×14 inches, and 16×20 inches.
If you own a heat transfer business or are an advanced user, you will likely want to have a collection of pillows on hand in small, medium, and large sizes so that you can select the best size depending on the project.
There are users who own an all in one combo heat press. For more amateur users, smaller sizes are typically preferred as they are suitable for both large and small-sized projects and thus have an added degree of flexibility.
Before you begin, you will need to decide on the measurements of your pillow and make sure that your teflon sheet is at least twice as long as the width of the pillow.
Step 2. Cut Your Teflon Sheet
After you have selected an appropriate size, you will need to cut your teflon.
Cut a rectangle that measures the exact length of the pillow wide and double the width of the pillow in length. For example, a 10×5 inch rectangle will result in a final product that measures 5×5 inches.
Once you have the rectangle cut, fold it lengthwise so that the longest edge is halved and crease the fold without cutting. Folding the teflon in half is an easy trick to save time, as it creates one less edge to stitch closed. You will eventually sew the three remaining sides shut.
If you are planning on making several pillows, begin with the smallest size so that you can get the hang of the process before moving on to larger versions.
Step 3. Cut the High-Density Foam
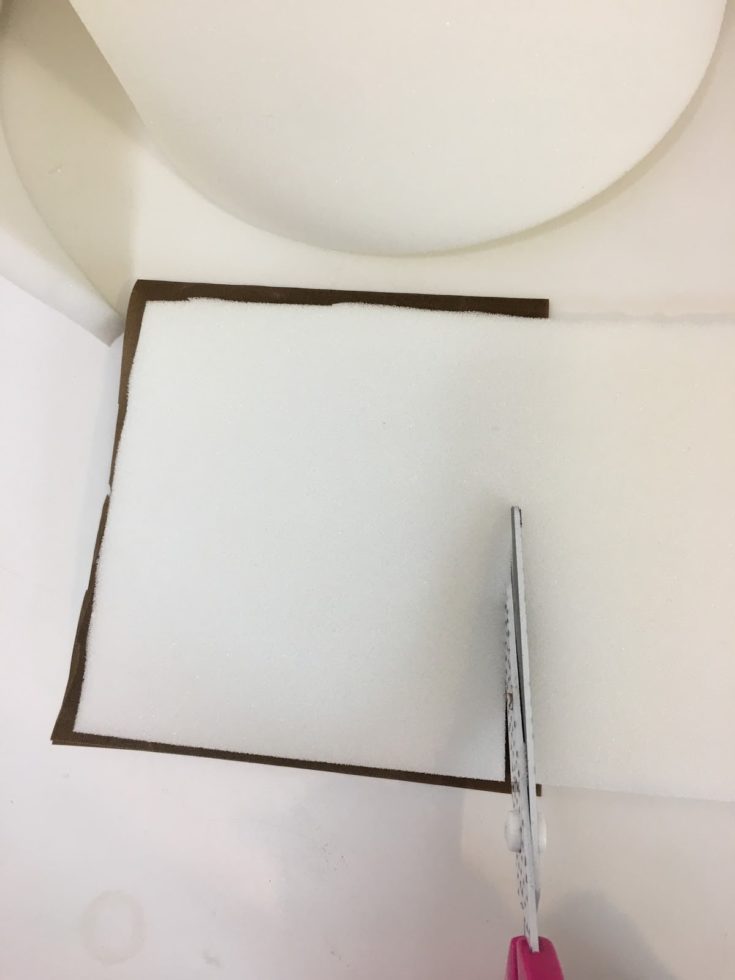
Next, you will trim the foam to fit the size of your finished teflon cover.
Cut your foam to be at least 1 ¼ inches smaller than the teflon cover. For example, cut a 3.75 inch square to fill a 5×5 inch pillow.
An easy way to do this without a ruler is to cut a larger square of foam and place it on top of the teflon you cut out. You can then trim the sides of the foam to fit neatly inside the teflon without making precise measurements.
Step 4. Sew Two of the Open Sides
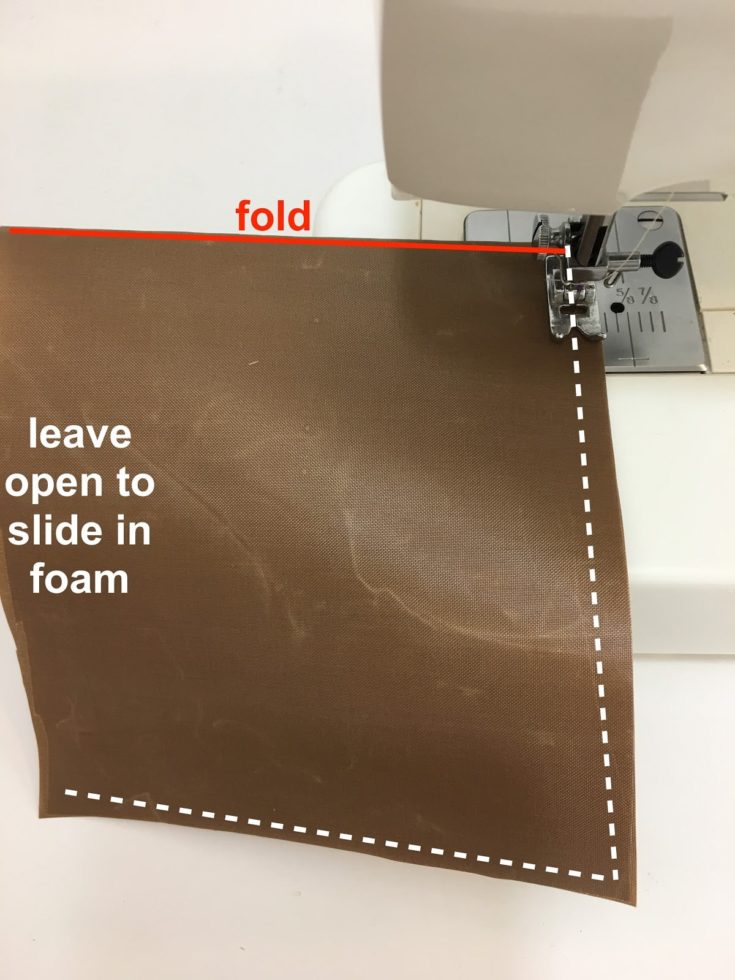
Using a 1-inch seam allowance, you will now sew two of the open sides, leaving one of the sides so as an opening for inserting the high-density foam. Teflon is quite slippery, so you will need to sew slowly and leave a fairly large seam allowance. One of the benefits of working with heat-resistant fabric instead is that it is easier to work with and often prettier than Teflon.
Begin by sewing the side adjacent to the fold. You can use a simple straight stitch and any thread you have on hand. When you reach 1 inch from the corner, leave your needle in, lift the presser foot and turn the cover 90 degrees. Sew the second side all the way across.
If you have difficulty leaving your needle down, you can always sew straight across and change sides as you normally would. Leaving the needle down is simply meant to give the pillow a cleaner finish and added durability.
Step 5. Insert the Foam and Sew the Final Side
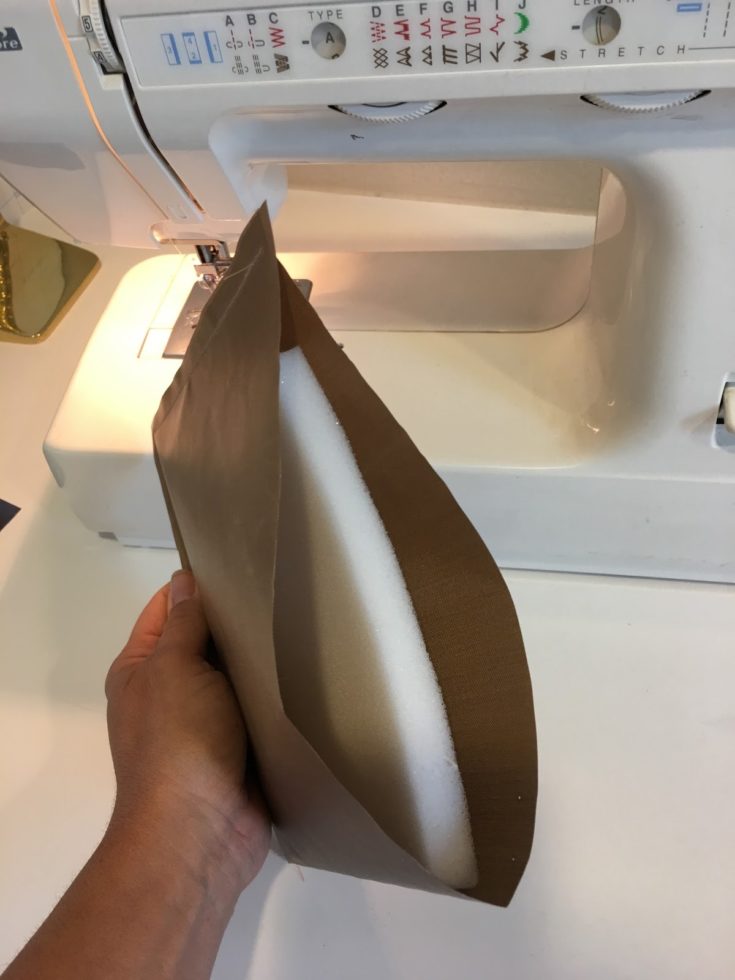
Finally, you will insert the foam through the opening in the cover and sew the final seam shut. If you have difficulty inserting the foam, simply trim it down slightly. While it is nice to have perfect, aesthetically pleasing, straight seams, all that really matters is that the foam is fully enclosed in the Teflon.
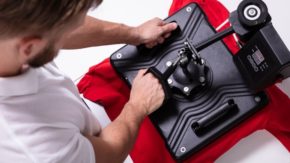
Step 6. Use Your New Heat Press Pillow
Begin by setting up your heat press as you normally would. To use your pillow, simply insert it under the layer that you are pressing. For clothing, this means you will need to place the pillow inside the garment. This is one of the reasons why smaller pillows are preferable.
You can use your press pillow for uneven for embroidered fabrics, bags, and garments with zippers, buttons, or thick seams. You can also use it anytime you want to apply transfer vinyl to both sides of the same fabric, as the pillow will prevent the vinyl from melting into the transfer on the other side.
Other DIY Alternatives
If you don’t have the time or resources to make your own transfer pillow, here are a few DIY alternatives that make use of everyday household items:
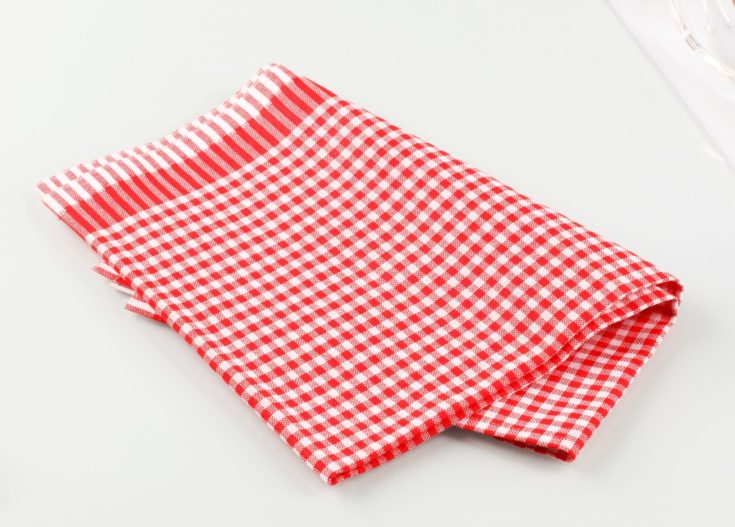
- Towel: You can use a folded tea towel in place of a pillow. Folding a towel underneath the garment provides the same soft, plush surface for surface details like buttons to sink down during pressing. Try to choose a towel that has minimal teeth as a flat surface will produce a more even vinyl application.
- Mouse Pad: A thick mouse pad can also be used as it is heat resistant. While it may not be possible to use a mouse pad for garments with zippers and larger textural irregularities, mouse pads have just enough given to accommodate fine surface details like embroidery.
Just be careful to only use a blank pad, as printed designs may unintentionally melt into the garment.
Conclusion
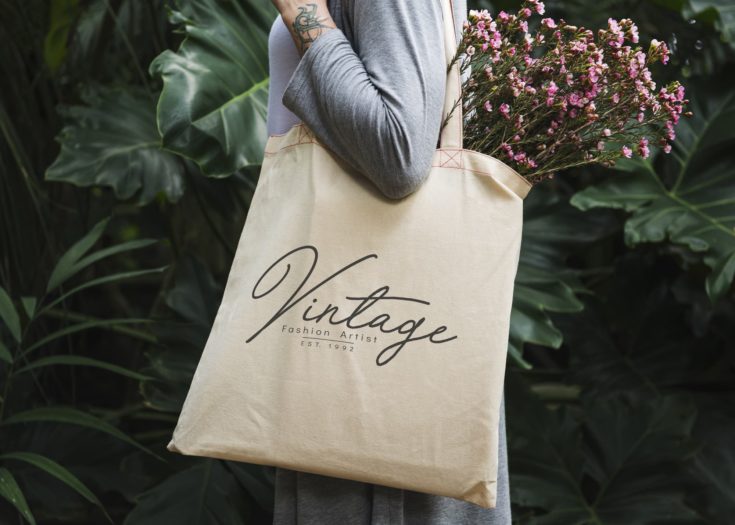
Heat press pillows make it possible to apply transfer vinyl to a variety of different garments and accessories such as onesies, zip-up hoodies, and tote bags. However, buying a collection of pre-made pillows in various sizes can be quite costly.
Luckily, making your own DIY pillow is simple and inexpensive. You can also make a number of pillows from a single sheet of Teflon or heat-resistant fabric.
Let us know what you think in the comments and be sure to share this article if you enjoyed it.
Further Reading
Check out our article on DIY Christmas pillow ideas.