Have you just picked up your first serious sewing project to find something on the list of materials you don’t recognize? Are you making a garment for the first time, or perhaps another project with buttonholes, and you see interfacing on the list of materials to purchase before you begin. Are you asking yourself, “What is interfacing in sewing?”
We’re here to answer your questions and help you learn just how interfacing can help your first project look like your 100th, your collars stand up tall, and your buttonholes look neat, tidy, and work as they should.
The Purpose of Interfacing
Interfacing can be used as a tool in many ways depending on the type of sewing project you’re working on. The most common use when sewing garments is collars. Interfacing is used on the wrong side or between two layers of fabric when making collars to help them stand up properly instead of flop around. Having a problem with collars specifically? Check out this series of short YouTube videos!
The goal, when using interfacing for sewing projects, is to stiffen the fabric permanently or to make certain areas of the project much more durable. Another example would be around buttonholes so they stay the right shape and size even after years of use or in the brims of hats to keep them shaped and sharp.
Woven vs Non-Woven vs Knit
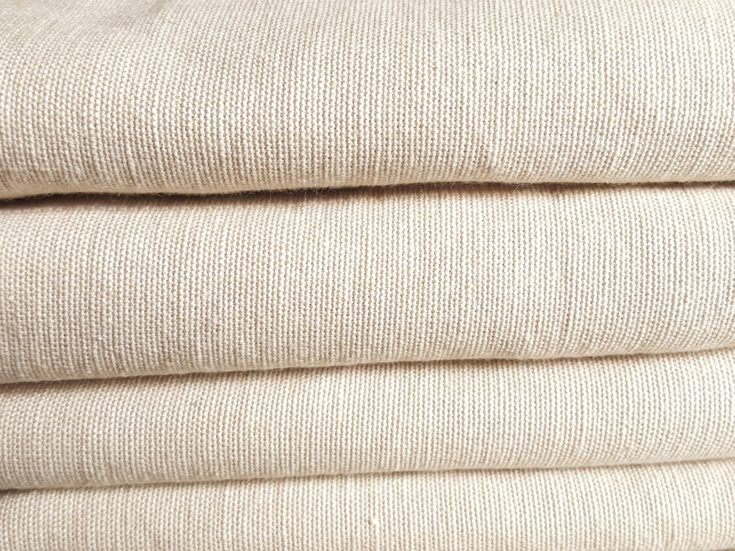
Interfacing is also a piece of fabric, just a bit different than the fabric you’re using for the rest of your project. And, just like with most fabrics, they come in many many weaves. Woven, non-woven, and knit interfacing are each used for a different purpose. So Sew Easy offers a wonderful tutorial on the various types of interfacing so you can see what they look like and how they are used.
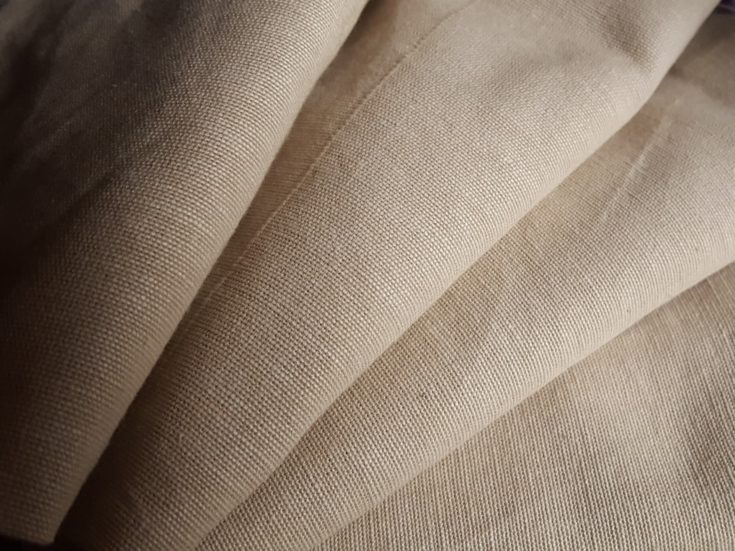
Woven interfacing has a strong grain pattern. For projects that require your fabric to be cut and sewn with a grain pattern in mind, woven interfacing can offer the strongest support. It can be used with fabrics where the grain direction isn’t as important but the grain of the process always will be. The strong stiffening properties of woven interfacing make it ideal for garments.
Non-woven interfacing feels more like felt. There is no apparent grain which makes this an ideal interfacing to have on hand for quick projects you weren’t expecting. The only fabrics you shouldn’t work with when using non-woven interfacing are stretchy ones, such as jersey-knit.
Knit interfacing has two big advantages over woven and non-woven choices. The first is that it’s perfect for use with stretchy and knit-type fabrics. The second is that it offers support to the area in which you use it, but it’s much softer support. The item can still flex and move when needed without being constricted.
Sewn-In vs Fusible
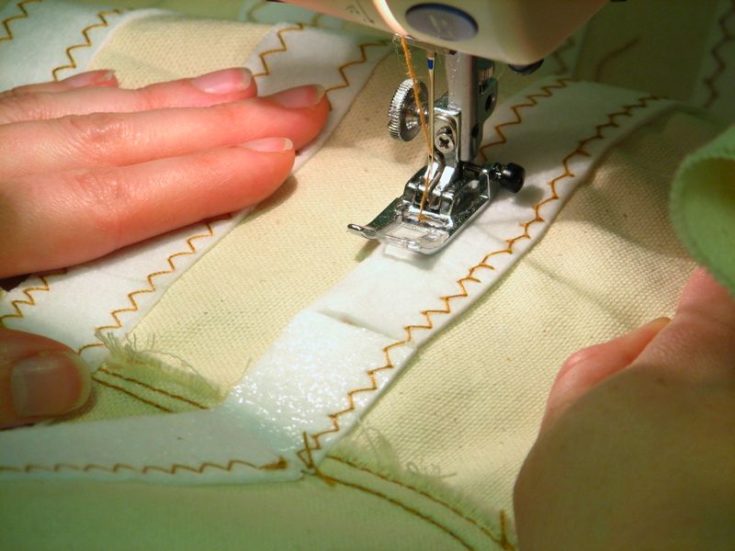
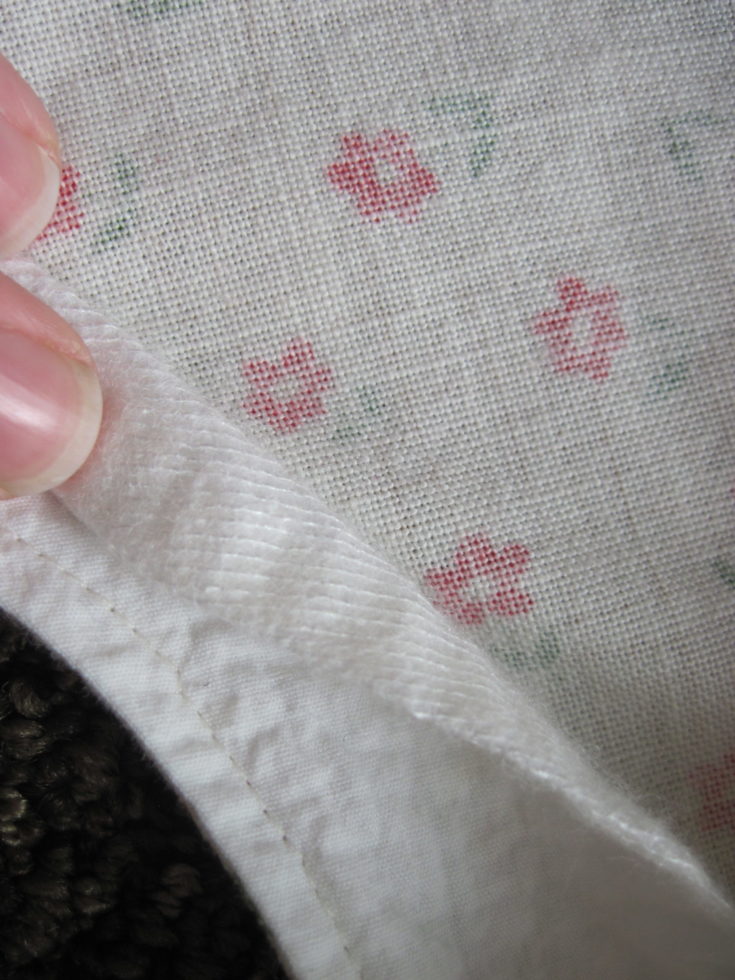
Sewn-in interfacing is, you guessed it, sewn in! While this may seem like more work than iron-on interfacing, it has many of its own benefits. For example, you can help to shape the interfacing as you sew it onto the wrong side of the fabric. For items that have odd shapes, or just shapes that aren’t as flat, sewn-interfacing is usually preferred.
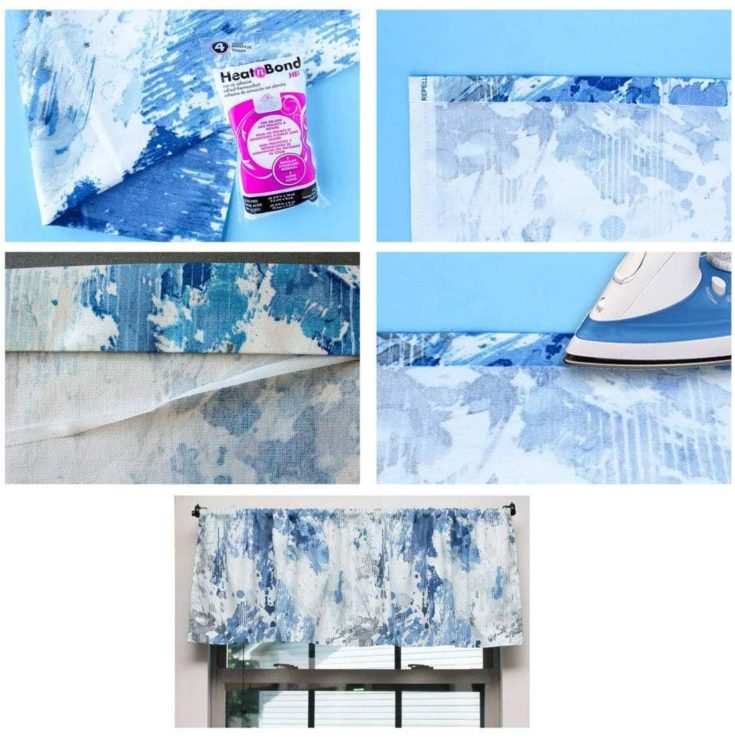
Fusible interfacing is often referred to as iron-on interfacing but they are different materials. However, both can be helpful for beginner sewers who don’t have as much practice sewing interfacing into their projects, making it preferred with those who are still curious about what interfacing is and how they can use it.
Interfacing that is ironed on or kept in place with adhesive backing can be most helpful if you won’t be sewing anything onto the other side of the fabric. Fusible, adhesive-type interfacings are used for many “so sew” projects like costumes. Our favorite iron-on interfacing for hems can make it easy to create or repair hems in minutes.
Choosing the Right Weight and Color
Interfacing usually comes in only two color options, light or dark. Sewing From Home discussed the lighter interfacing colors that can range from bright weight to cream. Your choice depends on the thickness of your working fabric. For thin fabrics, you don’t want it to show on the other side so you can always try several different shades through swatch testing, but more on that later.
Dark interfacing is designed only for use with very dark fabrics such as black, brown, navy, etc Even if you have interfacing at home but you are making a project of dark-colored fabrics, it’s worth taking the time to find the right dark interfacing fabric for sewing. Other colors are available but may be harder to find.
It can be just as easy to choose the right weight of interfacing fabric you need to choose the color. As a general rule, the interfacing and fabric you use should have similar qualities. For example, you should use a medium-weight, light-colored, knit interfacing with a medium-weight, light-colored (or patterned), knit fabric.
If you ever choose differently, the weight of the interfacing should be lighter than the fabric and never heavier. Heavier interfacing can cause an unnatural appearance and shape when used with lighter weight fabrics. However, you are always encouraged to see just how the fabrics will look when used together through swatch-testing.
Interfacing Alternatives

Have the pattern in mind and the fabric you need right in front of you and your interfacing is nowhere to be found? Not to worry, there are alternatives you can try. Keep in mind that these are not intended to work the same as fusible or sew in-interfacing. You’ll need to practice with each to see if they will give you the results you are looking for.
- Cotton broadcloth
- Cotton/Poly blend broadcloth
- Thin canvas
- Layers of leftover fabric
NOTE: Be sure all the fabrics you use are washed and dried so that there’s no risk of one fabric shrinking and another not when your project is finished and you wash it for the first time.
The Importance of Swatch-Testing
For many crafts, testing your materials before beginning is important. For scrapbooking or cardmaking, you would want to test the inks on the paper. For knitting and crocheting, you would want to make a small square of the pattern stitch in the hook size and yarn type you’ll be using so you can determine your gauge.
It’s the same with using iron-on or sewn-in interfacing. Be sure you have enough of each extra that you can play around with how you might use both together at various points during the sewing project. If you don’t like how it looks or it’s too difficult to use, you have options. You can change the fabric, the interfacing or both. However, be sure to swatch-test again before starting.
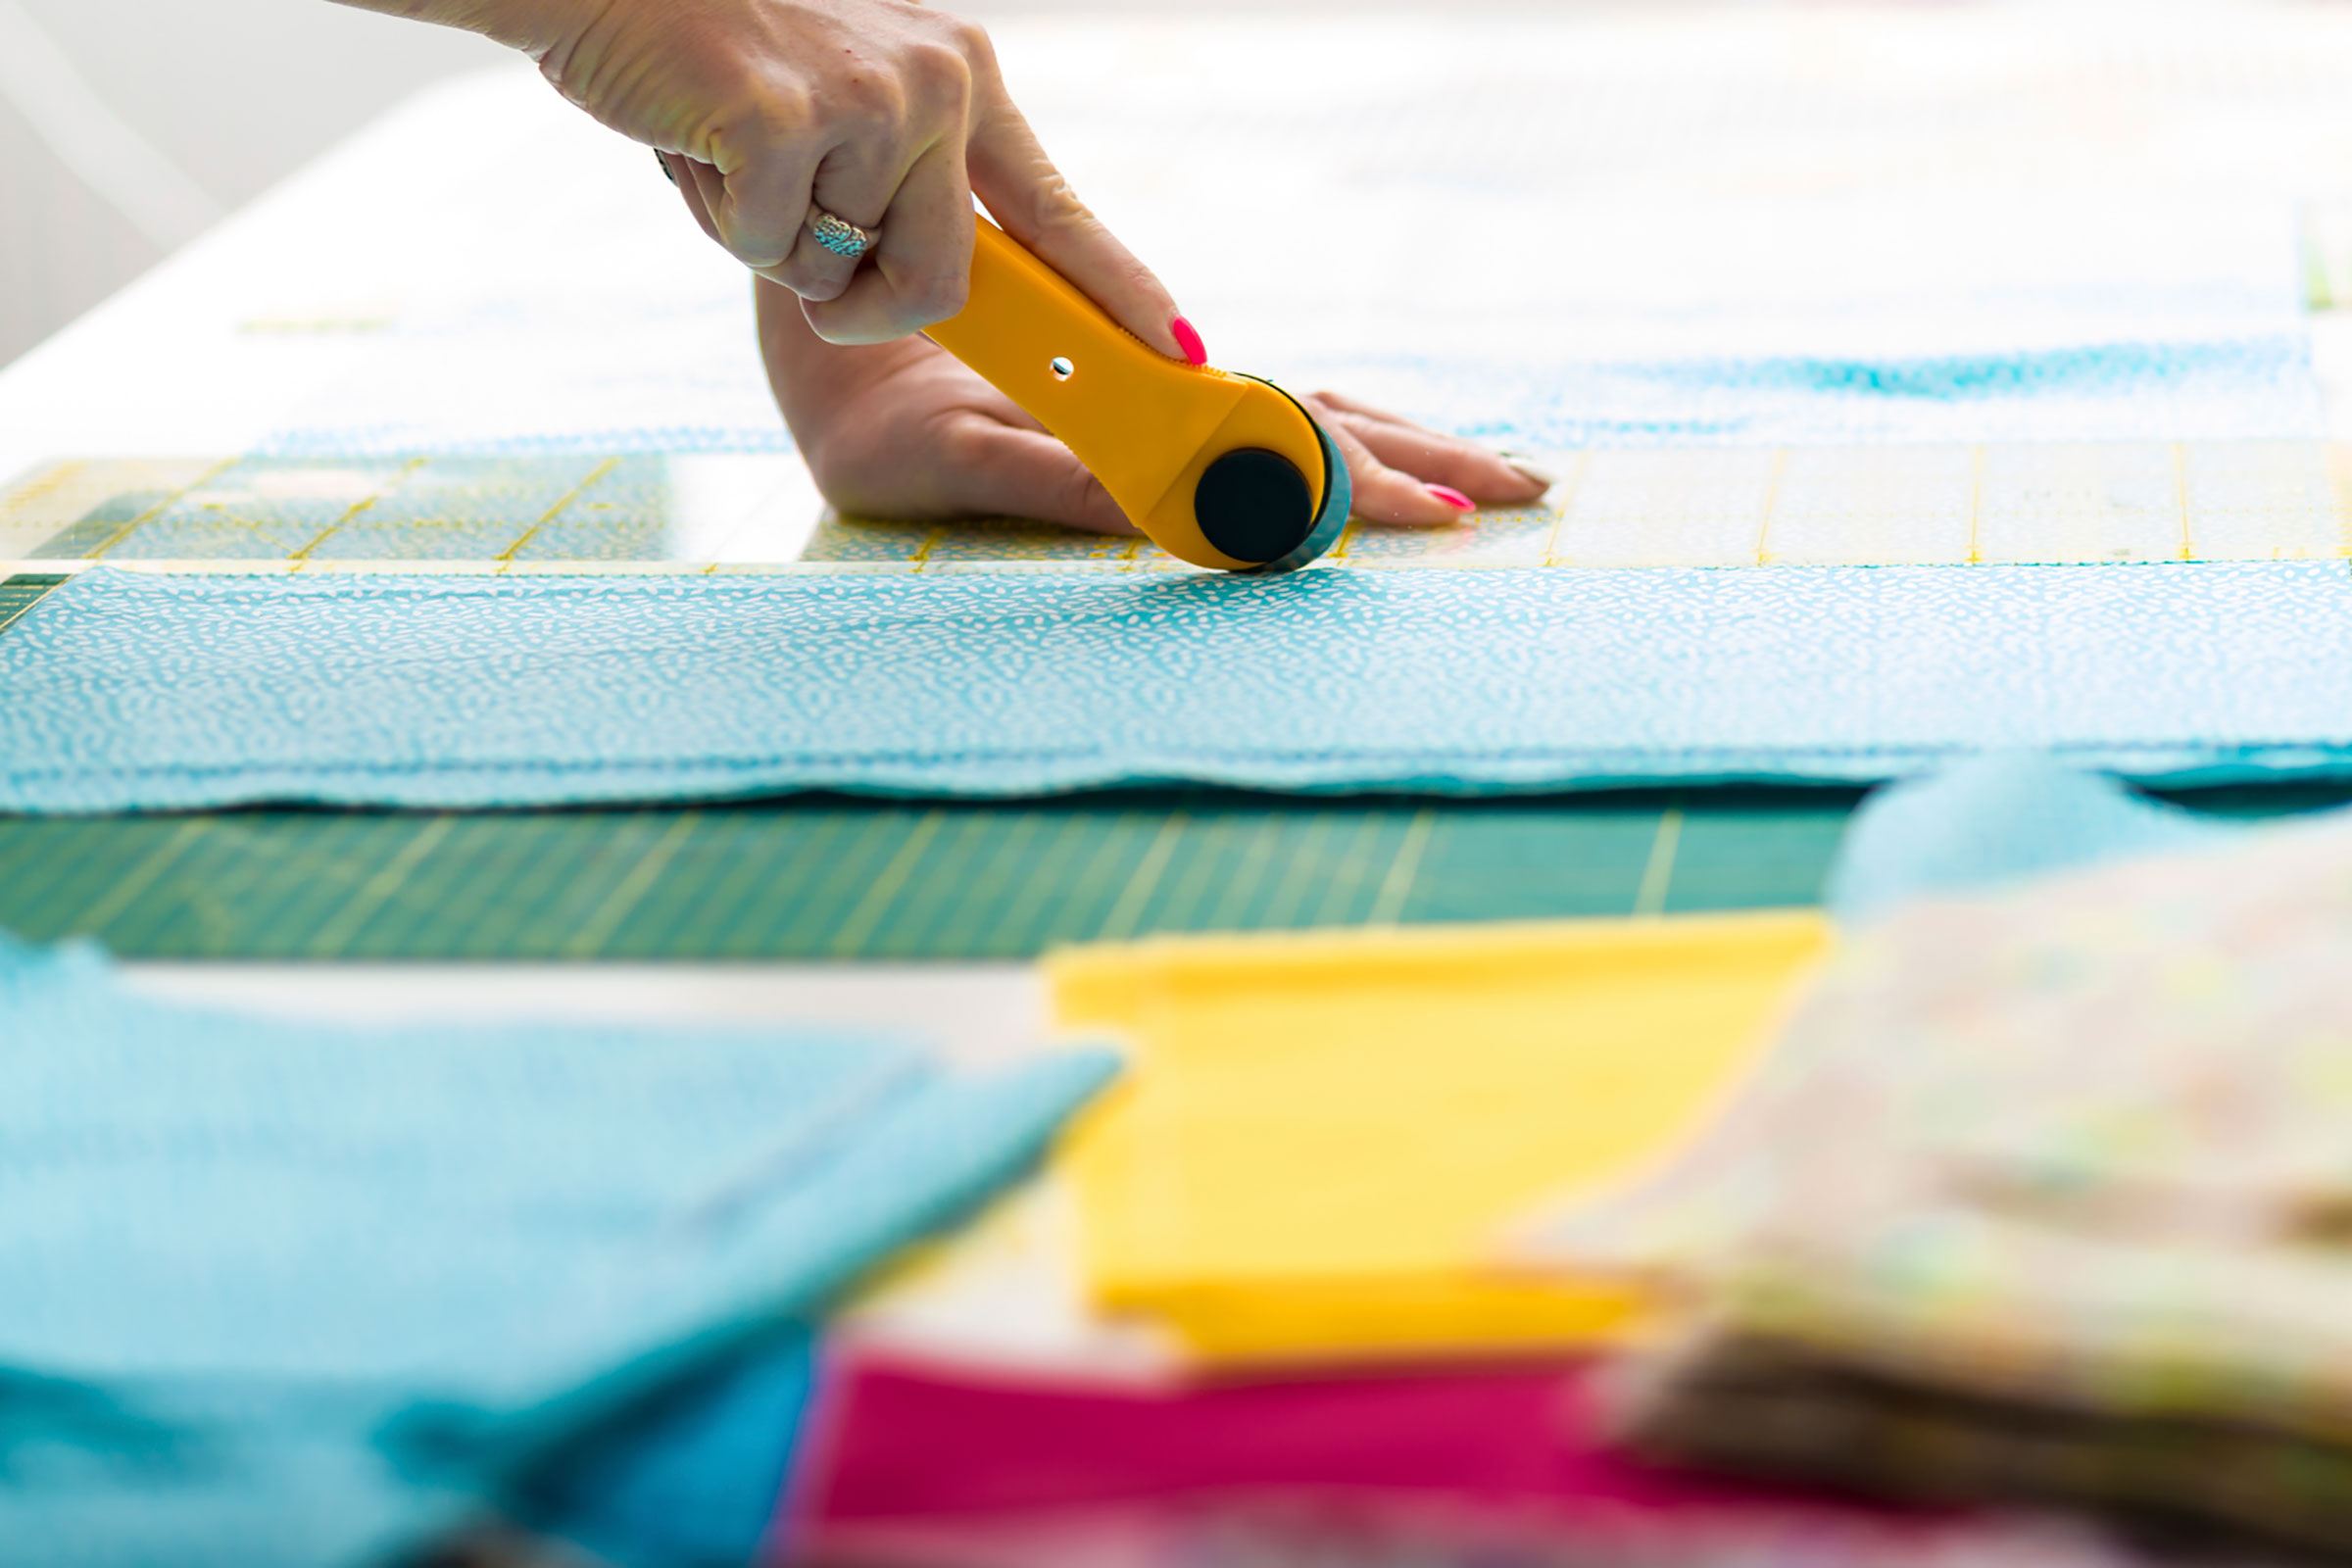
While you might be able to use a small scrap of fabric with a matching size piece of interfacing for swatch-testing, it will be important to cut both to the right size and shape before using them in your project. To make this process much easier, we recommend a self-healing cutting mat with ruling and angle measures.
Conclusion
Using the right fusible or sew-in interface material can make all the difference in how your sewing project appears on the outside and is worth the extra effort in making sure you choose the correct product and then test it to make sure it works right for your needs. Consider the following to choose the correct type every time:
- Type of project
- Where in the project it will be used
- Why it’s being used
- The type of fabric for your project
- The weight of the fabric
- The color of the fabric
- Your comfort level with fusible, iron-on, or sewn-in options
If you are looking for some easy-to-use and creative crafting ideas that will work with many types of sewing projects, be sure to check out more of our articles on Mostcraft! We’ll be adding new content every day!
Do you have additional questions about interfacing for sewing or would you like to ask about how it applies to your specific sewing project? We’d love to hear your questions in the comments. Have you found this guide helpful and completed your project? We’d love to see it! Drop a picture and show off your new skill and your creativity!