Have you ever wanted to try sewing but been intimidated by the size and complexity of standard machines? Or wished you knew how to repair holes and tears in your own clothes? Do you want to know how to use a mini sewing machine?
A handheld sewing machine is a great solution for beginners looking to try sewing without having to shell out a huge amount of money on a bulky and complicated machine. These simplified devices are great for repairing hems, closing up tears, or putting together simple projects like a homemade Halloween costume. They are even safe for children to use!
What is a Mini Sewing Machine
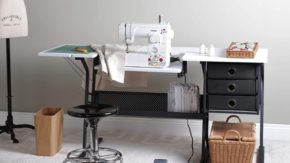
A mini sewing machine works very similar to a traditional machine, but with a few key differences. Traditional, tabletop sewers are usually operated by a foot pedal that controls the speed of the stitches. In contrast, the majority of mini sewers are hand or push-button operated.
While full-size machines come with a variety of accessories and tools, including automated zippers and buttonholes as well as multiple decorative and specialty stitch patterns, mini machines typically only perform straight stitches.
Miniature Machine Options
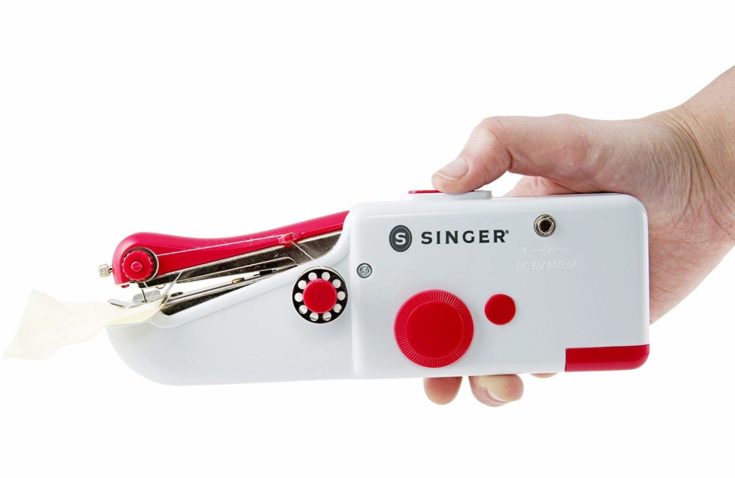
Singer Stitch Sew-Quick
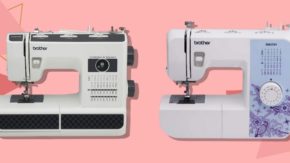
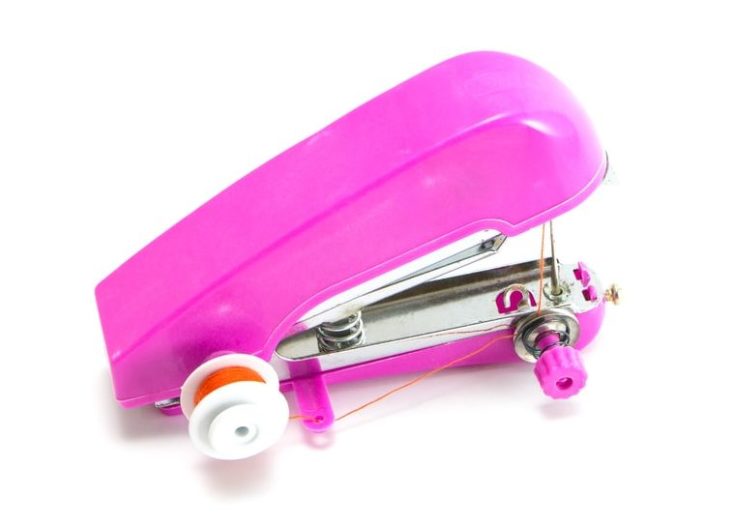
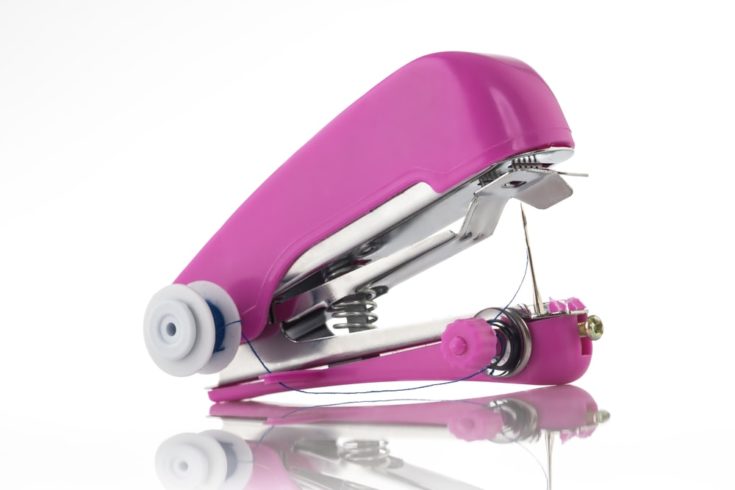
There are two main types of miniature machines. Devices like the Singer Stitch Sew-Quick are completely handheld and have a similar operating feel to working with a pair of scissors or a box cutter. There are even some versions designed to work like mini sewing machine staplers, which complete one stitch at a time as though punching fabric staples.
Lycheers Mini 2-in-1
Other options, like the Lycheers Mini 2-in-1, resemble tiny, tabletop sewing machines. They stand up independently and have a flat bed and needle plate for working with fabric. Although both of these miniature devices operate with bobbin, needle, and thread, which machine you choose depends primarily on what you plan on using it for.
Advanced Vs Amateur Sewers
Advanced sewers are interested in having a portable machine they can take with them while traveling is better suited for the tabletop miniatures, as this design is highly intuitive for experienced users and operates like a smaller version of a full-sized model.
However, amateurs simply wishing to sew their own repairs will most likely prefer the handheld options. These machines are typically cheaper and quite a bit smaller, making them easier to store and operate for the average DIY user.
In this guide, we’ll focus on how to operate handheld models.
Supplies You’ll Need to Get Started
- A handheld sewing machine: You can find a handheld sewer at virtually any craft or specialty sewing store. However, not all of these mini devices are created equal, and thus it’s important to read up on different brands before you go out and buy.
- A thread and a bobbin: Some devices will come with these materials included, so be sure to check the box before going out to purchase supplies. Not all manufacturers will provide bobbins even though they are essential for operating the machine.
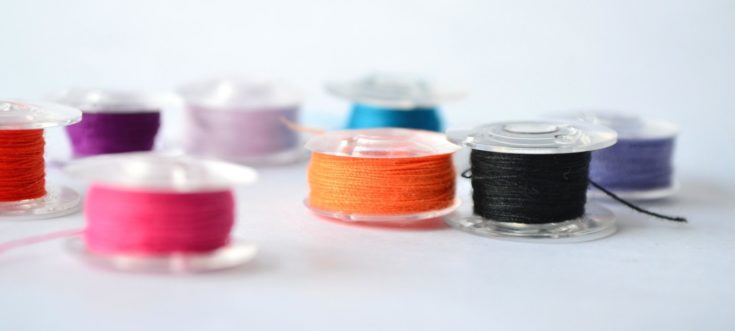
Additionally, you’ll need a thread that’s suitable for the fabric you’re trying to sew. Standard polyester or cotton thread will work with most fabrics, but things like denim require a special type of thread. If you’re ever unsure, just ask someone at your local craft store.
- Scissors, Batteries, and Fabric to Sew: Almost all machines will come with batteries so that you can get started right away. Unfortunately, this is not always the case.
Check the user manual or back of the box to find out what type of batteries are compatible with your device and make sure you have some spares handy before you begin. Your machine will slow down if the batteries are not strong enough.
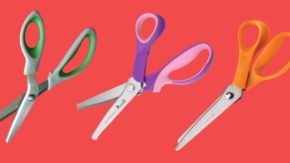
You’ll also need scissors to trim the thread after your stitching is completed, as well as some fabric to sew or a piece of clothing that needs repairing.
How to Use a Handheld Sewer
Step 1 Load Batteries
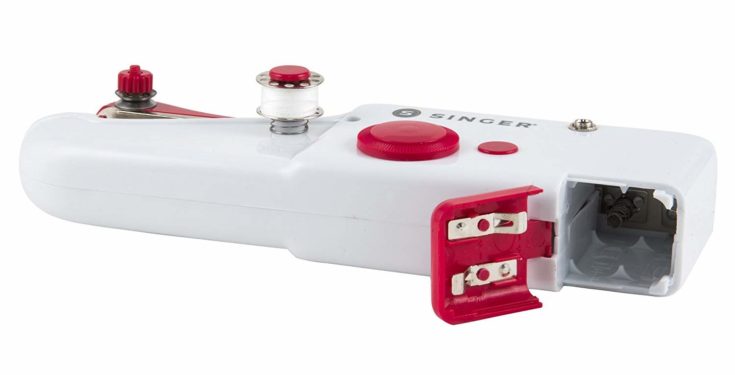
Before you can really get started, you need to make sure that your machine is fully operational. First, load the batteries into the machine according to the particular model you are working with.
The majority of handheld sewers will have a bottom compartment for holding batteries.
Turn the rotary wheel to lift the needle but make sure that the machine is off for safety purposes as you continue to set up.
Step 2 Set Up the Bobbin
Unlike traditional sewing, handheld machines use only a single thread to make stitches, rather than a top thread and a bottom thread. Therefore, the only thread that will be used is located on the bobbin.
Handheld sewers typically come with a few pre-wound bobbins. However, if you are using a different colored thread, you will need to wind your bobbin by hand or with a separate, electronic sewing machine. When you have finished, place your bobbin in the holder on the side of the machine so that the thread is exiting in a counterclockwise direction.
You should feel the bobbin lock into place.
Step 3 Thread the Needle

Pull the end of the bobbin thread toward the front of the machine. In some models, you will weave the thread through a hole above the spindle and then through a tension control knob.
However, this is not true for all models, as some use an automated process to pass the thread through tension control plates. Be sure to follow the instructions in your user manual if you are uncertain.
Next, place the end of the thread in the separate needle threader that came with your machine. Stick the threader’s threaded end through the eye of the sewing machine’s needle and pull the thread through. During this process, you will effectively remove the threader from the thread.
Be careful to leave at least two to three inches of thread as an excess tail hanging from the eye of the needle. This will ensure that you do not accidentally undo the threaded needle.
Step 4 Prepare to Sew
After you have thread the needle’s eye, turn the rotary wheel to pass the thread through the fastening plate once. Continuing turning the wheel until the arm of the needle is raised.
Lift up the presser foot and position your fabric in between the fastening plate and the needle. Make sure that your fabric is in the correct position where you want the stitches to appear, and then drop the presser foot.
You are now ready to sew!
Step 5 Sew the Fabric
In your dominant hand, hold the machine firmly. You will then turn on the power switch, but be careful! Handheld sewers are electronically powered and will immediately begin sewing when powered on. Make sure you have a good grip on the device before you turn it on.
As the machine creates stitches, use your free hand to guide the fabric along. The fabric will move through the machine on its own, so if you want precise, clean lines of stitching, be sure to practice on a scrap piece of fabric ahead of time.

When you are finished, turn off the power switch to stop sewing. Carefully lift the presser foot and pull the fabric away from the machine. Wind the rotary wheel a couple of times to create finishing knots to protect your stitches and then use your scissors to cut the loose threads.
For added seam protection, cut the thread with a two to three-inch tail and manually tie a finishing knot to prevent unraveling.
Conclusion
The major draw of miniature electric sewing machines is that they are incredibly easy to learn how to use. Because of their smaller size and limited moving parts, they are also great options for children. Once you get past the difficulty of setting up and threading your handheld machine, you can create all sorts of simple sewing projects and garment repairs.
Did you enjoy this tutorial? Let me know what you think in the comments and be sure to share this article if you liked it.