From a quarter-inch seam that quietly drifts to a swapped patch found after the quilting is done, here’s the fix a teacher would show you, and whether the mistake is worth the seam ripper.
Save room for the last one: the mistake you find after the quilting is finished, and a fix that works.
The block comes off the pressing board still warm. You set the square ruler on it, and the edge stops a hair short of 12½ inches. The block beside it runs a hair long. You’ve made more quilts than you can count, so how is this still happening? Most of these quilting mistakes come from arithmetic, old habits and one machine setting nobody mentioned. Most of them can be fixed without tearing out the whole top.
#17 Points that miss where blocks meet
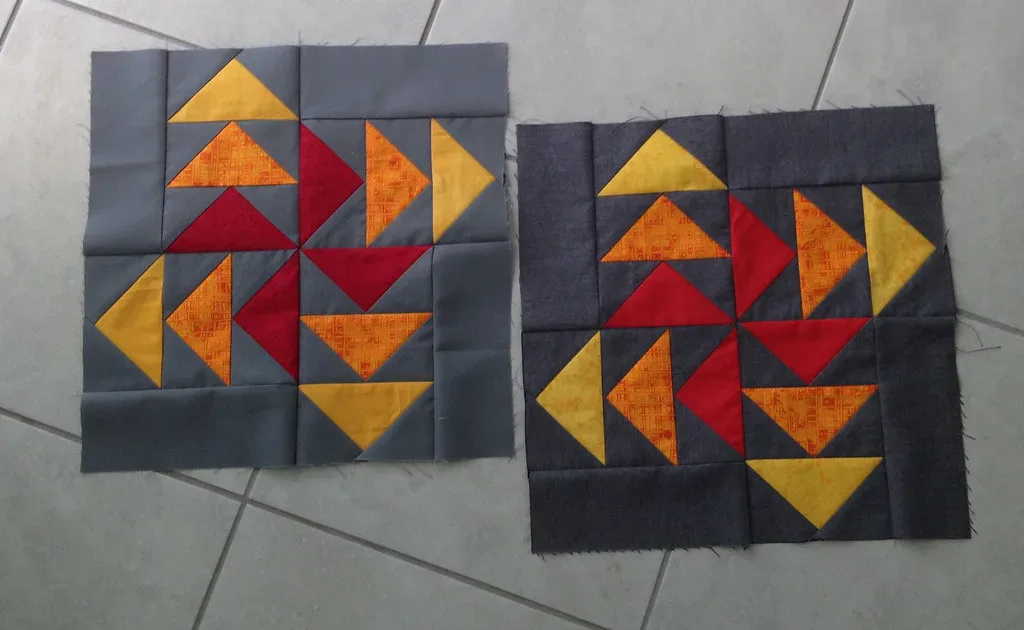
Points usually go astray in one of two places. The first is the pressing board. Press each part as you go, before it meets the next one.
The other cause hides in the trimming. On a flying geese unit, the quarter inch of fabric above the goose’s tip is there for a reason. That’s where the next seam crosses. Trim it shorter and the next seam slices off the point. Sara Buscaglia’s flying geese tutorial trims the top first, leaving a quarter inch above the tip, then the bottom, then the sides.
Judges look for exactly this. Chris, who has judged shows including the Crazy Quilters Show in Mukwonago, writes that judges check up close whether intersections line up and triangle points are whole. She also says “what matters is how well the maker accomplished what they set out to do.” A simple quilt done well can rank above an ambitious one with sloppy points.
#16 Pressing that turns into ironing
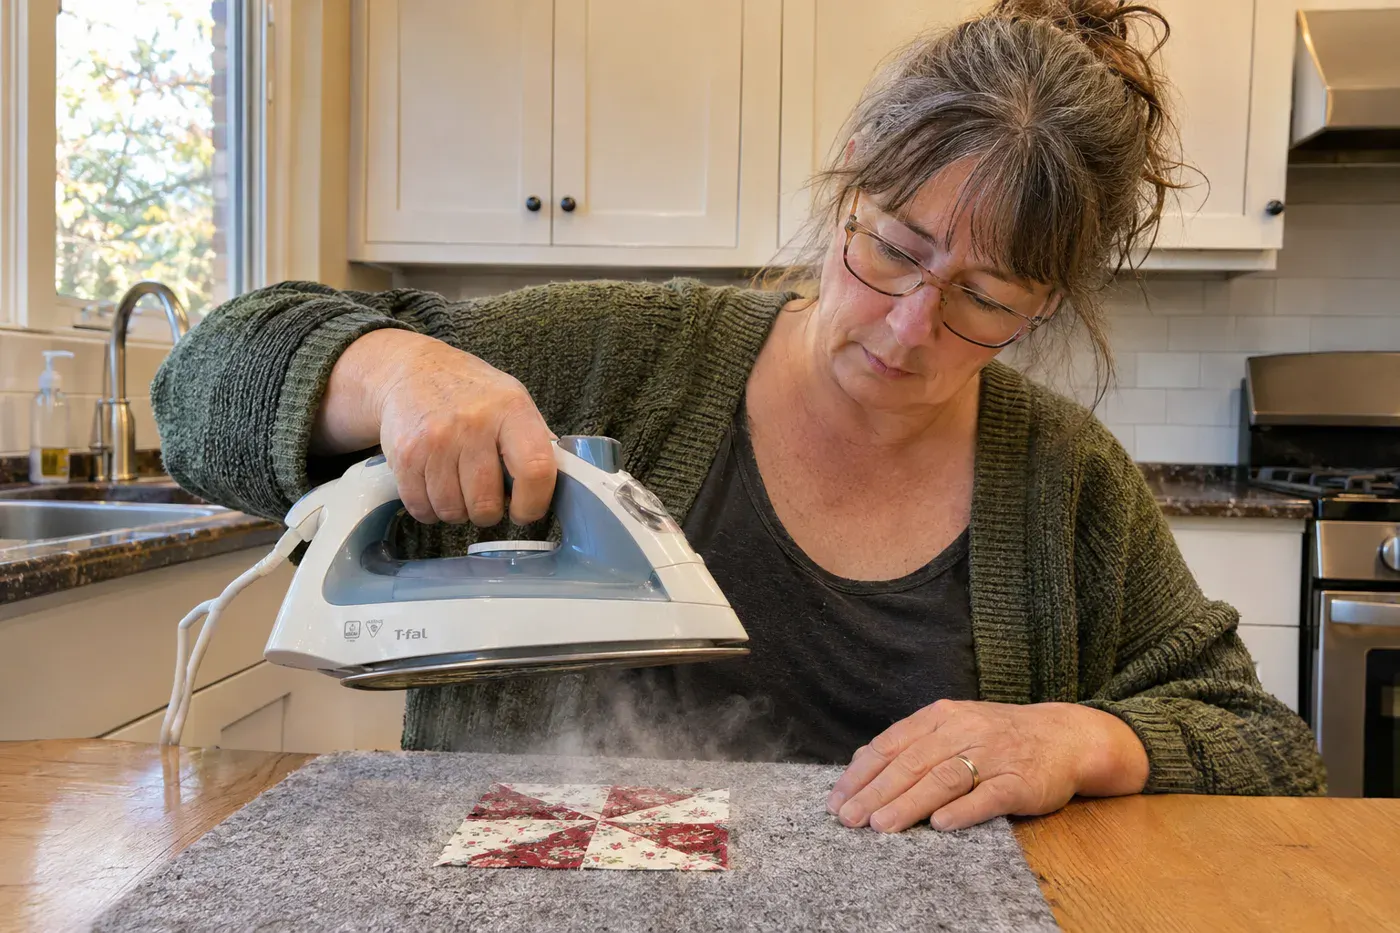
Your arm learned to iron long before it learned to quilt. That push and slide gets shirts smooth, and it pulls small patchwork out of shape.
Here’s how much: “When you slide the iron over a 2 ½” inch unit, you can easily stretch it by an eighth of an inch,” according to For the Love of Thread. An eighth of an inch on a piece that small is enough to throw off every seam that meets it. The same page warns that if you press across bias edges, “they’ll grow on you,” and that heavy-handed steam distorts fabric too.
Press, don’t iron. Missouri Star Quilt Co.’s method goes like this:
- Set the seam first by pressing right on the stitching line.
- Lift the iron, put it down on the seam, hold for 2 to 3 seconds, lift again.
- Keep steam off bias edges.
- Press from the front.
If a unit has already grown, check it with a ruler before you sew it to anything. If it was cut with trimming room, trim it back. If not, recutting one small square is faster than easing a stretched one into a block.
#15 Borders that wave instead of lying flat
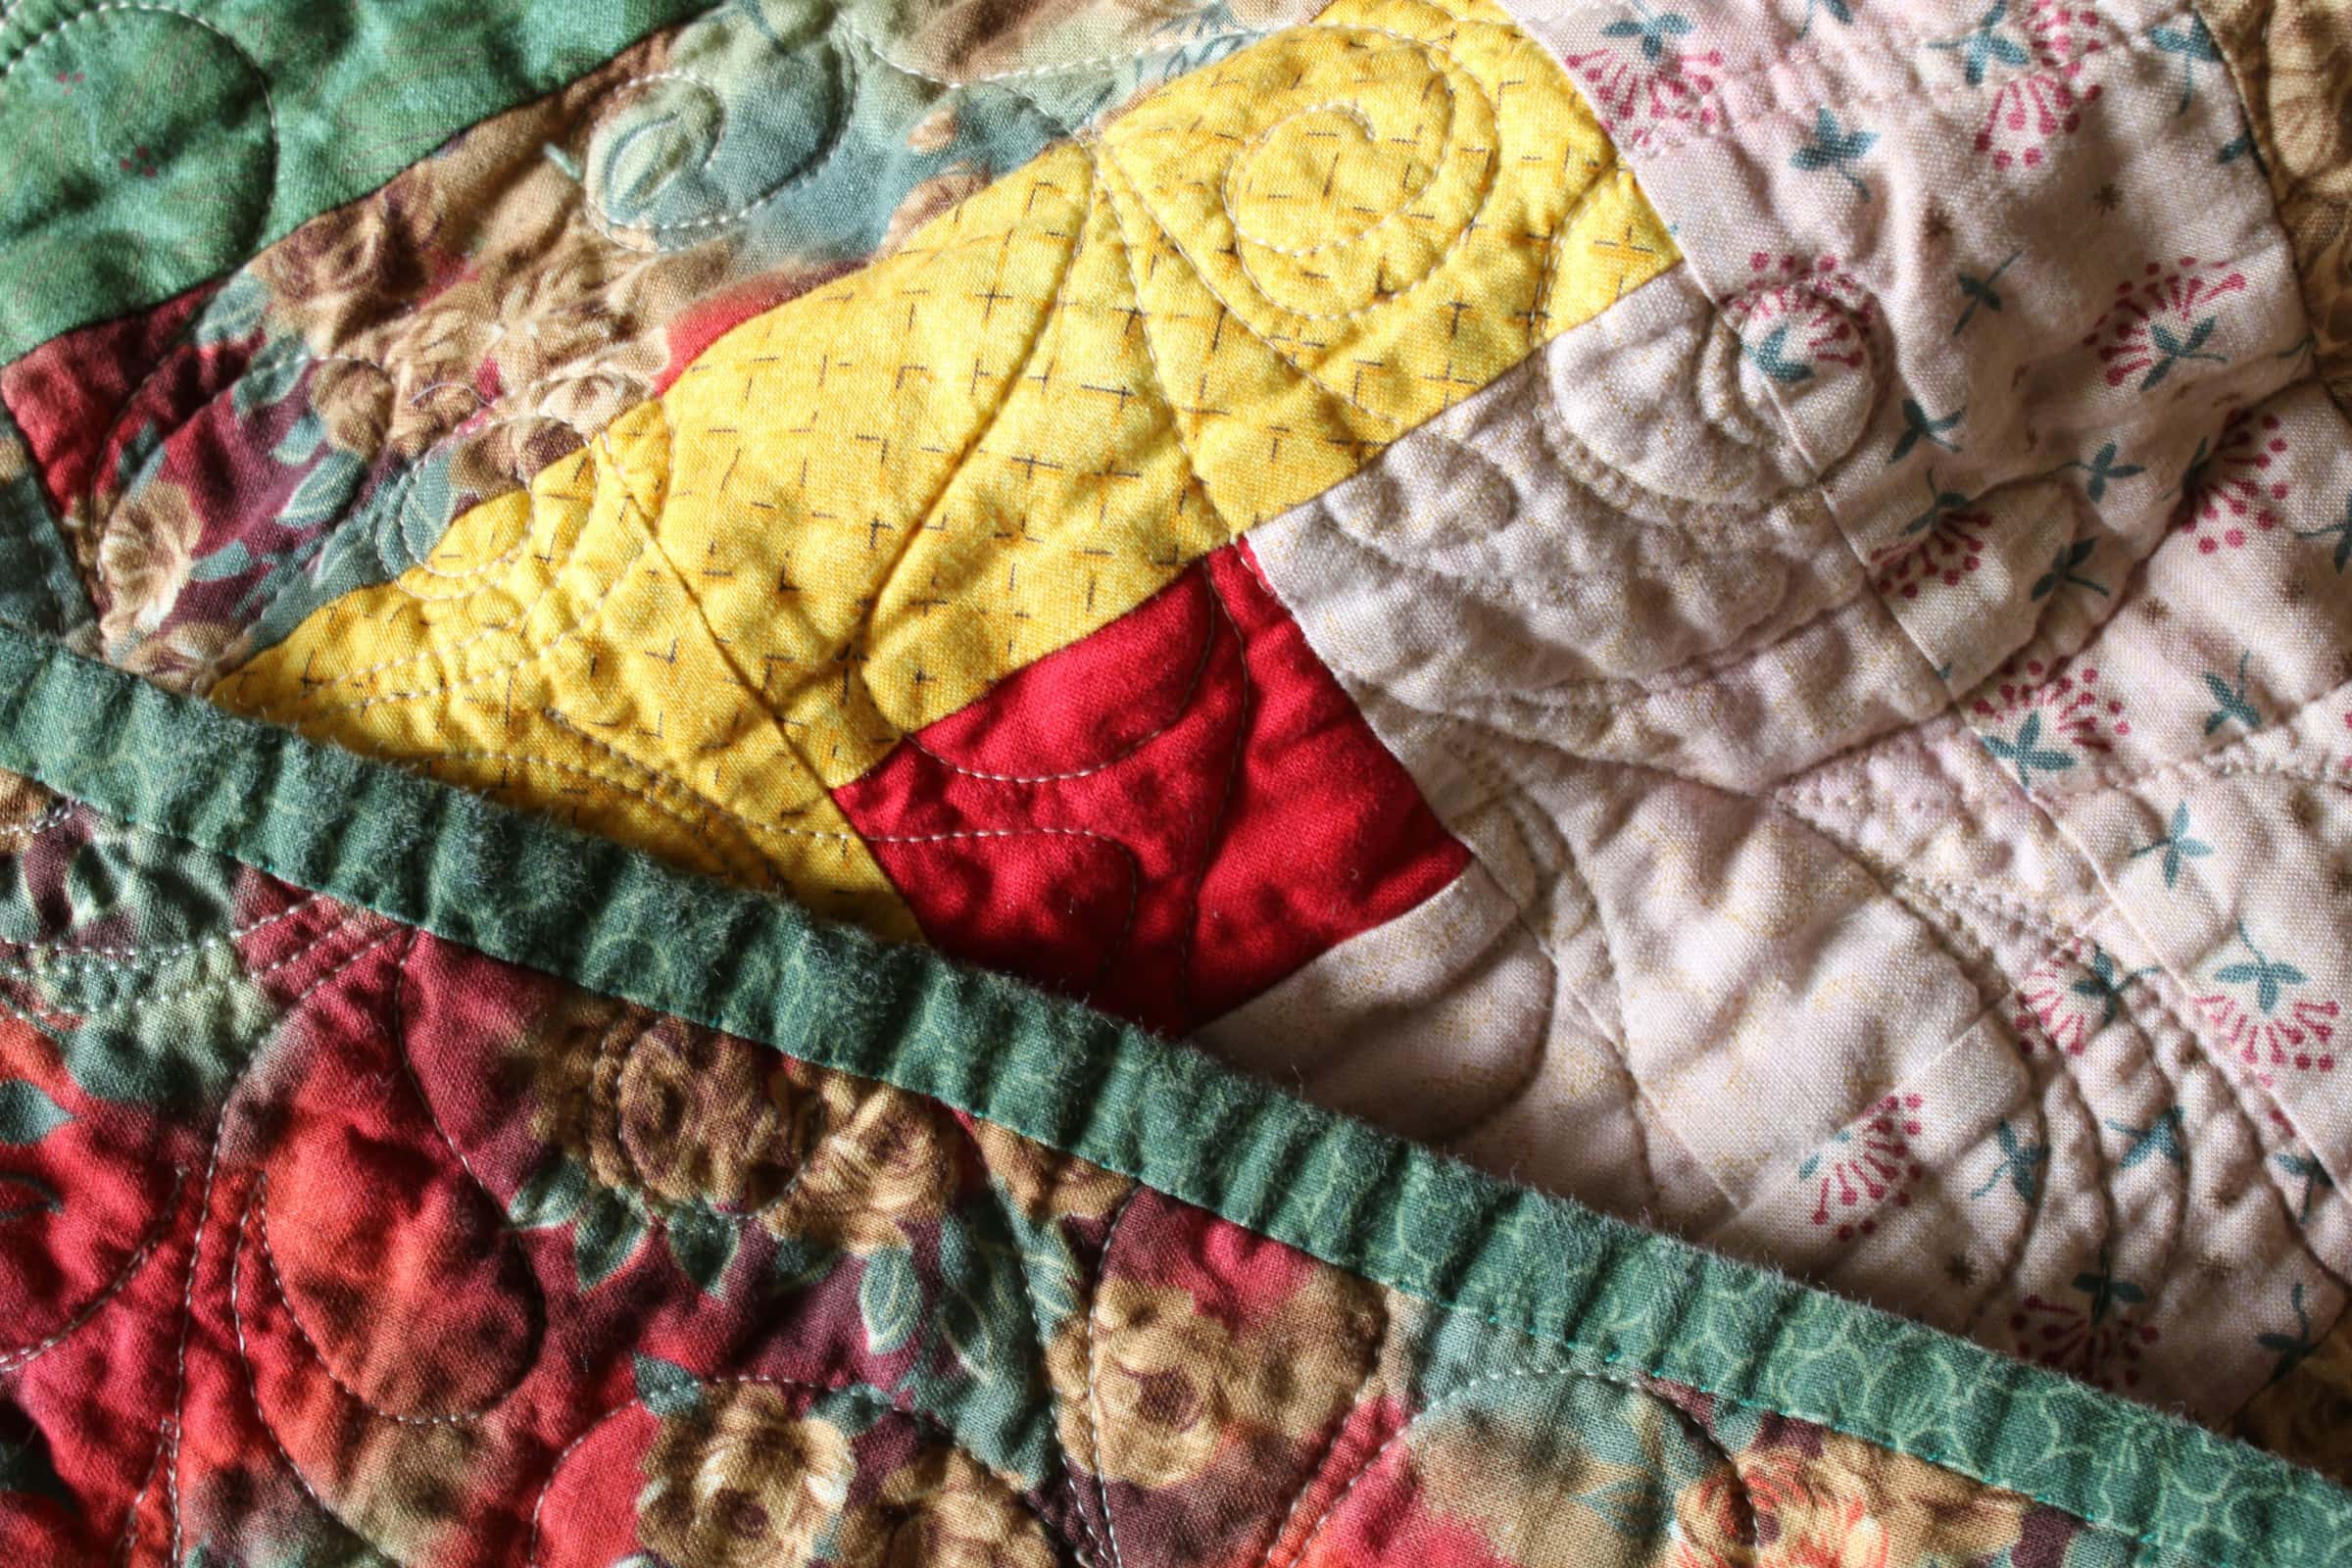
Wavy borders come from two different causes, and fixing one won’t fix the other.
The first is measuring. Becky Jorgensen of Patchwork Posse puts it plainly: “The edges of a quilt stretch as you sew. The center? Not as much.” If you cut a border to match the edge, you’ve matched the stretched part. Measure through the center of the top instead. “Borders cut to the center measurement force everything back into square.”
The second is fabric grain. Lengthwise grain, parallel to the selvage, has virtually no stretch. Crosswise grain, selvage to selvage, gives more. True bias, at 45 degrees, stretches most of all. The rule:
- Cut the long side borders on the lengthwise grain.
- Cut the top and bottom borders on the crosswise grain.
Already sewn on and rippling? Jorgensen takes off one section at a time, measures through the center again, and sews it back on. Quilting can hide a small wave. A big one has to come off.
#14 Starch applied after the pieces are cut
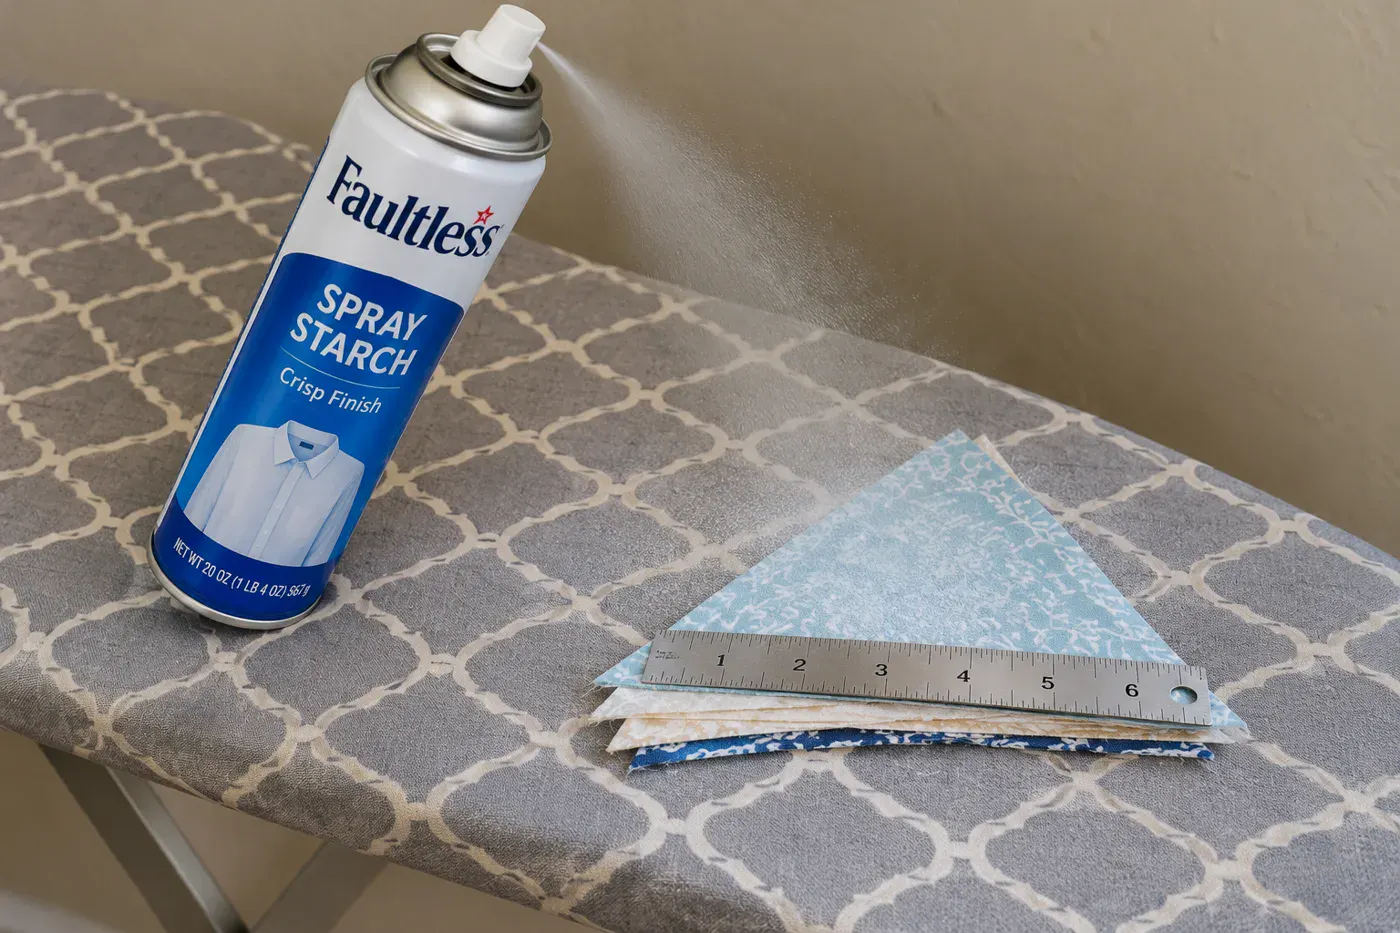
Plenty of good quilters swear by starch. Fat Quarter Shop says Lisa Bongean of Primitive Gatherings starches “with lots and lots of starch!” for cutting accuracy. The trouble is when it goes on.
Cassandra Madge tested starch on pieces that were already cut and measured them afterward. Strips cut on the lengthwise grain didn’t shrink in width at all. Crosswise strips lost “a few threads.” A 2½-inch triangle with two bias sides “has shrunk a full 1/8″, one eighth of an inch. That is 5% of the length.”
By her figures, 5% across a 12-inch block is 0.6 inch. That’s more than half an inch from a spray can.
Shelley Cavanna of Cora’s Quilts says starch should go on fabric BEFORE cutting, because moisture shrinks cut cotton pieces by different amounts. She uses heavier starch on yardage meant for triangles and bias edges.
If you’ve already starched a stack of cut triangles, measure a few before sewing. The straight-grain pieces are probably fine. The bias ones are the ones to check.
#13 Skipping the squaring-up on small units
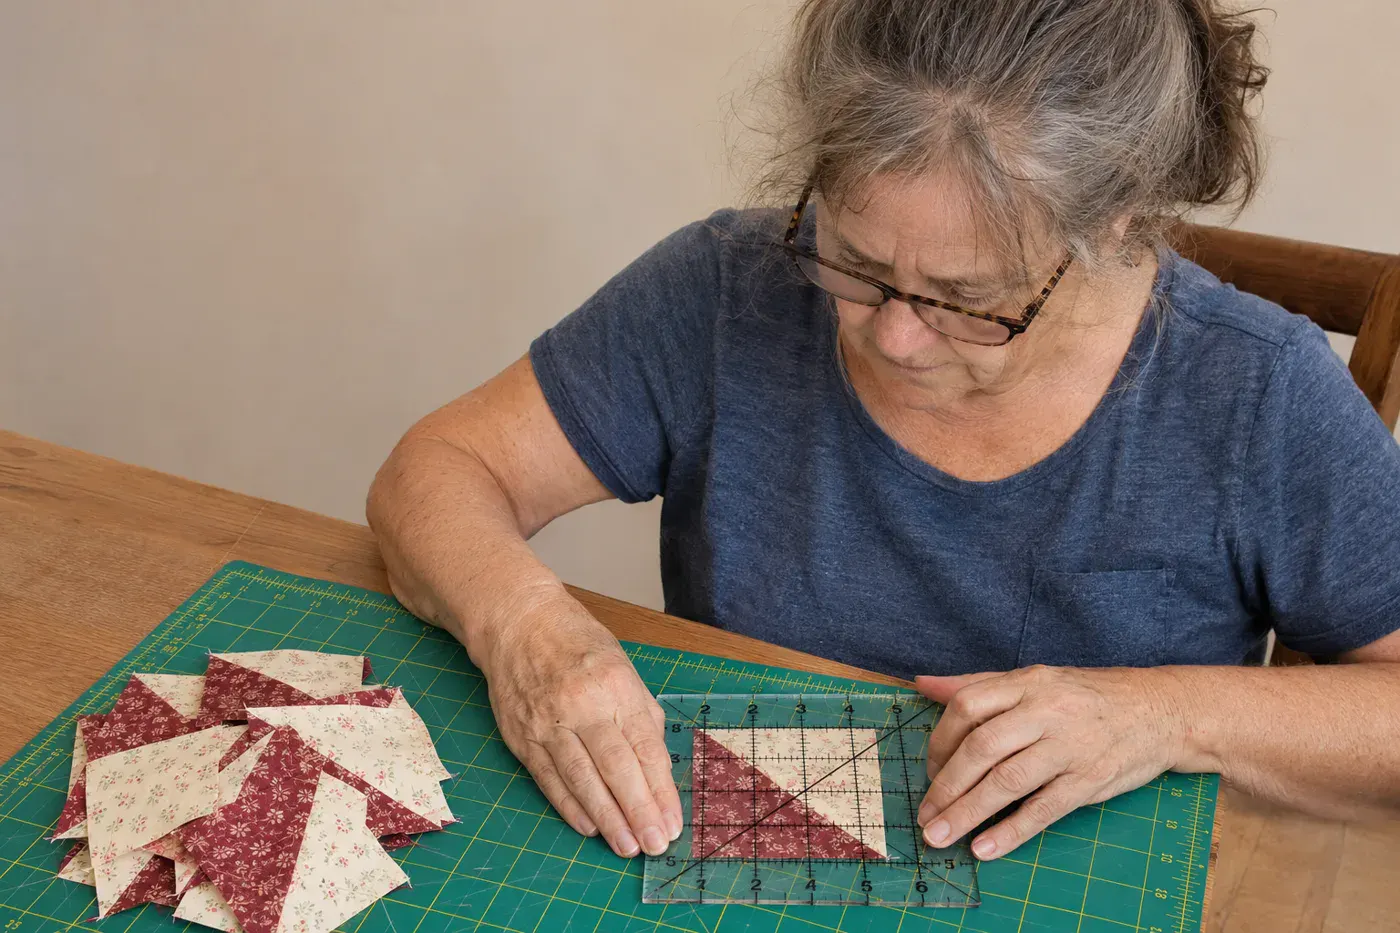
You’ve trimmed thousands of half-square triangles. That’s exactly why skipping it is tempting on the next hundred.
Quilters with years behind them say the same thing on Reddit: their old mistakes come back when they rush, or skip pressing and squaring the small units. Their fixes are dull and they work: slow the machine, use more pins, use a stiletto, measure twice.
To square up your blocks at the unit stage, you need the right numbers. Cotton and Joy cuts half-square-triangle squares at the finished size plus 1 inch, instead of the usual plus ⅞, “which gives a little more wiggle room.” Then each unit gets trimmed to the finished size plus ½ inch.
For a 3-inch finished triangle square, that means cutting 4-inch squares and trimming to 3½.
The trim itself:
- Lay the ruler’s 45-degree line on the diagonal seam.
- Trim two sides.
- Rotate the unit and trim the other two.
Flying geese are always twice as wide as they are tall, so typical sizes run 1½ × 3, 2 × 4, 3 × 6 or 4 × 8. Buscaglia sews a whole batch first and trims them together, which turns a chore into one sitting with a podcast.
#12 A block sewn in facing the wrong way
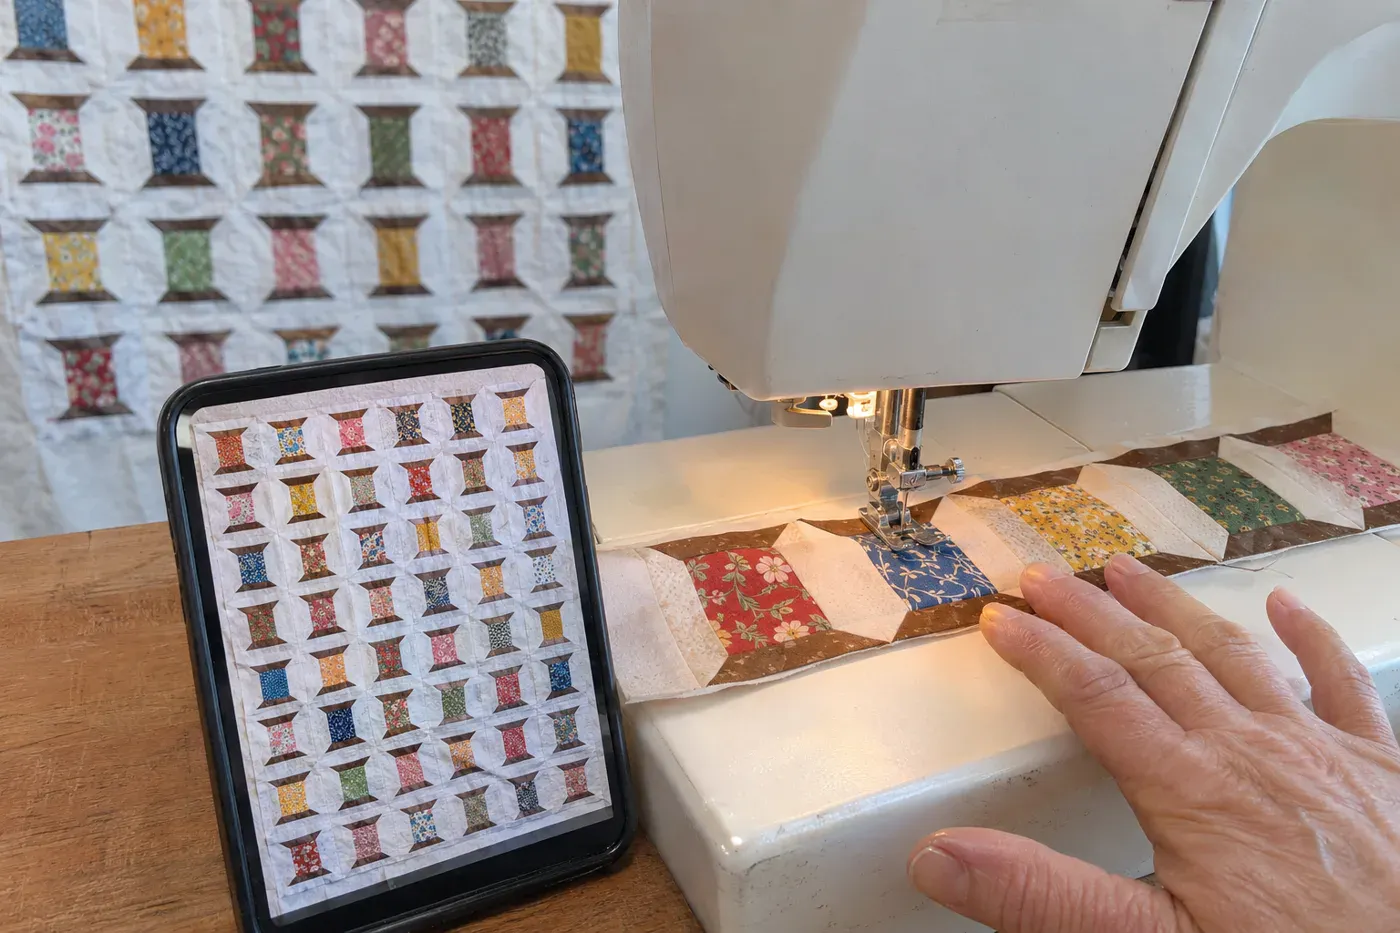
You lay the rows out on the floor, step back, and it looks right. Then you carry row four to the machine, and somewhere between the floor and the presser foot, one block turns a quarter turn.
The quilter at Sleeping Dog Quilts found this happening on a Jumbled Spools quilt, where it’s easy to flip a row the wrong way. Her fix costs nothing. She photographs the design wall before sewing the rows: “It’s saved me from major un-sewing on more than one occasion!” Keep the photo open on your phone beside the machine and check each row before it goes under the needle.
This is the one worth ripping out, even if you’re relaxed about everything else. On r/quilting, a quilter who makes quilts for home says she won’t fret over a seam that’s an eighth of an inch off. Fair enough. A crooked seam disappears from across the room, and a turned block is the first thing anyone sees. If you catch it before the rows are joined, it’s two short seams to unpick.
#11 Seams pressed so they can’t nest
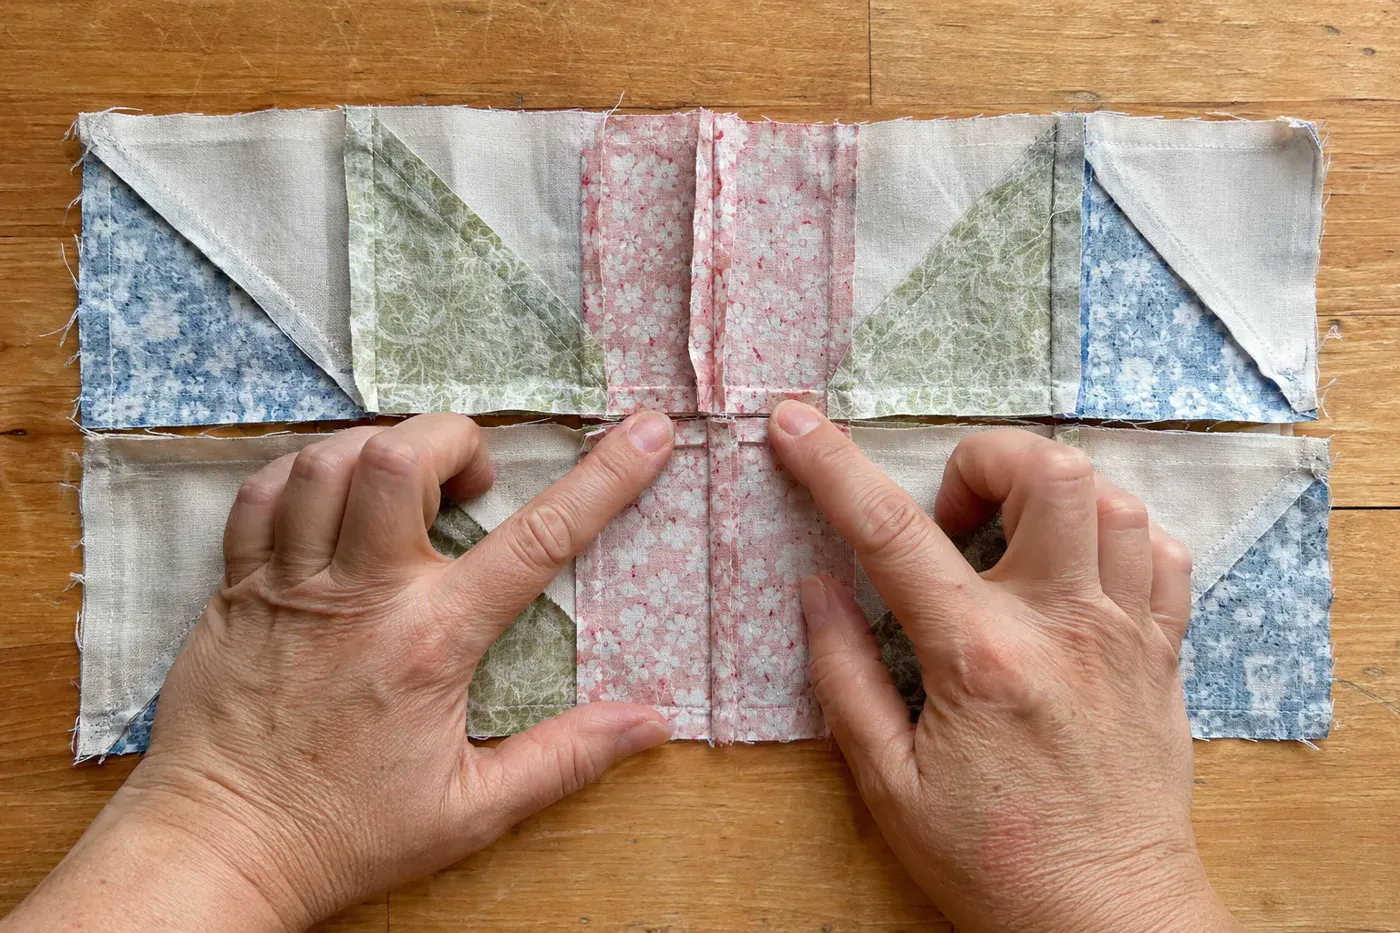
You reach the row join, run your fingers along the seam, and both seam allowances point the same way. They won’t nest. They’ll stack.
Usually this is habit: pressing every seam toward the dark fabric without thinking ahead. Sew4Home calls toward the darker color “customary,” and it is, until two neighboring rows both follow the rule the same way.
Here’s the plain version of “it depends,” from Missouri Star Quilt Co.:
| Press | Why | Use it for |
|---|---|---|
| To the side | Stronger, nests easily, faster | Most piecing |
| Open | Less bulk, lies flatter | Y-seams, or 6 or more seams meeting at one point |
You can use both in one quilt. Before you join two rows, finger-press their seam allowances in opposite directions, and they’ll lock together like a zipper. If one row’s already pressed the wrong way, turn its allowances back with the iron before you sew. That beats unpicking.
#10 Basting too loose, or pulled too tight
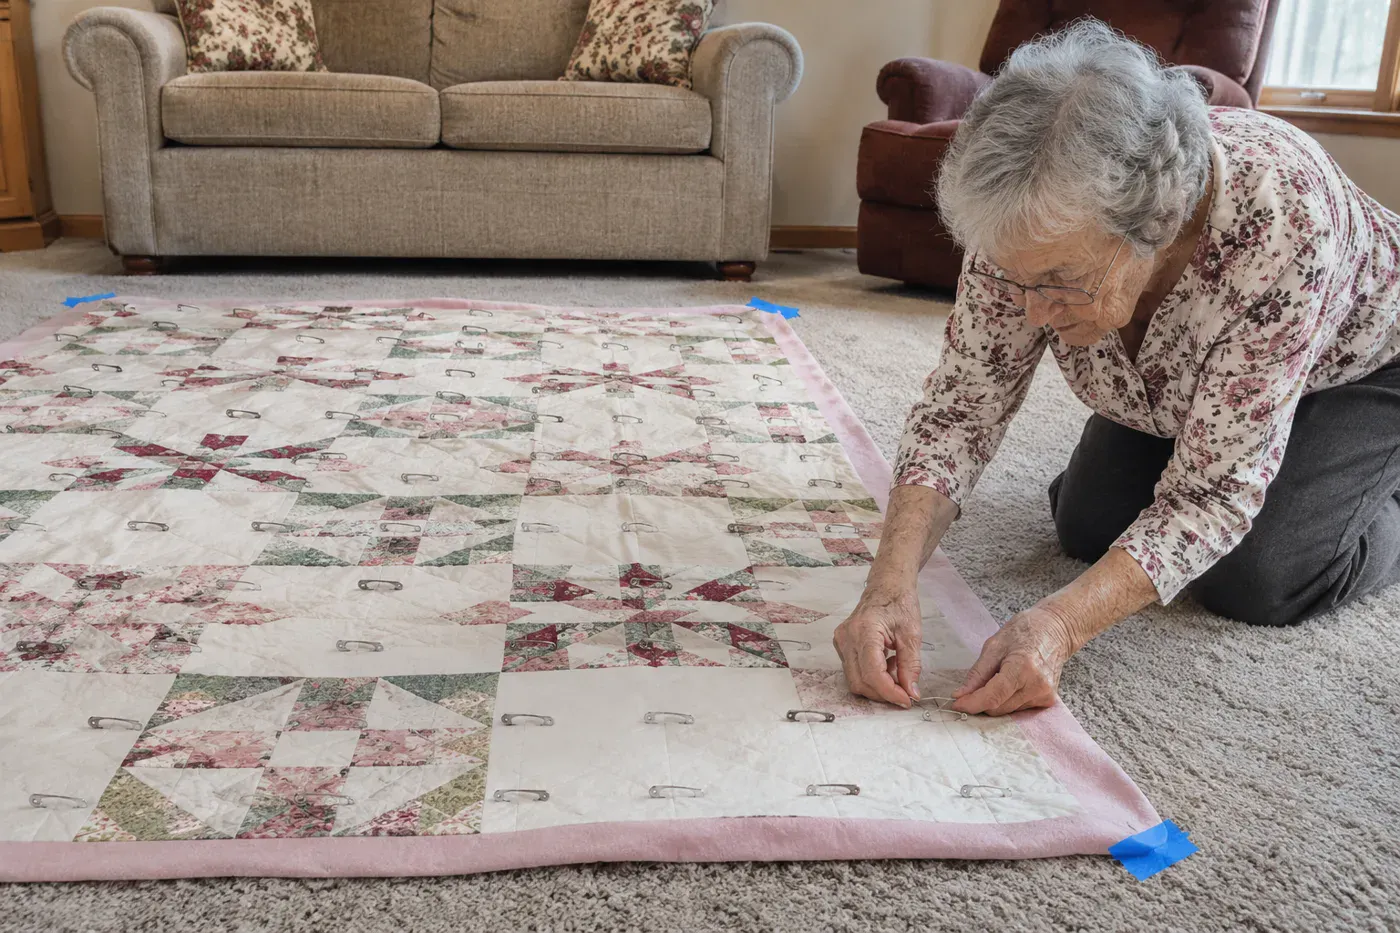
Puckers on the back usually start at the basting table, and there are two ways to cause them.
Too few pins is the familiar one. Broadcloth Studio pins in a diamond grid, leaving “about a fist (or 4-5 inches)” between pins. Lo & Behold Stitchery pins every 4 to 6 inches, roughly the width of a hand, notes that some quilters pin every 2, and says “it’s better to use too many pins than too little.”
The second is tension, and teachers disagree here. Linda’s basting guide says to tape the backing down “as smooth and tight as a drum” before pinning. Lo & Behold Stitchery instead aims for backing that’s “taut but not TIGHT,” warning that over-tight backing pulls away from the tape and distorts while you quilt. If one approach keeps giving you puckers, try the other.
For the taut approach, smooth the backing until it lies flat, with no ripples, and then stop.
#9 Binding that ripples or runs short
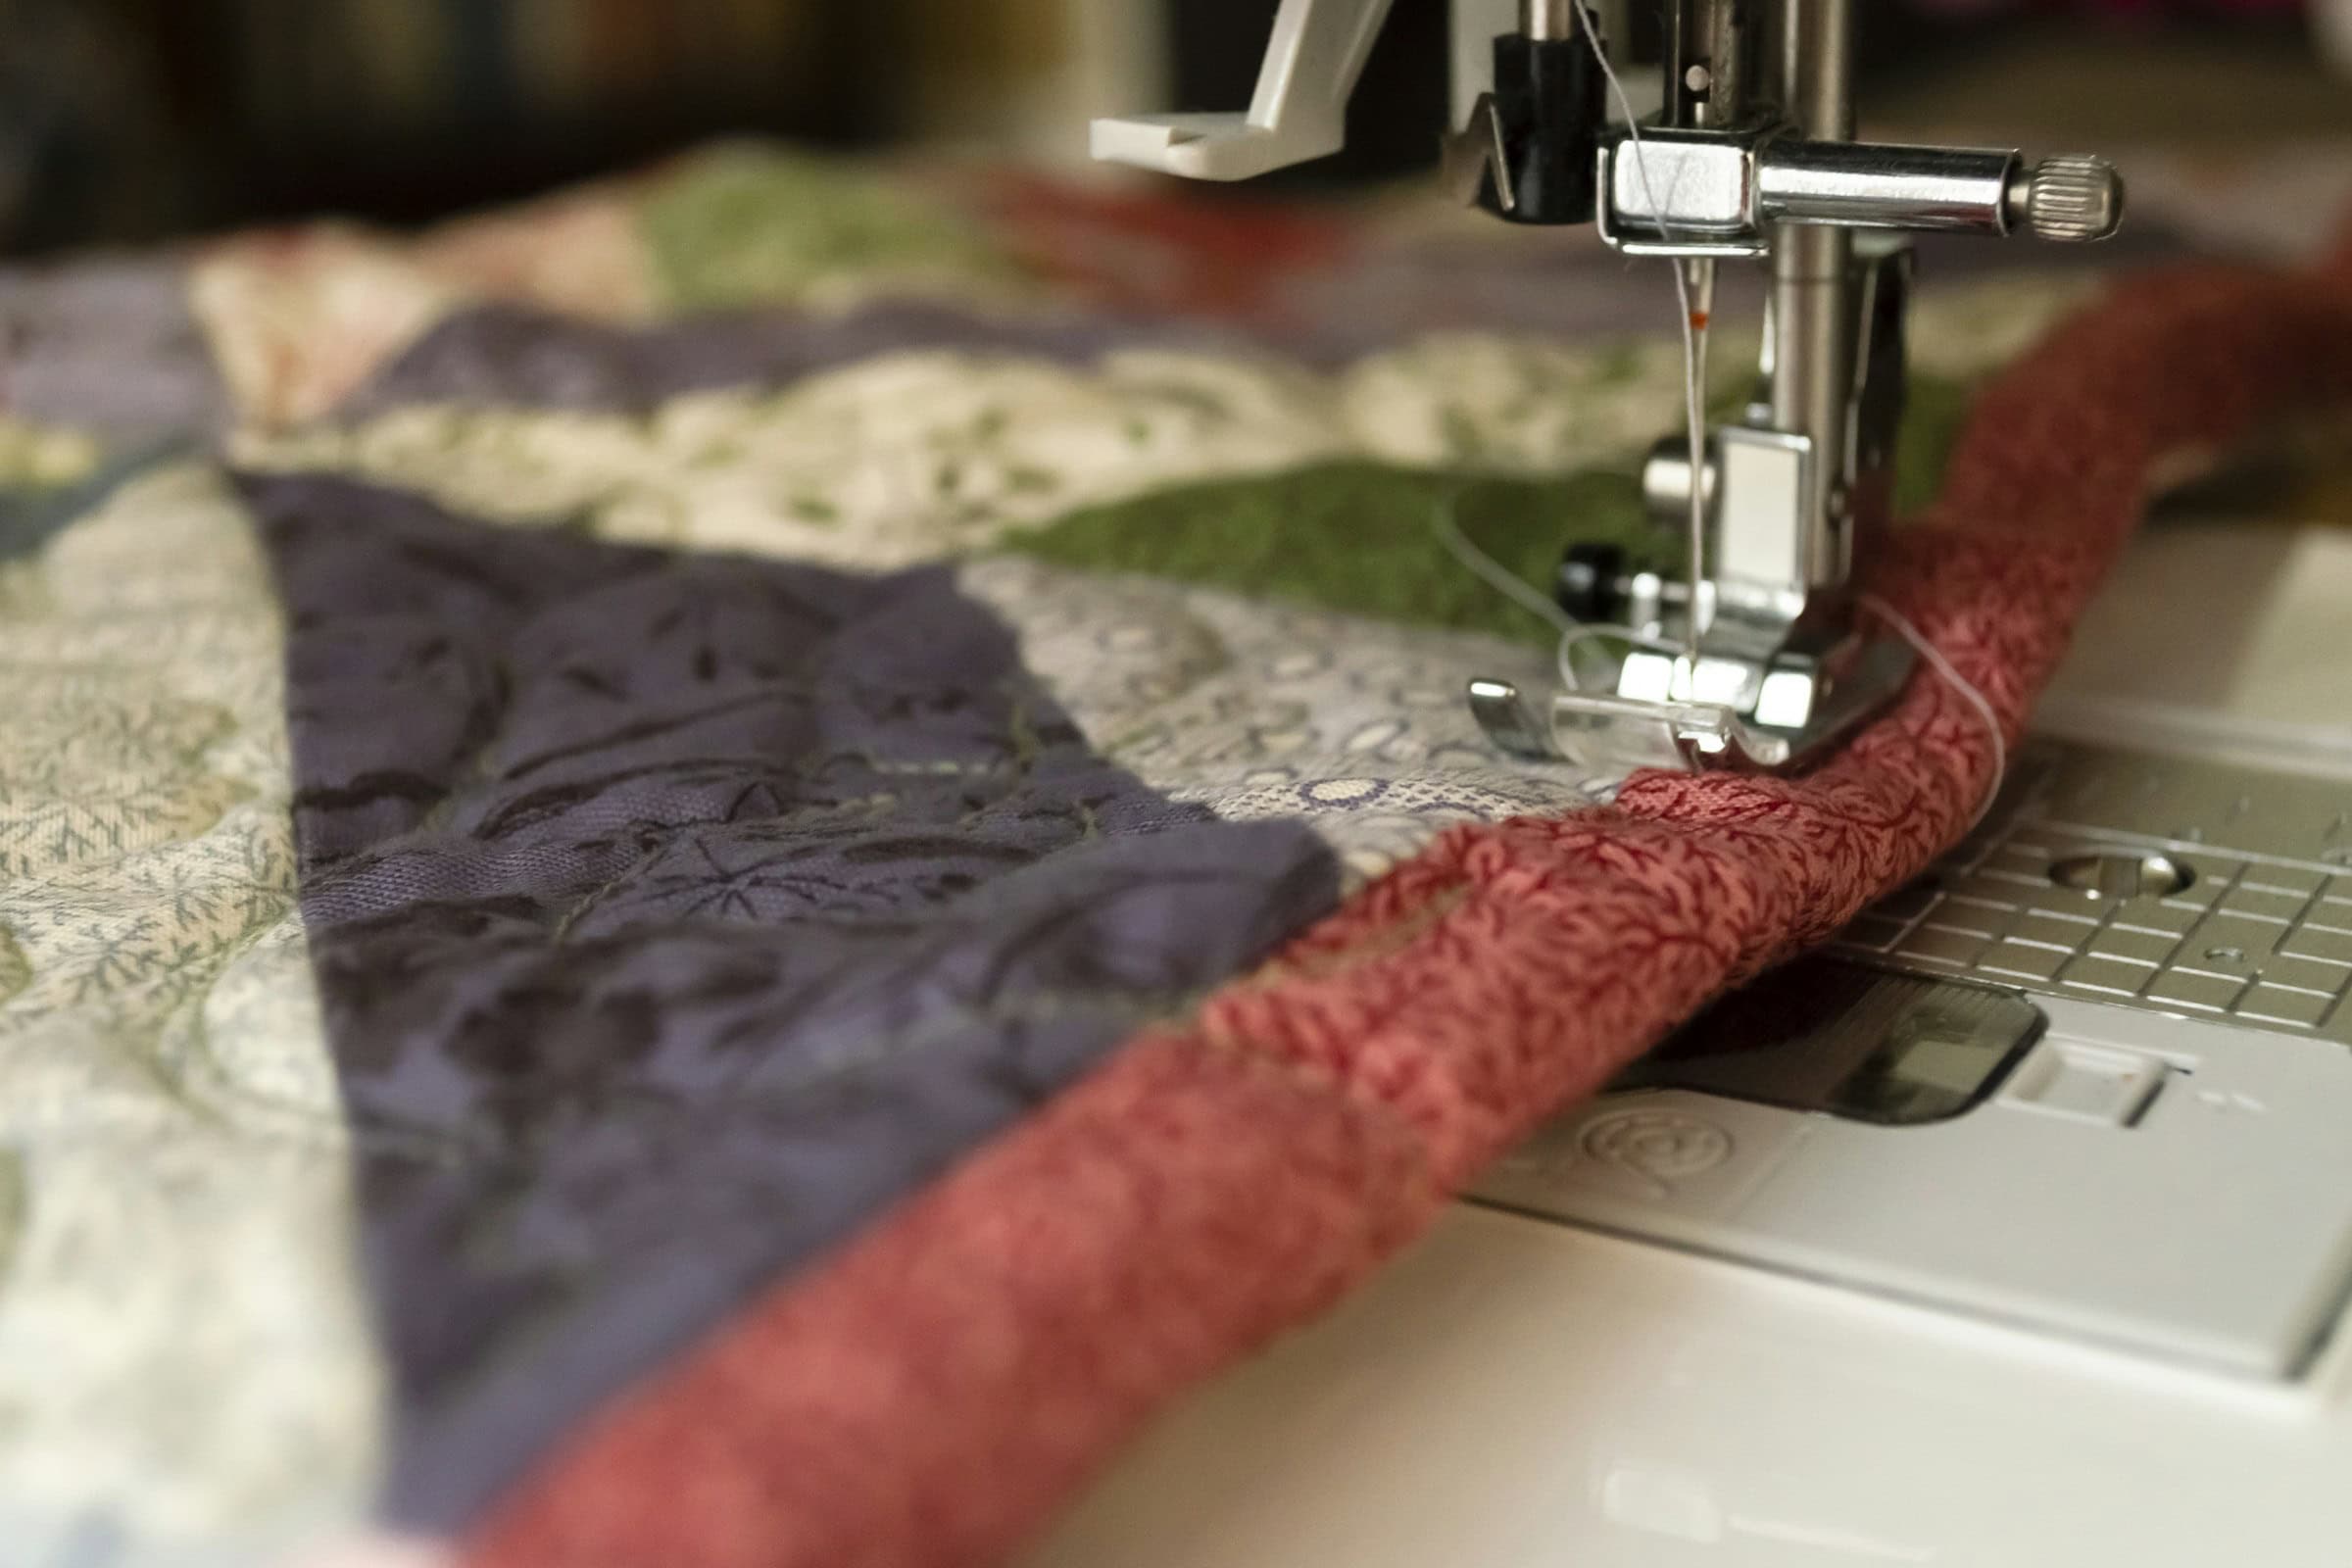
Two things go wrong with binding: you run out of strip three inches from the finish, or the edge waves like a pie crust. They have different causes.
Running short is math. Hailey Stitches’ formula covers it, with room for turns and the join:
Binding, by the numbers – Formula: (length × 2) + (width × 2) + 10″ = binding needed. – Example: a 60″ × 72″ quilt needs 274″ of binding. – 274″ ÷ 42″ of usable fabric width = 7 strips, cut 2½” wide. – That’s just under half a yard. Join strips on the diagonal and press the seams open.
Use your quilt’s real measurements, not the size printed on the pattern.
The ripple has a cause most quilters don’t suspect: their own hands. APQS, the longarm maker, says quilters often “pull this outer edge flat, trying to make those soft ripples disappear as they attach the binding.” That stretches the very edge and makes the waves. Let the binding rest on the edge and ease the fullness under it.
APQS adds one more cause. Borders quilted more lightly than the center ripple more, so the fix for the next quilt may start at the quilting stage.
#8 Binding sewn on an empty bobbin
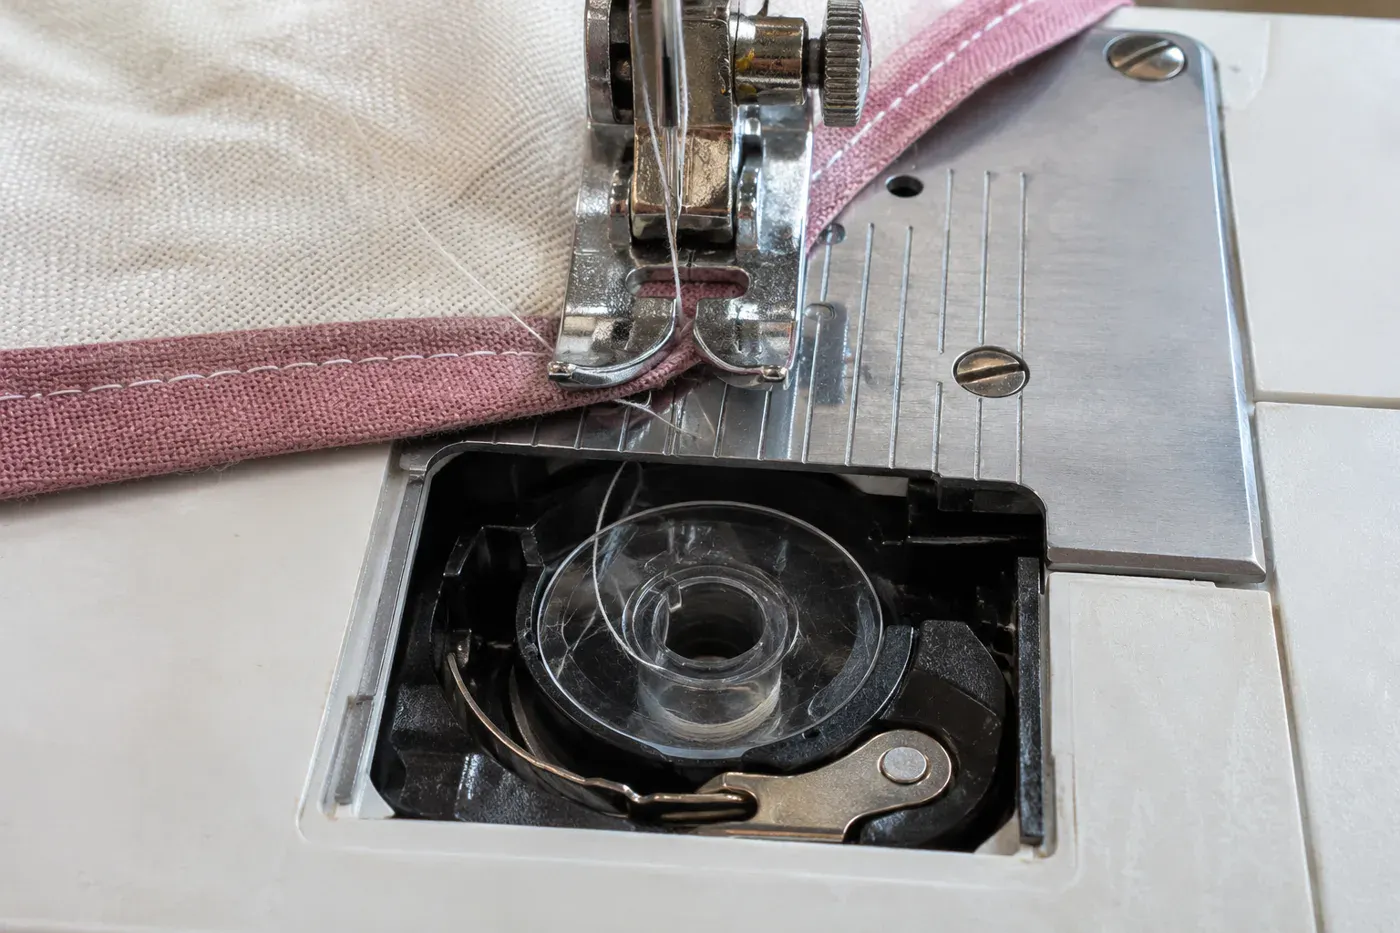
Binding is one long seam, and your eyes are on the corners, not the bobbin. That’s when the bobbin runs out.
A low-bobbin sensor should save you. On the Brother SE625, it stops the machine with a beep and the message “The bobbin thread is almost empty.” But a retailer’s guide to the machine notes the sensor only works with clear plastic Class 15 (SA156) bobbins. A metal or opaque bobbin blocks it. Lint in the bobbin race can stop the warning entirely.
So the warning you count on may stay quiet exactly when you need it. Before you start the binding, brush out the race and wind a fresh bobbin, even if the old one looks half full.
#7 Quilting spaced farther apart than batting allows
Most quilters change batting brands at some point and keep quilting the way they always have. But each batting has its own limit on how far apart you can quilt.
| Batting | Quilt no farther apart than |
|---|---|
| Hobbs 100% Cotton | 2″ |
| Hobbs 80/20 Heirloom | 4″ |
| Hobbs Polydown | 6″ |
| Quilters Dream Select | 8″ |
| Warm & Natural | 10″ |
The Hobbs and Quilters Dream limits come from Linda’s spacing guide, which says going past them causes “batting migration, lumping, and shifting after washing.” Warm & Natural can go up to 10 inches because its cotton is needle-punched through a scrim.
That’s a big spread. A large meander that’s fine on Warm & Natural could leave Hobbs 100% Cotton lumping in its first wash.
Going too far the other way has a cost too. Linda’s says quilting under an inch apart makes a “firmer, stiffer quilt.”
While you have the Warm & Natural package out, note the rest: put the cotton side, the one with the “leaf & stem remnants,” toward the top, and expect about 3% shrinkage in the first wash.
#6 Hands still moving while the needle runs
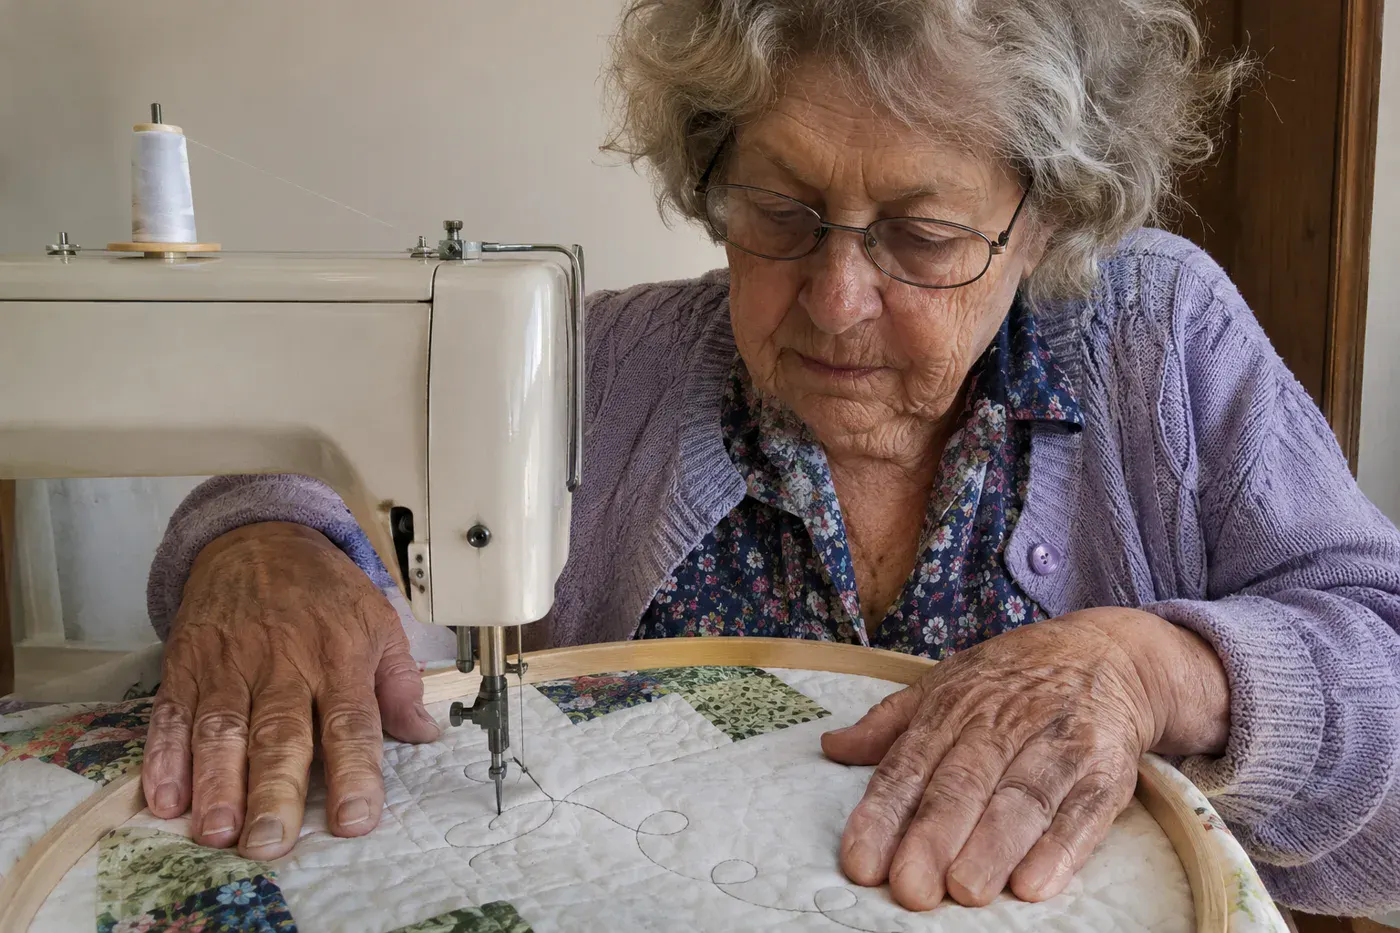
You’ve seen “eyelashes”: loops on free-motion curves. Quilters fight them for years and blame the tension.
Amy at Free Motion Quilting Adventures traces them to uneven hand motion, and her fix is one habit: “Stop with the needle down before you move your hands.” When you reach for a new hold on the quilt, the needle stops too.
The other half is matching hand speed to machine speed: when you ease off the pedal, ease off your hands too.
#5 Jelly-roll seams stacking up row after row
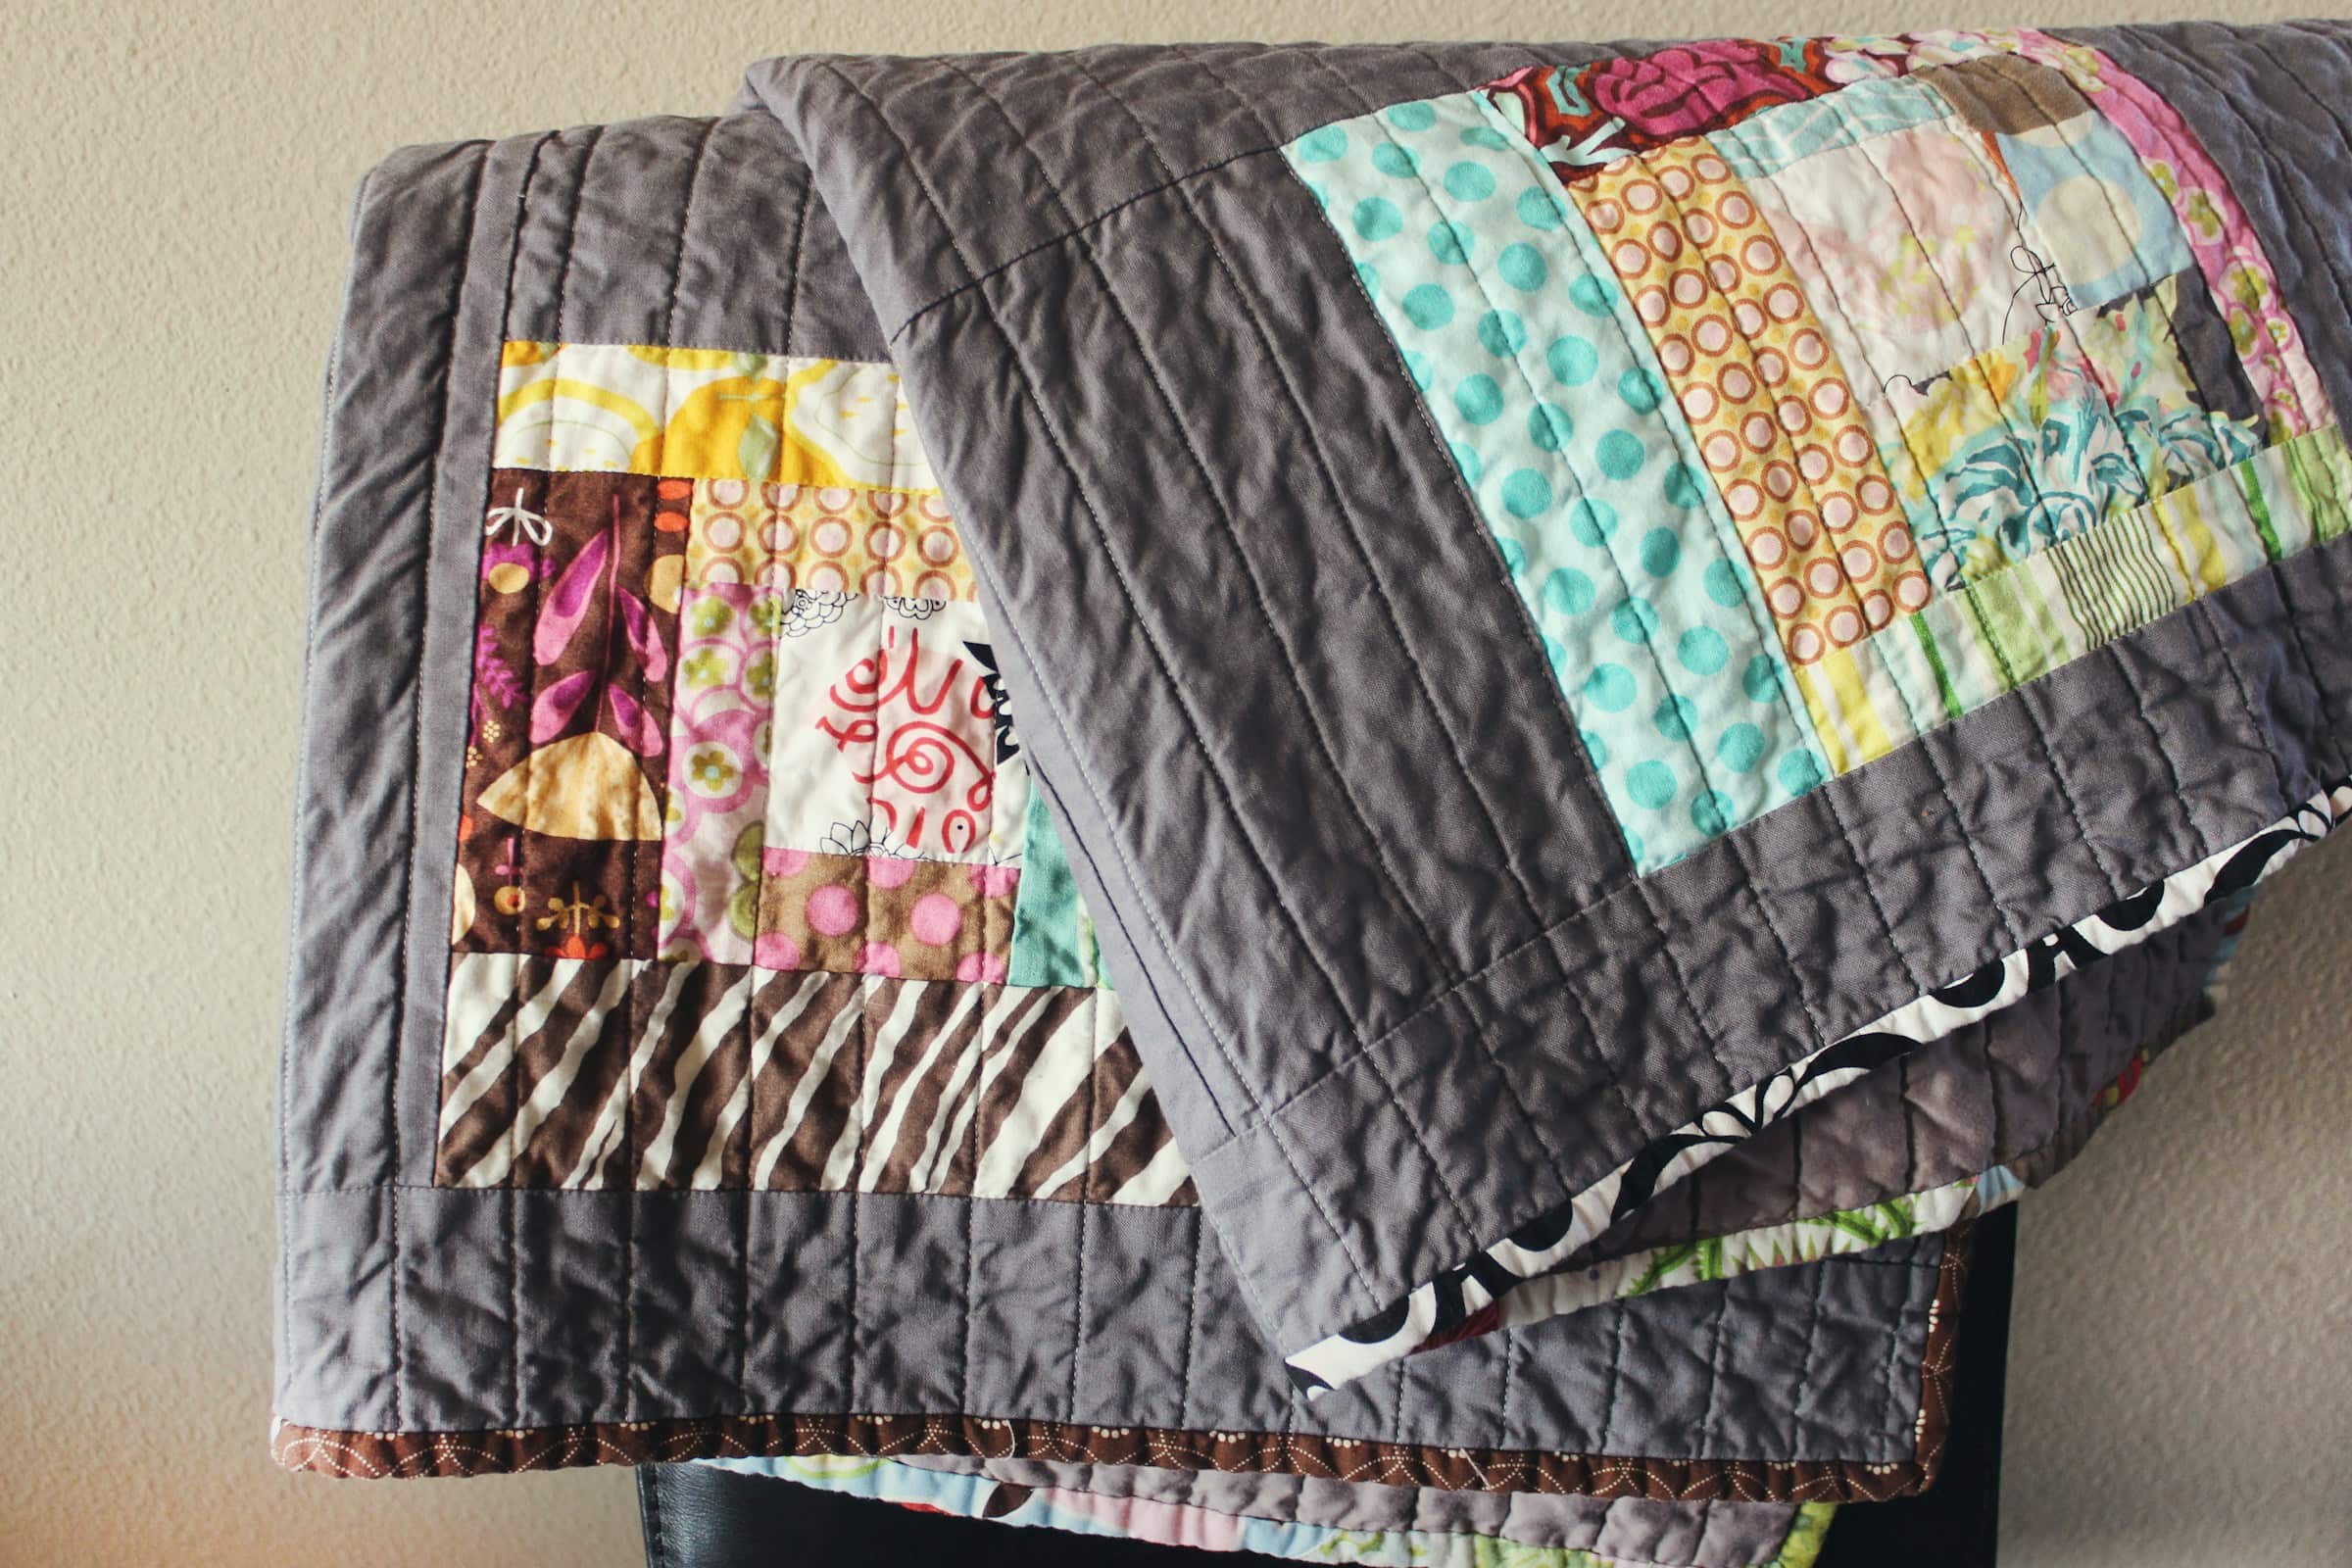
In a jelly roll race, you sew every strip end to end, fold the long strip in half, sew, fold again, sew again. It’s so quick that the one fussy step gets skipped.
That step is what stops every join from stacking up across the rows. Wee Folk Art’s directions say to cut 18 inches off one end of the long strip before the first fold: “This is very important to offset the seams! Just be sure to do it on only one side.”
Tami Jones of Hometown Quilt Co cuts her first strip in half for the same reason in her jelly roll video, so the joins land in different places on each row.
Skip it, and the joins line up into neat little stripes running across the quilt. Wee Folk Art also has advice for the twisted first row that every race quilter knows: “Don’t worry if this first row is twisted. Just cut the end open and untwist it.”
#4 Fabric that isn’t as true as it looks
You did the math the night before. Yardage, cuts, sashing widths, all on the back of an envelope. Then you unfolded the fabric.
Michelle of Bits & Pieces Quilting, a guild quilter in Canada making a community quilt, found two surprises in one project. Her printed panel blocks weren’t printed square, so a quarter-inch seam would have cut into the designs, and she had to trim and redo her numbers.
Then the folded yardage turned out to be ombré, shading from one color to another, and it came as a shock when she opened it up and found it wasn’t all the color she’d expected. She ended up cutting each piece from the same depth of color instead of making strip sets, and once it was laid out, the quilt needed sashing.
Panels are rarely as square as they look. Catherine of Running Doe Quilts says “panels usually are not perfectly square,” and panels with printed borders are trickier because a badly off-square print can be very obvious. Her fix is to sew the sashing on big, then trim the panel to round numbers: whole, half and quarter inches.
Unfold and measure the fabric before you do any math.
#3 A needle position left off-center
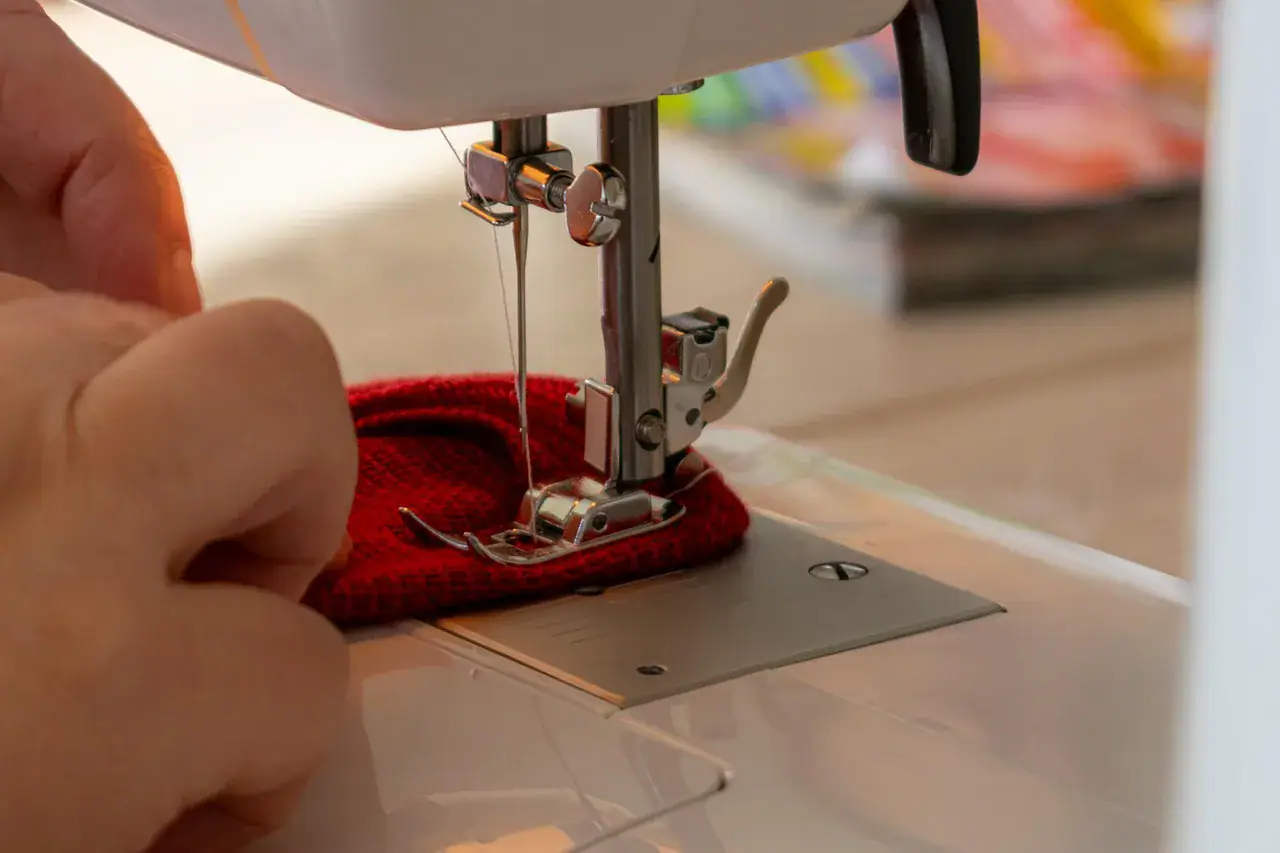
This one isn’t about your hands. It’s about the machine.
Brother’s US help page says its machines automatically select “the straight stitch (left needle position)” when you switch them on. If you set up your quarter-inch foot expecting the needle in the center, every seam after that is off, and nothing looks wrong. Brother lists this for more than 40 home models, including the CS, XR and SM series.
You can change the default to center:
- Turn the machine off.
- Hold down the (+) side of the stitch selection key.
- Turn the machine on, then let go.
The setting stays after you turn the machine off, so you only do it once. If you sew on another brand, look up its power-on needle position in your manual before you trust the quarter-inch foot. The strip test in the next item will tell you either way.
#2 A quarter-inch seam that quietly drifted
When rows won’t line up, most quilters blame their cutting. Often the cause is a seam that drifted one sixteenth of an inch, and that much is hard to see.
Quilters on TikTok and Reddit describe the same thing: rows coming out shorter even after careful pinning, and squares that won’t match even with good tools. The arithmetic explains it.
Julie Baird of Generations Quilt Patterns works it out on a log cabin block with 1-inch logs. It should measure 11½ inches and has 10 seams each way. If every seam is off by 1/16 inch, the block is off by ⅝ inch. It comes out 10⅞ or 12⅛.
As a rough estimate using the same method: a row of six nine-patch blocks has 17 seams (2 per block, plus 5 joining them). At 1/16 inch off per seam, that’s roughly 1 1/16 inches across the row; at ⅛ inch off, roughly 2⅛. Close enough on each seam turns into more than an inch across the row.
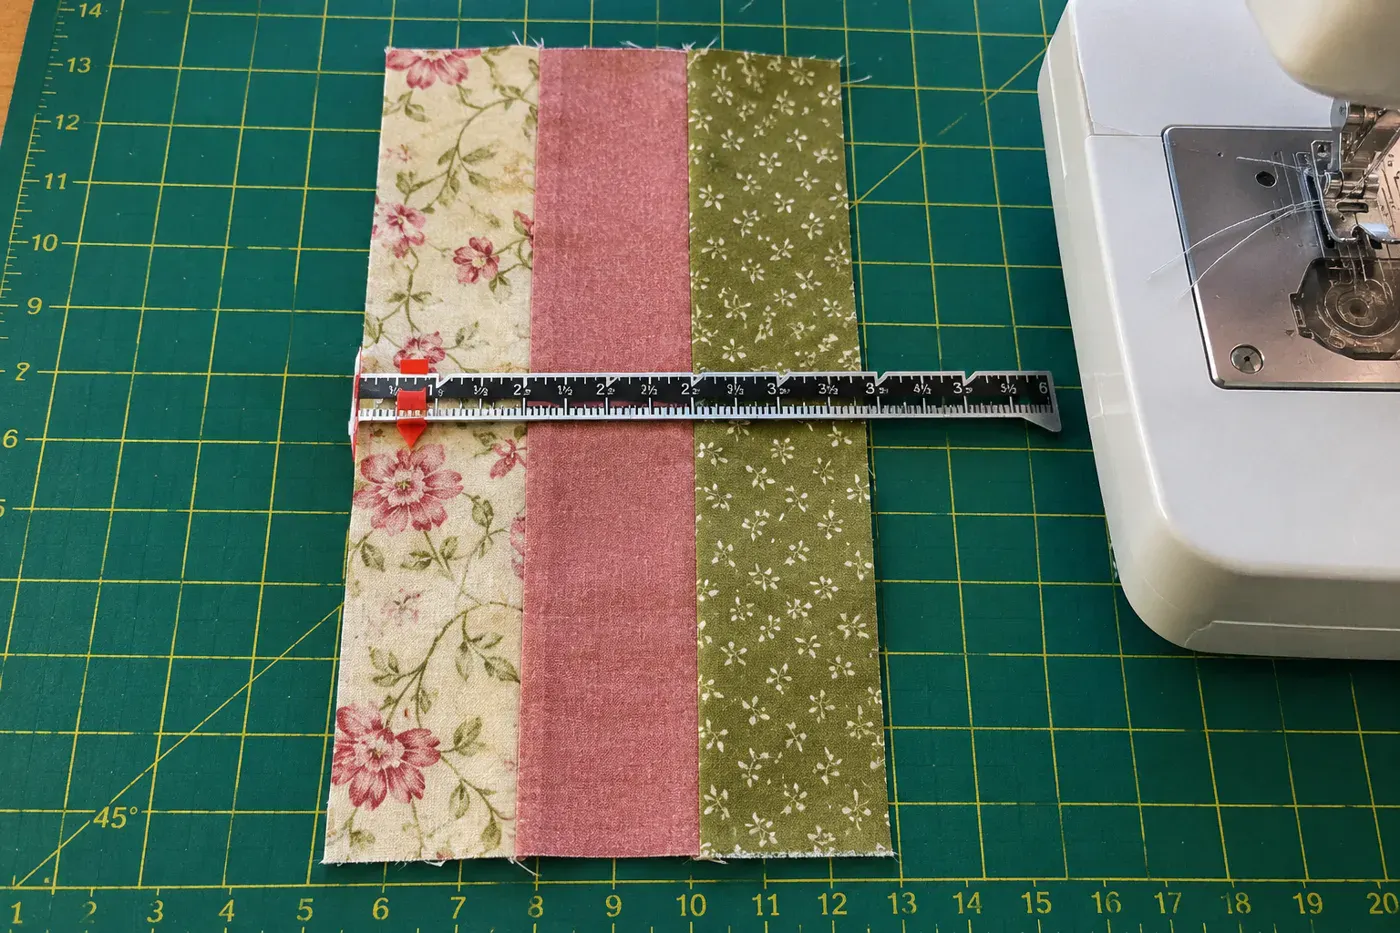
Whether you sew a true quarter or a scant quarter inch, test it:
Check your own seam this week – Cut three strips 1½” × 4″, sew them together, press. – The unit should measure exactly 3½” wide. – The outer strips should read 1¼” each; the center strip, 1″. – Center at ⅞”? Each seam is about 1/16″ too wide. Ease it back.
Baird’s rule for reading the result: “If the strips are too wide, your seam allowance is too small, increase it. If the strips are too narrow, your seam allowance is too big, reduce it.” Jennifer Fulton runs a similar test and doesn’t hedge on the result: “If the unit still doesn’t measure up, unsew and resew.”
For a top already sewn, measure each row against its neighbors before ripping anything.
#1 Finding the mistake after the quilt is quilted
The quilt comes back from the longarmer, and you spread it across the bed. Then you see them: two patches in each other’s places.
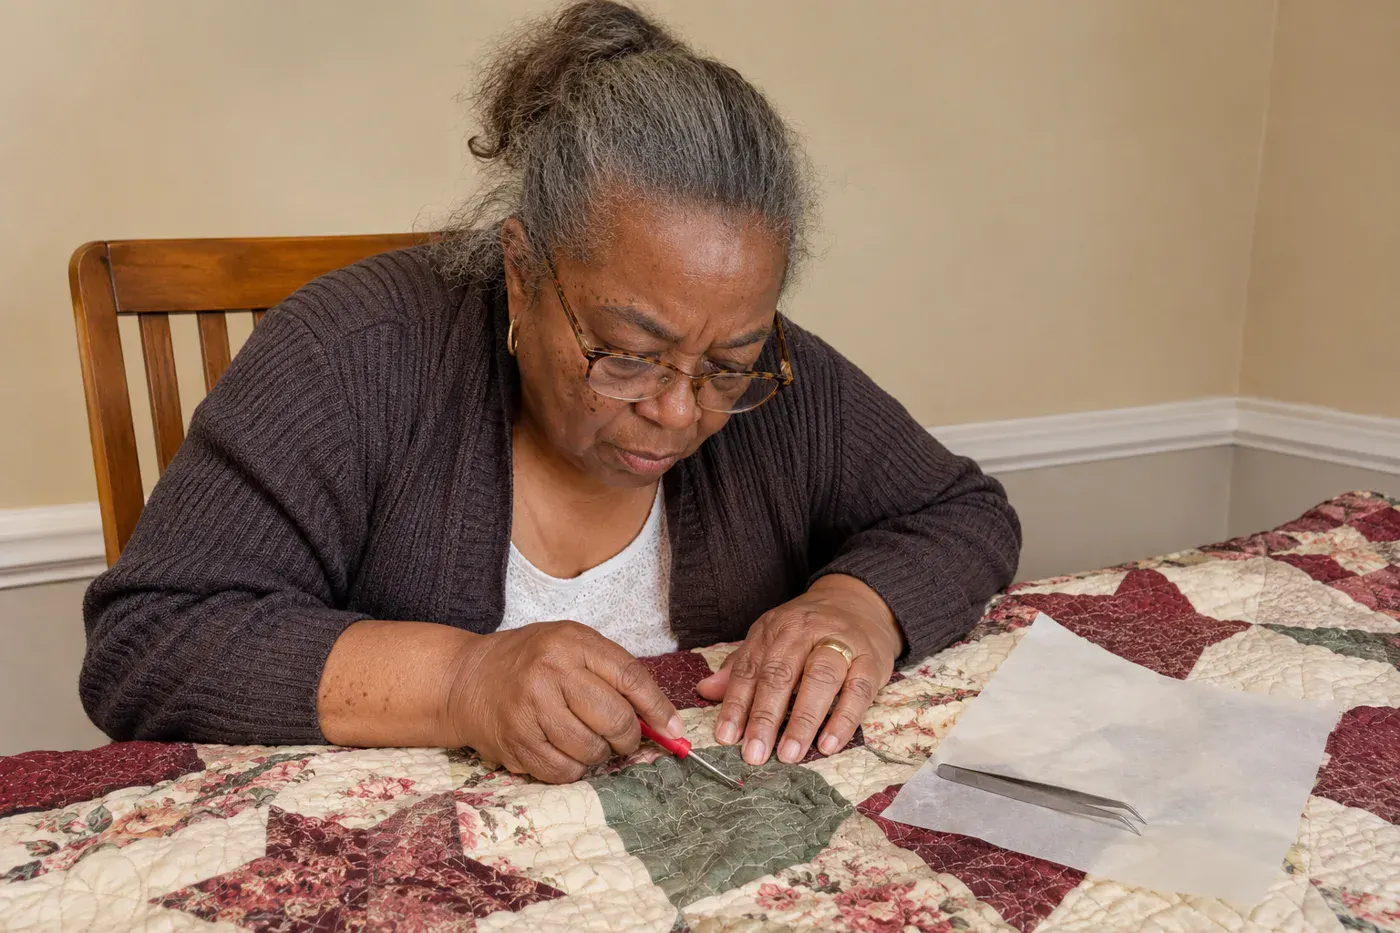
Carole of From My Carolina Home found exactly that on a finished, longarm-quilted mystery quilt. She didn’t call it a lesson learned and fold it away. She fixed it, working only on the two patches:
- She traced the quilting over those patches onto tracing paper.
- She unpicked just those two patches, leaving the rest of the quilting alone.
- She hand-stitched each patch back in its right place.
- She re-quilted along the lines of her tracing.
- She picked the paper out with tweezers.
Her verdict: “You can see the hand stitches if you look closely. Right now, finished is better than perfect!”
You don’t have to take out the quilting edge to edge. That fear is what keeps most people from trying. In Reddit threads from quilters who found mistakes after hand quilting, after machine quilting or after the quilt had shipped, one had quilted almost to the edge before finding a problem near the center, and doubted it could be fixed at all. Carole’s method works because it stays inside the patch.
Before you pick up the seam ripper, know what most commenters in those threads say: other people don’t see the mistake until it’s pointed out, and then they have to hunt for it. A smaller group fix their own anyway, mostly on quilts they’ll see every day or when the mistake sits near an edge.
You’ll also hear that quilters leave a mistake in on purpose, the “humble block,” because only God is perfect. It’s a lovely saying. Lee Kogan, Curator Emerita of the American Folk Art Museum, has said it has never been proven, and historians have traced the earliest mention only to 1949. So if you leave it in, that’s your call, not tradition’s.
The bottom line
Look back down these seventeen and notice which ones made you wince. Those probably aren’t skill problems. They’re habits that formed on a different machine, a different batting or a different pattern, and they’ve quietly kept going.
Fast is where most of these hide: the trim you skip, the iron you slide, the bobbin you don’t check. Slowing down on the three or four steps that bit you will do more than slowing down on everything.
Before you cut your next quilt, pick the one that cost you the most unpicking last time, and do its check first.
Bonus: five checks before your next quilt goes under the needle
- Test any fabric you suspect will run. Amber Elliot soaks a small swatch and squeezes it with a white paper towel, and prewashes with Retayne if anything bleeds. If a finished quilt does bleed, keep it out of the dryer and rewash it in hot water with Synthrapol.
- Sew the label on before quilting. A 2016 survey of 24,185 quilters by Handi Quilter, cited by the Quilt Alliance, found 94% believe documenting and preserving quilt history is important, but only 57% say they label their quilts consistently. The Alliance suggests attaching the label before you quilt so it stays put. Your name, plus when and where, is enough.
- Cut backing 8 inches longer and wider than your actual top, which gives the 4 inches a side most longarmers ask for. Square it off, pieced or not.
- Change your rotary blade on a schedule, not when it fails. Becky Jorgensen’s schedule: every couple of weeks if you cut daily, monthly if you cut a few times a week, and every few months if you quilt now and then.
- Quilt a test sandwich first, from the same fabric, batting, thread and needle as the real quilt. Test again after a new bobbin, a thread change or turning the machine off.
Questions people also ask
Should I fix a quilting mistake or leave it?
Step back about three feet: if you can’t see it, leave it, and if you can and it bothers you, fix it. That’s Penny Spool Quilts’ rule. For machine-quilting slips, Lori Kennedy marks the spot with a safety pin and decides once the whole quilt is done. Her one exception is tension problems, which she fixes right away.
Why don’t my quilt blocks line up?
Often your seam allowance has drifted a little, and the small error repeats on every seam. Just 1/16 inch off on each of a log cabin block’s 10 seams changes the block by ⅝ inch, according to Generations Quilt Patterns, and a three-strip test shows your seam in minutes. Sliding the iron can stretch a 2½-inch unit by ⅛ inch, and starching a cut 2½-inch bias triangle can shrink it by the same ⅛ inch.
Do I need to backstitch when piecing a quilt?
Usually not, because another seam will cross the end and lock it. Sew4Home says “do not backstitch in piecing!” for that reason. Do secure ends nothing will cross, like outer borders and the start and stop of binding, as Linda’s explains.
Should I press quilt seams open or to the side?
Press to the side for most piecing, because it’s stronger and the seams nest easily. Press open for Y-seams or where six or more seams meet at one point, per Missouri Star Quilt Co. You can mix both in one quilt, and if your pattern says which way to press, follow it.
What causes skipped stitches when quilting?
Skipped stitches usually come from a damaged needle, the wrong needle size or top tension set too tight. Schmetz’s troubleshooting guide lists those first, along with timing that needs a technician, and suggests a new needle about every 8 hours of sewing. Change the needle before you blame the machine.
How much binding fabric do I need for a quilt?
Add the length times two and the width times two, then add 10 inches for corners and the join. Divide by your fabric’s usable width to get the number of strips. A 60 × 72 quilt needs 274 inches, which is 7 strips cut 2½ inches wide, or just under half a yard, by Hailey Stitches’ formula.


