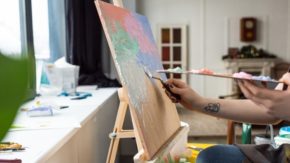
Acrylic is my favorite paint medium. Acrylics offer the same versatility as oil-based paints, but their fast-drying qualities and water-solubility make them far easier to work with and clean up. They can be applied to a huge variety of surfaces, from wood to canvas to leather, and can even be mixed with various mediums to improve durability or achieve interesting effects.
One of the things I love about acrylic painting is just how accessible it is. You can find acrylic paint almost anywhere and don’t need to use artist-grade paints to create fantastic pieces. To help you get started, I’ve put together this list of 15 acrylic painting techniques all beginners should try.
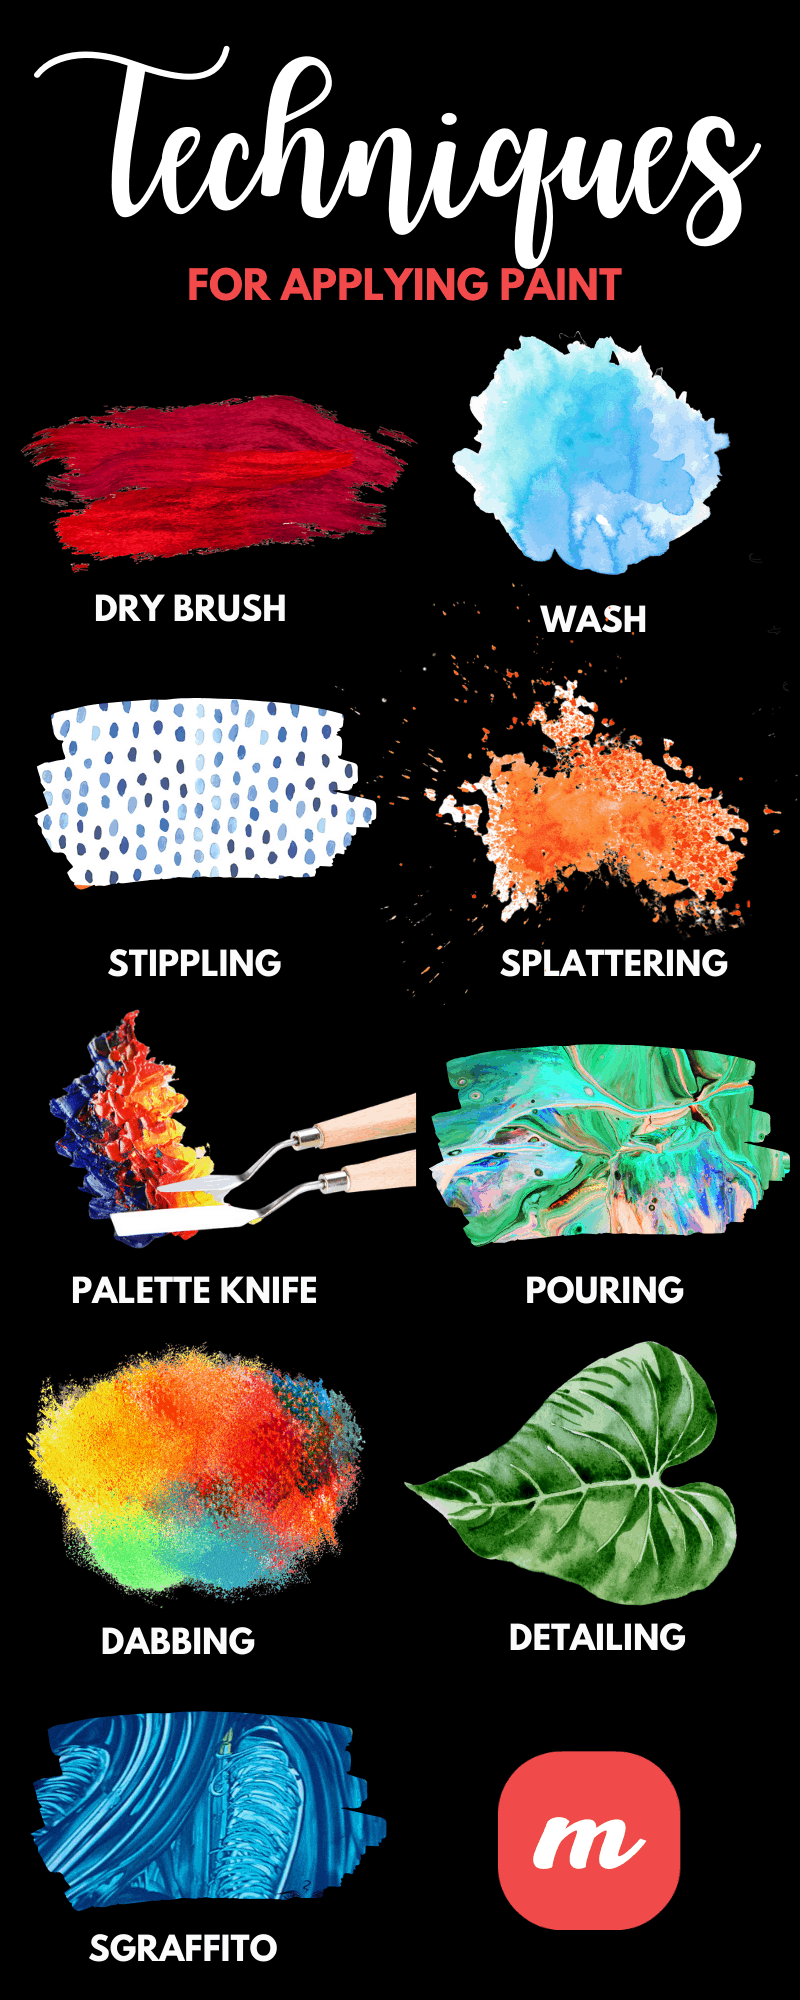
Techniques for Applying Paint
Acrylics can look very different depending on the way the paint is applied to the canvas. Here are some of the most common introductory techniques for paint application.
Dry Brush

One of the easiest ways to add texture to your painting is by applying acrylic directly out of the tube using a dry brush. Because the paint has not been solubilized in water, the brush strokes will be visible, creating a textured, painterly effect.
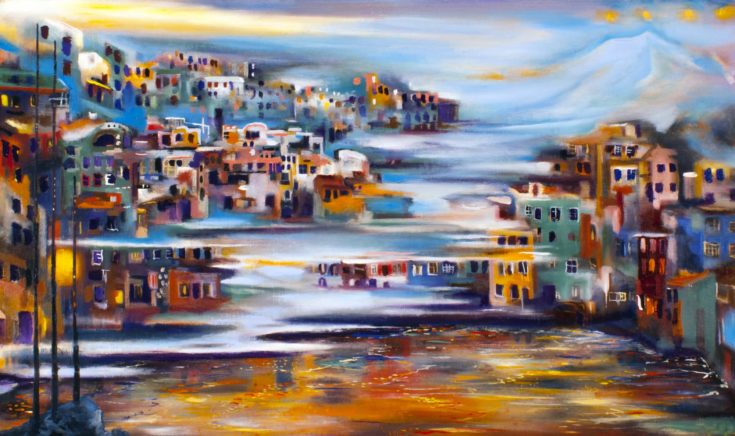
Dry Brush painting is especially useful in landscapes, as it can create the scratchy and uneven strokes associated with the natural movement of tree leaves or wispy clouds. To achieve optimal results, use a medium or large-sized, square brush that is completely dry and fully loaded with paint.
It’s important to note that this technique will be more pronounced and easier to create when working with soft-bodied acrylics as opposed to heavy-bodied versions. Heavy body acrylics have a thick consistency resembling that of oil paints. In contrast, soft-body or fluid acrylics are thinner and better-suited for movement.
While it’s still possible to work in dry brush with heavy-body paints, the added viscosity can create challenges associated with dragging or tugging the pigment across the canvas.
Wash
Part of the reason why acrylics are so versatile, is that they can be easily mixed with external mediums to mimic the properties of other paints like watercolor or oil. By adding water to acrylic paint, you can achieve the same kind of transparent washes used in watercolor painting.
To begin, add just a small amount of water to your acrylic. You can add up to about 30% water before compromising the acrylic’s binding properties or losing the vibrancy of the color. Be sure to apply the acrylic wash in a thin and even layer to achieve the best results.
If you want to cover the entire surface with a single color, but don’t want to lose the opacity or pigmentation, you can combine your acrylic with a flow-aid medium. Flow mediums will thin the paint without making it transparent.
Stippling
You may have heard the term stippling applied to wall and ceiling finishes. However, it is also a very common painting technique used by a number of professional and amateur artists.
Stippling involves applying paint as a series of tiny, clustered dots. It can be used to establish dimension and texture, and is popular amongst muralists and landscape painters. A great example of stippling in fine art is the Pointillism popularized by post-impressionist painters like Georges Seurat.
An easy way to achieve this effect without having to painstakingly apply each and every dot, is to simply use a stippling brush. These stiff brushes come in a variety of shapes and sizes, and can be used to give the impression of hundreds of small dots of paint.
Splattering
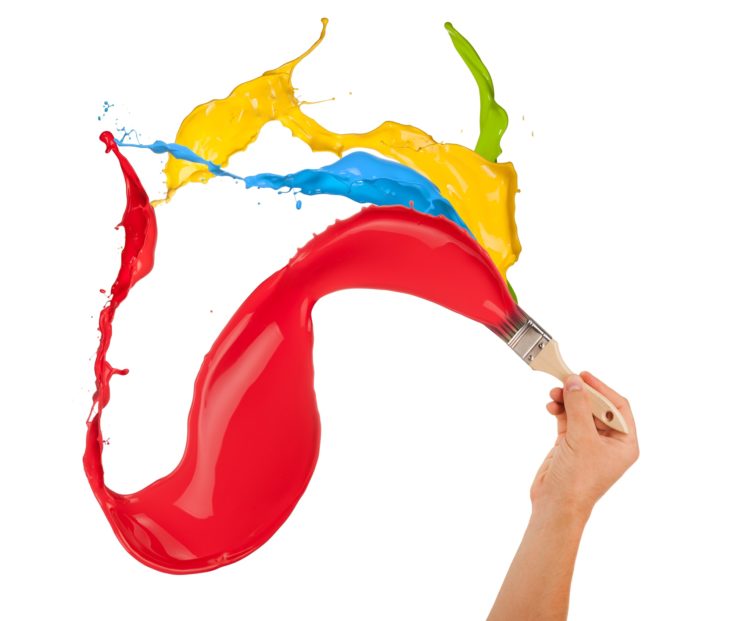
Jackson Pollock is by far the most prominent example of the splattering technique in action. His work famously involved throwing and splattering paint across large canvases to create revolutionary abstract art.
But you don’t have to be a contemporary artist to enjoy the splattering technique. Add a flow medium or water to fluid acrylics of different colors and simply drip or flick your wet brush across your paint surface. For the most vivid colors and clean splatter lines, allow the paint to fully dry in between color applications.
You can even get creative with your splattering. Creating abstract paintings using balloons filled with acrylic paint is a fun alternative to traditional splattering than can even be turned into a communal affair with a small group of friends.
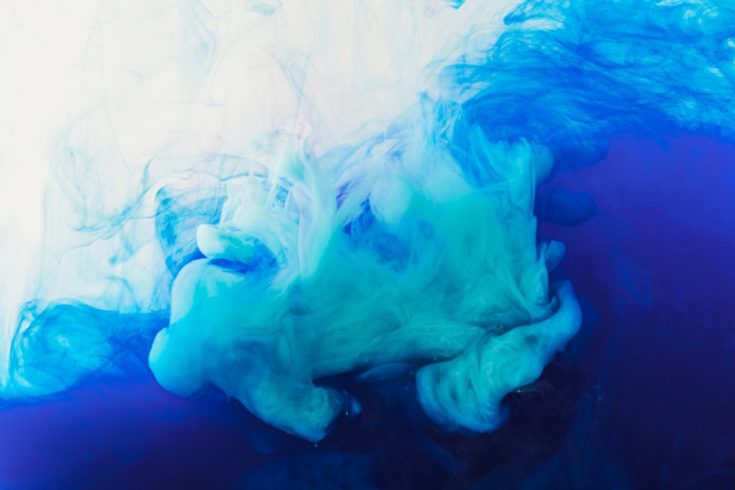
Pouring
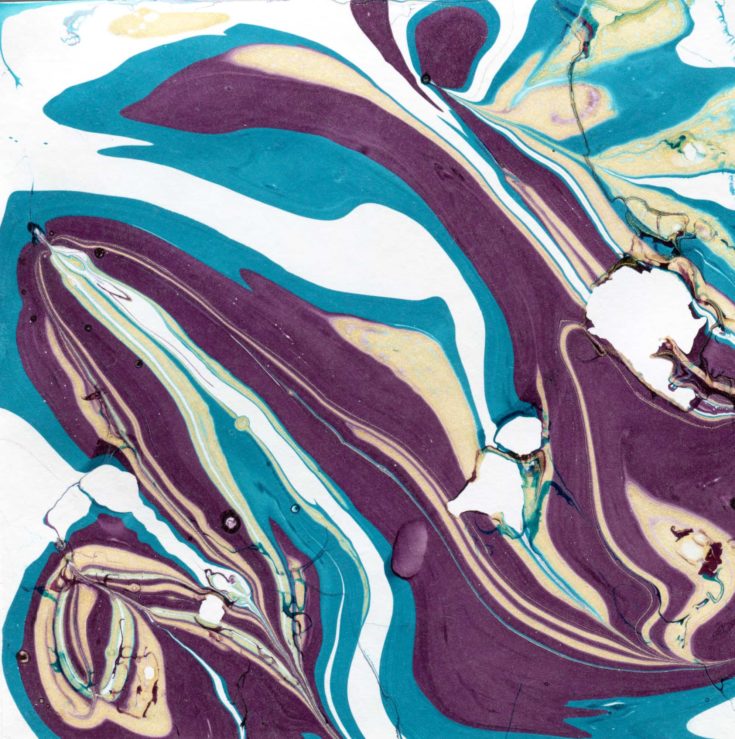
Acrylic pouring has become increasingly popular on social media sites like Pinterest and Instagram, in part because of just how accessible it is. Absolutely anyone can use the pouring technique to create abstract paintings of the ocean or night sky from nothing more than a few cups of acrylics and a pouring medium.
Pouring mediums help to thin heavier paints while maintaining color and opacity. They differ slightly from basic flow-aid mediums in that they are specifically designed to help acrylics flow across surfaces without the assistance of a brush or spreading tool.
If you’re serious about fluid art, then be sure to check out a pouring guide that explains all the different types of pouring techniques that can be employed to create specific effects and textures.
Palette Knife
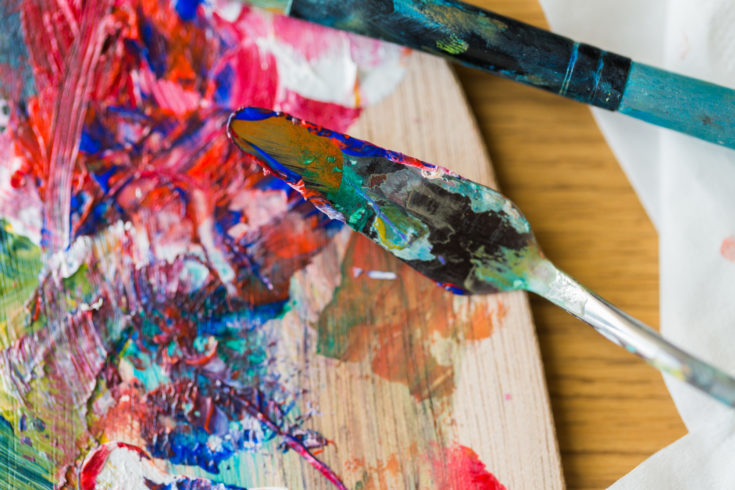
Applying paint with a palette knife is a fun technique used by beginners and professional artists alike. Also known as impasto, applying paint in thick layers using a palette knife is a technique most commonly associated with the oil paintings of impressionists like Vincent Van Gogh. However, it can also be used in acrylic paintings to obtain a similar impressionistic effect.
Simply scoop a large amount of paint onto your palette knife and apply it in broad strokes as though spreading frosting on a cake. Use heavy-body acrylics, as these have a viscosity most similar to that of oil paints.
You will need to work somewhat quickly due to the fast-drying nature of acrylics. As you get more advanced, you can experiment by adding a gel-medium to give your paint additional body so that it holds onto knife strokes and texture more readily.
Dabbing or Sponging
Dabbing or Sponging are two techniques that can be used in both acrylic home decor projects and artistic pieces. These techniques can be used to achieve a high degree of texture that is perfect for DIY wall art and landscape paintings.
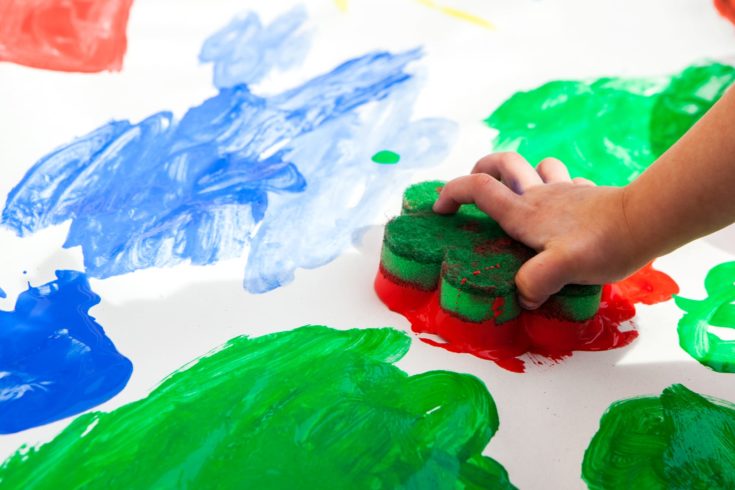
Dabbing refers to the use of a dry applicator, such as a paper towel, while sponging refers to the specific use of a wet or dry sponge to apply paint in a springing motion. Both are great options for beginners because they rely on household materials to create unique textural effects.
Detailing
Detailing is a great way to add fine details and finishing flourishes to a painting. It is most often used in portraiture and still life paintings to create a sense of realism. Although anyone can use this technique, it requires a great deal of control and precision to be executed well.
If you don’t have the best fine-motor skills, then consider practicing your detailing before applying it to a finished piece. There are a number of tutorials and art classes online that focus on improving your fine-painting skills and teach you how to achieve photo-realistic effects.
When you’re ready, use a small, fine, round brush to carefully add realistic details, clean lines, or written text to your work.
Sgraffito
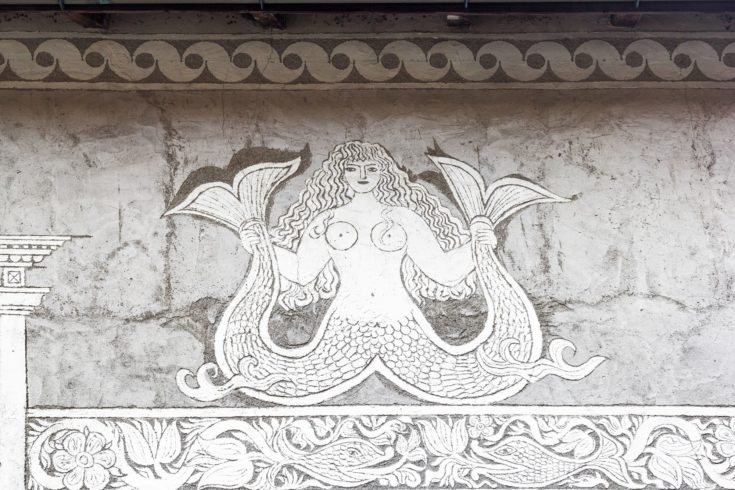
Sgraffito is a more advanced artistic technique used by professional artists, but it is one that is so simple, even beginners should give it a try. The technique comes from the Italian word for scratching, and consists of literally scratching the surface of a painting to reveal the layers underneath. Sgraffito is great for acrylic decor projects, ceramics, and abstract paintings.
To begin, lay down a base layer using an acrylic wash or even layer of thicker paint. You can use a single color or a gradient to create a more unique design.
Wait for this base layer to fully dry. Next, paint a contrasting layer overtop. While the second layer is still wet, use a sharp tool such as the end of your paintbrush, a needle, or a toothpick to scratch designs into the top layer, exposing the color beneath it.
Techniques for Creating a Painting
Now that you’re familiar with various ways of applying acrylics, let’s take a look at some basic techniques for building up and putting together a painting.
Underpainting
One of the most commonly used techniques for putting together a completed painting, is by painting a rough sketch of the image in acrylic first. This underpainting is then completely painted over to create the final product.
Underpainting can be used as a way of simply mapping out your piece in advance, using acrylic to sketch objects and shapes the same way you would with a pencil or graphite stick.
However, it can also be used to create texture and depth in the final image. You can use contrasting colors in your underpainting and final product to add dimension and depth to the piece.
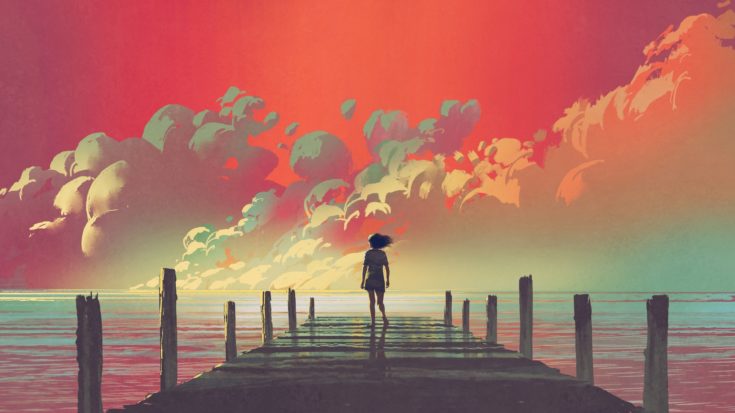
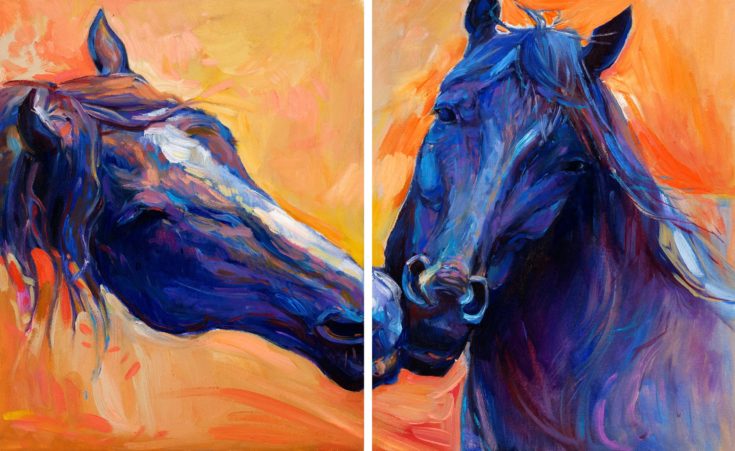
As you get more advanced, you can use underpainting to create expressive tones and establish the mood in your paintings. An underpainting that employs orange and red tones will give the final piece a summery, warm feeling. In contrast, an underpainting that uses blues and purples will result in a piece of art that has a gloomy, overcast emotion.
Color Blocking
Color blocking is a fantastic tool for beginners as it breaks down the act of painting into manageable steps. It is also great for interior design and wall decor projects that strive to add a pop of vibrant color to your home.
Begin by separating your piece into distinct sections, whether by delineating shapes or diving the surface into specific areas where you will apply abstract colors. Then paint each distinct section a single, dominant color as though filling in a paint-by-numbers project.
If you are working on an artistic painting, you can gradually smooth the shapes, layer color and tone, and add details to create realism in your final painting. For example, you may begin by painting a bowl of fruit as a simple combination of circles and ovals in primary colors, and slowly add detail to realize the image.
If you are working on a more abstract or linear design piece, then consider using painters tape to create perfectly straight lines.
Layering
Almost no painting can be completely finished in one pass. Beginner painters will need to become comfortable working in layers and refining a piece layer by layer. Even abstract works require paint to be applied in separate layers.
The beauty of working with acrylics is that their fast-drying properties and mess-free nature make the process of layering easier than ever. Unlike oils or watercolors, you do not have to wait long periods of time for a base layer to dry before you can begin working on the next one. You can also easily clean your brushes in between different color layers.
In order to practice this technique, try a beginner painting tutorial that uses layering to effectively add depth, surface texture, color shifts, highlights, and shadows.
Glazing
Glazing is an easy way to give your beginner paintings a professional-quality feel.
A glaze is a thin, translucent medium that can be mixed with acrylics to create shine and luminosity in a finished piece. This added shine also serves to give paintings a sense of depth and complexity, without requiring any additional technique or skill!
You can also apply a transparent layer of the glazing medium directly over top of your opaque acrylics to create translucent, stained-glass effects that cannot be achieved by simply mixing or thinning paint.
Techniques for Mixing Paint
These days, you can buy acrylics in almost every imaginable color shade and tone. For beginners, this may seem like a more appealing alternative to hand-mixing all of your paints from primary colors. However, even beginners should try their hands at basic color-mixing, as these easy techniques can take a basic painting to a whole new level.
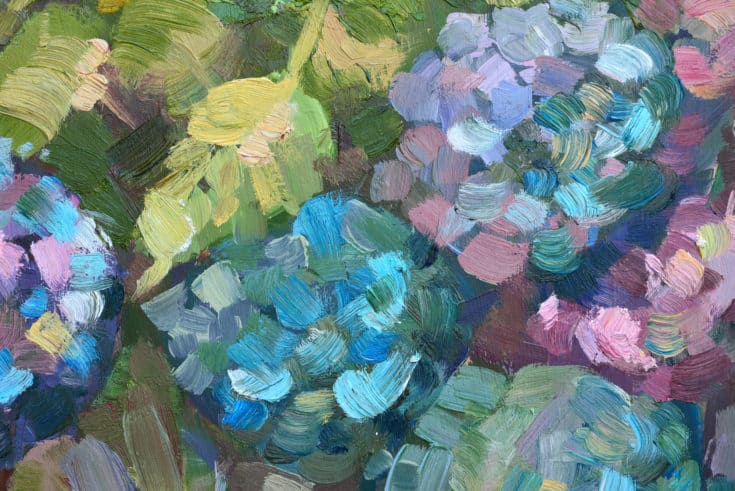
Undermixing

One of the easiest ways to create depth and interest in a painting is simply by undermixing or partially mixing your colors.
For example, if you are painting scenery, try mixing your own greens by combining primary blues and yellows. Instead of fully mixing your colors, use your palette knife to partially blend the color so that streaks of blue, yellow, and the mixed green are all visible.
When you go to paint the greenery, you’ll end up with a beautiful mix of hues that reflect the color variation, brightness, and shadow of nature. The less you mix your paint, the more exciting color shifts will appear in your final painting.
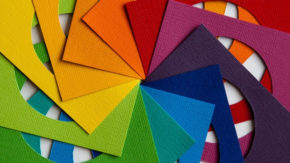
Creating a Color Family
Understanding the color wheel and how to properly mix colors is one of the hardest aspects of painting. Even the most advanced painters sometimes struggle to mix the precise color they want.
To simplify the process, beginners can try mixing a family of colors or tones to create subtlety, diversity, and variation in their work.
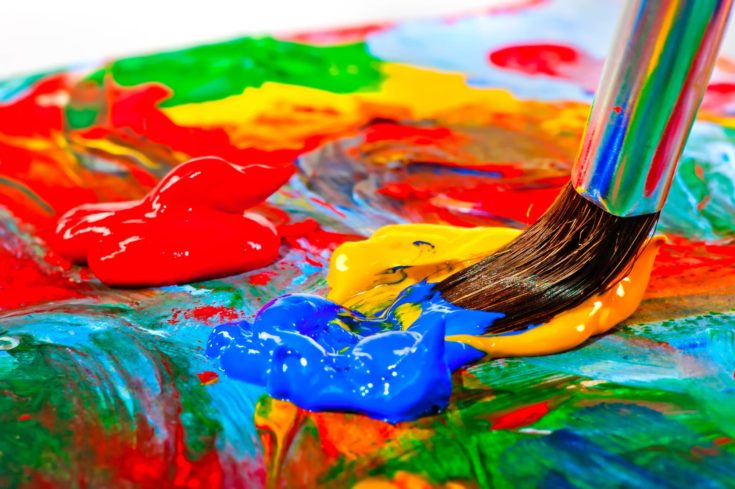
Begin by squeezing a small amount of primary color onto your mixing palette. If you’re a true beginner, you can use a variety of household items such as paper plates or plastic bowls in place of a true artist’s palette.
Taking a little bit of paint at a time, slowly experiment by adding whites, yellows, and darks to create a variety of shades and tones of the same color. Having this wide variation in premixed colors can make the process of painting much easier and can really add dimension to your work.
Just keep in mind that acrylics dry fast! If you spend too much time mixing, your paint will dry out before you have the chance to use it.
Conclusion
Acrylics are a great medium for beginners because there are so many different techniques and painting styles to try out, but you don’t have to use all of them to create a fantastic painting. I love working with acrylic because it’s so versatile, but also incredibly easy and simple to get started.
Did you enjoy this list? Leave your thoughts in the comments and be sure to share this article with anyone who is considering trying acrylic painting. Also, if you’re just starting out and want to paint in paper, here are our recommendations.

Loved this list. Painting is one of those things in life that calls for trial and error.. I would love to see more videos on painting flowers. Just did a peony turtorial and it turned out great !
Technique explanations are very helpful..