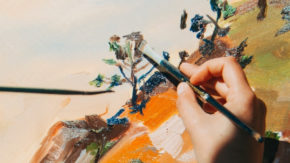
One of the things I love about working with acrylics or oils is that they allow you to paint on practically any surface. Growing up, I was always painting designs on my sneakers and bedroom walls, and even using my paintbrush to make art out of the occasional campfire log.
Now, wood art is one of my favorite forms. It’s a lot more accessible and forgiving than traditional canvas painting, and it’s great for a range of different creative projects from fine art to home decor to keepsakes and jewelry.
I’ve put together this hardboard or wood painting guide to help introduce beginners to this wonderful form, as well as to provide comprehensive information on priming and maintaining your wooden pieces.
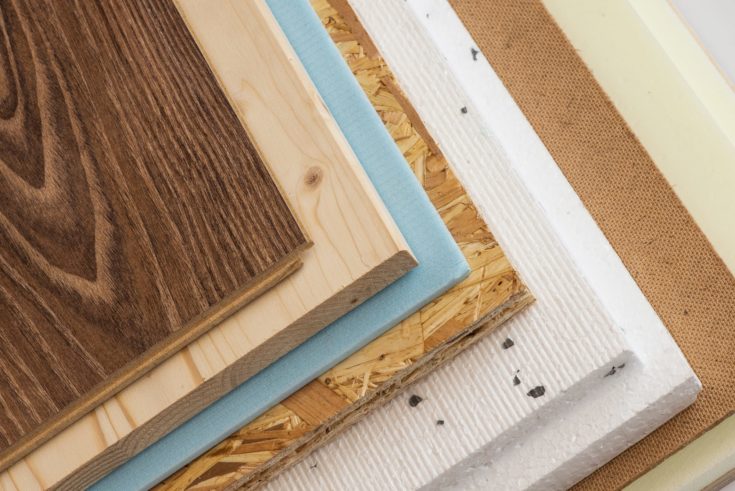
Hardboard, Plywood, and Everything In Between
Some of the greatest paintings in the world were created using wooden panels, as wood was a particularly popular surface among the Italian Old Masters and painters of religious altar pieces.
Nowadays, “wood” is an umbrella term that encompasses a tremendous variety of different types of paneled surfaces. Here’s a quick look at some of the advantages of various surfaces that fall into the wood category.
Hardboard
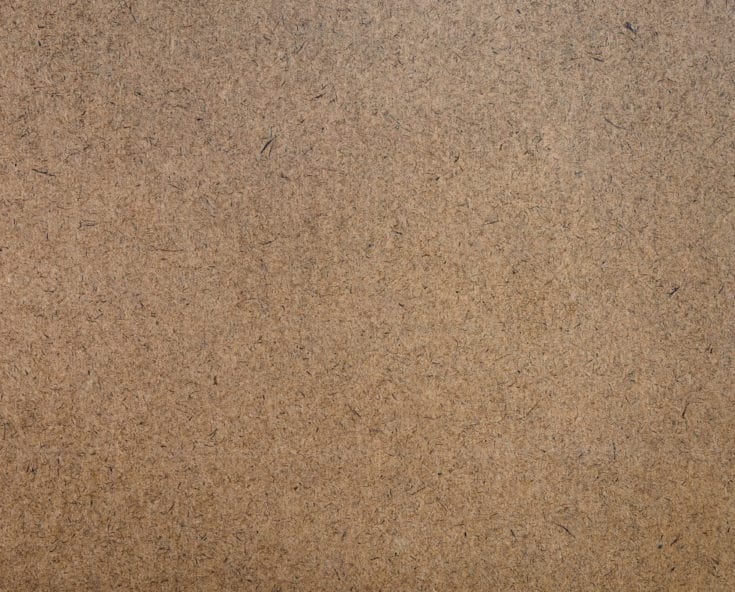
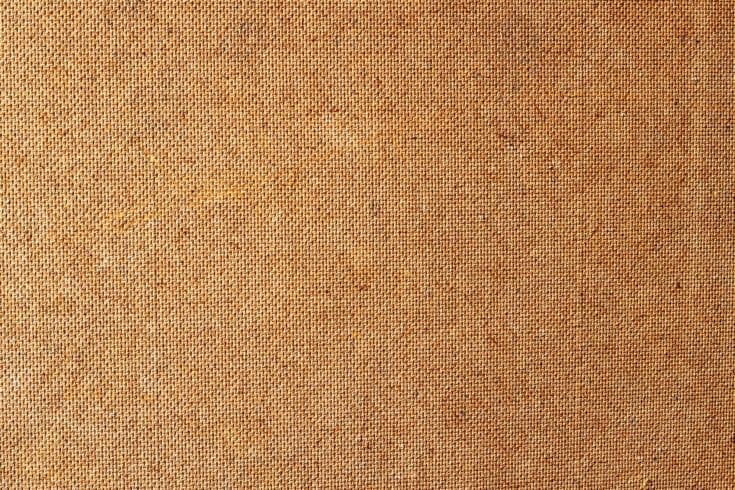
Hardboard panels are boards made from a mixture of wooden fibers that have been broken down and adhered to flat surfaces using resin, heat, and pressure.
At times, hardboard may be referred to as Masonite, which is actually a trademarked brand that sells a particular kind of board. However, there are a number of manufacturers that sell various types of hardboard, each with their own proprietary manufacturing process.
Painting on a hardboard is a unique experience because the surface is incredibly smooth. Unlike canvas, hardboard does not absorb the paint, making it easier to create intentional surface texture or move paint fluidly. Its rigid and durable surface makes it suitable for pouring techniques as well as providing an added longevity to any piece.
Additionally, the unique manufacturing process of hardboard allows it to be sturdy while staying relatively light in weight. Another benefit of this material is that it is typically cheaper than canvas and easier to paint over in case of mistakes, making it a particularly good option for beginners.
Plywood or Wood Paneling

The terms “hardboard” and “hardwood” are often mistakenly used interchangeably. In reality, hardwood is a solid wood panel made from a single block of natural wood. Unlike hardboard, the manufacturing process for this type of wood paneling is extremely simple.
Any type of wood can be used as wood paneling. However, the most common choice for artists is to use plywood from a furniture or construction store. In particular, hard plywood made of birch, oak, mahogany, or walnut is best because it resists warping over time.
The advantage of using plywood is that it is readily available at hardware stores, and more hands-on crafters can even make their own from found materials such as campfire wood or repurposed furniture. This DIY approach is particularly inexpensive and suitable for artists of all levels.
However, advanced and professional painters rarely opt for wood paneling over hardboard alternatives simply because pre-made, artist-grade wood panels are expensive and significantly heavier than a board.
Fiberboard
Finally, there’s fiberboard, which is an engineered panel that is made using a familiar process of breaking down wooden fibers and adhering them with heat and binder. The main difference between fiberboard and hardboard has to do with the complexities of how each is made. While the hardboard uses a wet/dry process, the fiberboard uses a completely dry process.
For artists, there is little to no distinction between the two. Like hardboard, fiberboard is very inexpensive, long-lasting, and provides a smooth, flat surface for painting.
However, most fiberboards are made with an artificial resin that contains formaldehyde, a known carcinogen. If you plan on using and cutting fiberboard, be sure to use a respirator and prime all sides of the surface several times to ensure your own safety.
Making Your Own Panels
While it is possible to purchase pre-made and even pre-primed hardboard and wood, advanced painters and anyone looking for a challenge may wish to make their own from scratch. Making your own panels can help you save money and create panels with unique textural and tonal qualities. Panels are also just fun to make!
Cutting Your Panel
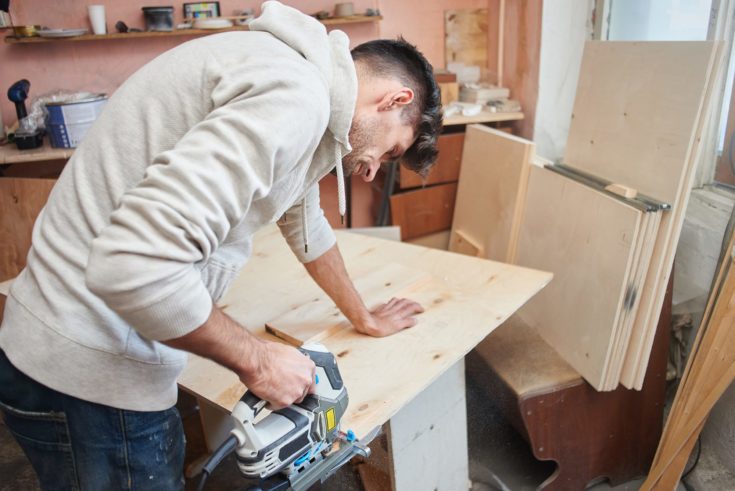
Hardboard, fiberboard, and plywood are all easy to cut with a handsaw or electric circular saw. You can purchase Masonite and plywood in large sheets from any hardware store or lumber yard. If you don’t have a saw, most places will cut the wood for you at no additional charge.
The benefit of cutting your own panels is that you can select bespoke sizes, including non-traditional shapes like circles or triangles, that aren’t available in pre-made products. Be sure to plan out the dimensions of each panel ahead of time in order to get the greatest number of panels from a single sheet of masonite or plywood.
Sanding and Preparing the Surface
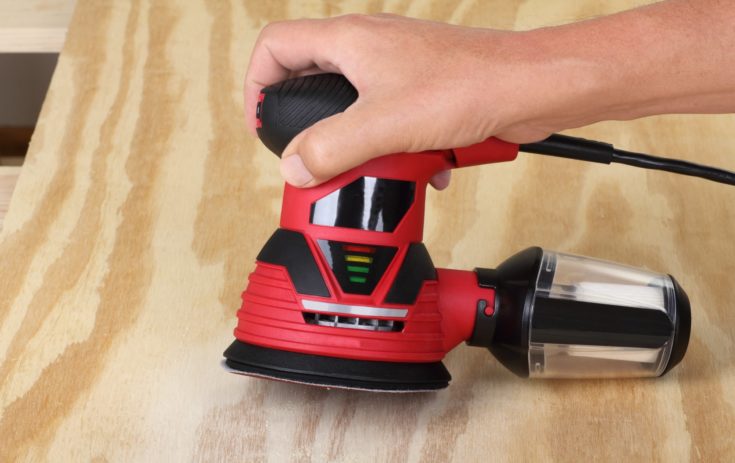
In order to ensure that the paint adheres well to your wooden panel, lightly sand the wood until it is especially smooth.
When working with raw hardboard, it’s important to understand the difference between tempered and untempered forms. Tempered board has a shiny surface that comes from linseed oil finish applied during the tempering process. This shiny seal makes it unsuitable for acrylic paint. Untempered versions are suitable for all types of paint.
If your wood is tempered, you will simply need to fully sand down this shiny surface and then apply acrylic gesso liberally to sufficiently coat the wood.
Priming Your Wood
When working with wood, you must be careful to properly prime the surface before painting. While this same advice applies to canvas, it is particularly important for wood painting, as the chemicals within both oil and acrylic paints can cause the surface to yellow and warp over time.
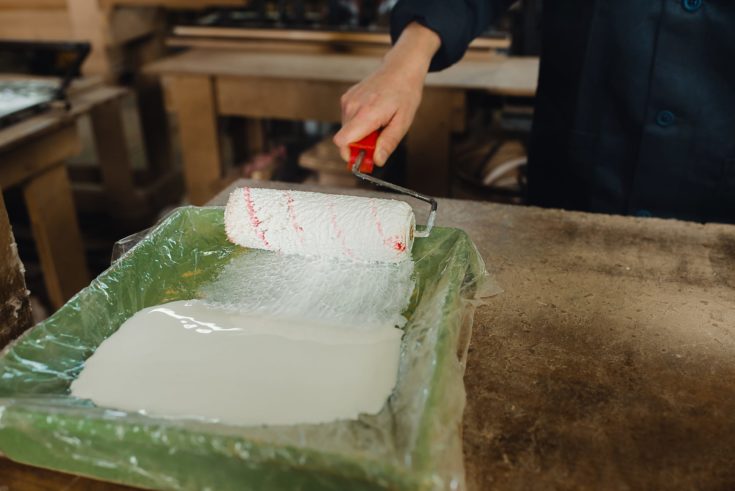
To prime your wood, apply gesso as a primer in thin, even coats. You will need to apply at least two to three layers to ensure that the wood is properly protected, evenly covered and that the colors in your painting stay as bright as possible.
The most efficient way to apply gesso is to apply a single coat, wait for it to fully dry, and then apply the next coat in a direction perpendicular to the previous layer.
To achieve a completely smooth surface, very lightly sand the wood in circular motions between coats of primer. You can also create a more textured surface by applying the gesso more liberally and either avoiding sanding altogether or strategically sanding certain areas of the wood depending on the subject of the desired painting.
For a very rough surface, some artists will even mix materials such as sawdust, dirt, and ash into the gesso prior to beginning the priming process!
In addition to priming the surface, consider applying a quick coat of primer to the back and sides of the board. This will help to prevent any subtle warping that might occur and help seal the wood from moisture in the air.
Building a Wooden Cradle
One of the downsides of making your own panels from hardboard or fiberboard is finding a way to frame and hang them. For smaller pieces, an ordinary household frame can be used to prevent the paint from warping the board and to display the finished piece.
For larger boards, it is necessary to create a “cradle” for the panel prior to beginning painting. This cradle is essentially a wooden support frame attached to the back of the board to prevent it from warping and enable it to be hung against a wall using a simple hanger or nail.
You can build the frame from wood glue, and scrap sections of board or plywood and by following the instructions of any introductory cradling guide.
Buying Hardboard and Premade Panels
You can find hardboard, fiberboard, and plywood at virtually any hardware or lumber store in a variety of thicknesses. However, beginners may want to consider buying premade panels from local and online art retailers.
Store-bought panels are often relatively inexpensive and can save artists lots of time. Many brands sell pre-primed or unprimed, archival, museum-quality hardboard. The benefit of these products
is the elegant, gallery finish they offer.
Pre-made panels come in a greater variety of thicknesses and can be purchased with a cradle already attached that will ensure complete prevention of warping, allow the finished painting to be displayed, and greatly simplify the process of building a cradle.
Furthermore, the majority of these pre-made products will explicitly state whether or not the wood is suitable for acrylic or oil paints, saving beginners a lot of time and guesswork.
Conclusion
Painting with wood may seem complicated, but it can be as simple or complex as you’d like. Beginners can easily purchase a sheet of plywood at a hardware store or get scrap for free from lumber yards, and with just a few coats of gesso, get started immediately.
More advanced painters can customize the entire process, building their own panelling by hand and producing professional quality paintings. But no matter who you are, you can follow this guide and have fun making beautiful wood art.
Did you enjoy this article? Let me know what you think in the comments and be sure to share this article with all of your artistic friends.
Want a fun easy wood painting project? Check out our tutorial on a wooden growth chart.