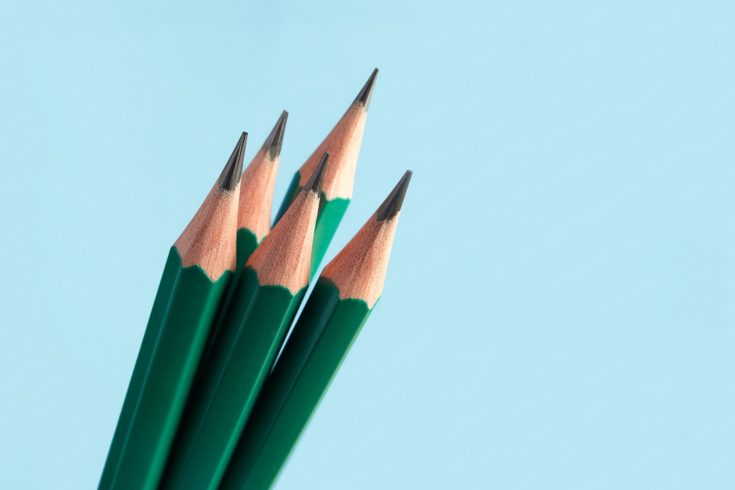
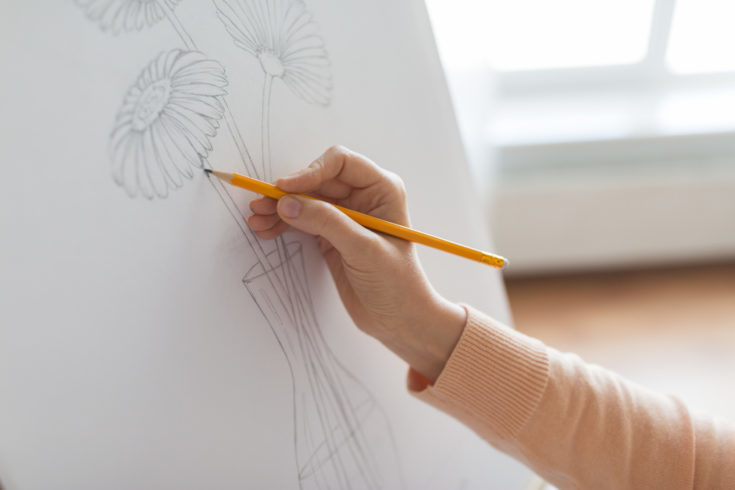
You know how you sometimes use several graphite pencils and one seems darker than the other? That’s because there’s a little something called the graphite scale, and while it may be confusing to a lot of people, it’s something that drawers and sketchers know of, so today we’re going to dive a little bit into their world.
How Graphite Pencils Are Graded
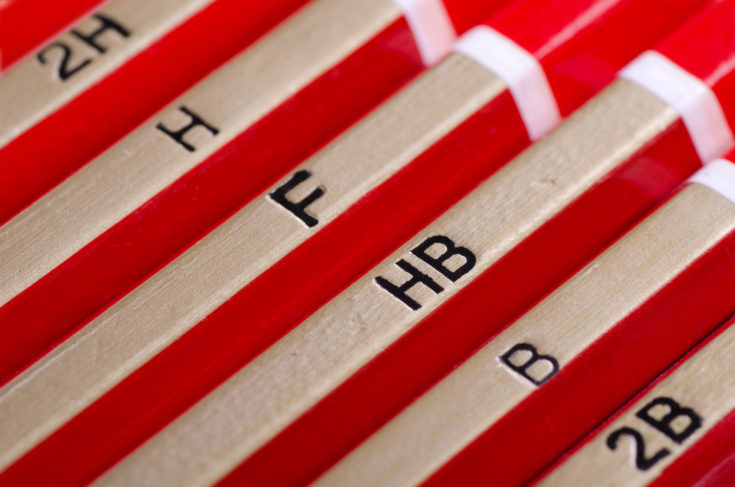
To the untrained eye, all pencils are the same. To someone who has used a lot of them to draw, there are very different from one another. You might have purchased pencils at some point that had the letters H, or B, or both of them engraved on the side. But what you didn’t know is that these letters stand for Hardness and Blackness of the graphite found inside the pencil.
Those that manufacture these pencils used these letters to let the buyer know what the type of graphite is used in a particular pencil. It is true that different brands may use these abbreviations a little differently, but most of them follow the same rules. The HB grading scale is the European equivalent of the grades 1 to 4 that Americans use for the same purpose.
Naturally, it’s not just about knowing the graphite grading scale by heart, but also about knowing how to practically apply the knowledge. Here are some important tips and bits of information that might prove helpful.
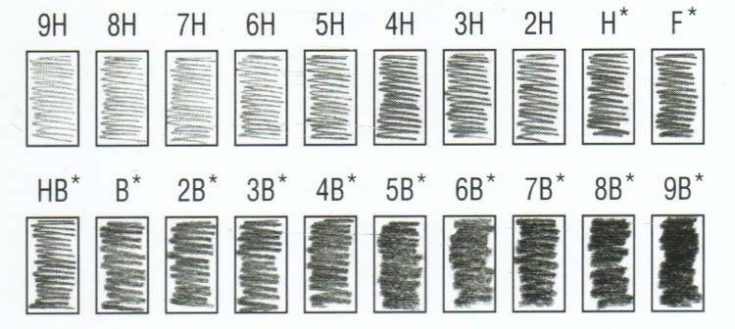
The HB graphite grading scale is pretty simple to understand; you have pencils that are marked with codes from 9H to 2H, then H, F (which stands for fine), HB, B, and then from 2B to 9B. So far, so good, but how do you apply this knowledge to your drawings?
- Because H pencils are harder, they will leave a lighter graphite trail on the paper.
- On the other hand, B pencils leave a darker trail, because they are softer.
- F stands for Fine. It is a type of pencil that’s easy to keep sharp, but also one that’s hard. It’s rather difficult to draw with this type of pencil if you’re a beginner.
- HB pencils are right in the middle of the scale. They are also considered to be hard for drawing.
- The number that comes with the letter is also an important hint that will tell you a lot about the darkness/lightness of a pencil. For example, a pencil that has more Hs is harder compared to one with less Hs, which also means it’s lighter. In other words, the 9H pencil is the hardest one out there, but also the one that leaves the lightest trail.
- Consequently, if a pencil has more Bs, it is softer, and will, therefore, leave a darker trail. That means that a 7B pencil will leave a darker mark compared to a 3B one.
These are rules that you probably won’t remember at first, which is why practice is super important before you can fully understand which type of pencil fits a certain type of drawing or which can be used to create certain elements. The most balanced grades are 2H to 2B, which means that they have the most equal clay-to-graphite ratio out of all the others in the scale. If you use these, you will end up having darker lines, but in a pencil that retains its point well.
If you use harder pencils (like the ones from 2H to 6H), you can create light sketches. Plenty of people use pencils in this range to create outlines for different drawing elements before proceeding to create darker outlines or shades. When you use a hard pencil, you will end up having very precise lines.
Pencils from 2B to 6B are considered the boldest. They are great for creating shades or making expressive sketches. Because they are softer compared to the other pencils in the grading scale, they will dull quickly. Some artists use that to their advantage, thus being able to have plenty of line variation in their drawings. And since they have the ability to smudge very well, these pencils are also good for different shading techniques.
Those are very technical about the drawings they make need a wider range of pencils. Dark pencils are good for bolder shades, while light ones are good for areas that need just a little shading. You should be able to find sets that are made for this specific type of drawing.
Creating a Cheat Sheet
The best way to learn how to figure out which pencil to use in which situation, it’s best if you just create a cheat sheet, which is also known as a swatch. If you have your swatch next to you when drawing, you will be able to learn which pencil is best used in which phase of your drawing. Here is how to make your own cheat sheet:
- Grab all the graphite pencils that you have and organize them from the hardest to the softest (that is, from H to B).
- Grab a clean sheet of paper for your swatch.
- Draw a line of empty squares next to each other. There has to be one for each pencil that you have.
- Fill each of the squares with a shade from every different pencil.
- Label the shades with the code of the pencil you used. This way, you’ll always know how each pencil performs on paper and have a much easier time figuring out which one to use.
- Whenever you add a new type of graphite pencil to your collection, create an additional square, fill it with shade, and add a label to your existing cheat sheet.
- If you continue to buy new pencils and add a shade for each, switch the sheet with a new one if you feel the old one is not organized.
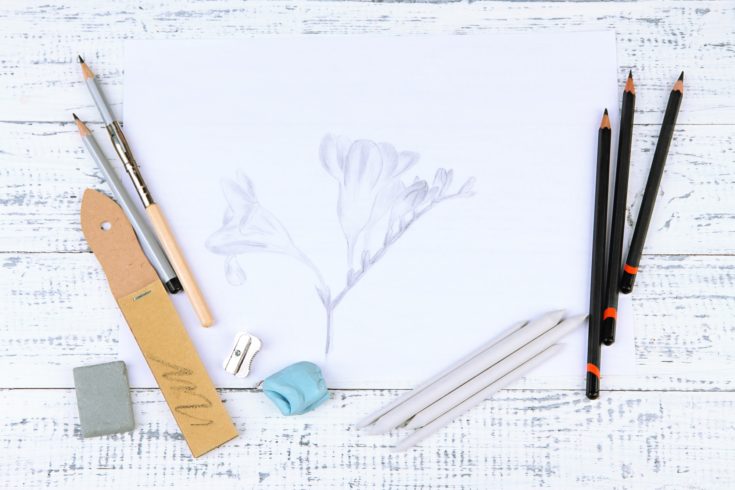
Tips for Amazing Pencil Drawing
As a little bonus, we wanted to give you some tips that will help you make really amazing drawings and sketches. Pencil drawings are where most artists start, but also a practice point for others. When you learn how to draw with a pencil, you will most likely be able to improve your skills in other areas, like drawing using a digital tablet. Here are some words of advice:
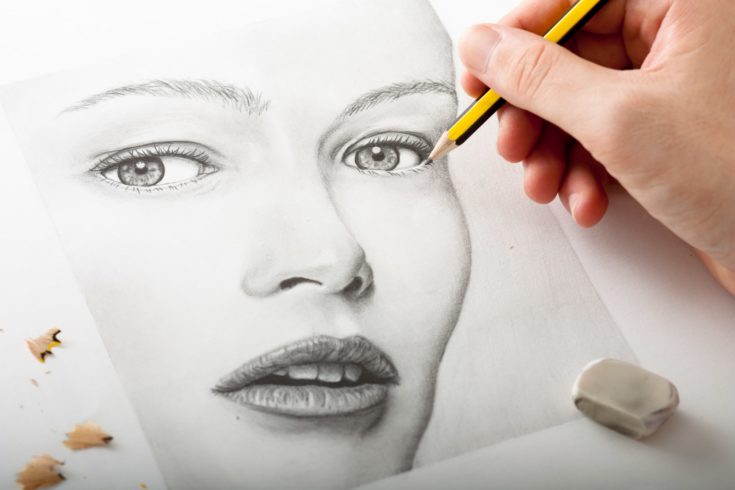
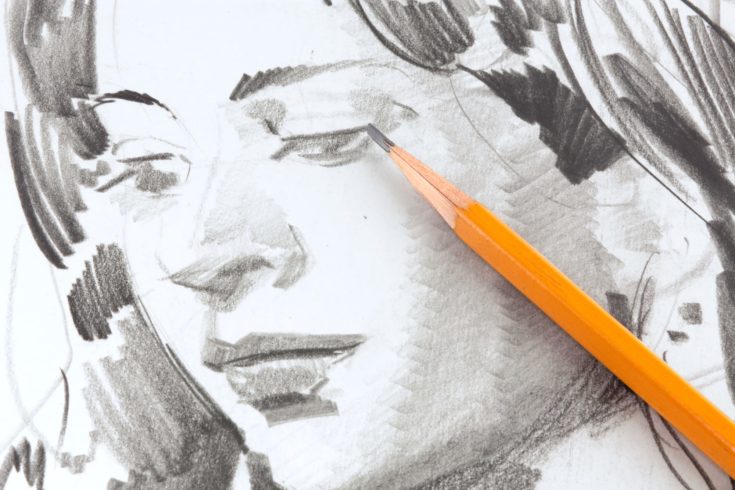
- If this is your first time drawing with a pencil, you need to learn how to hold it properly. Hold your pencil just like you would hold a piece of charcoal. Experts advise using the side of the lead to draw, as this will keep the pencil sharper for longer.
- Blending your work will surely have an impact on the result. Blending stumps can go a long way in creating amazing visual effects for pencil drawings. When you create a light layer, feel free to blend pencils using the stumps. Avoid pushing the pencil too hard against the paper, as this will prevent you from creating soft blends. This is advice is useful for those who want to use colored pencils in their drawings. As you learn to add multiple layers to a drawing, you will be able to give the end result a very delicate look.
- Line weight is another important concept in a drawing. Lines can help shadows stand out. When you create thick lines, you can make them fade into the shadows, which gives your drawing a nice 3D illusion. Naturally, line drawing is a style that differs from one artist to another, which means that you have to practice until you find an approach that best suits your style.
- At first, you’re eager to draw and will use just about any piece of paper you can get your hands on to do so. However, you should know that the texture of the paper you use has a huge impact on the final result. Certain effects are easier to achieve when the paper has the right texture. The paper’s texture is often known as the tooth of the paper. A rougher tooth is more visible, so the paper will best catch the graphite from your pencils. If the texture of the paper is smooth, your pencil will have less grip.
- It’s always best to start with loose lines. As you progress in your drawing, you will eventually end up working hard and dark lines, but you want to leave the details for the second half of the drawing.
- All this talk about pencils, we have to discuss erasers as well. You should know that there are different types of erasers that serve specific purposes. A kneaded eraser is great for colored pencils, as it has a putty-like consistency that you’ll have to knead before and after you’re done with it. Gum erasers, on the other hand, are more solid, and therefore much more useful for when you’re trying to fully remove the graphite entirely from part of your drawing.
- One of the biggest frustrations of people who are just learning how to draw is getting graphite all over their hands, and eventually end up ruining the drawing because of that. The best piece of advice we can give you is to place a clean sheet of paper under your hand while you’re drawing.
- Since we’ve talked about starting with loose lines, let’s discuss a bit about the progress of a drawing. Whenever you draw, you need to think of this as a process, one that is divided into clear steps. If you want your work to be impeccable, you will have to check for mistakes at the end of each phase. For example, when you’re done with the basic sketch, carefully look at your drawing before moving on to details. If you notice any mistakes, this is the time to correct them. Avoid moving on to strong lines if you’re not entirely happy with the phase you’ve just completed.
Conclusion
As you can see, the HB graphite scale isn’t difficult to understand, and if you start actively using these pencils, you will soon memorize them. The truly challenging part is learning how to use these pencils in order to get the best results. There are plenty of techniques that you can learn if you want to level up your drawing game, and knowing about the HB graphite grading scale is just the first step of many.
Interested in sketching landscape scenes and buildings? Check out our tips on perspective.