We all know that art is subjective, but when you start to learn more about perspective drawing, you will see how relative it can actually be. By simply changing the point of perspective, an image can create stunning 3D effects. While drawing perspective might seem intimidating at first, mostly because the images we see are so wonderfully crafted that we think we could never achieve this level of drawing mastery, there are actually just a few basic things that you need to know about it.
What Is Perspective Drawing?
The easiest way for us to define perspective drawing is to think of three-dimensional drawings. Whenever you see those amazing drawings that kind of feel like they are in 3D, those were created using perspective techniques. The optical illusion is that the farther you are away from the drawing, the smaller and closer the objects feel.
These types of drawings are amazing because of their complexity and the visual effect they create. In fact, did you know that famous artists such as Masaccio were amongst the first to apply perspective techniques in order to make amazing works of art?
One of the best ways to imagine what perspective looks like is to picture yourself going on a straight open road. Whatever is located on the side of that road, like fences, for example, will diminish as you focus on the farthest point in the road ahead of you. That can be defined as a single-point perspective (more on that later in the article).
Why Perspective and Perception Go Hand-in-Hand
This is extremely important to understand because these two concepts are very closely related and mastering one will surely put you on the right path to mastering the other. What you need to remember at this point is that perspective follows a series of fundamental principles, but the way you perceive things is actually quite vast.
If you want to understand how these two work together, remember this: you can recreate your perception through the perspective offered by this type of drawing. For a deeper understanding of how these two concepts are linked to one another, we are going to explain what the basic principles of perspective drawing are and teach you how to apply them to your personal perspective.
Linear Perspective Terms
In the following paragraphs, we are going to go over some of the basic need-to-know terms that are associated with a linear perspective. Once mastered, these terms will give you a better understanding of how all the elements come together:
- Horizon is a term that you might already be familiar with. It is used to describe the “imaginary” line where the sky and the land come together. The horizon plays an important part in how you will perceive the vanishing points.
- Speaking of vanishing points, these are parallel lines that seem to unite in the distance. Try to picture the open road ahead of you again. The left and the right side of the road will appear to unite at a point in the distance, which is basically an optical illusion because these lines never actually meet. That is known as the vanishing point and it is formed on the horizon. It’s also important to note that there can be multiple vanishing points in a single scene.

- The ground plane is a concept that’s used to define the surface located below the horizon. Keep in mind that if the ground plane is not leveled the vanishing point created by two parallel lines might not meet the horizon.
- When you read about “orthogonal lines”, you should know that they refer to whatever lines are somehow related to the vanishing point. For example, if you picture the two long lines of a railway track, the orthogonal lines would be the shorter parallel lines in between them.
- The vantage point is another important concept in linear perspective drawing. It is basically the point from which a particular scene is viewed, an angle of vision if you will. The vanishing points and the horizon will both affect the vantage point.
Basics of Linear Perspective
We do hope you will remember the terms that we just explained because we are going to use them to go over the basic principles of the different types of perspective drawing.
#1: One-point perspective
One-point perspective is basically defined by vertical lines that run across the field of view and which remain parallel the whole time they do so. Easier put, one-point perspective drawings will have a single vanishing point, which is generally located in the center part of the scene depicted. The best way to visualize this is to think of the railroad tracks again.
#2: Two-point perspective
In two-point perspective drawings, you literally have two vanishing points. For the most part, scenes that are drawn using this perspective will have the vanishing located in the right and left side of the image.
#3: Three-point perspective
Also known as “multi-point perspective”, the three-point technique will have three or more vanishing points that “fade” into the distance. It is very easy to visualize how it works if you simply think of the two-point perspective scene: you have two vanishing points located at the far left and right at the image and another (or multiple) vanishing point(s) located at the top or bottom side of the image.
#4: Atmospheric perspective
This type of perspective is a little bit different compared to the other three because the concept that lies at the base of the aerial (or atmospheric) perspective is also different. Think of it this way: when you look at something, the different lights and darks of the objects in the scene you’re gazing at will impact the intensity of the details and how you perceive those objects.

Due to the particles in the air, you can see some trees clearly, while other bushes or trees seem to have a different contrast. There are many factors that influence atmospheric perspective: lights, darks, colors, viewing angles, color wavelengths, etc. The use of color, for instance, has a major impact on this type of perspective.
As you are trying to draw using this technique, try to play around with light values, as well as experiment with the lighting of the scene. You will notice how these will impact the perception of the forms and objects.
Practice Perspective Drawing
Time to move on to the actual part of learning new stuff: practice. We are going to give you a short and simple tutorial on how you can practice perspective drawing. As we guide you through the basics of linear perspective, we are going to require that you use your imagination for a bit so you can really understand how all the terms we just explained go together. In the following paragraphs, we are going to show you how you can draw some squares with a single vanishing point, while also trying to apply some of the previously-acquired knowledge.
For this small project, you will need:
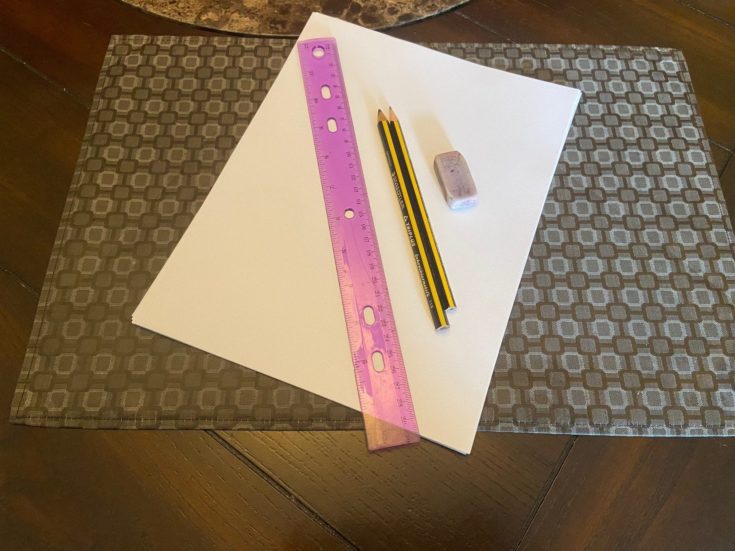
- A ruler.
- A couple of pencils (2B and 4B preferably).
- One kneaded eraser. (a regular eraser will work fine, too)
- Some drawing paper that’s bigger than 8×8. (there’s actual textured drawing paper you can use, but any paper will do if you’re just practicing)
- Drafting table (optional)
The Step-by-Step Process
Step One: Draw the Horizon Line
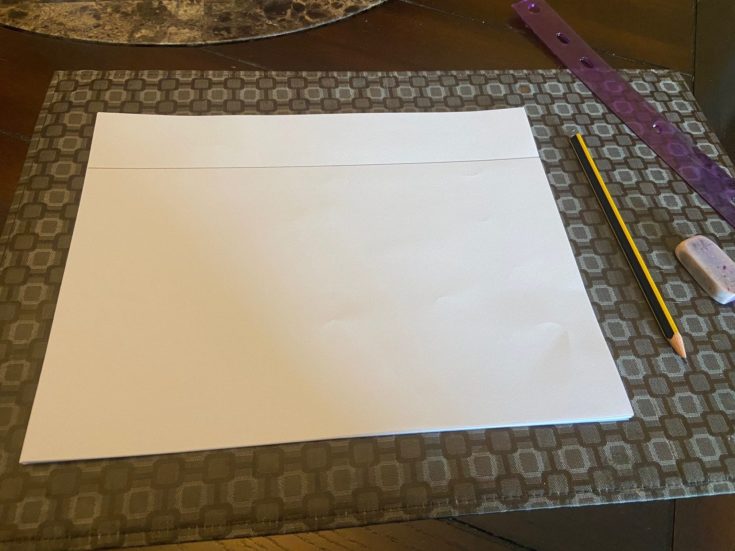
The first thing that you’re going to have to do is make your horizon line. This is exactly what it sounds like. A horizontal line that goes from one side of the paper to the other. It doesn’t matter where you place it, but the higher the better as it will give you more room to play with below. My suggestion is about ¾ of the way up from the bottom.
Note: it’s important to draw these lines very lightly as some will be erased later.
Step Two: Make a Vanishing Point
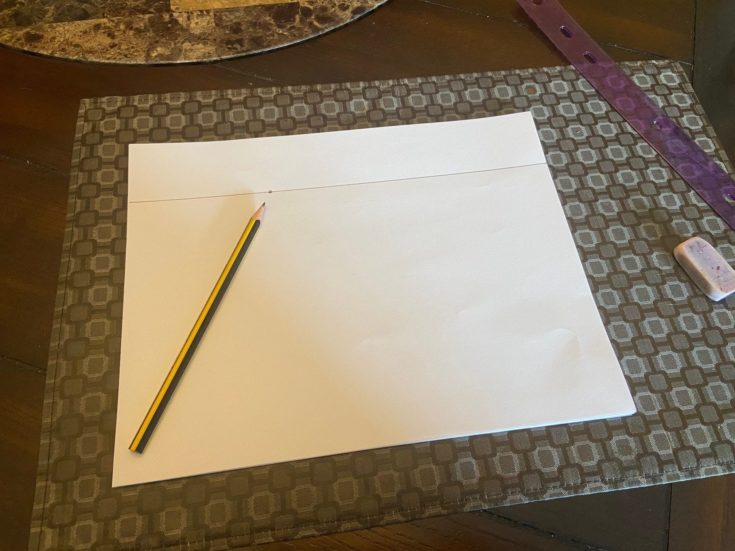
This is a small dot on the horizon line that will act as the farthest point that the eye can see in the image you will draw. It’s where everything in the picture eventually disappears. You can start a vanishing point in the center if you want, but I’ve done mine a little to the side to give a skewed perspective.
Note: it’s important to draw these lines very lightly as some will be erased later.
Step Three: Make Your Axis Lines
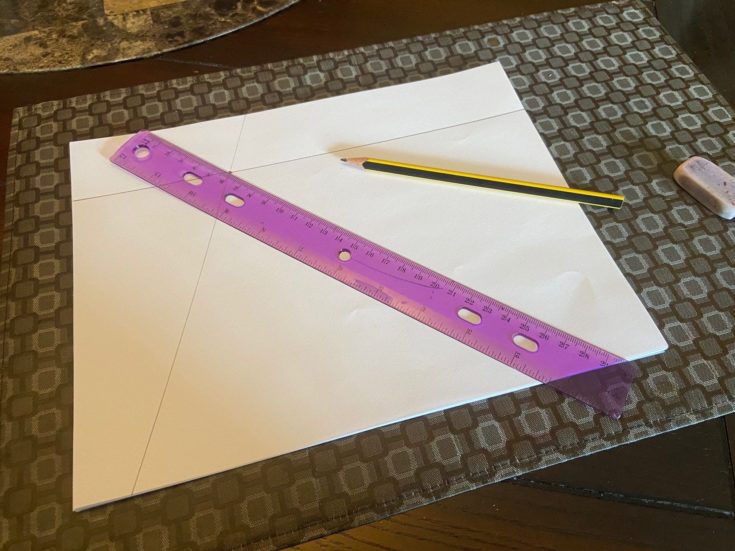
Using the 2B pencil, you can start adding the axis lines. These are straight lines drawn across the paper but must pass through the vanishing point. As long as your ruler passes through the center, then you’re good. Draw a few lines as I’ve done here, and you’re done!
Tip: When you’re ready to take on more detailed projects, the more lines you have will help with the finer details. Fewer lines are for simple images with large objects.
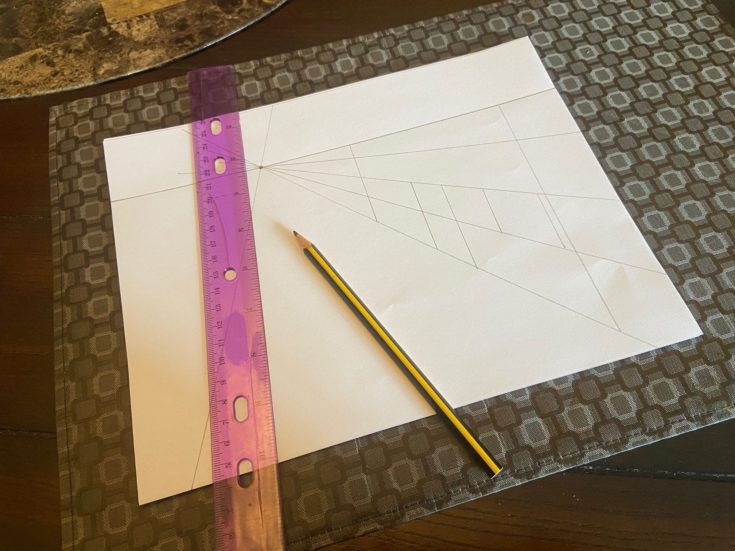
Step Four: Sketch Image
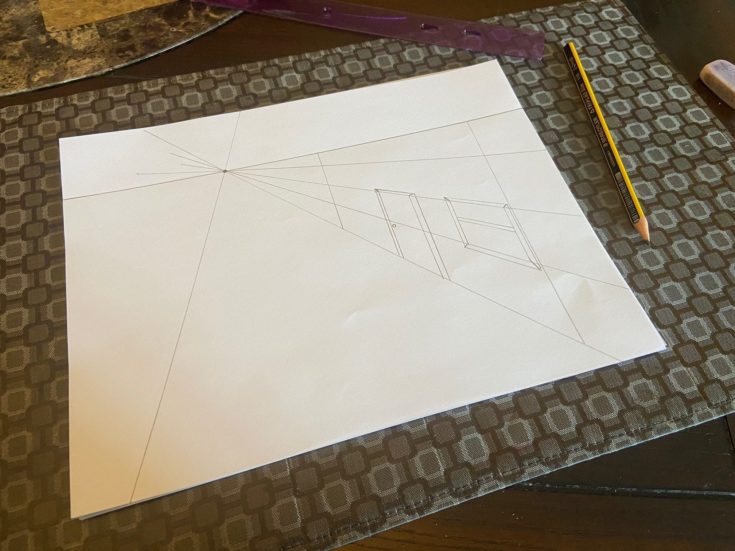
Now comes the beginning of the fun part! Placing your objects in the image you want. Since this is just a tutorial showing you how the basic elements work, I’m just going to show you a simple door and window on the side of a house.
Once you see it and then recreate it, you’ll have a better understanding of how perspective drawing works. From here, you can really get a feel for how it plays out and can construct your very own perspective scaled drawings!
Step Five: Details
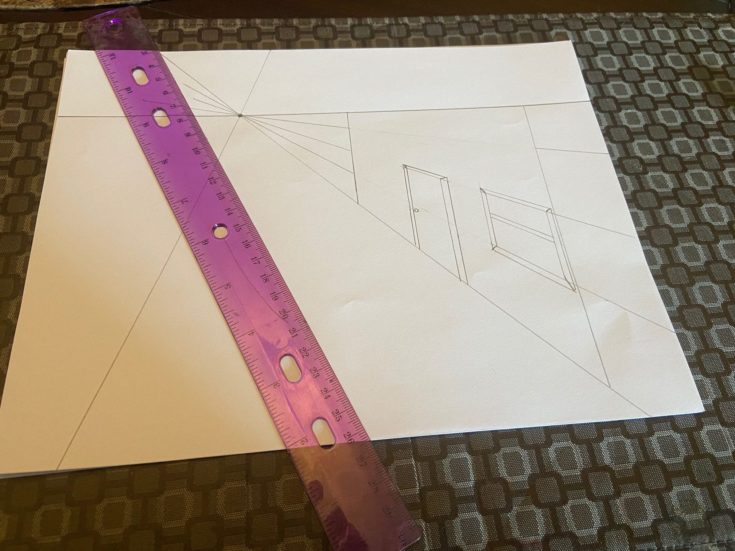
Add in some details like molding and a doorknob before erasing the fine axis lines to reveal your image. You can see here how the door and window are proportionate to the distance of the vanishing point.
Perspective Drawing Examples
One can learn and understand things in depth through the power of example, which is why we wanted to show you a few drawing examples that will show you how versatile perspective drawing can be and give you a sense of the many wonderful things you can create once you master this technique.
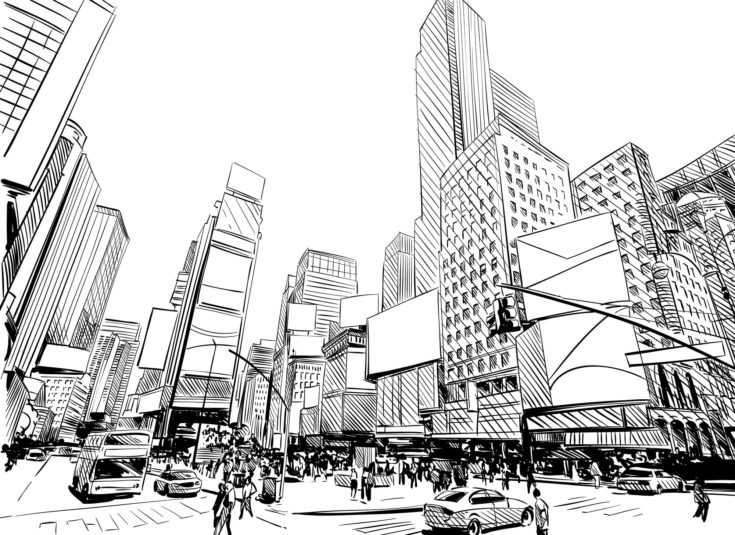
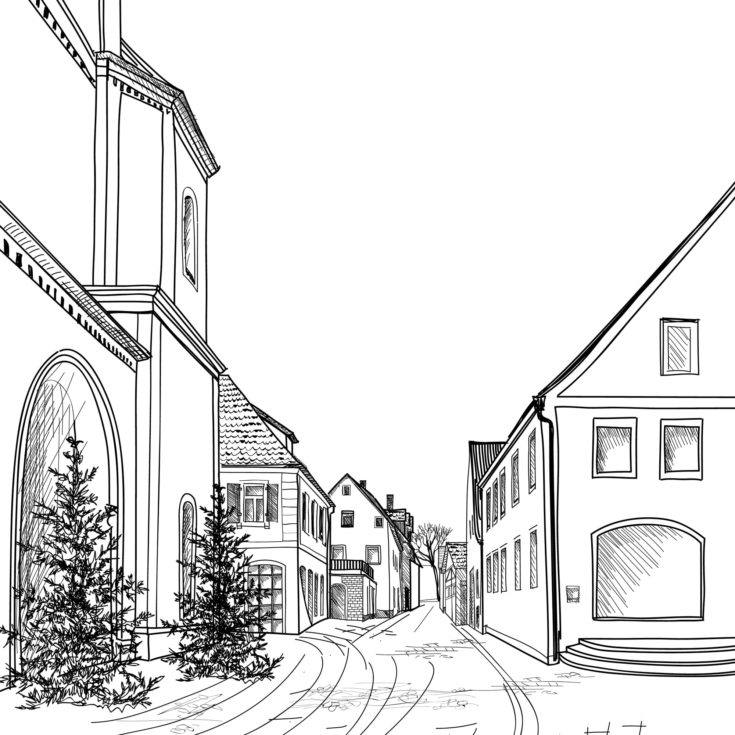
#1: One-point perspective
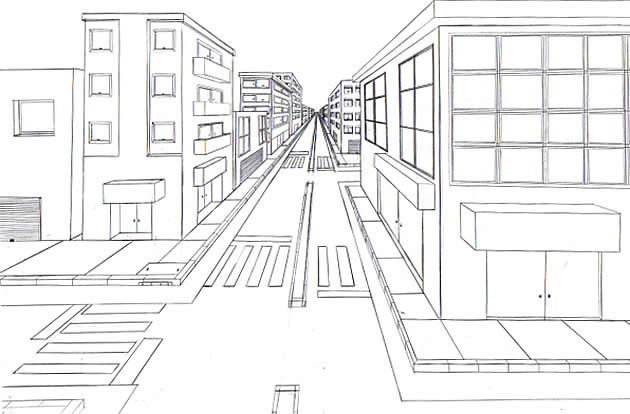
When you draw a road in perspective, this is what the end results should look like. The fine details and the vantage point depict a city scene that isn’t actually that complicated to recreate. It uses basic rectangular blocks and just requires an understanding of the terms we explained earlier in the article.
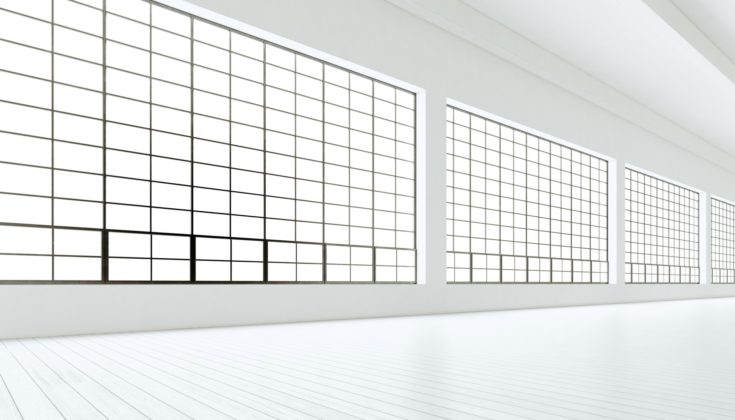
#2: Two-point perspective
In this example, you can see how a drawing that’s based on creating blocks and adding some fine details can be as amazing as something that would take way longer to create.
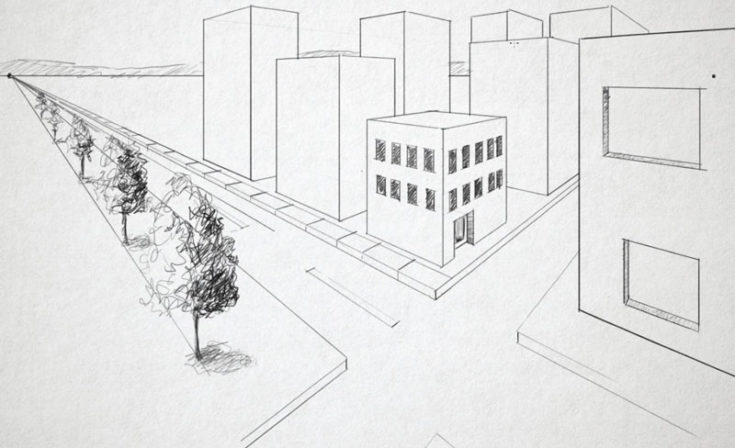
#3: Multi-point perspective
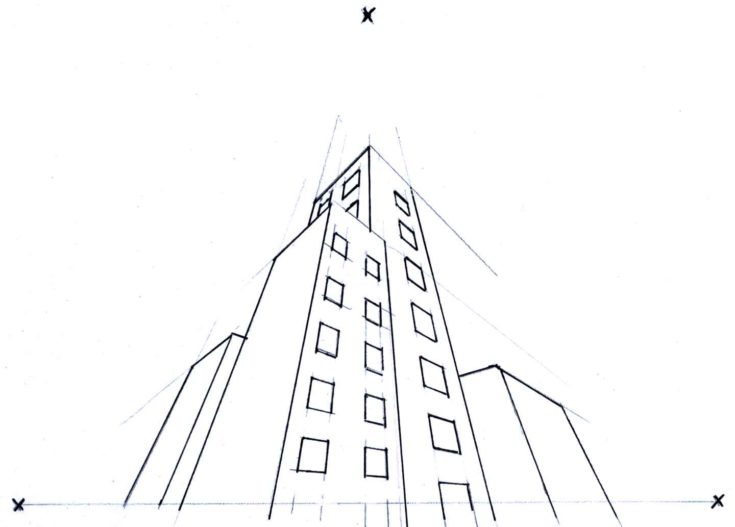
Another great example of how perspective drawing creates astonishing optical illusions! In this example, the artist wants to underline the imposing building by making the viewer focus on how tall it is. When you want to draw attention to tall objects, mastering the multi-point perspective is the best way to do it.
#4: Aerial perspective
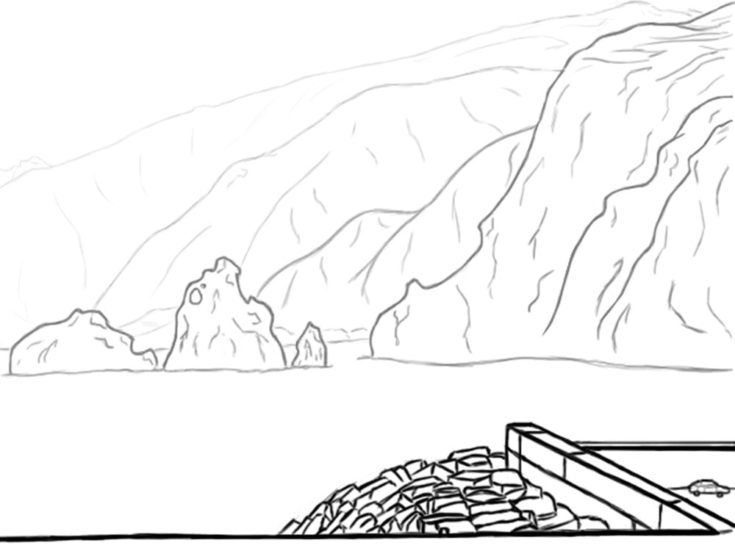
The aerial perspective uses value variation to create stunning visuals while focusing on the details of the object depicted. This is a good example that will show you how the clarity of the elements can have a huge impact on perspective.
#5: Curvilinear perspective
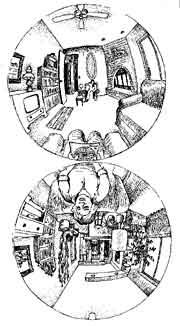
Probably the most intricate and surely the most complicated perspective is the curvilinear one. As you can see in this example, it’s all about getting a surround-type of an image that doesn’t just focus on the elements that are in front of you, but also on those that are behind you.
Conclusion
If you master the basic terms and concepts of drawing perspectives, the rest is just practice. There are plenty of people out there who claim that talent is not native, but something that can be learned and mastered with a lot of practice. It’s a concept we often find in music, sculpting, drawings, and other forms of art.
As far as perspective drawings are concerned, you can use the different concepts to depict your own perception of the surrounding world, and you will learn how different tricks and techniques will help you recreate the 3D elements that the human eyes pick up.