Heat transfers are a fun way to dress up different items, make business logos, create personalized T-shirts, and more.
Heat transfers have the image on one side, and paper on the other, then are ironed onto the T-shirt, messenger bag, or other surface. Once you place the paper onto your fabric and run an iron over it, the image is then transferred over by heat. You can even transfer images to wood.
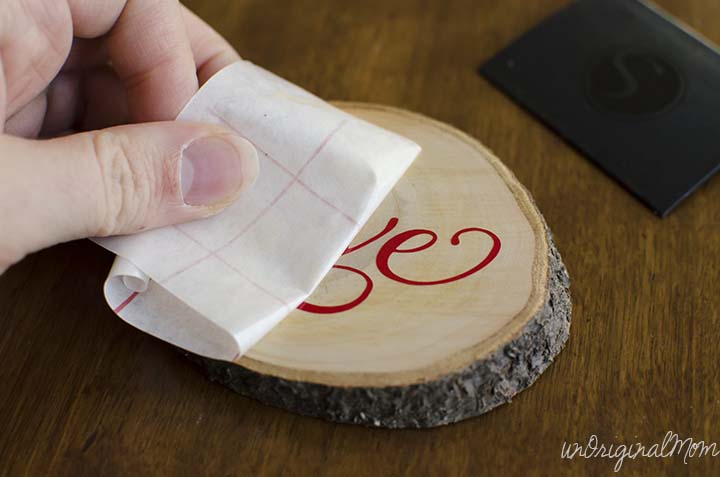
via unoriginal mom
The first step for doing this type of project is to make sure you have a quality printer for heat transfer paper, then you’re ready to start thinking about how to make your own heat transfers.
via i.ytimg.com
Finding Transfers Locally
The simplest method for making heat transfers is to find them at a local retailer, art store, or online shop. Within these kits, you will typically find all you need to do transfers yourself, like transfer paper, some image software, and at times an included T-shirt.
But with this method, you’re very limited in terms of what you can do. When you make your own, you have more control. Not to mention that this is a valuable skill to have and use.
Creating your Own Heat Transfers
For making your own heat transfer instead of using a kit, you need to find an image to use first. You could, for example, scan a picture of a drawing you made, print it on the correct type of transfer paper, and then put that image onto a pillow or messenger bag.
via democrat & chronicle
You can do the same with digital images you or someone else created, but make sure that you have the rights to do so if you plan to reproduce or sell it. For more information on how to make sure you’re following the law in regards to this, read this article. Now you’re ready to follow these steps:
- Edit your Image: Using basic software for image editing, you can add effects to your picture, resize it, alter colors, and make general corrections until it looks exactly the way you want it to. This is your chance to get your image perfect, so take your time.
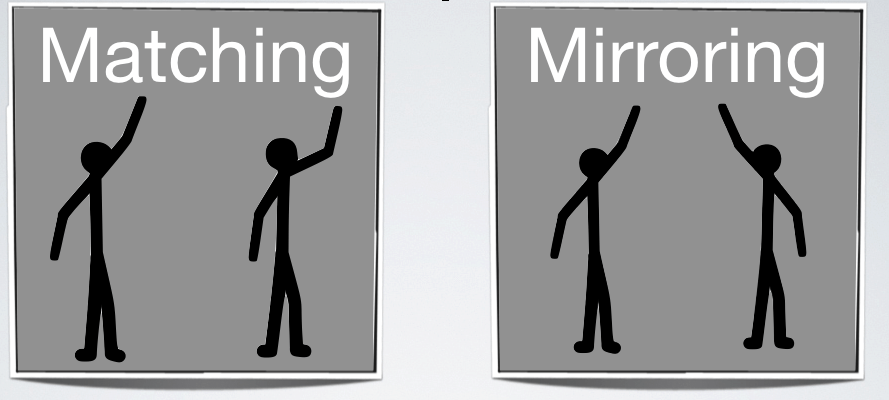
- Mirror the Image: Ensure that you mirror the picture so the end result is facing the correct direction, instead of appearing or reading backwards when you’re done. Obviously, that doesn’t matter for symmetrical designs.In order to do this, look for commands like “Mirror”, “Flip image horizontally”, or “Reverse” in editing options. The picture should face the opposite way when you’re done. If you’re still having trouble figuring out how to do this, visit your editing program’s Help section.

via excellence assured
- Print your Heat Transfer: Before printing your image out onto your special transfer paper, test it out by printing the picture onto regular paper. This will help you ensure that the colors come out the way you want, that the printer will get the whole picture without cutting anything off, and to see what size the image will end up. At times, the way an image appears on your screen will be different than the printed result.
The Importance of the Correct Type of Transfer Material
Using the correct type of transfer paper is crucial for an end result that turns out well. This can be found online or in craft stores. You will find two different types of transfer paper. These are sheets for lighter colored fabric, and sheets for darker colored fabric.
Sheets for Light Surfaces
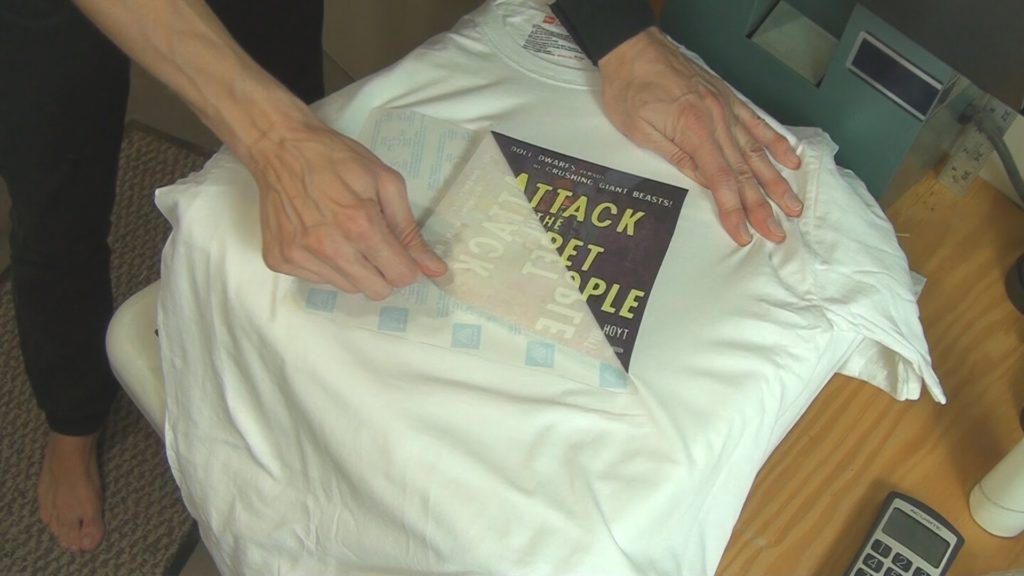
Sheets made for light fabrics are designed to accommodate light gray, yellow, white, or similar toned fabrics. The paper used for these is clear, meaning that any parts of your picture that have white in them will look clear as soon as you iron them on. The color of the fabric will show, instead of the image’s white portions.
If the image you’re transferring has light colors (besides white), the picture might come out discolored or distorted after it’s transferred. When you’re using this type of transfer material, try using dark or medium colors for a crisp and bold resulting image.
You should trim around the edges of the image, since transparent areas around the paper will still show up on the surface once you’ve transferred it.
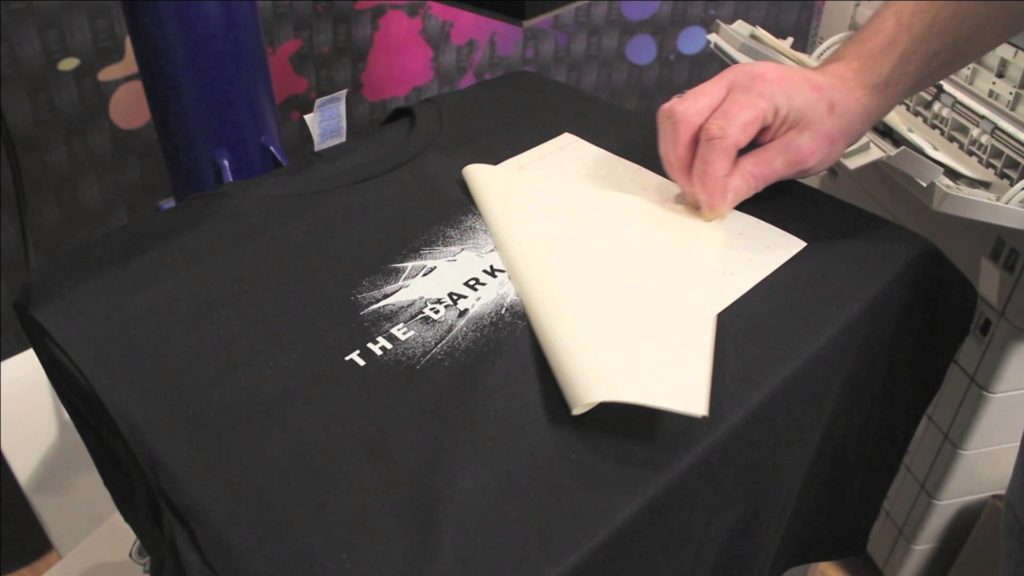
Sheets for Dark Surfaces
Sheets for darker fabrics are intended for dark blue, dark gray, black, or other similar colored surfaces. They are typically thicker and come with a white backing. This allows lighter colors, like white, to show up distinctly against the dark background.
via i.ytimg.com
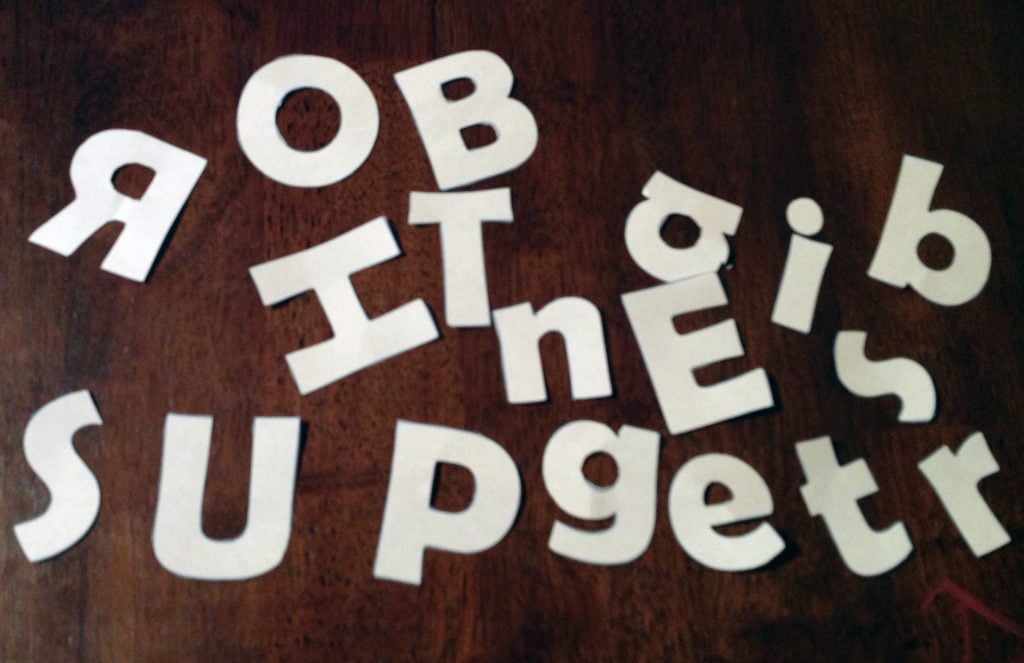
Keep in mind that when you use this type of paper, the background portions of the design will look white instead of clear. You will need to cut carefully inside and around any design elements (such as letters) if you’re aiming for the fabric color to be visible in certain areas, instead of white.
If you were printing out letters, for instance, you’d have to cut the area out inside of the letter “A” or “O”. You could keep the white background in the image, but most will want the dark fabric to show through in these areas.
via rilosandmimi
Follow these simple steps and rules, and you will end up with a great-looking finished product that you can be proud of.
Find more heat press tips here.