Sure, there are plenty of high-end embroidery machines that you can use to make your digital models and then transfer them to a computerized machine, but will that ever be capable of bringing you the same satisfaction as an embroidery pattern you made all by yourself? Plus, an embroidery machine costs hundreds of dollars, which means that not everyone can afford to buy one. Even more, if you are a true lover of the craft, learning how to make embroidery hand stitches is a must. Ready to start learning?
Top Must-Know Embroidery Hand Stitches
Now with all the fancy sewing machines out there, people rarely learn to master making hand embroideries anymore. However, people who have really been into the art of sewing or those who’ve done it for a living before they could afford to buy a sewing machine most likely know how to make the following stitches without the need for any device. You just need some needles, embroidery threads, and fabric for this project.
Backstitch
The backstitch is probably the most basic and well-known type of embroidery stitch out there. It is also super simple to learn it, and the one that you’ll be using on a regular basis for most of your projects. It is easy to combine with other stitches, plus it’s good for different types of outlining.
The whole concept behind the backstitch is to go backward from your line’s direction. The first step is to penetrate the fabric you’re working on from the back to the front, at a short distance from the starting point of your stitch. Then, take one stitch back to the starting point. For your second stitch, bring the needle up again, at a short distance from the starting point of the second stitch. Repeat the process until your stitch has reached the desired length.
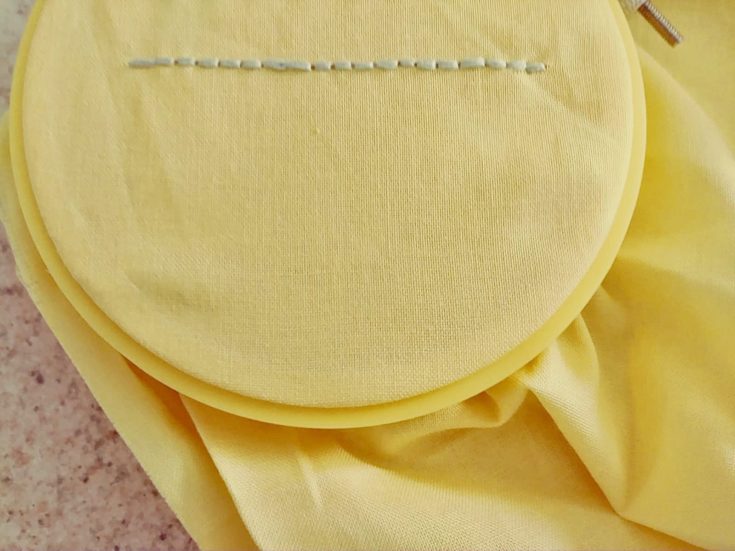
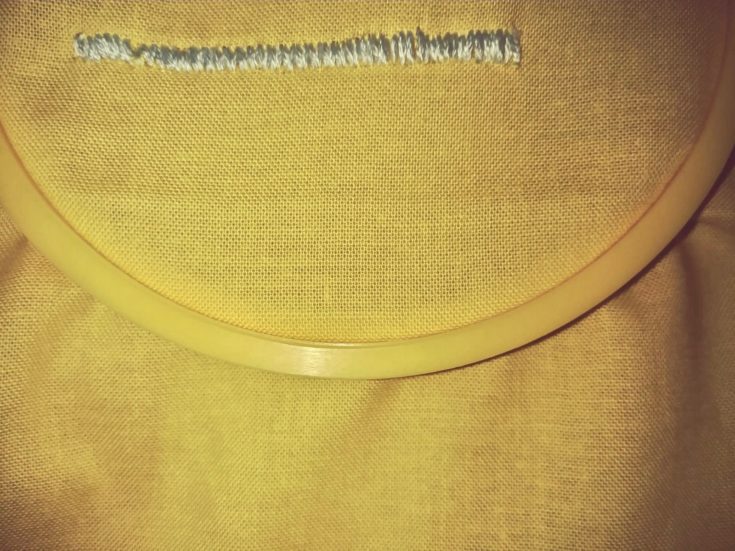
Running stitch
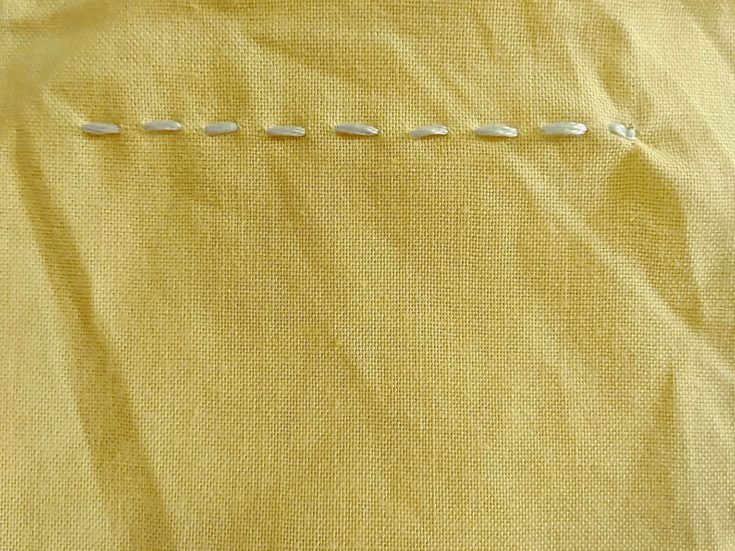
If you want to create dashed outlines, you will have to learn how to make the running stitch. In order to learn how to make the stitch, you will need to bring the needle from the back to the front of the material you’re working with. That will be your starting point. Bring the needle back a little in order to make one stitch. Them, repeat the process until you have as many stitches as you want.
When you’re first learning how to make running stitches, you want to work with one stitch at a time. Once you’ve gained a little bit of skill, you can weave the needle in and out of your fabric so that you’ll create multiple stitches of equal dimensions at once.
Straight stitch
Straight stitches can be used either individually or grouped in order to create patterns that lead to amazing embroidery designs. Making a straight stitch involves two steps. The first requires bringing the needle up through your fabric. That will be your starting point. Then, drive the needle through the fabric again at the end of the stitch. Straight stitches are often used to make leaves, flowers, or stems.
There are, however, a few potential problems that might occur when making a straight stitch. If a single stitch is too long, there are chances it will get snagged, but this depends on what’s the destination of the embroidery. If the stitch does get snagged, it can pull apart the stitches it’s connected to. You will also have to make sure that parallel stitches don’t pull the fabric, as this occurs especially when they are too close to one another.
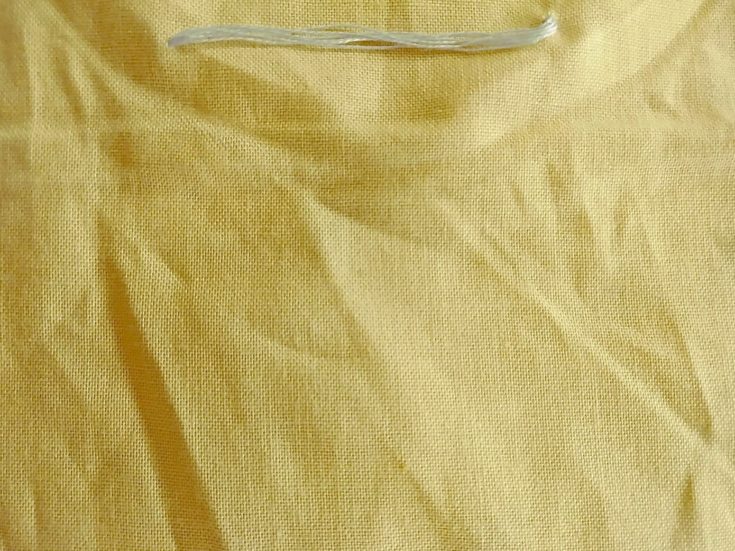
Stem stitch
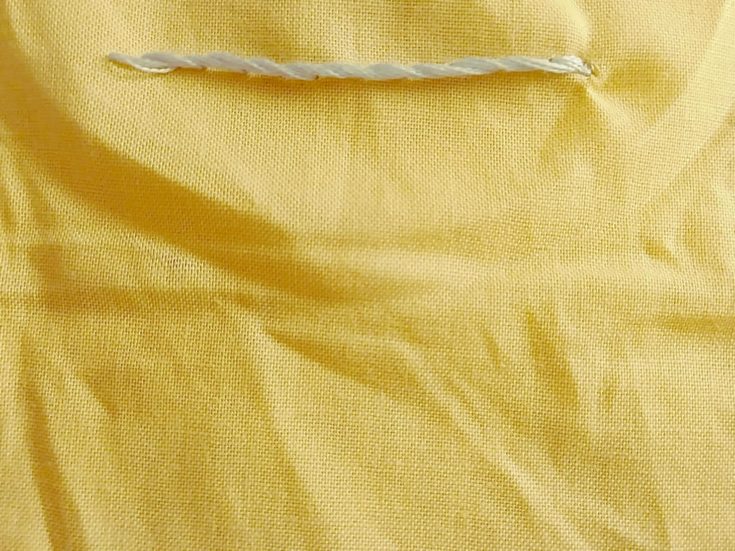
The stem stitch is well-known for embroidery projects that require making smooth outlines. You can make stem stitches in curves and straight lines and, once you learn how to do it, it can embellish your projects to look absolutely amazing.
There are four steps to making a stem stitch, so pay close attention. From the back to the front, bring your needle through the fabric above the line of the pattern. Measure the length of a stitch from the point of the needle insertion, below the pattern of your line. Return a little less than halfway between the first point and the point below the pattern line. Repeat the steps to increase the size of your stem stitch.
French knot
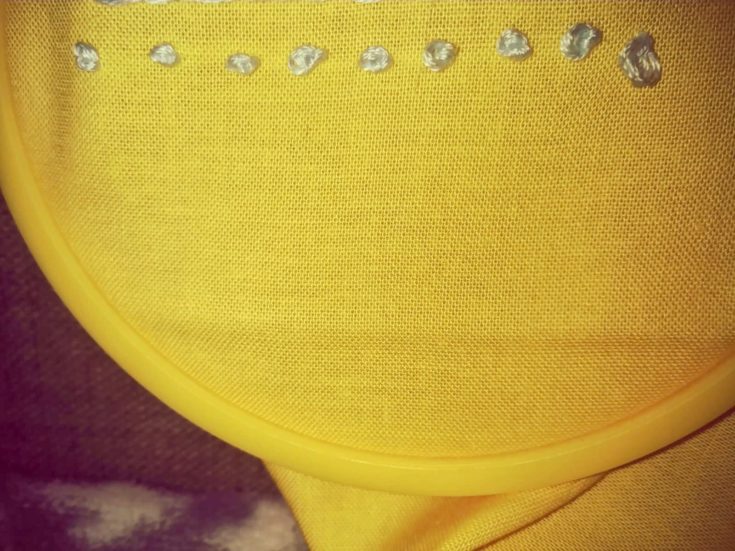 French knots are a bit more complicated compared to what we’ve talked about so far, but once you learn how to master it, it’s a great stitch to create design elements, but also works great as a filler stitch. The idea is to create a knot on your fabric’s surface.
Consider the point of the fabric where you want to place the knot and bring the needle from the back to the front in this particular spot. If you want to make a large knot, wrap the needle twice around the fabric, or a single time, for smaller knots. If you wrap the thread more than twice, there are chances that you’ll end up having a lopsided knot.
When you’re done wrapping the knot, pass the needle through the same point you came out of and make sure that you pull the needle slowly and work the thread through the wrapped loops. The second tricky part of making a French knot is to make sure that when you bring the needle back to the backside of the fabric, you don’t use the very same hole you initially create because that could cause the knot to get lost in the backside when pulling through. Instead, try placing your needle next to the original hole.
Satin stitch
When you want to fill a particular part of your pattern with thread, you can use a satin stitch. Know that there are a few variations as to how you can make this stitch, but the basic patterns follow straight lines made right next to each other.
When you’re ready to start learning how to make the satin stitch, bring the needle through the fabric from the back to the front. This will be your starting point. Locate the spot that’s the opposite of your starting point on the pattern that you’re looking to fill. Insert the needle at that point.
Push the needle back up on the side of the shape where you started and work your way down to the opposite side. By repeating these steps, you will be able to make extra stitches, but make sure that you don’t make really tight stitches, or you can cause puckering.
Chain stitch
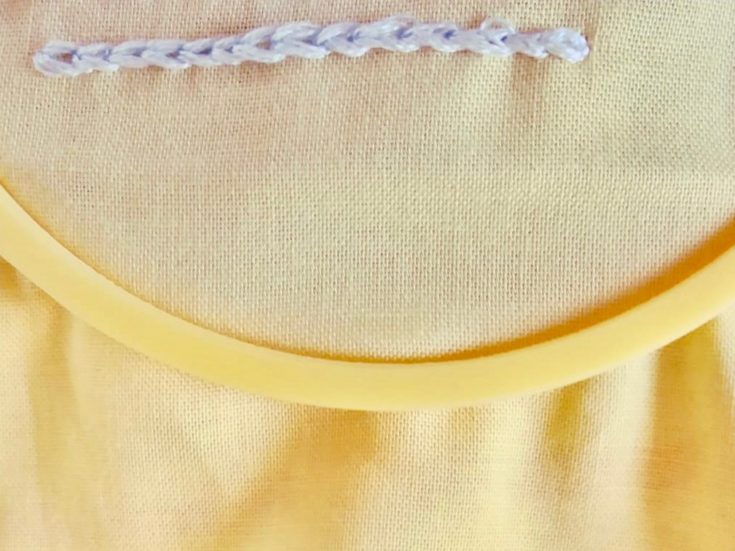
Chain stitches are easy to spot because they actually look like little chains. When you link these stitches together, you can create bolder embroidery lines for your projects. You can create chain stitches in a straight line, but you can also work in a curved line, depending on the pattern you’re looking to follow.
To start your chain stitch, insert the needle from the back to the front at your starting point. Bring the needle to the starting point once again, inserting the tip through the fabric at a short distance. Move the thread behind the needle and insert the needle through the loop. By repeating these steps, you can create more chain stitches. When you’re ready to end the chain, create an anchoring straight stitch at the final loop. This will make sure your chain stitch doesn’t pull apart.
Detached chain stitch
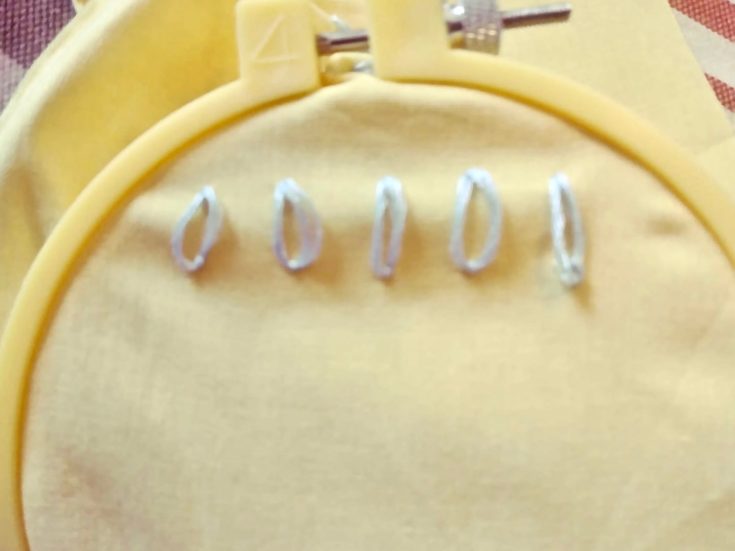
Chains are made of loops, so a detached chain stitch is basically creating a single loop and the chain, and then others which are split from one another. You’ll basically learn how to make a single link, and this is the knowledge that might serve when you’re trying to make flower petals, for instance.
In order to make a standard detached chain stitch, bring the needle through the fabric at your starting point. Bring the needle back to the same hole you came out of, and pull it down on the other side, making sure you’ve created a small loop of thread on the top. Bring the needle back up through the middle of the loop where you want your stitch to end and pull through and forward. Take your needle back to the other side of the fabric, just over the loop.
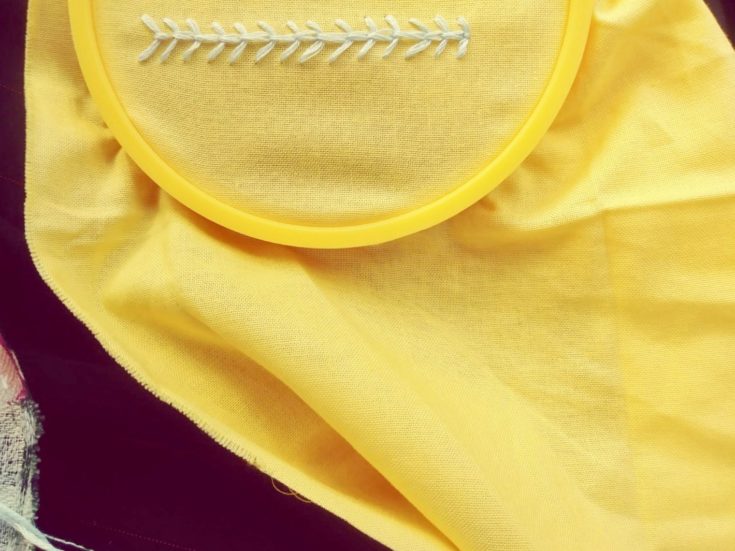
Feather stitch
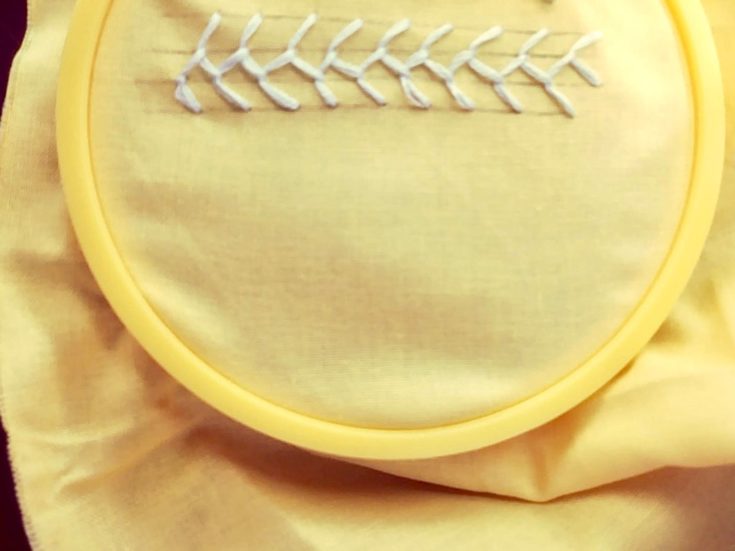
A feather stitch is basically a pattern of stitches with open lines that are connected to one another. This type of stitch is often used to make borders, as it brings sort of an optical illusion, making it seem like the stitches are moving. It’s also used to make a vine-like line, which is great when you’re trying to create floral patterns.
The first time that you attempt making a feather stitch, it would be useful if you grabbed a pencil to draw the lines you want to make on the fabric. You can start by drawing three parallel lines. Insert your needle through the top point of your centerline. Then, bring the needle to the top of your right line and pull it to the other side.
Come back with your needle on the centerline, inserting the needle from the back of the fabric to the front, through the loop of your working thread. Pull the needle through. Now insert your needle from the front of the fabric to the back, only this time on the first line, next to where you came out with your needle at the last step. After going down on the first line, come up on the centerline, through the newly created loop. Pull through.
Repeat the process, only this time go to the right line, and then pull through from back to front on the centerline, through the working thread’s loop. You will repeat this process, but always on the opposing line (left, right, left, and so on).
Fly stitch
For making more cool-looking borders, you can also learn how to make the fly stitch. The scalloped-looking line it created can make amazing decorative borders. In order to learn how to make the stitch, visualize a straight horizontal line on your fabric (or just use a pencil to draw it). Bring your needle up from the back to the front of the fabric. Select a point to the right of the line and pull the needle through to the other side. When you slowly pull downwards, the thread should create a loop on the top side of the fabric.
Bring your needle back up between the first and second points, only a little bit lower. Make sure that you catch the working thread. Pull through and anchor the stitch. This is your first part of the stitch. To continue it, bring the needle back up through the hole of the second point you create, the one on the right. Repeat the steps until the fly stitch is at your desired length.
Conclusion
Learning how to make hand stitches for your embroidery project is really satisfying. Not only is this a hobby that can help you disconnect from the outside world for hours at a time, but you can also end up having beautiful results that you can use, gift, or sell for some extra cash.
Most of the stitches we’ve shown you today are easy to make and don’t require huge amounts of practice, but others are a bit more complicated to master, so make sure that you’re armed with patience when looking to tackle a new area of the wonderful craft that is embroidery.