If you’ve just bought a sewing machine without ever using one before, you will need to get acquainted with the different components in order to understand how it works and how you can exploit the machine at its maximum potential. One of the very first components that you should acknowledge is the bobbin, so we’re going to explain how to thread it and how to put a bobbin in a sewing machine.
Step-by-Step Instructions
There are two major steps required before you can actually start using the bobbin of your manual sewing machine. The first step requires you to learn how to thread the bobbin, and the second one is about placing and engaging the piece.
Step One: Loading
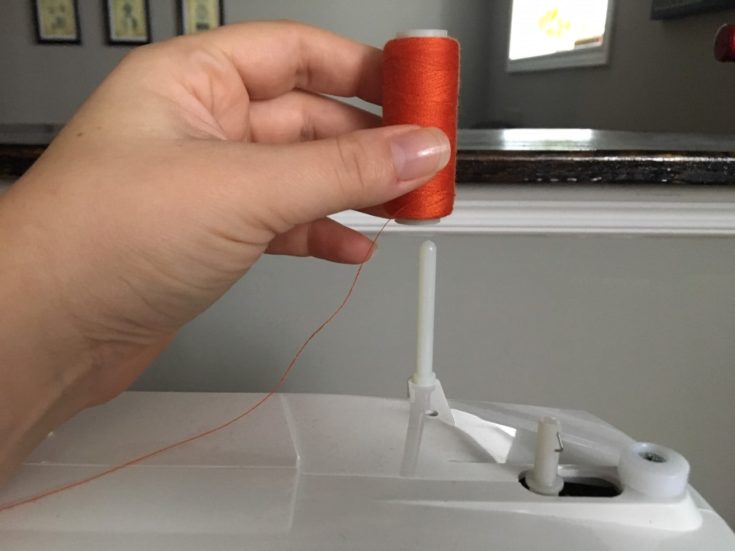
The top of your machine sports a pin for the thread spool.
You will have to place the thread spool on this pin, making sure that you turn it in order for the thread to be released counter-clockwise. Your sewing machine most likely has a diagram somewhere on the top side, and this should indicate the correct way to position the thread spool.
You will have to pull the end of the loose thread on your thread spool in order to wind it around the bobbin winding tension disc. This is a component of your sewing machine that’s located above the needle, meaning it’s on the opposite side of the thread spool. So, take the end of the thread and just wrap it around the bobbin tension disc.
Step Two: Threading
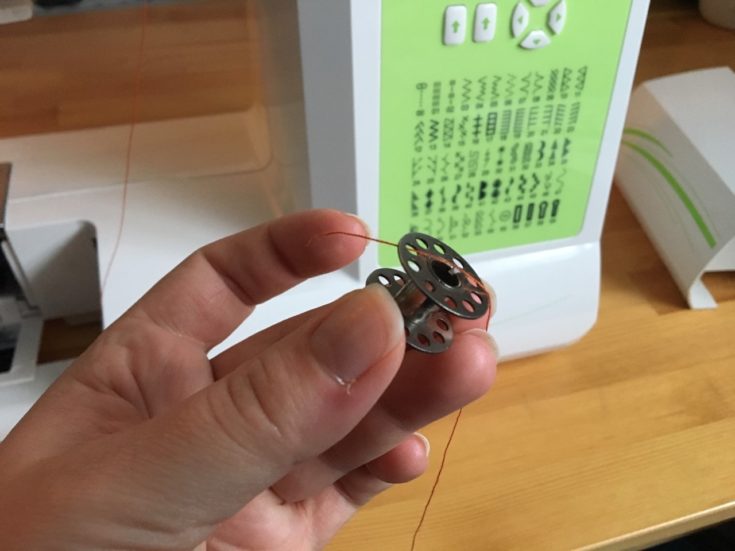
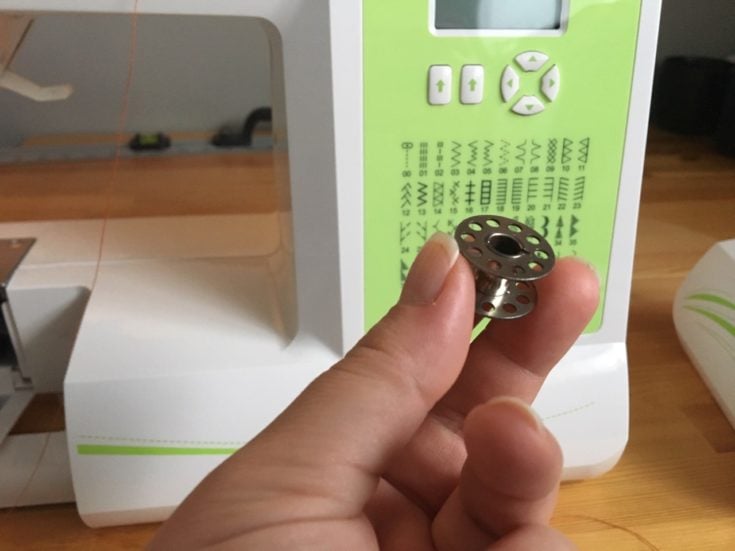
- The next step requires threading the bobbin. To do this, grab the bobbin and the loose of the thread that you just passed around the bobbin winding tension disc and insert it through one of the holes located on the bobbin.
- After that, wrap the thread around the center of the bobbin, until it’s secured in place.
For the next step, you will have to locate the bobbin pin. This is typically somewhere in the proximity of the spool pin. It is a small pin and your bobbin should fit right in it.
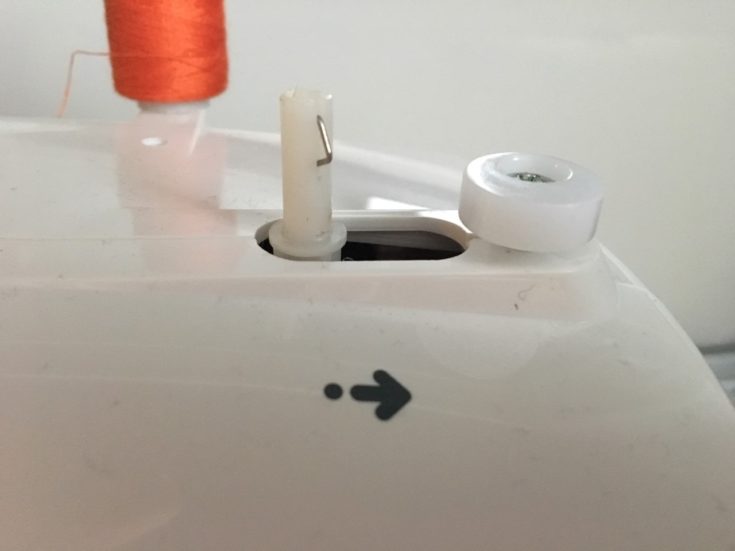
Slide the pin to the right, so that it can be locked in place and ready for the actual threading. Most machines will offer some sort of audio cue when the pin is in place, so you’re likely to hear a click if you’ve done this correctly.
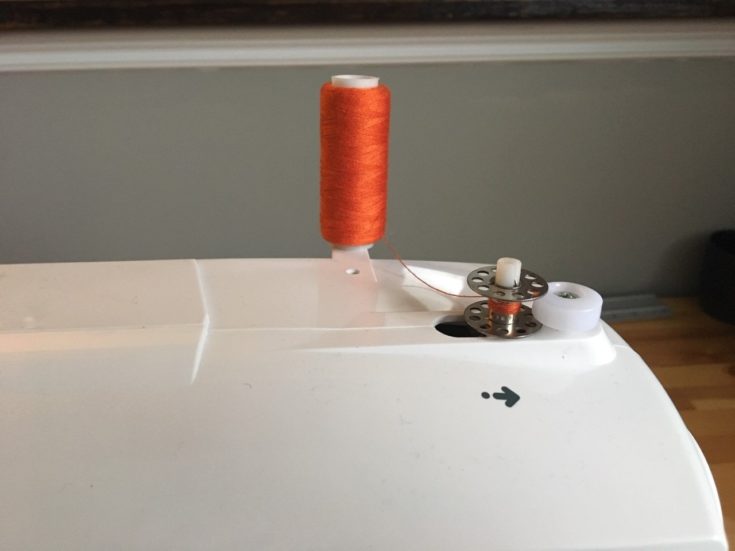
In order to start the bobbin winder, push down the foot pedal for a few seconds. Note that there are some machine models that have a bobbin winding button, so you have to check your machine’s manual to see if it does. The purpose of this step is to make sure that the thread is wrapped around the bobbin and won’t come loose in the next steps.
Press the foot pedal again and watch as the bobbin starts filling with thread. The moment you want to stop the winding process is when the thread that’s now on your bobbin reaches its edges.
When you’re done winding, simply slide the bobbin pin to the left in order to unlock it. Remove the bobbin from the pin.

Grab a pair of scissors in order to cut the thread which now connects the spool with the bobbin. Now you’ve got a new color ready to go for that next sewing project.
Step Three: Placing
Placing the loaded bobbin is another two-step process. When your machine is sewing, it’s using both threads from the thread spool, which goes into the needle, as well as thread coming from the bobbin. That means that the process for creating a stitch requires you to feed your machine with the thread coming from the top side, and the bottom side of the machine. Since the top side is fueled by the thread spool, the bottom side will be fed by the bobbin. Here is how you can put the bobbin in the correct place and thread the lower half of your machine:
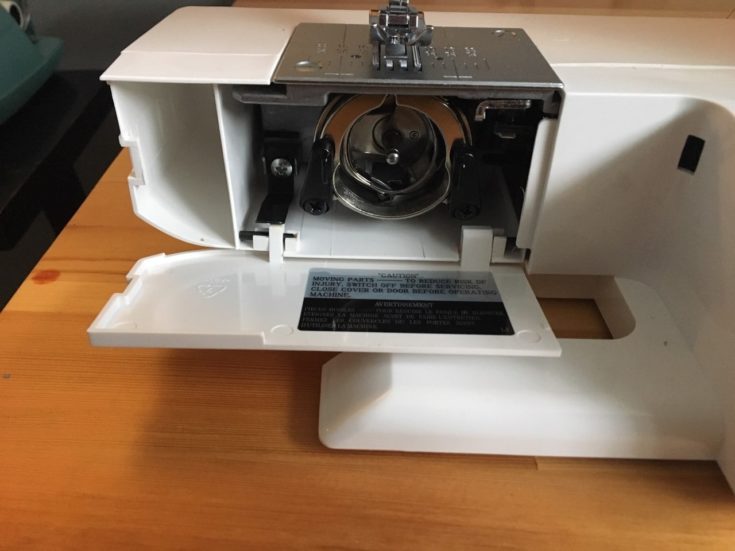
Right below the needle area, your sewing machine has a compartment, but one that differs between different types of sewing machines. This compartment is where your bobbin will go. You should have a mechanism that allows you to remove the door of this compartment, but it’s best to check the manual and see how to do it on your specific machine model. It’s very important to know that this bobbin compartment cover should come off easily, so if it requires you to use force, you’re probably doing it wrong. Also note that depending on the sewing machine model that you own, the compartment door might hide another small slot, which also has its own cover. In this case, make sure both covers are removed to reveal the location of your bobbin.
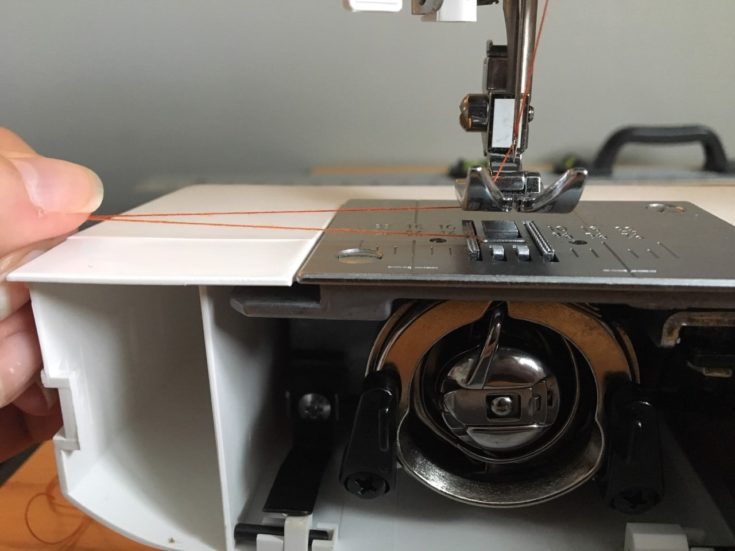
Grab the loose end of the bobbin’s thread and pull it two or three inches. This end is required to catch when you will later operate the handwheel. Never unwind less than two inches of thread, or it won’t catch.

When you’ve revealed the compartment by opening all its doors and covers, put the bobbin in place. Most sewing machines have a diagram that will show the correct position for placing the bobbin. This image will show you the direction in which the thread is supposed to go.
Once you’ve put the bobbin in the correct position, close all the covers.
Step Four: Finishing
Notice that your sewing machine has a handwheel on its right side, which looks like a large dial. This will be required for the next step, which brings out the end of the thread that’s now hidden under the plate. Grab the handwheel and rotate it in your direction a few times. You should notice the end of the thread popping out of the plate.
Grab the end of the thread and pull it a few inches towards you.
Tips for Good Bobbin Practice
Even if it’s just a small component of your sewing machine, the bobbin poses a lot of problems, especially for people who are just learning how to get around with this piece of equipment. Here are a few tips that might help:
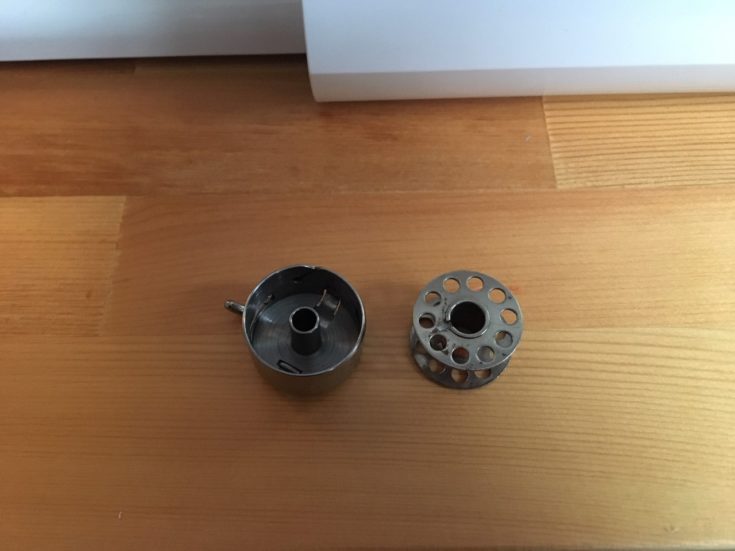
- The bobbin on your sewing machine is most likely incompatible with the bobbin from another sewing machine. If you own more than one sewing machine, don’t try to swipe one’s bobbin for the other. If there’s something wrong with one of the bobbins, know that buying a replacement is way less expensive compared to the damage you could do if you use an incompatible piece.
- Speaking of compatible bobbins, never try to swap metal and plastic bobbins, even if they have the exact same size. That’s because machines have a certain tension that is adjusted for the weight of the bobbin. Metal is heavier than plastic, so you can imagine the potential problem you’d be dealing with.
- Always have more than one bobbin if you want to avoid frustrations. For example, let’s assume that you’re working on a project that requires you to use different thread colors. How annoying would it be if you had a single bobbin that you had to unthread, rethread, and so forth? Multiple bobbins mean that you can wind them all in the colors needed for a project and just change them when need be.
- There are threads that are actually labeled as “bobbin threads”. These are lighter and should not be used for normal sewing. They are designed for machine embroidery.
- Rusty bobbins can damage your sewing machine. If you have absolutely no alternative and must use a bobbin with rust on it, sandpaper it first, then rub some oil onto its surface. Oh, and replace it with a new one as soon as possible.
- When you thread it, make sure that the quantity of thread never exceeds the edges of the bobbin. Threading is actually a vital part of having beautiful stitches, so make sure that the thread around it is as secure and smooth as it is on the thread spool.
- If you ever come across a situation where the bobbin thread knots up, know that’s not usually the piece’s fault. It is most likely caused by the sewing machine needle or the threading in the upper side of the machine.
- When you know that you’ll soon have to start working on a big project, wind the bobbin beforehand so that you’ll have plenty to spare and change them when one runs out of thread. This helps you save time and keep your workflow running smoothly. Otherwise, you’d just have to stop sewing to wind bobbins.
Conclusion
One of the best pieces of advice that we can and will always give you is to always read the sewing machine manual before you start using the contraption. The advice we’ve given you is pretty general and should work with most types of sewing machines, but if your machine has a diagram instructing you differently than we did, always follow the manufacturer’s instructions. That’s the best way to ensure your sewing project will go smoothly.