Playing Scrabble has been a way of entertaining family and friends since the early 1950s. The tiles that build words and get us those triple word scores are as iconic as the Monopoly Man and the Candyland slide.
Using these tiles to create ornaments for one of the most celebrated holidays on Earth is combining tradition with pop culture, which can be a hit if done correctly. In the case of these Scrabble tiles, we’ve decided to make them into Christmas ornaments.
Here is the direction to how you can make Scrabble tile Christmas ornaments at home.
Let It Snow Scrabble Tile Ornament Supplies
- Scrabble Tiles
- Glue gun with glue sticks
- White acrylic paint
- X-Acto knife
- Paintbrush
- White glitter
- Twine
- Black felt fabric adhesive sheets
Directions
Step One
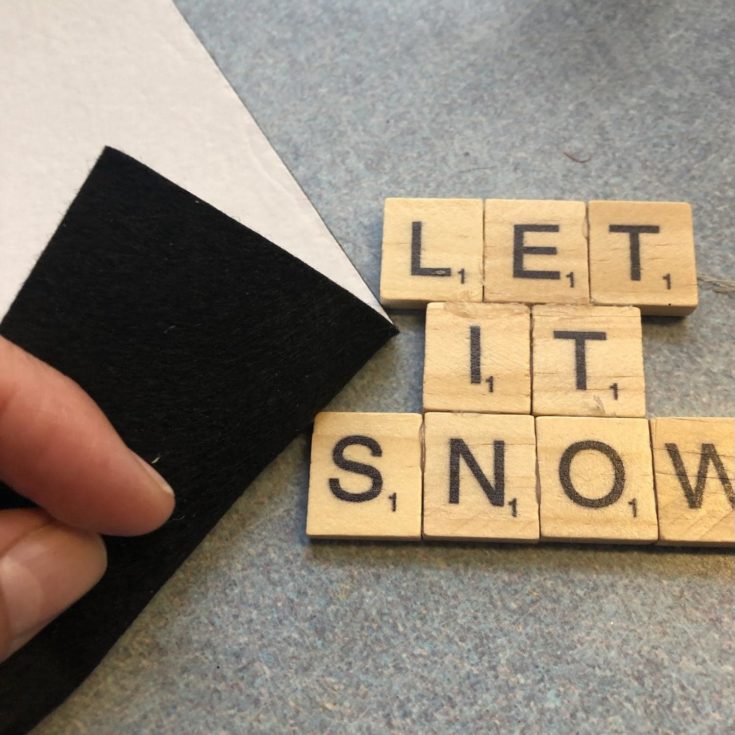
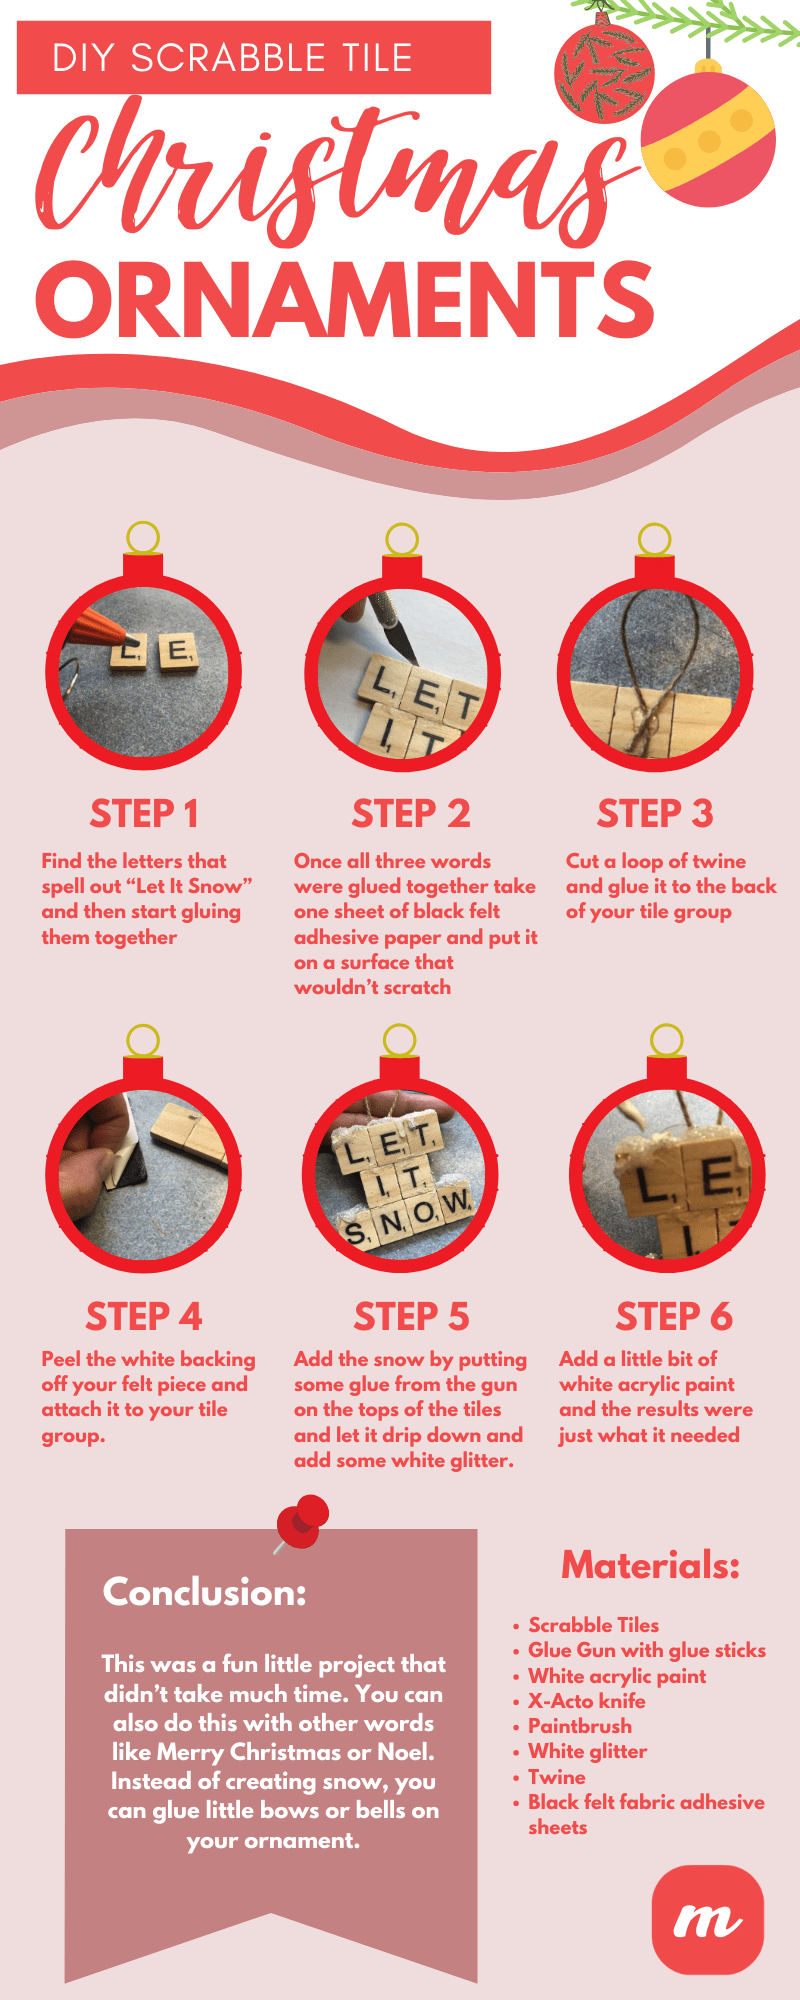
First, you need to find the letters that spell out “Let It Snow” and then start gluing them together. Stacking the words on top of each other is the best way to set it up for a leveled ornament that’s easy to hang on your tree.
You aren’t tied to those words. Maybe you feel like writing out MERRY or someone’s name. This is the part where you can get creative to make your creation unique. We thought it would be cute to replicate the lyrics of the still popular 1945 release.
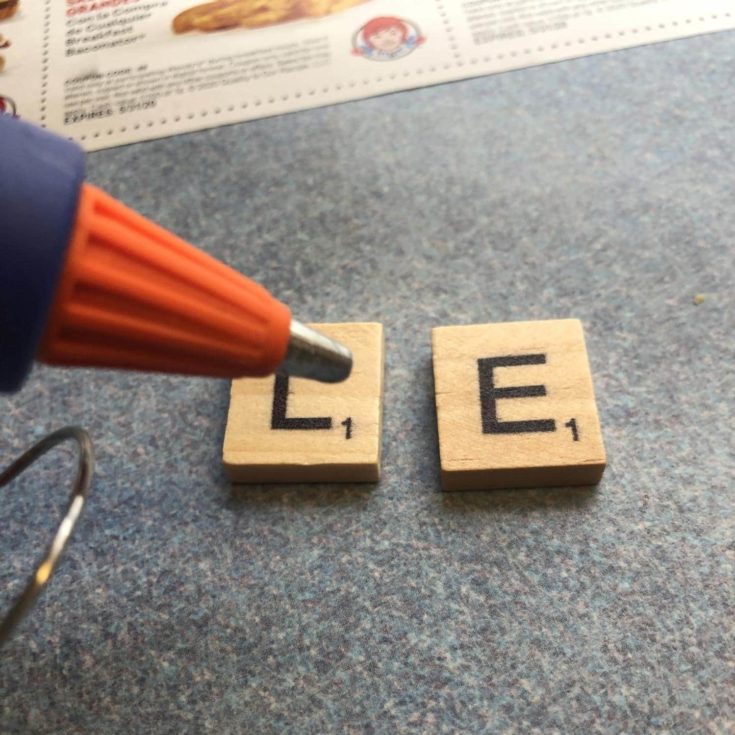
I started with the L and the E as you can see in the photo below.
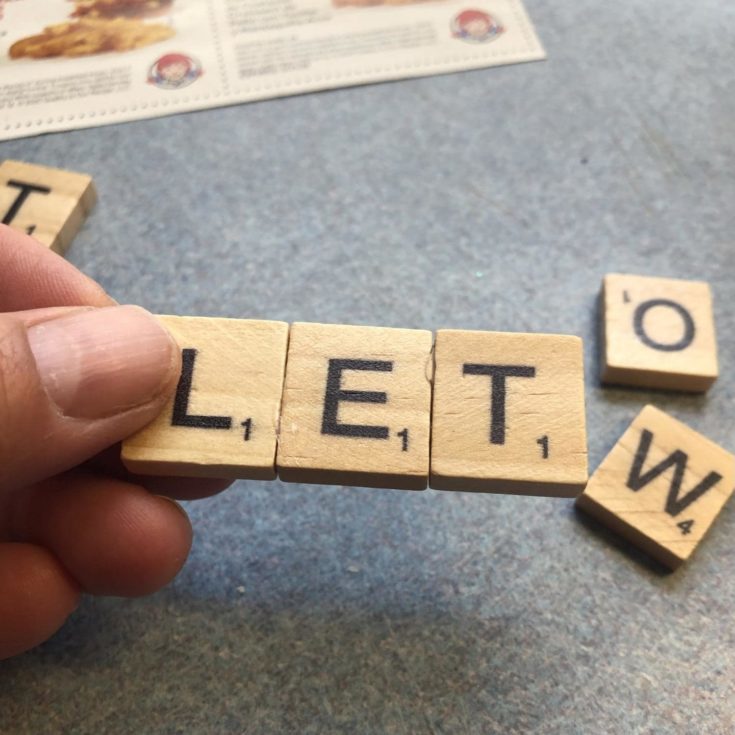
First I put together the word “let.” As you can see in the picture I got a bit sloppy when it came to the glue but the nice thing is, glue from a gun is easy to pull off and clean up. My letters are not completely in line either, but I thought lopsided was cute.
Then I continued until each letter had a home and the words were glued together.
Step Two
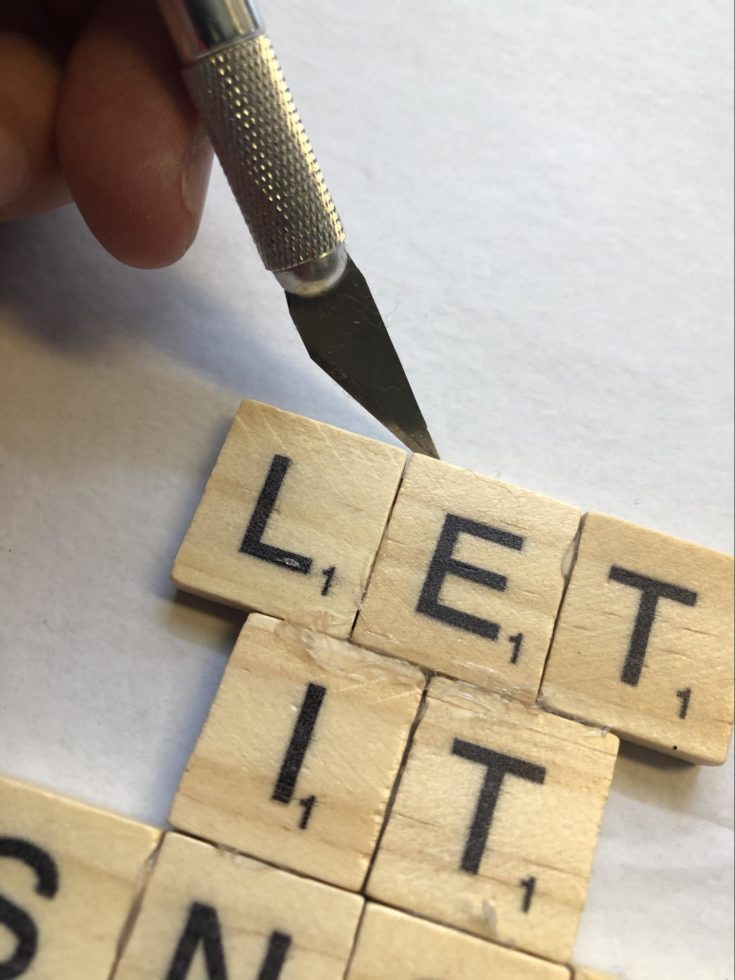
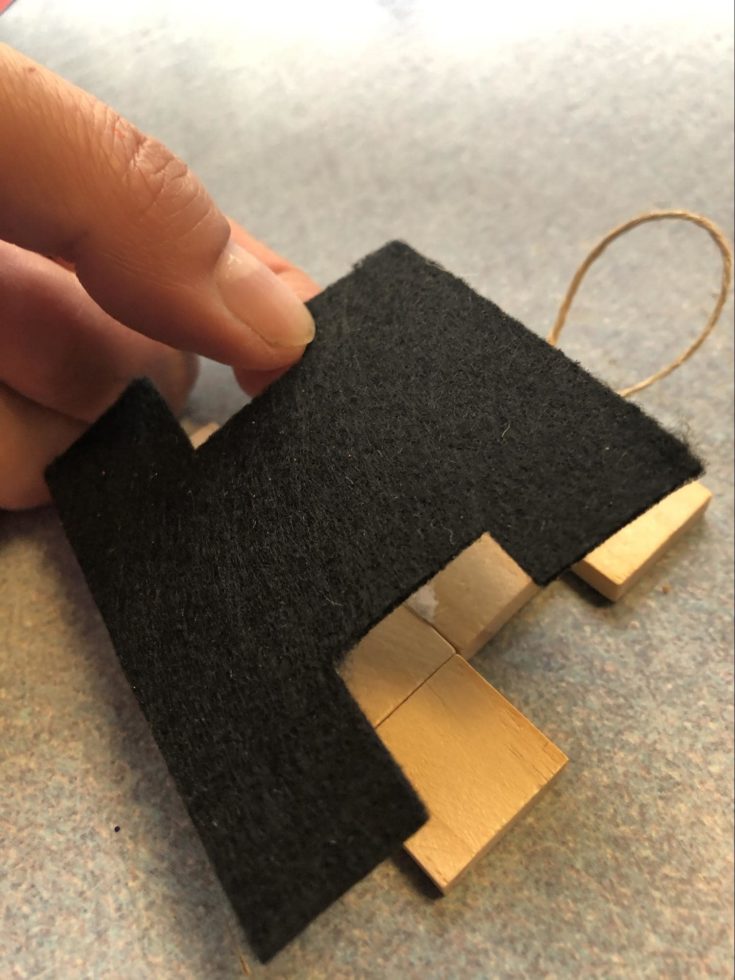
Once all three words were glued together I took one sheet of black felt adhesive paper and put it on a surface that wouldn’t scratch. Place the tile words on the paper and cut it out with the X-Acto knife.
When you are done you should have a piece of black felt that will fit the back of your tile group perfectly. Be sure to put some kind of cardboard underneath your felt paper before you start cutting with the X-Acto knife otherwise you risk leaving permanent cuts in your work surface.
Step Three
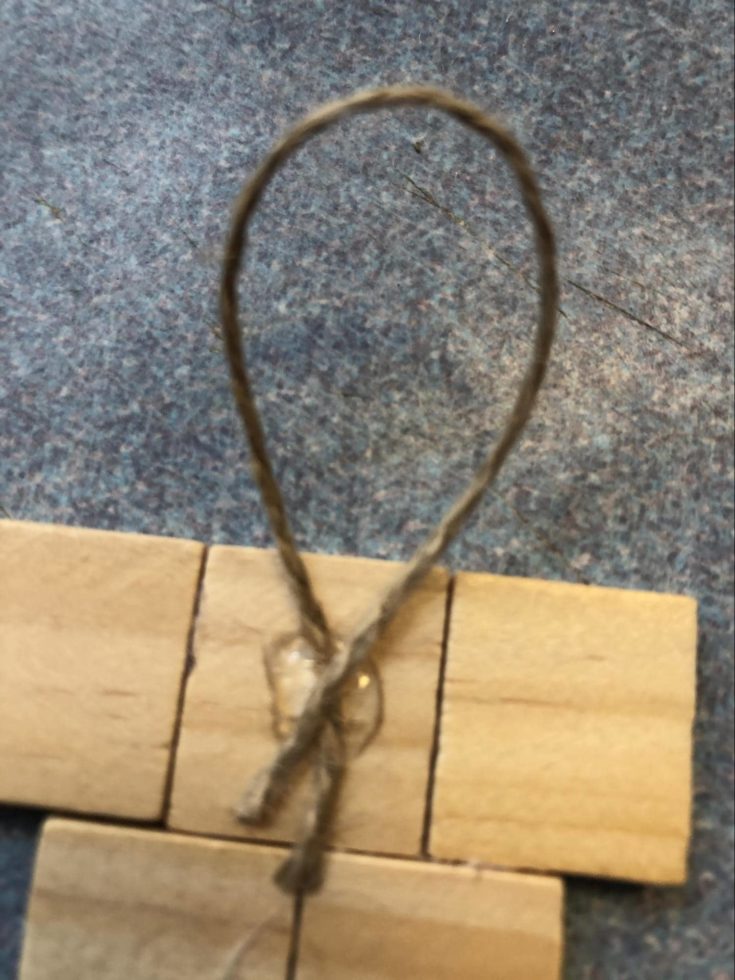
Next, cut a loop of twine and glue it to the back of your tile group so it will hang from your tree when you decorate. I would give the glue a minute to dry thoroughly otherwise you risk the loop slipping out from the backing.
Step Four
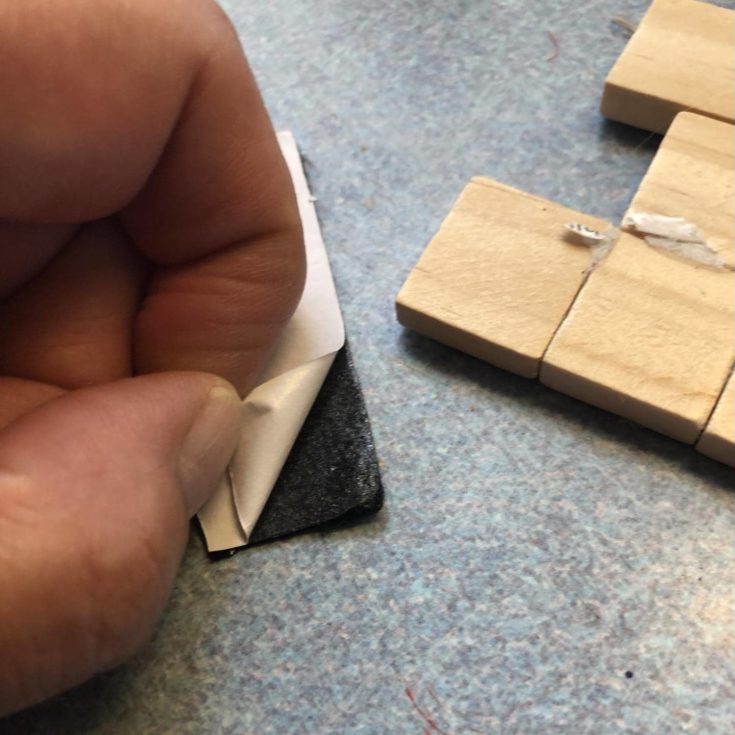
When you’re done, peel the white backing off your felt piece and attach it to your tile group.
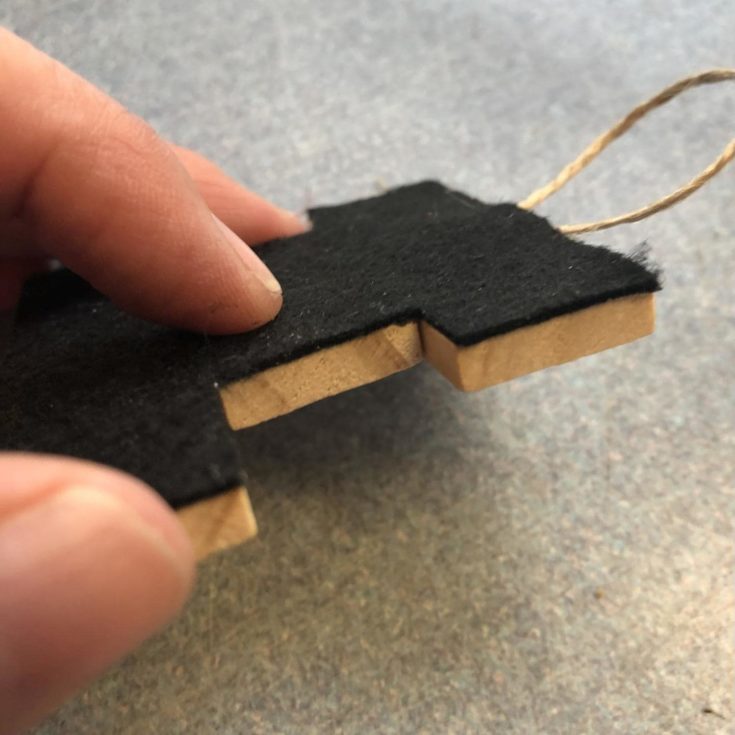
When you are done you will be proud of how professional your ornament is starting to look. I’m sure you could just leave the back open but, as you can see in the picture, the felt hides any glue clumps that slipped by like in the above image. It also gives the ornament a nice finished appearance.
Step Five
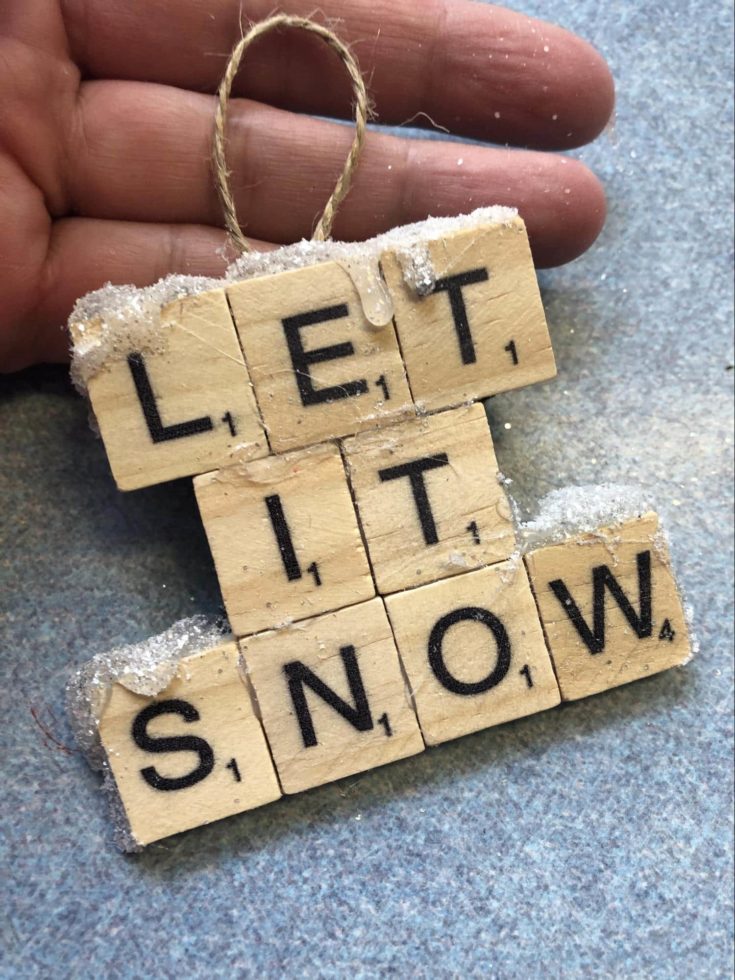
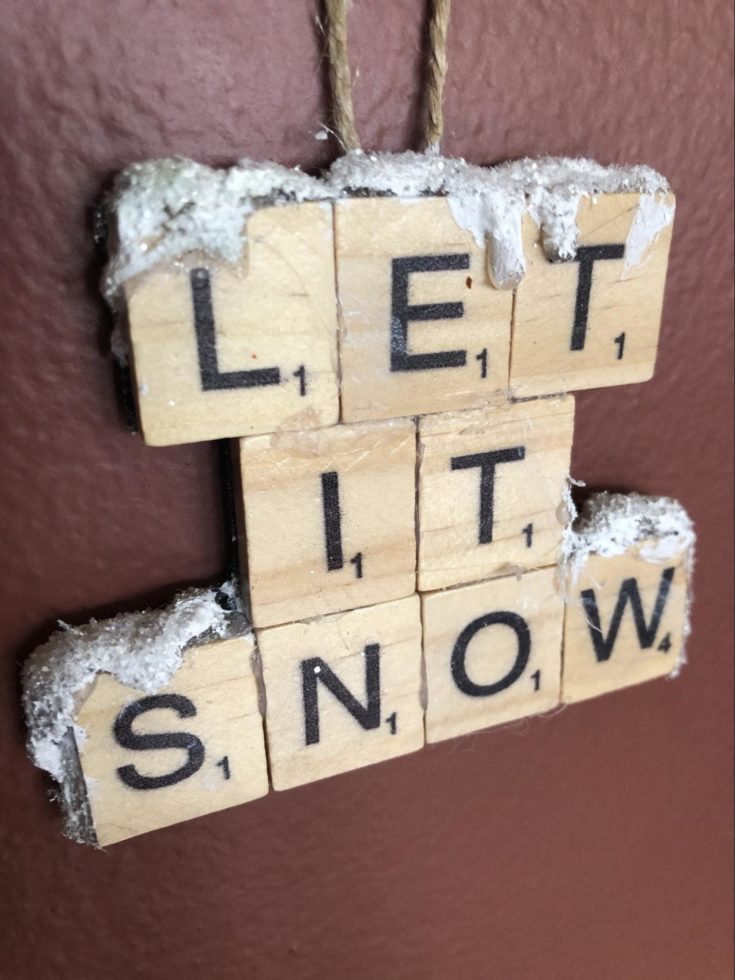
Now, all we need to do is add the snow. To do that, I put some glue from the gun on the tops of the tiles and let it drip down. While it’s still wet douse it with the white glitter. When I was first making these I thought that would be enough to make it look like snow. But, after I was done, I felt it needed a little bit more.
Step Six
I decided to add a little bit of white acrylic paint and the results were just what it needed.
Now I have an ornament that looks like it was bought at the store.
Conclusion
This was a fun little project that didn’t take much time. You can also do this with other words like Merry Christmas or Noel. Instead of creating snow, you can glue little bows or bells on your ornament.
Scrabble tiles are a universal symbol, which is why these could make great stocking stuffers or gifts your children could give to their teachers for the season. Not only will they be involved in a fun craft project they’ll get a good lesson in the meaning of the season, which is giving. This is also a nice addition to your collection of decorations.

