Embroidery is a fun way to add a personalized touch to a wide variety of products. Images, designs, patterns, and monograms are a popular addition to clothing, hats, luggage, purses, and other fabrics. They are an inexpensive way to embellish your favorite products and can be done both by hand and machine.
Unfortunately, there may be a reason you want to remove part of, or all, of an embroidery design. If you have questioned, can embroidery be removed without ruining the material, the answer is yes. With the proper techniques and care, you can easily remove the threads from most products without ruining the product they were on.
How Embroidery is Created
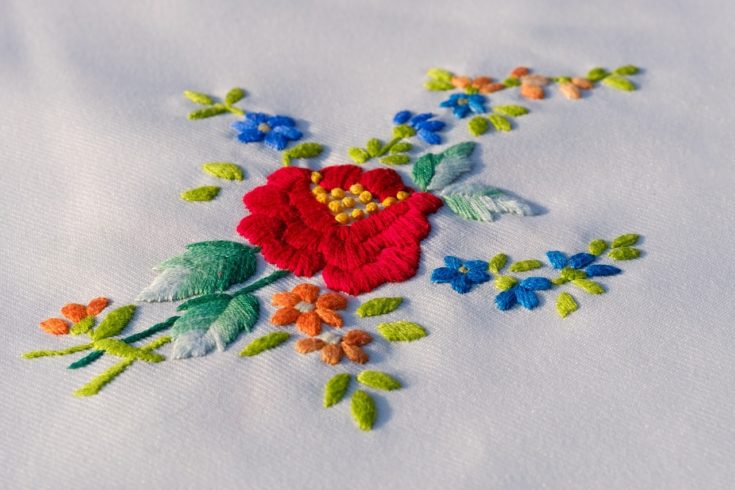
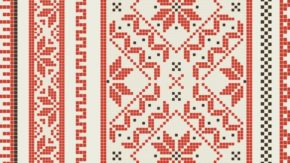
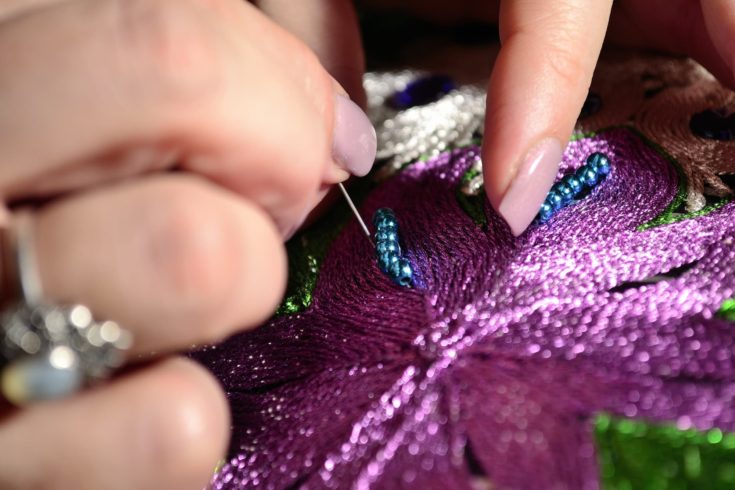
Embroidery is the art of creating designs and patterns using a variety of different stitches with colorful threads. They are often sewn tightly and may be very concentrated to form pictures and various textures.
Embroidery can be sewn by hand or machine, with machine embroidery often creating a tighter pattern. Thousands of different images can be created through the use of embroidery, making the products it is worked upon unique and personalized. Many companies use embroidery to help showcase their logo as well, and it is a technique popular for monogramming and adding names to products.
Why You Might Want to Remove Embroidery
Embroidery can be removed from most materials and there are many reasons why you may want to do so. Some of the most obvious reasons concern correcting mistakes or removing threads to add to the design. Changing a monogram, or removing a name from a jacket or hat is another popular reason, especially if the item is being passed down in a family.
Sometimes too you may want to remove the patterns because they are dated, but you still like the product it was on. Or perhaps you no longer like the design, or it is no longer relevant, but you want to continue to use the item.
The Challenges Of Removing Embroidery
The key to removing embroidery is to get rid of it in a manner that is delicate enough to keep from ruining the material it has been sewn into. There are actually quite a few simple tricks to do so, but they take patience and the proper tools.
Being too hasty, or removing threads from certain types of materials may result in ruined fabrics or fabrics that show where the embroidery used to lay. Sometimes fabrics will stay permanently puckered due to the tightness of the sewn patterns, although there are a few tricks to help fabric recover as well.
What You Need to Remove Embroidery
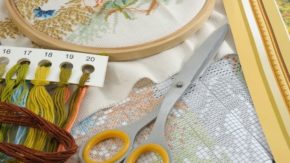
You don’t need a whole lot to remove embroidery, but you do want to approach the task with patience and a few good tools. Pick and choose from the following to decide which might be the best for the material you are working with, as well as what may be best for your own personal needs:
Embroidery Eraser
An embroidery eraser is a specialized tool specifically designed to help remove tight stitches and textured designs. It helps shave the thread tops so you can easily pull threads through without damaging the fabric.
Seam Ripper
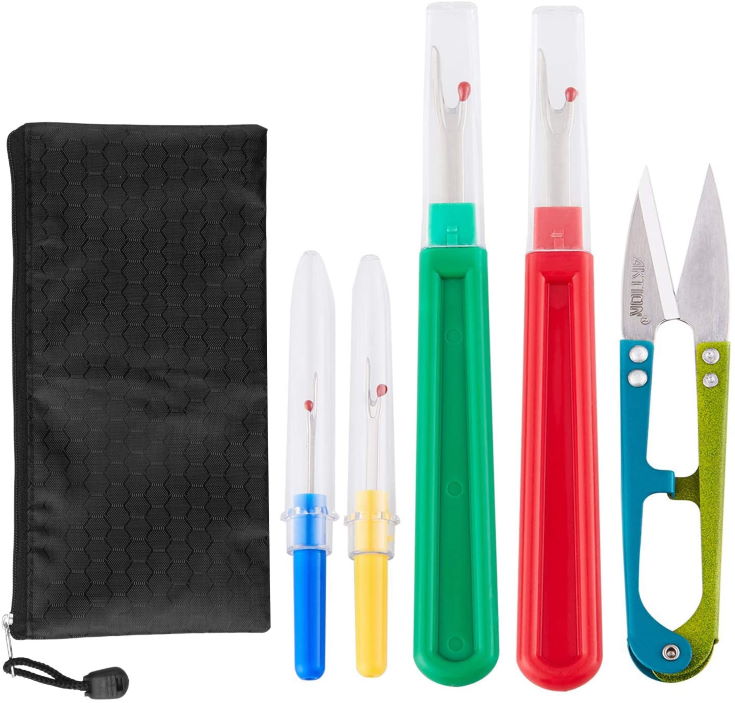
Seam rippers of various sizes can be used to help cut and pull threads. They often are used with embroidery scissors to help keep from pulling or tugging on the threads too much as you take them out.
Embroidery Scissors
Embroidery scissors are small and have very narrow blades to help tuck up under threads for clean cuts and to avoid pulling on the design. They also allow you to cut very closely to the fabric for a cleaned-up look.
Tweezers
Tweezers are much more than just a beauty item. They are great to have handy for sewing and crafts and are especially helpful in pulling out delicate threads from fabric.
Tips to Remove Embroidery
As mentioned, machine embroidery and hand embroidery are a bit different than one another, so you may want to try different techniques to help preserve the material as much as possible.
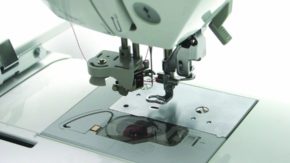
Removing Machine Stitching
Machine-stitching is unique in that it is very tightly sewn and often layered. It requires patience and a delicate hand to begin removing these threads. The best way to do so is with an embroidery eraser that helps cleanly cut the many threads along the backside of the design. You simply push it along the design slowly, about an inch at a time, and then pull the threads out with a seam ripper and tweezers as they come loose.
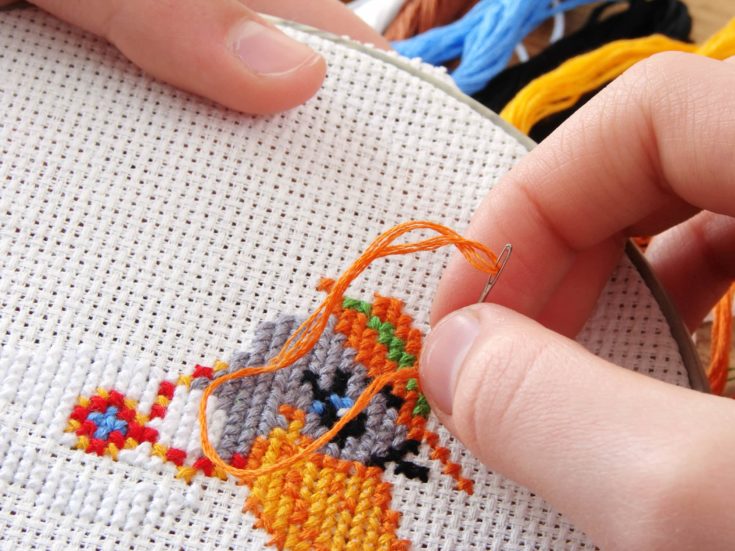
Removing Hand Stitching
Embroidery erasers aren’t often used when removing hand stitching since these are often more delicate overall and their use may pull the fabric out of shape. Instead, use a seam ripper (again working from the back of the design) to pull and cut the threads. You can also use embroidery scissors through this process. As they come loose pull them free with tweezers.
Tips to Help Fade Stitch Marks
Once your embroidery is removed, you may want to use some tape and a lint roller to get all the tiny threads and thread lint out of the way. You most likely will still see a ghost of your embroidery due to the stitches the threads ran through. You may also see some puckering of the fabric.
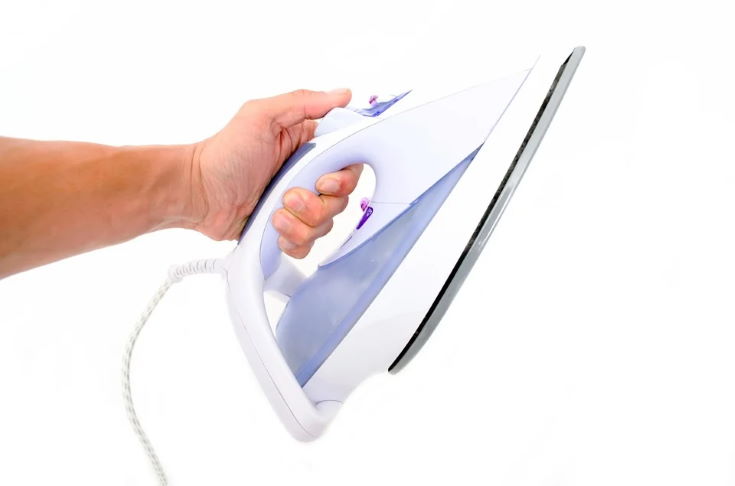
You can use an iron to help fade your stitch marks. Simply set your iron to the material you are working with and iron out your material on a sturdy surface. Then, use a spoon (or your fingernail) and gently scrape it back and forth across your stitch marks. Then repeat this moving up and down. As you do this it helps close the stitch marks.
Be sure to do this on both the front and back of the fabric. Press the fabric with the iron when done, and repeat as needed. All the marks may not be gone the first time, but over time they will fade.
Conclusion
Hopefully, this article helped answer your questions as to the removal of embroidery and how it can be done in an effective manner. As you can see, it most certainly is something that can be done fairly easily as long as you have patience and take the time to remove the threads gently. Also, most people worry about the material being ruined after the removal of the threads, but as you can see, this isn’t a worry at all since you can close those marks up with an iron and a little bit of time.
If you found this helpful, please share!