Bath bombs are awesome for all ages. I love them, my kids love them. But I noticed that some of them are really strong in scent and have irritated allergies and skin from time to time. Not to mention how some of them have super concentrated dyes that stain my tub, towels, and skin of everyone in the house. So, I figured I’ve tried my hand at making lots of other natural products for my family, so why not give bath bombs a go? Check out this tutorial I did so you can do the same!
About Bath Bombs
Bath bombs exploded on the scene a few years ago. When I was younger, bath balls were all the rage. They were little marble sized balls of soapy liquid and smelly scents contained inside a dissolvable plastic. Turns out they were chock full of harmful perfumes and chemicals, not to mention whatever the dissolvable plastic did to the environment.
Bath bombs have replaced things like that, but still come with the nasty perfumes and dyes that stain your tub, skin, and irritate allergies.
That’s why it’s good to have a recipe like this for making your own bath bombs at home with all-natural ingredients so everyone in the family can enjoy!
What You Will Need:
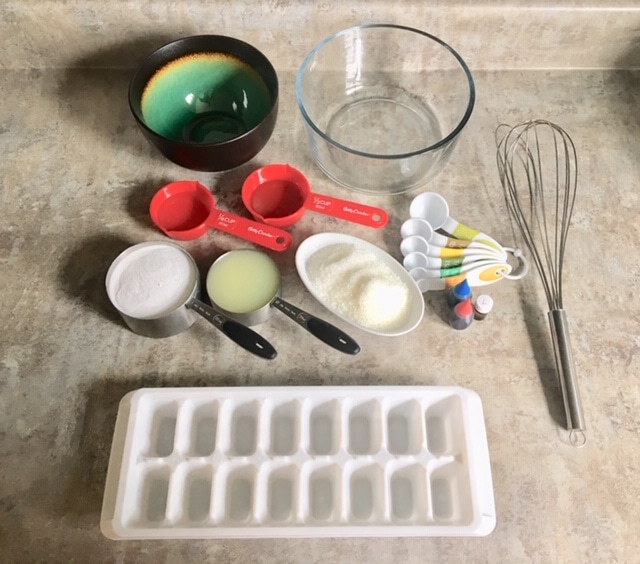
- 1 Cup of baking soda
- ½ cup of citric acid (not to be confused with plain lemon juice!)
- ½ cup of natural Epsom salts
- Essential oil of your choice (I used lavender)
- 1 teaspoon of water
- 2 teaspoons of olive oil
- Food coloring of your choice (this is optional)
- Medium sized bowl
- Small sized bowl
- A whisk
- A mold of some kind to form the bomb (I used ice cube trays because I like them small for the kids)
About the Ingredients
- Baking Soda: serves as a base
- Citric Acid: reacts with the baking soda to create that fizz effect
- Epsom Salts: serves as a base, but also holds things together
- Essential Oils: control what scents you use for different moods
How to Make All-Natural DIY Bath Bombs
Follow these easy steps using the ingredients above to make your own awesome bath bombs to use at home without the worry of added chemicals and harmful ingredients.
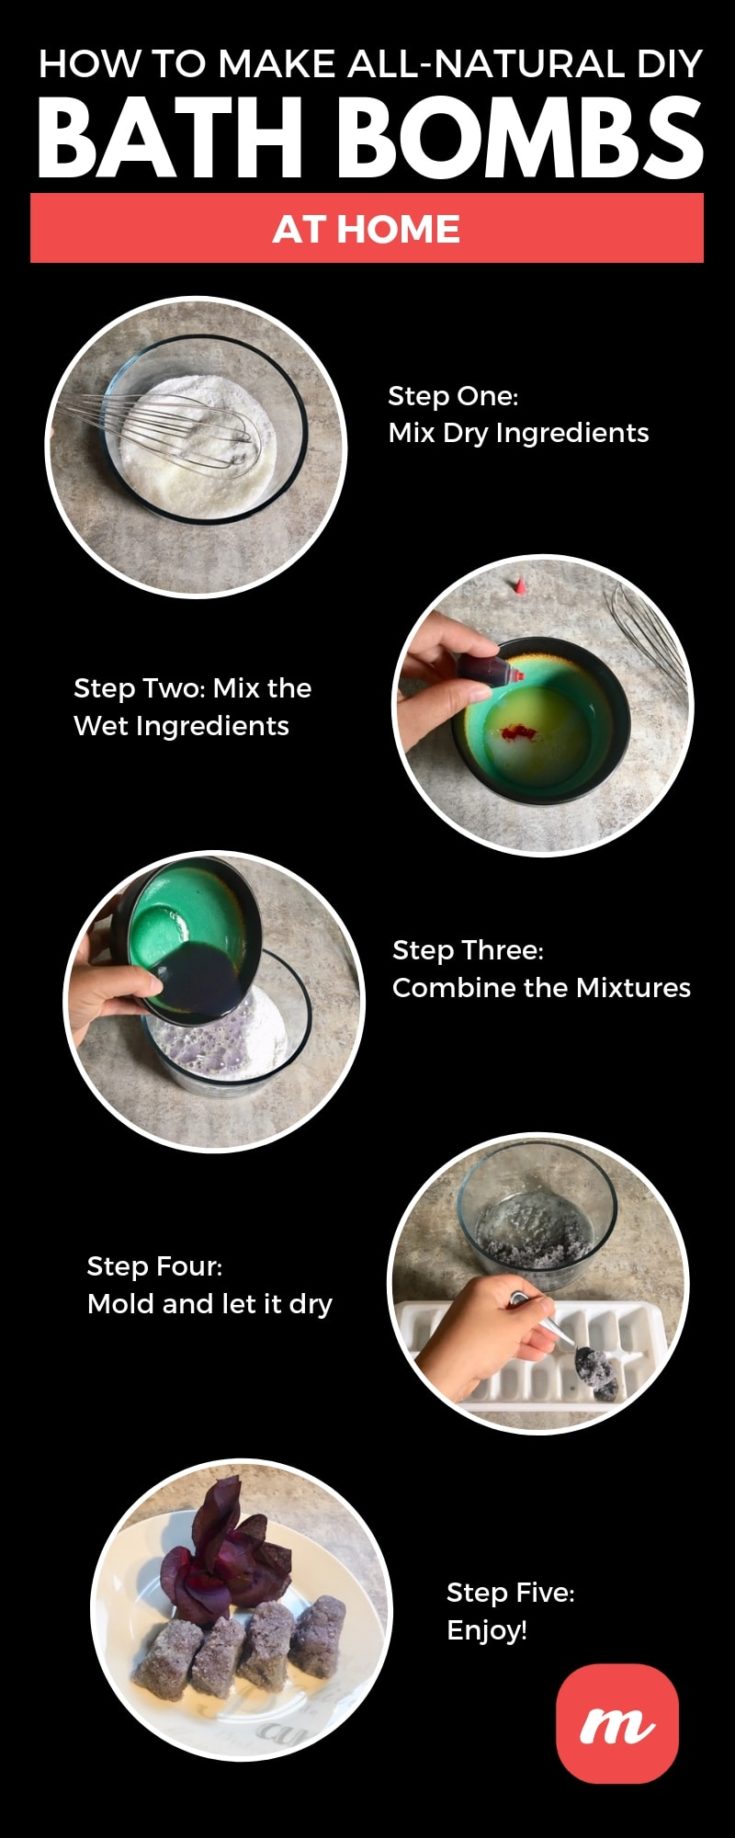
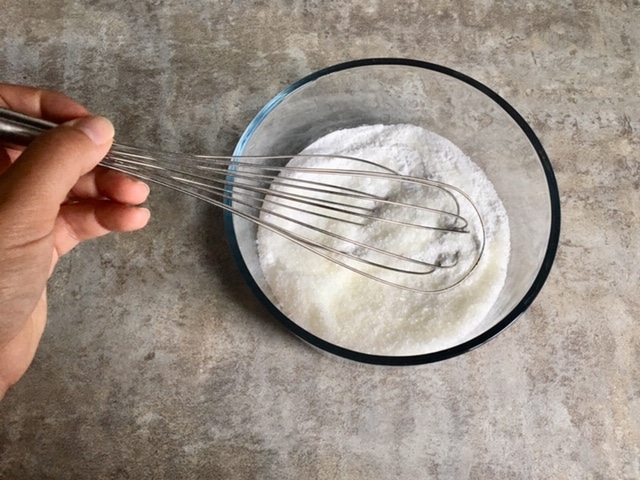
Step One: Mixing Dry Ingredients
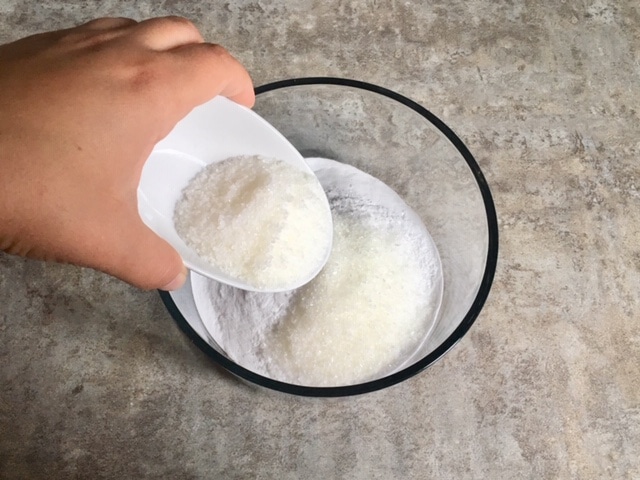
Take your baking soda and Epsom salts and mix them together in the medium bowl. Make sure they’re evening mixed, so you don’t get clumps when using them in the bath. A whisk is the best choice for this to get the right consistency.
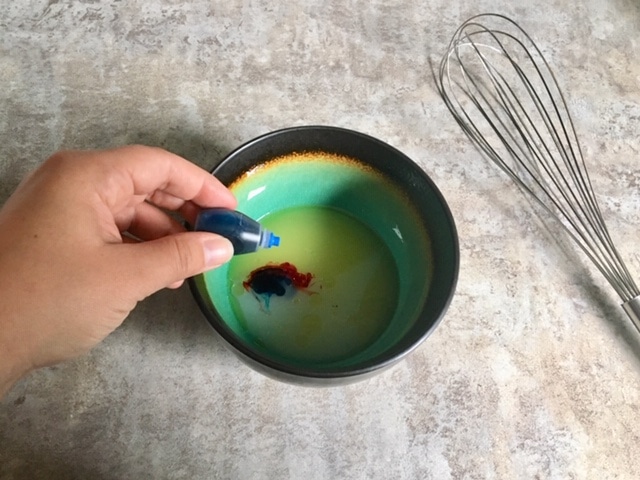
Step Two: Mixing the Wet Ingredients
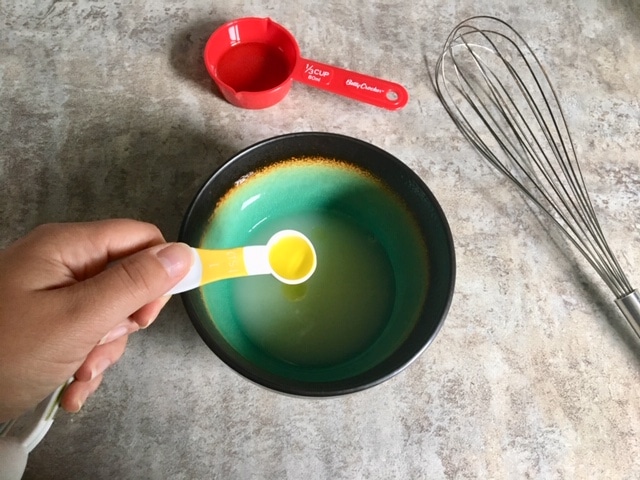
Take your citric acid, water, essential oils, olive oil, and food coloring and mix really well in a separate small bowl. This is now your liquid base that contain the scent and color of your bath bombs.
Step Three: Combine the Mixtures
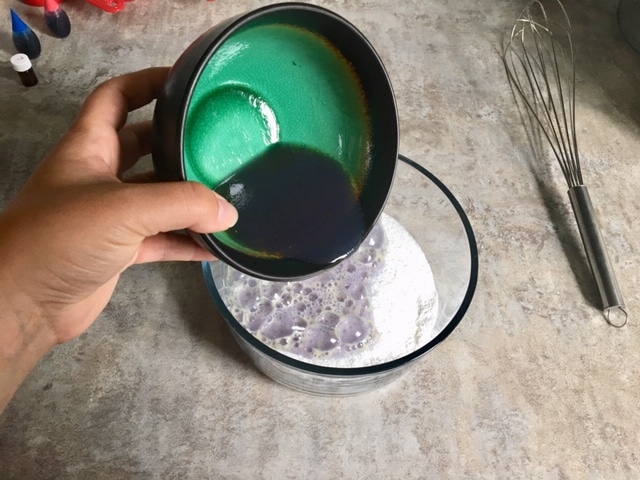
Slowly start adding the wet mixture to the dry, stirring well as you do. This step is the most important. You want to make sure all ingredients are mixed well so that you end up with one, thick, sandy consistency. If you find it’s too dry, it won’t hold the mold. So, add a small amount of olive oil (a few drops at a time) until you get the right mix. If you find the opposite, that the mix is too wet, just add more baking soda and Epsom salts.
Step Four: Making the Mold
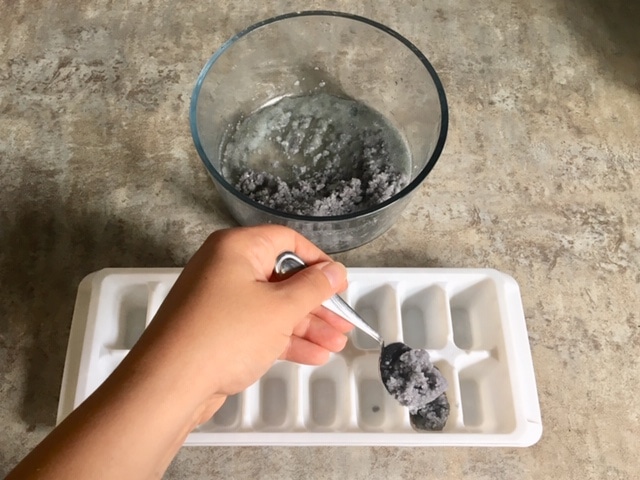
Now, this is the fun part! You can literally make your bath bomb any shape or size. Smaller ones are great for kids because they don’t often have a full tub of water for bathing. Larger ones are great for yourself or for gifts. You can purchase sphere molds specifically for bath bombs at any craft store, but if you have a daughter who plays with LOL Dolls, then most of those come with a sphere mold you can use. Just a little tip for you!
I used ice cube trays for mine because, like I said, they’re for my kids so I want them small. With the lavender and the purple color, these are excellent bedtime bath bombs that will help sooth and relax them for sleep.
Step Five: Let Dry
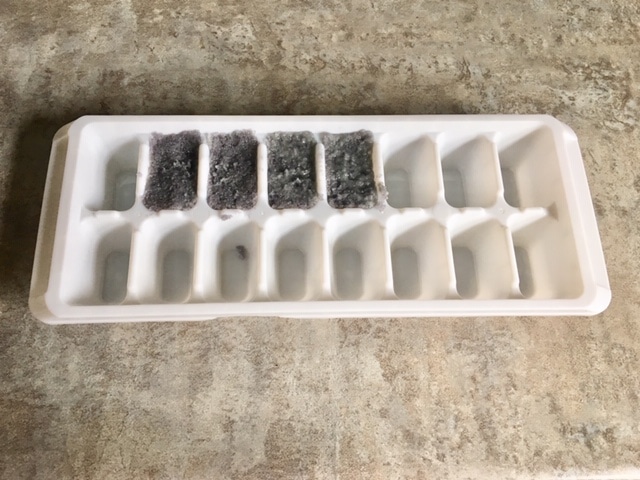
This step is important as well. Bath bombs aren’t ready to go when you make them. They need time to set and dry. So, lace them on a paper towel and set aside for a couple of hours. Of course, this drying time will vary depending on what size you’ve made your bombs, but they should harden all the way through before use.
Step Six: Enjoy!
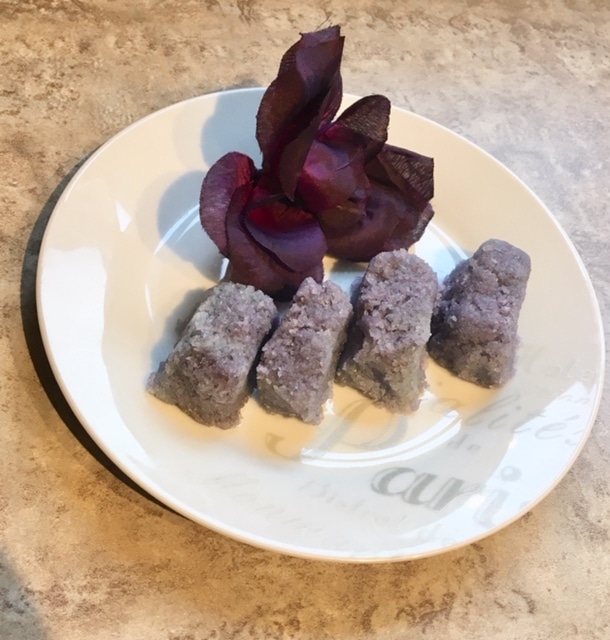
Once your bombs are totally dried, drop one in a warm bath and watch it fizz while you enjoy the luscious scents!
Conclusion
Did you enjoy our DIY tutorial on how to make all-natural bath bombs at home? With these simple, everyday ingredients, you can make them any time! And they also serve as awesome gift ideas! If you’ve tried this tutorial, or have another great recipe of your own, be sure to comment and share below!