There is no need to rely on a seamstress or alterations when you can do this right at home. You won’t need to wait in line to get this done and it’s virtually free. This is an easy, do it yourself hem that will get you into your jeans in less than an hour. So, let’s get started and I will guide you through this task from beginning to end.
What You Will Need:
- Sewing Machine
- Jean Thread (I like to use gold-colored thread to match the top-stitch used on the jeans)
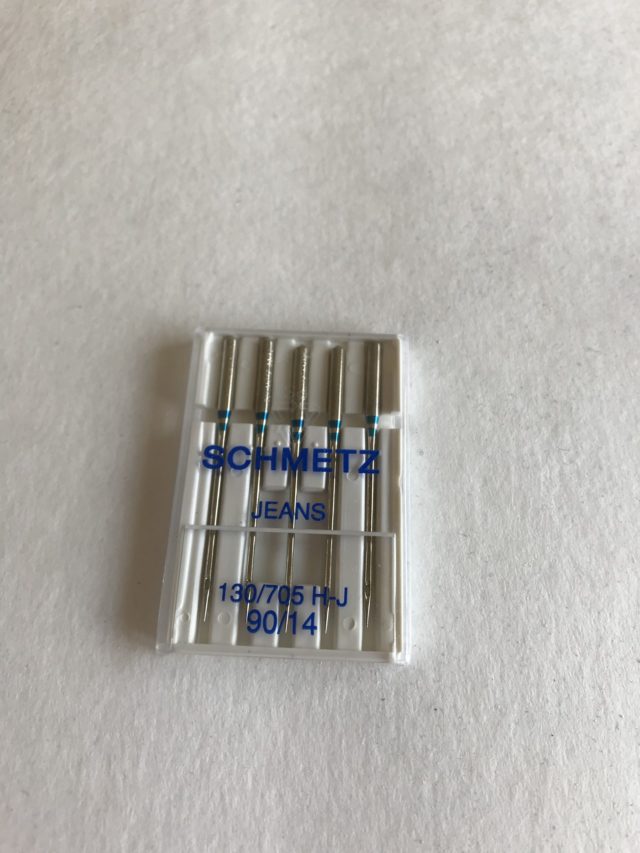
- Jean Needle – size 14 or 16
- Seam Ripper
- Scissors
- Measuring Tape
- Pins
- Chalk or Erasable Marker
- Iron and Ironing Board
- Mirror (optional)
How to Hem
Step 1 – Preparing your jeans – Measuring
First of all – I would suggest you wash your jeans so that if they do shrink a little you won’t have a problem with the end result.
There are two ways to measure your jeans for the length you need:
Method 1: Trying on the jeans
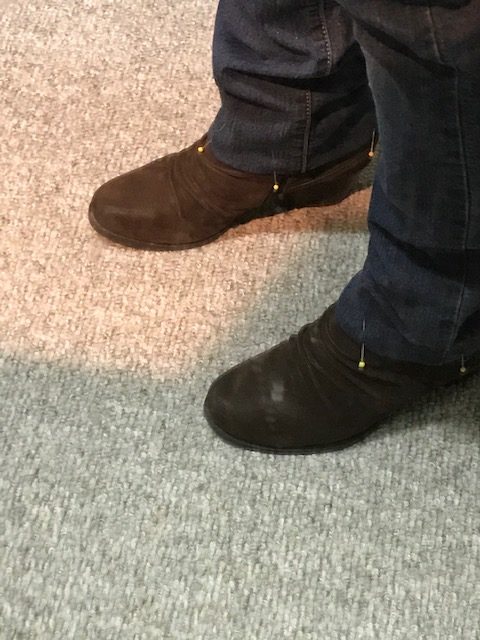
Have the person try the pants on with the most common shoe they will be wearing with their jeans.
Have them stand tall, arms down and head forward. The reason for them to stand tall and straight forward is that while moving, the hemline will change, making the wrong measurement for the hem-line. This was something I learned when I was 11 years old taking a Singer sewing course by a very knowledgeable lady.
Turn the hem inside until you have the desired length. You can have the owner of the jeans take a look by having them stand close to a full-length mirror. After everyone is happy with the length, pin all the way around both legs. Even if the owner gives you their inseam or wants them shorter by 3” it is best to have them try the jeans on anyways.
Method 2: Inseam
When you are hemming your own jeans it’s pretty hard to put them on and measure them properly so I like to measure the inseam.
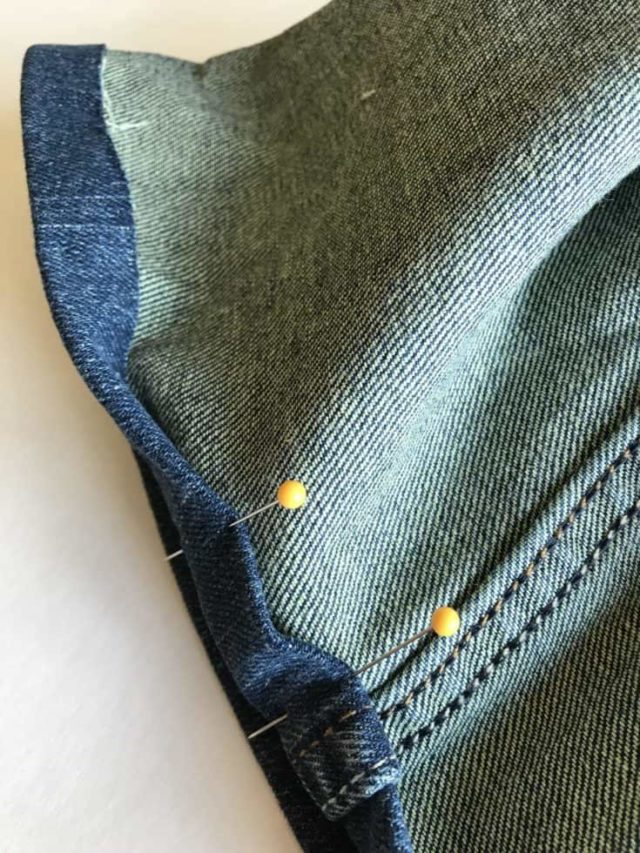
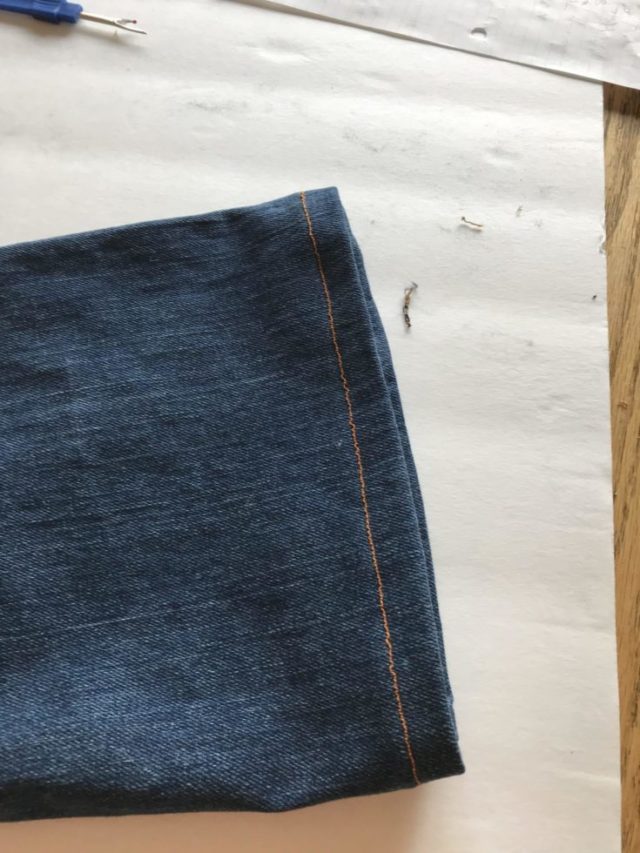
If you know the inseam measurement that you want just open the pant legs as if they were doing the splits, showing the inside seam like in this picture.
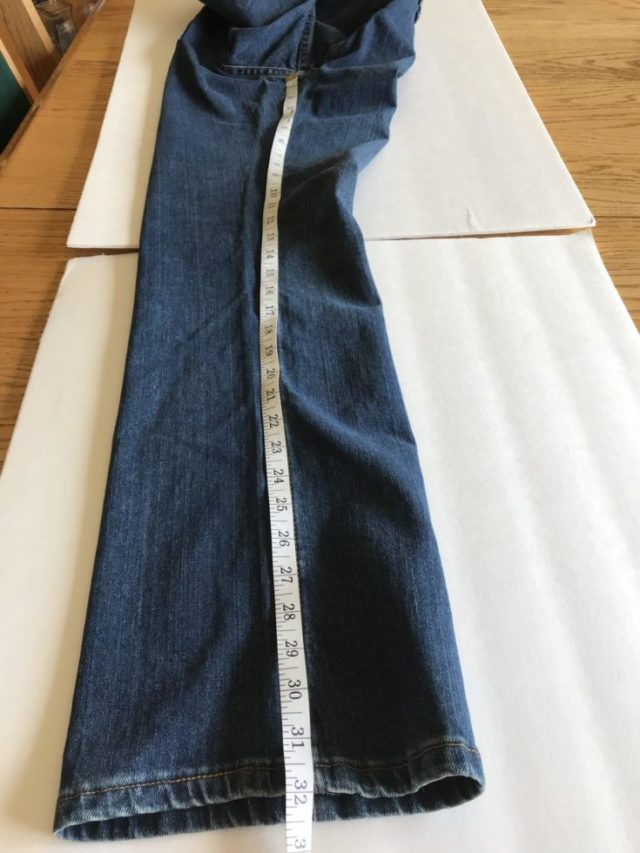
Then measure the existing length of the seam from the crotch (where both legs are joined) to the bottom of the leg. I want a 30” inseam and these are 32” so I am going to use my chalk and draw a line around the whole leg 2” from the bottom (the original hemline). Turn them under to the line you marked, pin and turn the jeans inside out.
Pro Tip: If you aren’t sure what length you want, just take a pair of jeans you have that already fit the way you want them to and measure.
Step 2 – Open The Existing Hem
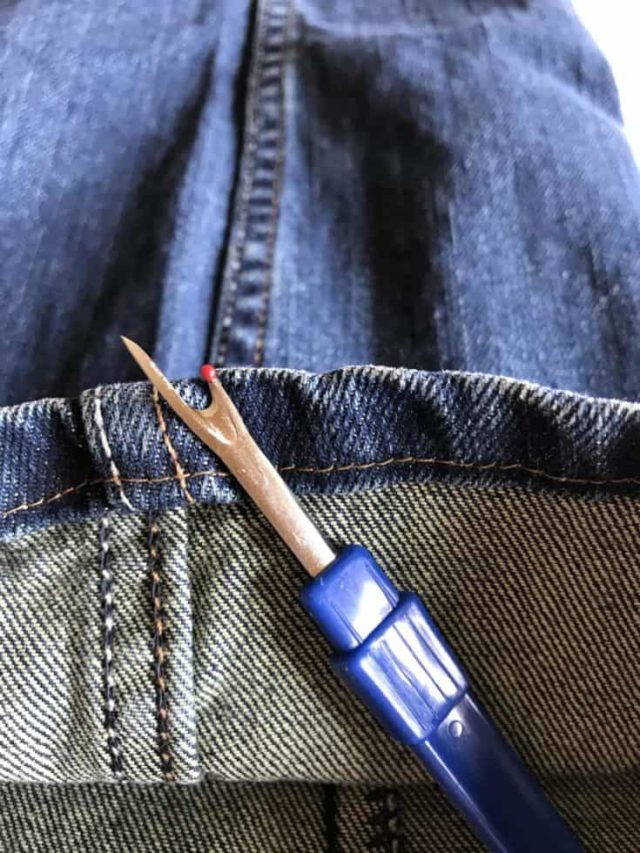
If the existing hem is in that measurement take your seam ripper and remove the existing stitches to open the hem seam. What I mean here is that if your desired hemline is within the existing hem you will need to open up the existing hem seam so that you can cut and hem properly. It will be impossible to get a nice flat hem and the sewing machine needle will not go through the material.
If it is not in the existing hem then you will be able to skip this step.
Take your time and be very careful not to snag the material while ripping or you will end up with a rip on the outside material. Ouch! You wouldn’t have to throw them away but you would have to do a little mending. Not fun…
Open up the hem and remove any loose threads.
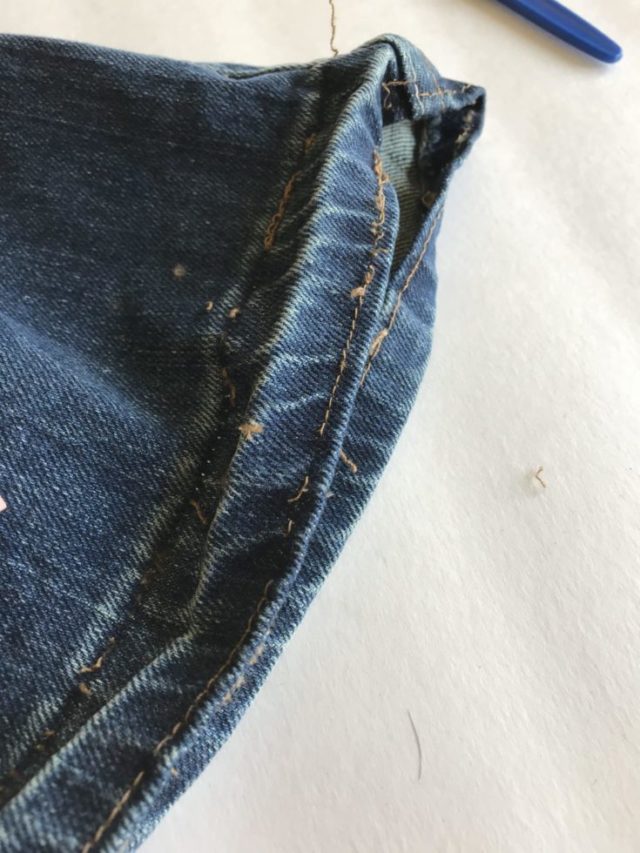
Press the hem nice and flat. You should still see the hemline.
Step 3 – Cut The Excess Material
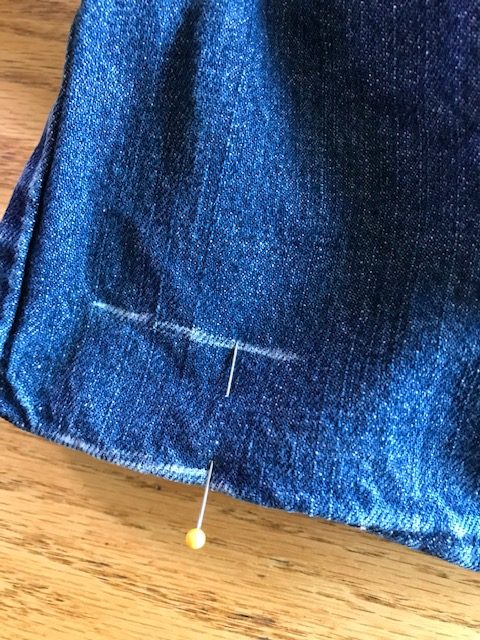
Measure from the old hemline to the amount needed to be cut off. Because I am raising the hem 2” I will be cutting off ¾” leaving 1 ¼” for the hem. I always allow 1 ¼” for the hem. That is turning ⅝” and then ⅝” once again. If you only turned it over once and sewed the hem you will end up having a frayed end which could easily come apart. Overtime the frayed edge will get more frayed and lose it’s stitching. Then we would have to start all over again.
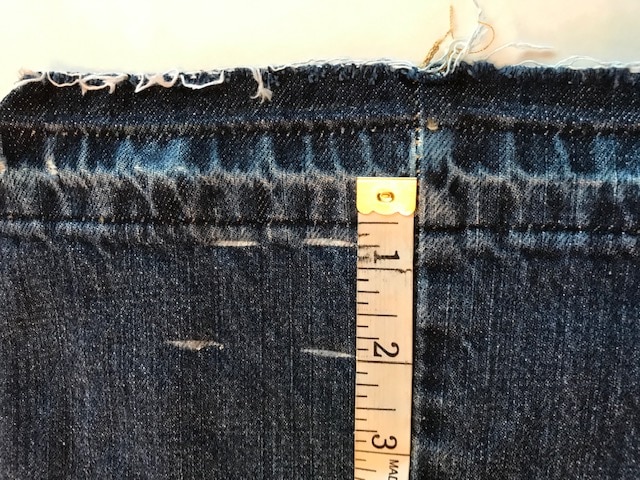
I’m going to mark ¾” all around with the chalk or erasable marker. This will be your cutting line.
Once it is marked right around the leg cut on that line. You now have the right length plus the
1 ¼” for hemming.
Step 4 – Making The Hem
So, now you have 1 ¼” more than you need. This will create your hem.
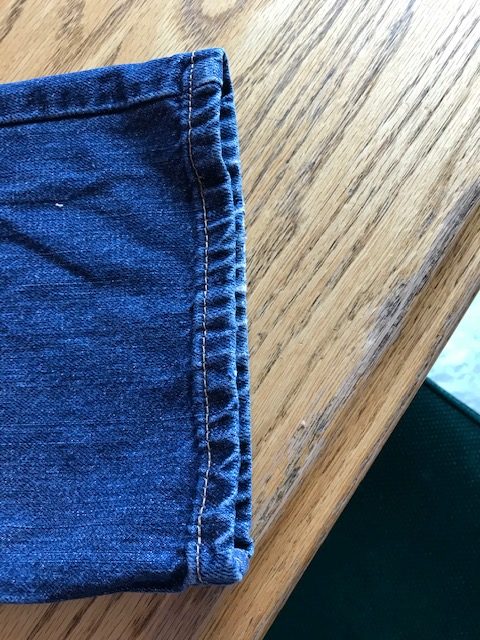
Fold the bottom over ⅝” and pin all around the leg. Iron (press) the fold. It will give you a good crease to turn once again.
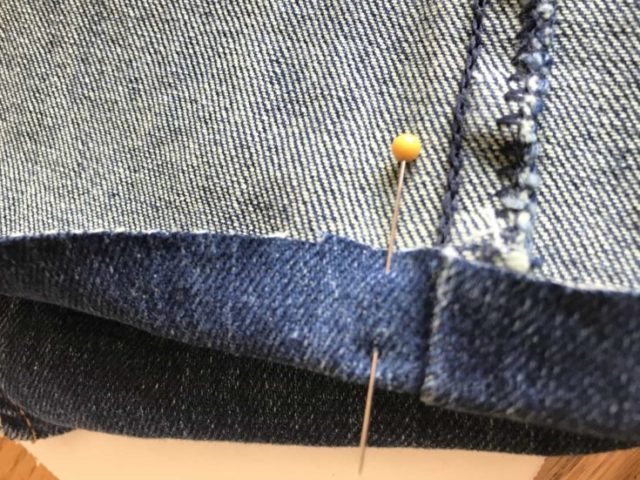
Pro Tip: I used steam for jeans on cotton settings so that it gives a good flat pressing allowing the measurement to be correct.
Remove the pins and fold them again using the same measurement and pin once again. Press again.
You are ready to sew.
Step 5 – Sewing The Hem
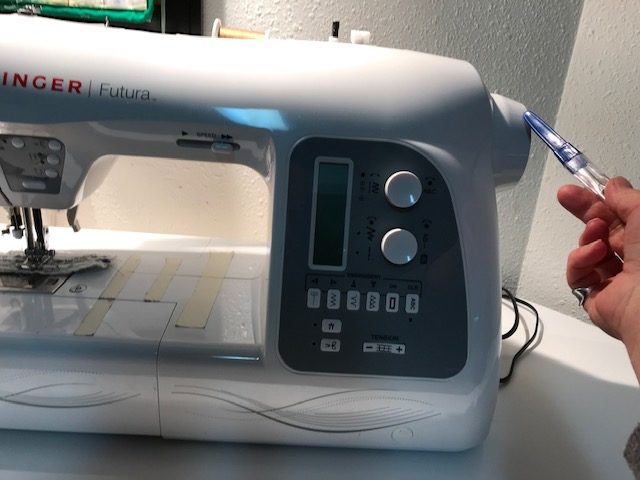
If you have a free arm (If your machine can be made smaller to fit pants and sleeves) it would be good to use.
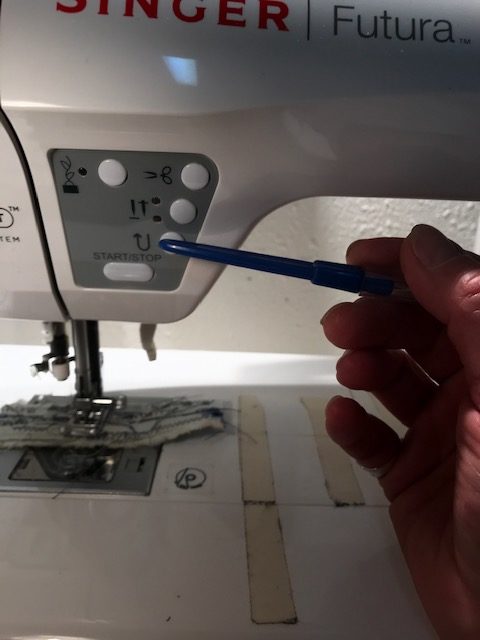
Put your jeans on the machine as illustrated so that the needle is close to the top of the hem.
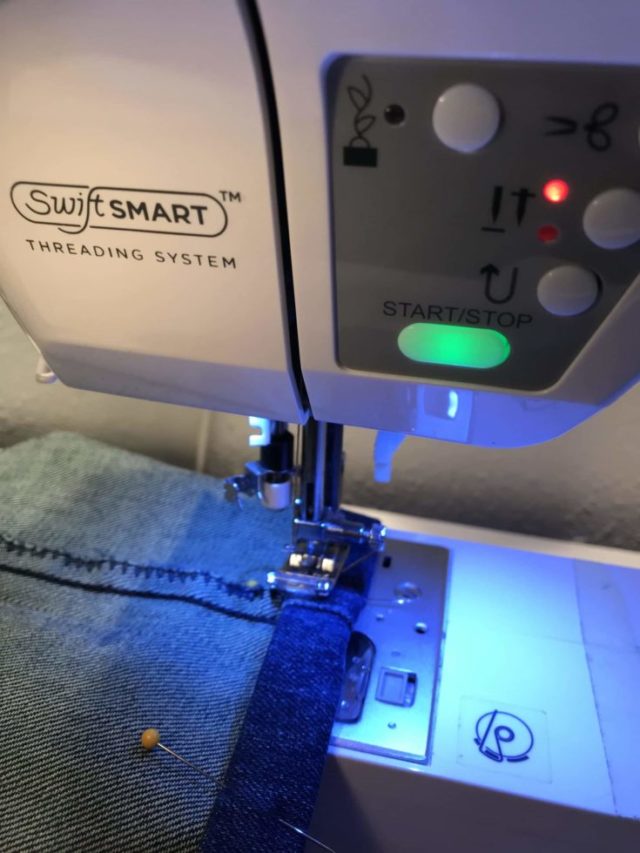
Start at the inside seam so that when you reverse and stitch over the first stitches at the end it is not as noticeable.
Jeans are very thick at the seams so go very slow at those points or turn the knob of the right – side of the machine manually.
I prefer doing it manually just in case.
Don’t forget to remove the pins as you are sewing. Hitting the pins with the sewing needle can cause damage to the point of the needle. If this happens, replace the sewing needle so that it will sew properly.
Once you have gone around the whole hem, do a few reverse stitches. To reverse you will have a reverse button or reverse lever on your machine. If you have the button it will reverse automatically. If you have the lever then you will press it down and hold it. Hold it for 5 – 6 stitches. Lift the foot and needle, then remove the pant leg and cut off the threads. Repeat for the second leg.
Your jeans are now hemmed!
Conclusion
I hope you enjoyed this tutorial. Follow these steps and you will have your jeans hemmed in no time! And if you’re planning to do more easy-to-do projects, check out our list here.
If you have any questions, just comment below!