Reprinted with permission from Drawing with Fire by Aney Carver, Page Street Publishing Co. 2020. Photo credits: Aney Carver. For more wood burning projects, please check out Aney Carver’s book “Drawing With Fire“
This simple project is intended to help you get familiar with your woodburning tool, its heat settings and how the wood feels when you burn it. You’ll be working with pine in this project, which you may recall has an inconsistent hard and soft grain. As you are burning, you will notice how easy it is to burn too deep in the soft grains and how challenging it is to achieve the same degree of darkness on the hard grains. You’ll have to adjust the heat settings on your burner or change how quickly you burn if you’re using a burner without heat settings.
I encourage you to take your time and experiment with the burner. You can’t go wrong with this project. Your main goal here is to learn about your burner and what the wood feels like when you’re burning. This is your introduction to pyrography, so have fun and don’t worry too much about making a perfect finished piece.
Lettering signs are extremely versatile. You can create custom signs for your home, gifts for a loved one and funny sayings to hang up in the bathroom.
What You’ll Need
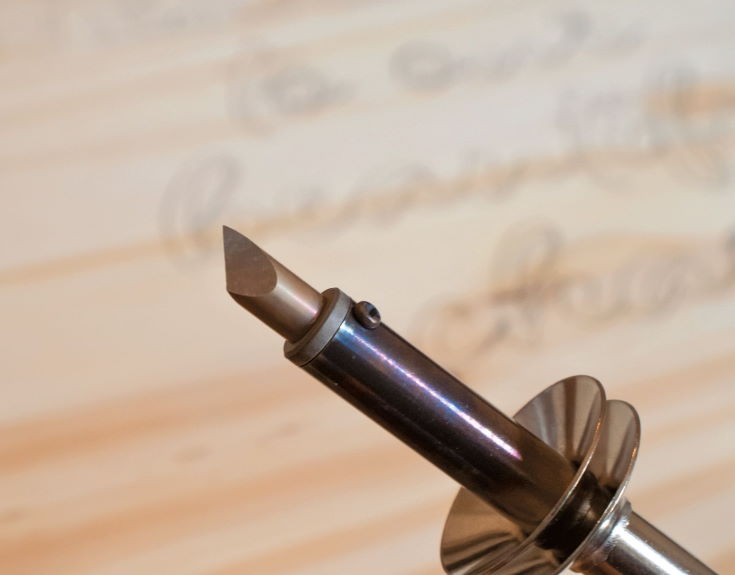
- Woodburning tool with a straight edge tip and a round tip 2
- Safety equipment: mask, fan and finger guards
- Template (see page 140)
- 18″ (46-cm) round pine canvas (I got mine from The Home Depot)
- Erasable carbon paper
- Pencil
- Tape
- Weathered Gray stain by Varathane
- Craft paper or cardboard to protect your workspace (optional)
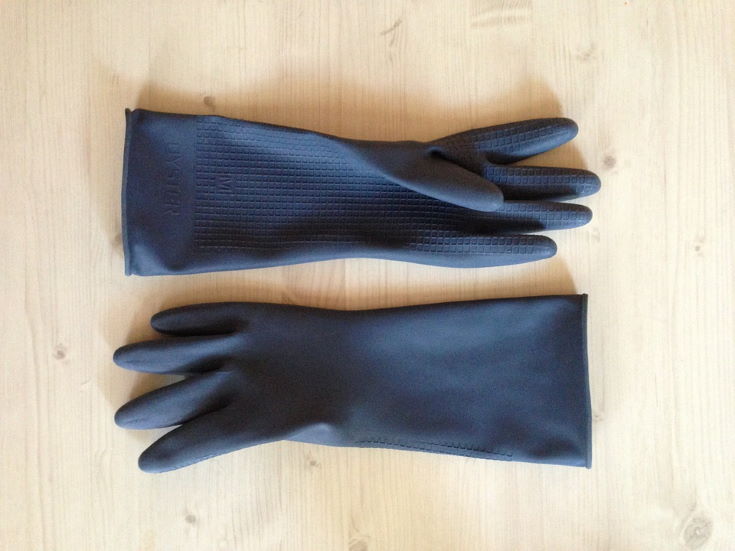
- Gloves
- 2 sponge brushes
- Wood accent flourishes (I got mine from Hobby Lobby)
- White or cream acrylic craft paint
- Medium paintbrush
- Spar Urethane by Minwax
- Wood glue
- Sawtooth hanger with screws
- Phillips head screwdriver
About the Wood: For this lettering project, we will only be burning letters in a deep dark burn, without shading. A wood like pine is a great option. The inconsistencies in the grain pattern won’t interfere with the lettering lines, and larger pine canvases are affordable and easy to find.
Step One: Setting Up and Transferring the Artwork
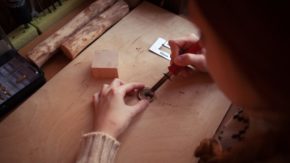
- Put a straight edge tip in your burner. Turn on your burner to medium- high and let it preheat while you set up your canvas in your workspace. You will be burning big lines in this project, so you can turn up the heat more if you want to burn at a faster pace.
- You can still make this project even if your burner doesn’t have heat settings. The default heat setting should be appropriate for burning faster and larger lines and shouldn’t overpower the wood, but if your tip is too hot, you can always hold it in front of your fan for a few seconds to cool it off.
- As we discussed in Chapter One, safety equipment is important. Have your mask, fan and finger guards nearby and ready to go.
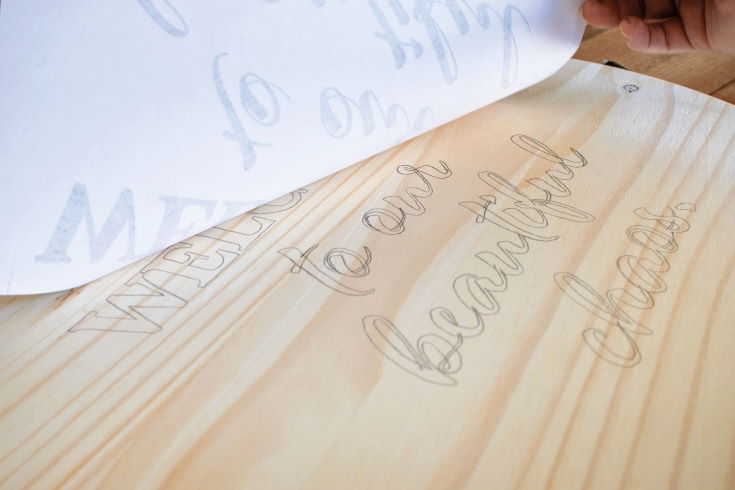
- Pull the template on page 140. Transfer the template onto the wood using the carbon paper, pencil and tape. Refer to the Transferring Your Templates section in Chapter One (page 13) for details. Make sure to leave enough room for the top and bottom of the lettering to add your accent flourishes. Once you’ve finished, remove the template and carbon paper, and make sure you didn’t miss any lines.
Step Two: Outlining the Letters
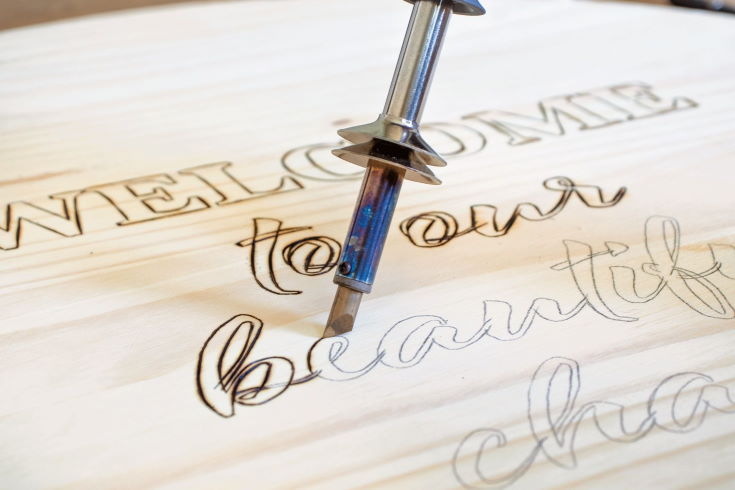
- Now that your burner is nice and hot, you can burn all the outlines of the letters. Outlining the letters first makes it easier to fill them in later, and it gives the letters a nice crisp, clean edge.
- Follow the carbon lines on the wood until the outline of every letter is burned.
- When you are burning the curves of the letters, go at a steady pace and try to keep your hand still as you guide the burner. It’s easy to get comfortable with the straight lines, go too fast and then burn too far outside of the edges of the design.
- After you’ve completed all of the outlining, turn off your burner and let it cool. Switch the tip to the round tip 2. Turn your burner back on and let it heat up to a medium heat level.
Tip: I’ve found that pine wood has a lot of give and burns quickly, so you need to burn at a fast pace in order to prevent scorching the wood or creating a deep dark burn where you don’t want it.
Step Three: Filling in the Letters
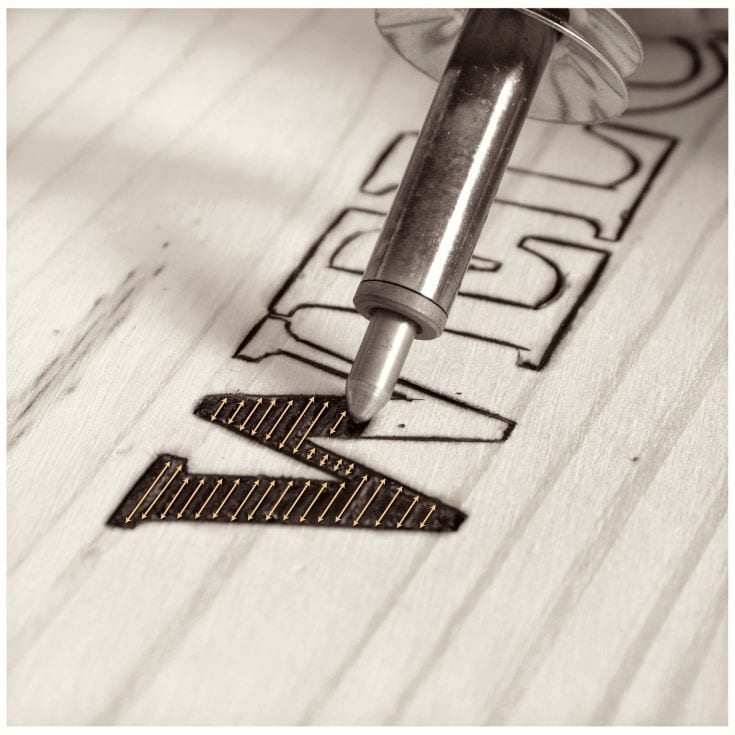
- Now that the letter outlines are all burned, fill them in with a straight- line pattern. I love this pattern because it adds a nice texture to the letters instead of just a flat solid burn.
- Let’s start with the letter W. You are going to burn straight horizontal lines inside each letter.
- Place the tip of the burner inside the left edge of the W and drag it across the wood’s surface to the right side of the letter’s edge. This creates a straight horizontal line. Place the tip of the burner just below the first horizontal line and drag it across to the right side again. The goal is for the burned lines to touch so that the whole surface is burned. Repeat this process until you have filled in the entire letter with straight horizontal lines.
- Continue burning inside all of the letters until they are completely filled in.
Tip: If you accidentally burn outside the lines, it’s okay, you can fix it. Once you finish the inside pattern, switch back to the straight edge tip. Using the straight edge, trace along the existing outer lines, adding more lines to cover up the spots.
Step Four: Staining, Painting and Varnishing
Staining
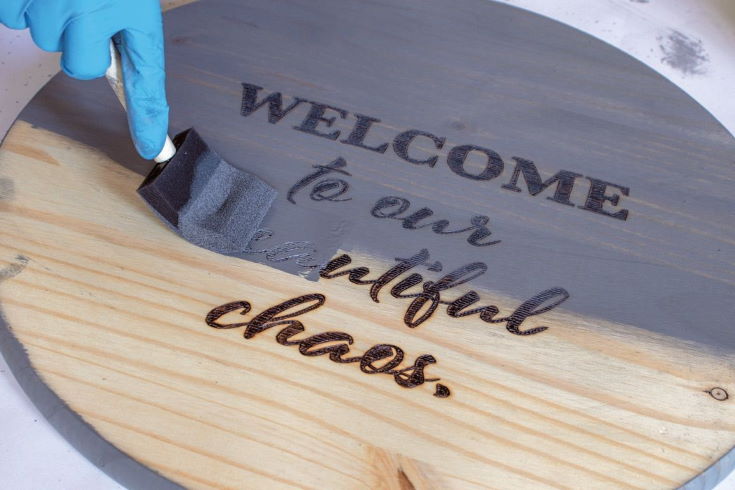
- Before adding the wood accents, you are going to stain the wood sign with the Weathered Gray stain by Varathane. The soft grains will really soak in the stain while the hard grains will resist it just a bit. The contrast adds such a rich finish to the piece, giving the wood an old weathered farmhouse look.
- Spread your craft paper or cardboard over the surface you’re working on. Put on your gloves, grab a sponge brush and load it with stain. Follow the grain of the wood as you apply the stain, covering your piece completely on both sides. Allow the stain to dry according to the manufacturer’s directions.
Painting
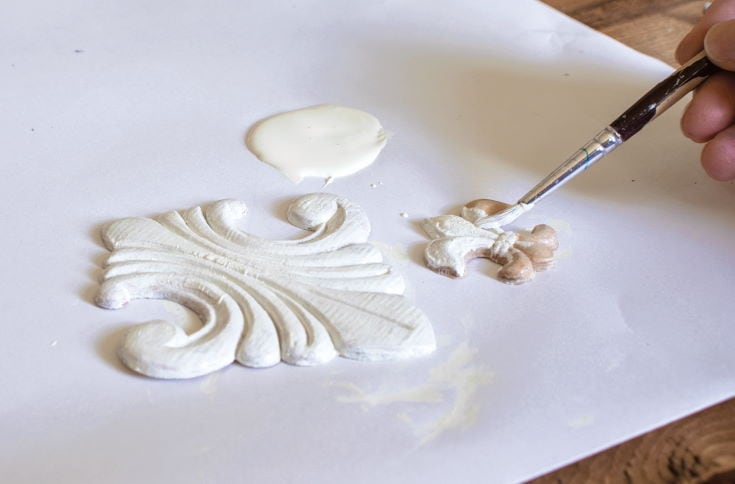
- While your sign is drying, you can paint the small wooden accent pieces. Grab your white or cream acrylic craft paint and your paintbrush. Load your brush with paint and paint the front side of your accent pieces. Allow them to dry before flipping them over and painting the back. Let them completely dry before varnishing.
Varnishing
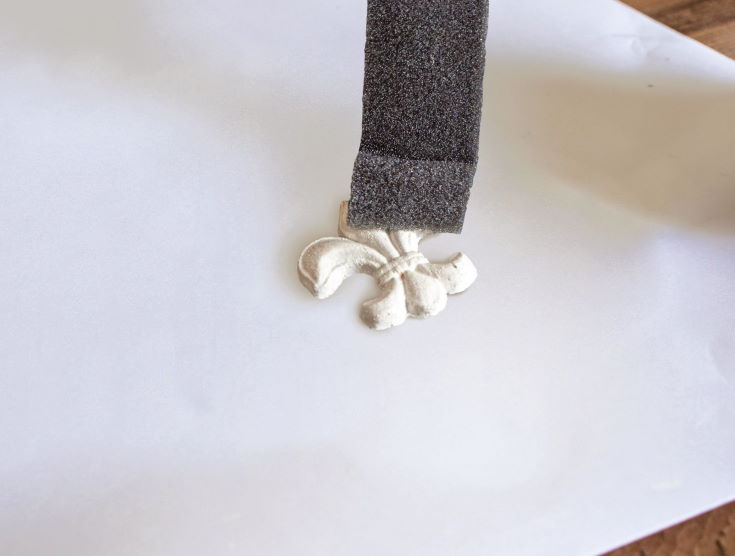
- Grab your gloves, another sponge brush and the Spar Urethane. Read the directions about ventilation and recommended drying times before using it. Spar Urethane by Minwax is pretty strong stuff. Load the sponge brush with varnish and coat your sign front and back. Don’t forget to varnish the accent pieces. Allow the varnish to dry according to the manufacturer’s directions.
Step Five: Adding the Accents and Hanging the Sign
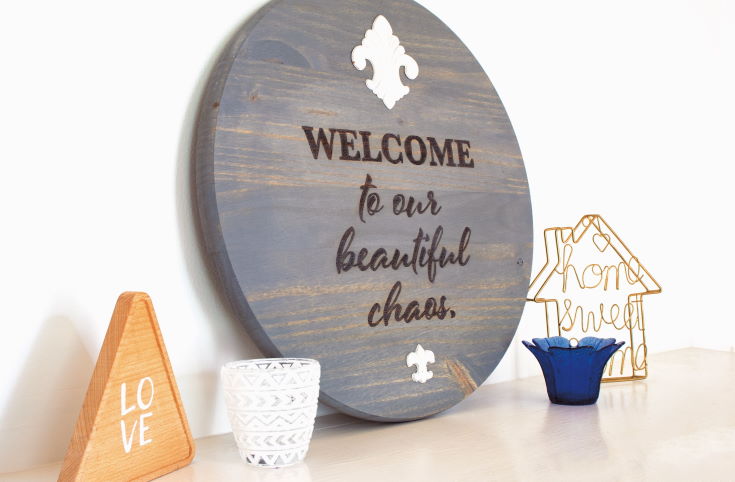
- Try positioning your painted accent pieces around the sign to get an idea of exactly where you want to glue them. I opted to decorate the top and bottom of the sign with my accent pieces. Once you have the placement figured out, glue the accents in place. Let them dry.
- Grab your sawtooth hanger to attach to the back of the sign. Make sure the hanger you use has the capacity to hold the sign. The one I used was rated to hold 25 pounds (11 kg). Center the sawtooth hanger on the back of the sign and secure it in place with screws.
Tip: If you can’t find the same wood flourishes I used, feel free to improvise and use decorations that suit your décor or are more to your liking. A large flourish at the top and small flourish at the bottom rounds out the sign and balances the artwork.
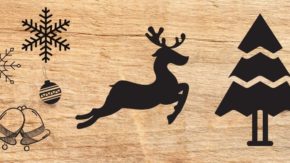
Want more pattern ideas? Check out some deer patterns here. Or find more wood burning diy ideas here.