Pyrography is the art of writing on objects using heat, and has been around for ages. Throughout history, our ancestors have used this method for decorating instruments, tools, and clay bowls.
It’s also been used for leaving signatures and adding a unique touch to personal items. Read more about the history of pyrography here.
Around the Victorian era, people started doing this on wooden surfaces and creating pieces of art to hang, rather than using it for simple signatures or minor decorations.
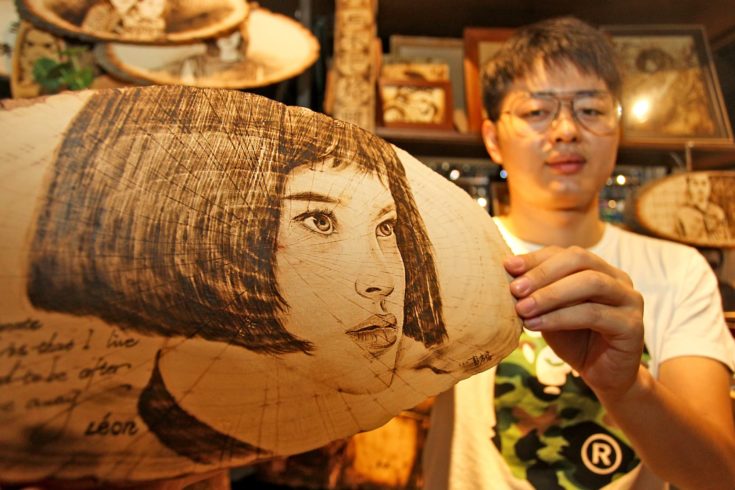
It didn’t take long for woodburning to become its own distinguished art form. This pursuit is as popular as ever and more easily accessible than it was before. Looking at finished woodburning work, it’s easy to see why so many want to get into it.
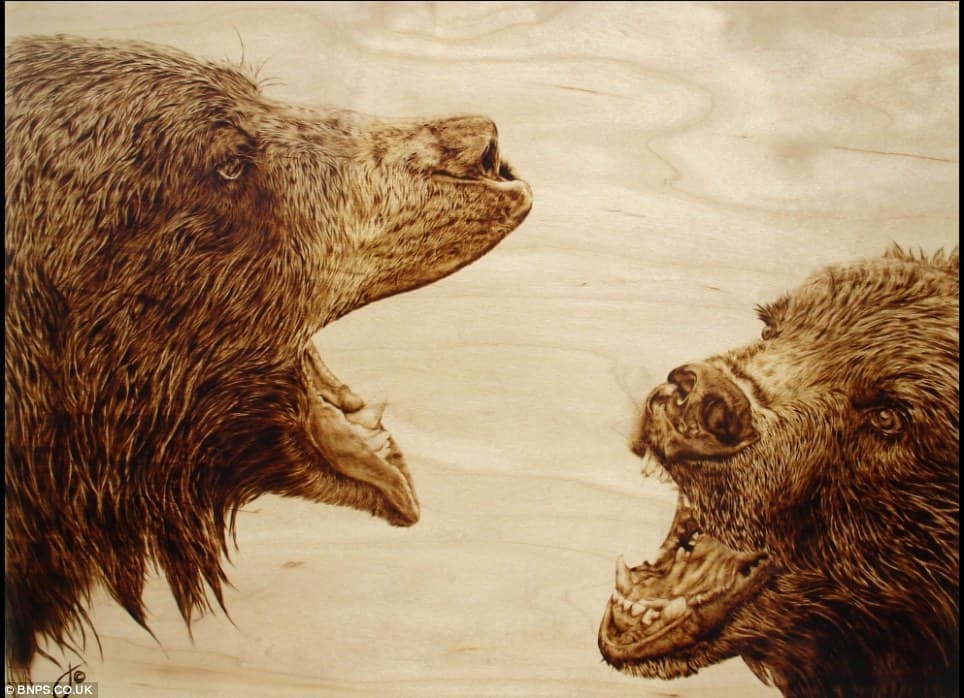
via Daily Mail
There are plenty of reasons to explore your creative side, even if you’re completely new to being artistic. Getting started in the world of wood burning is fun, inexpensive, and versatile.
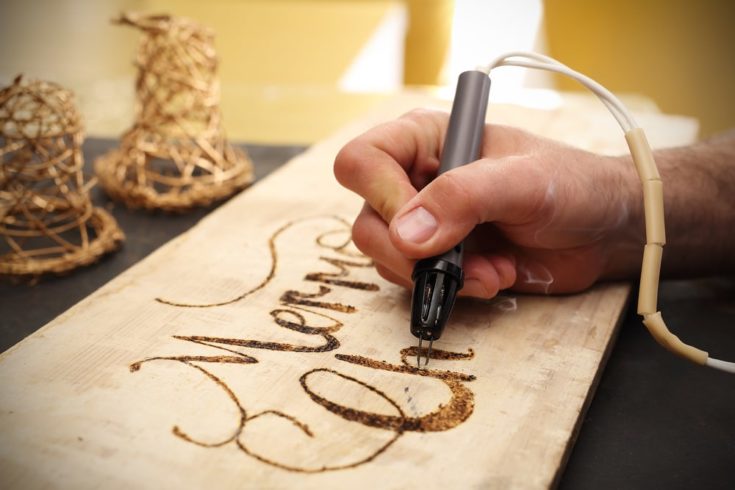
Use it to spruce up your existing projects, or do it for its own sake. All you will need is an appropriate wooden surface, a pen for wood burning, and a willingness to get started.
Woodburning Tips and Tricks To Get Your Craft Right
Whether you are new to the game or a seasoned wood burner looking to improve your skills, there are some principles that you should always stand by. These will help you have a fun, painless experience and end up with something beautiful to show for it every time.
Exercise Proper Caution
Sure, it sounds like common sense to be cautious when you’re using a heated tool, but it’s easy to get so absorbed in your work that you forget you’re holding a dangerous object.
You need to look out for not only your hands while doing this, but any surface you might accidentally set the pen on. Woodburning tools get very hot, so make sure you are only ever touching the handle until the pen cools down completely. When you must touch or remove the hot pen tip, do it with small pliers.
When you are switching out the tip, use pliers to insert the new one since certain pens will get hot very fast. While you are waiting for hot tips to cool down, you can place them in a metal, ceramic, or heat-safe glass bowl.

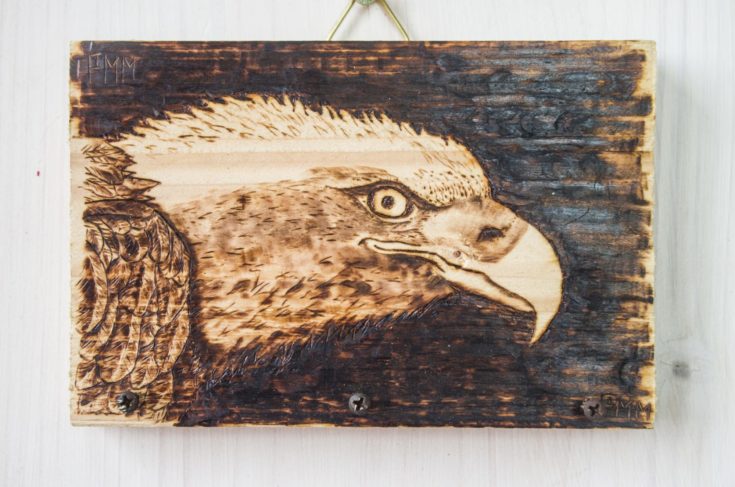
via NEN Gallery
In addition, always supervise kids who are woodburning to ensure that they stay safe. To make sure you’re considering every angle of health and caution.
Start with Samples
I know you’re excited and anxious to get started with woodburning and create a masterpiece, but before you do, start out with a sample of the wood you’ll be using.
via TXRX Labs
This will let you gauge the way the wood reacts to heat and also gives you a chance to test out new ideas or techniques before committing to them. Setting aside time to practice like this will get you acquainted with the wood and prevent future mistakes on your final piece.
Once you have some practice, you can use free printable wood burning patterns to create something really special.
Use Carbon Paper
Most woodburning artists hope to be skilled enough to go free hand eventually, but tracing is helpful along the way. While the free hand method does allow you the most creative freedom, carbon paper will give you better accuracy, which is important for newcomers.
Put the sheet of carbon paper under your printed or drawn design, onto the board, and then use a pencil to trace and transfer it to the wood. You can then use your woodburning pen to follow along these lines.
Pick the Right Material
The material you choose for your project will impact its end result greatly. Woods that are softer and have less grain, such as pine or aspen, are good to start with for a simple and easy burning experience.
It’s possible to burn harder wood, but this requires more effort and time for a nice end result. Some artists use pallet wood since it’s typically cheap or free, but if you do this, make sure that the pallets are chemical free and have been sanded down to a smooth surface.
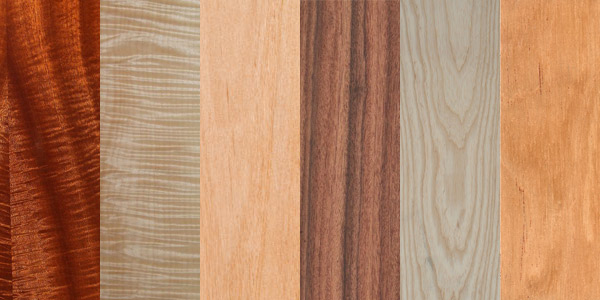
via Andertons Blog
Better yet, go to your local lumber yard or home center and purchase some pine boards. After a light sanding, they’ll be ready to go. Once you’ve experimented with some of these, you can move on to other woods like mahogany, butternut, or basswood. Lighter colored woods will give the highest level of contrast and depth.
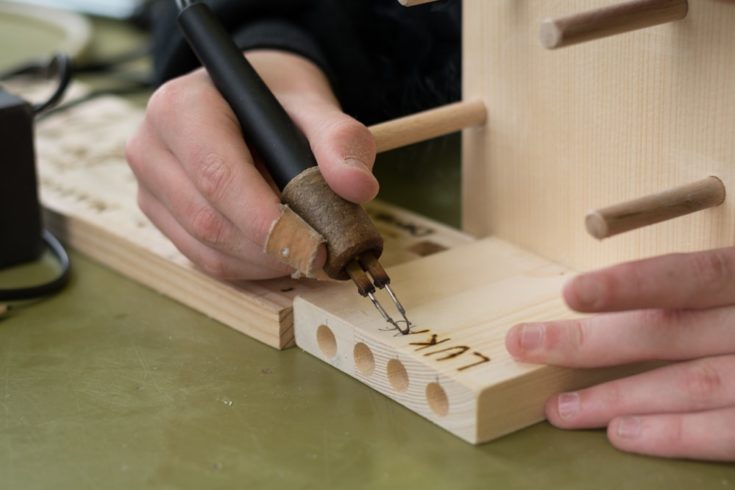
Pick the Right Pen
A beginner to this craft might assume that wood burning is as easy as picking up a hot soldering iron and putting it to a piece of wood. There’s also a certain rugged appeal about approaching it this way.
Although this might work on certain types of wood, a real, quality woodburning pen will give you much greater detail and precision, especially with one of the best wood burning tools and pyrography pens.
You must also look into specific woodburning tips which will work with heat and give you options for patterns and thickness. Many woodburning artists have extra tips around for varying shapes sizes to add variety to their art.
Start Light and Add Layers as you Work
While working with your heat pen, it’s always possible to darken a light line later on. However, if you make a line darker than you wanted, it can’t be undone.
For this reason, it’s best to make your first lines lighter, then add layers as you go. This will ensure that you prevent unhappy accidents or mistakes, and also have a final image with more detail and depth from varying colors.
Looking for more inspiration? Check out our list of cool wood burning ideas you can use to create something unique.
Wood Burning Safety
This is a chapter that shouldn’t be taken lightly because woodburning can be a dangerous activity. If it’s something you’re considering doing, there some things that you have to know about beforehand, all of which we’ll be covering in this chapter.
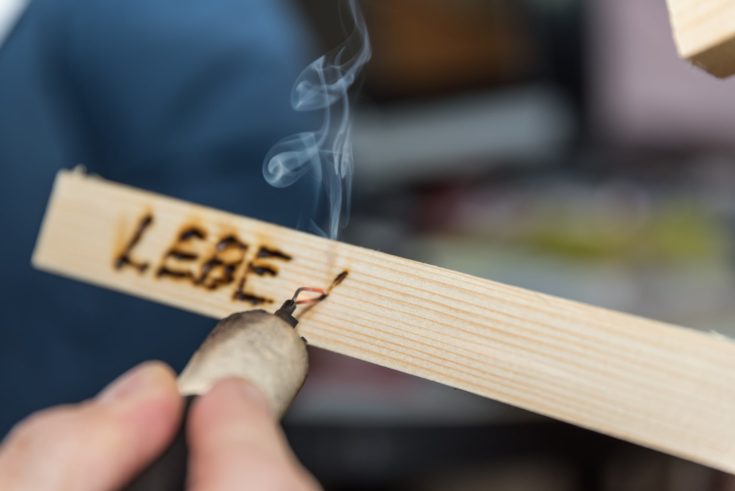
While it is a fun hobby that can get you creative juices flowing, using a soldering iron is to be taken seriously when it comes to your own safety. The first issue that arises is related to the smoke that you inhale during pyrography.
Different types of wood are more recommended for pyrography than others, as some have more toxic fume releases when being burned. If at all possible, it’s best to ask a pyrography expert about the toxicity level and fumes released by the wood you’re thinking of using for your next project.
Ventilation
When you’re working, it’s best if you do so in a well-ventilated area, with open windows or fans that can keep the air circulating. This will prevent you from sitting there in smoke that eventually ends up in your lungs. But always make sure that you choose to work with wood that has low toxicity levels.
Check Your Wood
Woodburning Techniques and Their Uses
There are plenty of different things that you can achieve with a pyrography tip set and the right piece of wood. Here are some tricks and techniques that might help you step up your woodburning game or help you get started if this is your first time meeting with the craft.
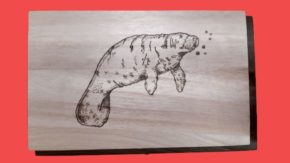
Silhouettes
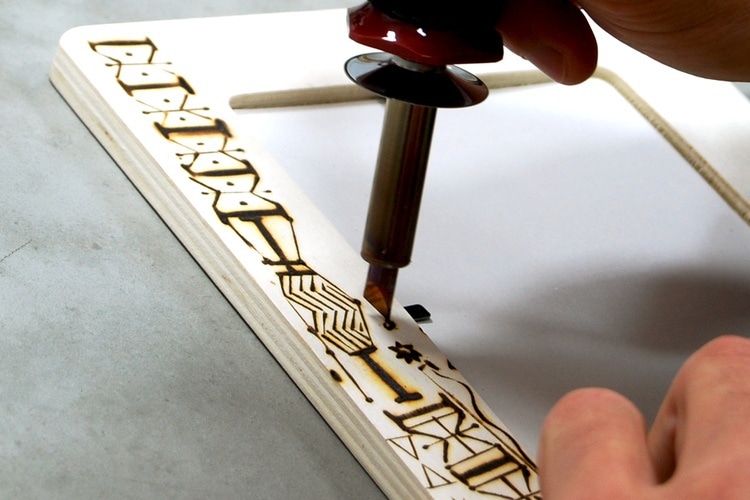
One of the techniques that you’ll most have to use in woodburning projects is filling silhouettes. It is also a star technique that’s way easier to master compared to others. As you attempt to fill a certain shape, don’t use as much heat as possible. By doing so, you might get unaesthetic marks all over the carving.
The best way to master this technique and get the very best results is to use your tool (a robotic pen with a Dremel type tip that heats up) on a medium heat setting and apply soft circular movements, working on one area at a time. For a smooth start, you can blow the tip of the pen as it touches the wood for the first time.
Gradient

A tad more difficult technique, but one that renders amazing results, is the gradient method. As you can imagine, creating gradients is a bit harder than filling an entire shape with black, as you will need to have better control over your pyrography pen when doing so, not to mention that you need more patience overall.
The best way to work on your gradient technique is by using a flat tip (not a circle tip) and a pen that allows you to select the temperature. For gradient woodburning, you will need to start with slow and circular movements and work on a small area at a time.
You will need patience as it takes insisting on a certain spot to see the results. The trickiest part about the gradient technique is having to work over wood grains. These will prevent you from efficiently burning your canvas, so these areas might require a little bit more heat. Because of this, it’s not recommended for calligraphy.
Fractal
This is a really unique way of doing custom wood burning art. It stems from the natural occurrence of fractal veining or Lichtenberg figures. It’s something that happens when a person is electrocuted and their veins fracture into fern-like patterns. This is replicated in pyrography by using either a stencil and a fine tip, with gunpowder, or with a wire tip.
Texture
The texture technique opens up a whole new world of possibilities when it comes to a wood burning hobby. Let’s assume that you’re working on a hair pattern. You can use a flat shading tip and set your pen at a higher heat intensity. Be generous with the direction marks that you leave all around, as this technique doesn’t really require you to be smooth.
You will need, however, to have full control of the pressure, as you might want to experiment with a mixture between softer shades and dark black strokes. If you want to work on fur patterns, a tracing tip might be the best choice. For darker areas, you can use closer strokes and more heat, while lighter areas will require faster strokes with less heat.
Hatching
Hatching and cross-hatching are two other techniques that will enhance the results of your wood carving projects. They allow you to create shading effects and texture that do not require you to master the gradient technique. These methods will also render better-looking results if you have to work with grainy wood.
The best tip for this technique is the tracing one, which you can use as if you were drawing a regular line. Proceed to hatch in one direction, starting with the edges. By doing so, you can ensure that the edges have a stronger outline because of the more accentuated burn, while the inside of the drawing gets weaker.
Backgrounds
The next important technique that you have to master are the background ones. These will be useful in creating the finishing touches on a variety of different projects. We’ll start off with the rust technique, which is a real time saver.
You will literally have to get some rust from old bolts and screws (you can use sandpaper to do that), apply that on the wood, and then spread it on the surface of the wood by using either your fingers or a cotton ball. If you’re working with cheap-looking wood (such as MDF pieces), the rust will cover the area smoothly and can help you create opaque backgrounds with a shiny gradient.
Dotting
The dotting technique may take you back to some medieval art pieces because it has been around for quite some time. Regardless of how cheap your pyrography pen is, it surely has a large round tip that you can use precisely to master this technique. Once the tip is really hot, proceed to fill the background by creating a dot at a time. Clean the tip whenever you think you might need to, in order to maintain the dot-making accuracy.
Heat Blowers
By using a heat blower, you can create really interesting backgrounds for your woodburning projects. You can use this to create a vignette effect by turning on the blower and passing it along the edges of your canvas, but make sure that you never linger over a specific area for more than a second. Keep in mind that you want to heat up an entire area as evenly as possible, but you will also have to be patient in order to see some shading results.
Shading
Shading or filling are two background techniques that might serve you when the areas you want to fill aren’t that large, like around fancy writing or letters of the alphabet. You need to be really careful with the projects that you choose these techniques for, as it takes a lot of work when you’re working with larger elements and the effort might not even be worth the end result.
Get an idea of the average cost of a good wood burning tool here.