Some people might think that a sewing machine is a low-maintenance type of device. However, there are plenty of mechanical and electronic parts that are bound to need cleaning at home point, and if you’re not sure what you have to clean, you might actually be jeopardizing the lifespan of your machine.
Tips for How to Clean a Sewing Machine
Despite some models looking very rugged, sewing machines are actually very fragile objects. They are made from little parts that can easily get lost if you decide to take the machine apart and clean it. So, let’s go over some DOs and DON’Ts related to caring for your machine.
#1: How to oil a sewing machine properly
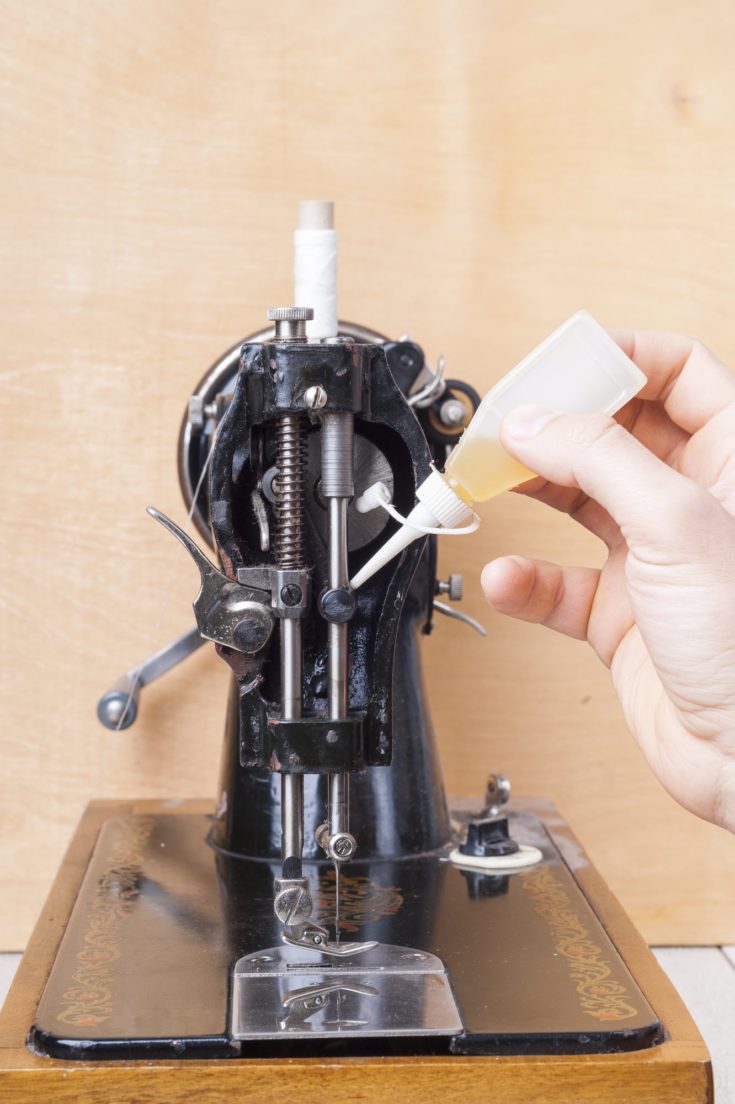
When you’re done with cleaning your sewing machine, you’re going to have to oil certain parts of it. Knowing how much oil to add can be really tricky, and you can actually be using excess oil without even being aware of it.
People that use too much oil after cleaning their sewing machine are actually setting up the perfect environment for dust and lint, which in turn can clog the machine instead of making it run smoothly. As a general rule, you should only apply a drop of oil, because this prevents it from draining all over the place.
The goal here is to avoid using so much oil that it eventually builds up inside the machine and acts as a magnet for all sorts of contaminants that could clog the machine. If you want to be able to control the amount of oil that actually goes on a machine part, it’s best if you first apply a bit on a brush and then gently use to brush whatever components need oiling.
#2: Avoid using an air-blower.
It might work for cleaning computer units, but it’s never a good idea to use a blower to clean your sewing machine. Basically, an air-blower can further push lint inside the machine, which makes it more difficult to clean in the end. Furthermore, air-blowers can also retain moisture, which is then blown inside your machine, and that’s something you don’t want your machine coming in contact with any form of water.
If you do, there are high chances of rust ending up inside your machine which, as you’ve probably figured out, isn’t a good combination.
What you can do is invest in a handheld vacuum cleaner, which has just the right amount of power to pull dirt from inside the machine, leaving it dust and lint-free. You should also avoid using a standard vacuum cleaner, because even when used at its lowest setting, it is still too powerful to use on a sewing machine.
#3: Take pictures beforehand.

A while back, my computer unit suffered a small accident, and one of the cables that connect the graphics card to the motherboard came loose. Since I didn’t know what was wrong at the time, I proceeded to take the entire unit apart. Before the era of YouTube videos that had a tutorial for everything, I had to figure out how to put all the components back in their original place, and my camera was of great help.
So, my advice to you is this: whenever you have to take apart something that has plenty of pieces and you might not be sure how to put them back together again, take pictures every step of the way. Whenever you have to remove a sewing machine component that you’ve never removed before, take pictures from all possible angles.
After you’re done cleaning, your pictures might serve as a much better guide compared to the sketches, you’ll find in sewing machine manuals.
#4: Label your components.
Also, something I’ve learned when taking my computer unit apart: label every screw, every little nugget that you might easily forget its purpose. When you’re dismantling your sewing machine, label all the parts (although it is now much easier to recognize the parts of a machine since they are listed in the manual or are available on the manufacturer’s page/some sort of explanatory YouTube video.
To make things even easier for you, and to help you avoid losing small components that are super important in having a properly-functioning sewing machine, it’s best if you use a bowl or other small containers to store the pieces in. when you’re dealing with small objects such as screws, it doesn’t take much for one to fall off the table and roll underneath some piece of furniture, so make sure they stay exactly where you put them.
It’s true that, in case of an emergency, you might be able to find replacements parts in shops or online, but that’s not always the case, and particularly hard if you have a more unusual brand of sewing machine (or a very old one).
What You’ll Need
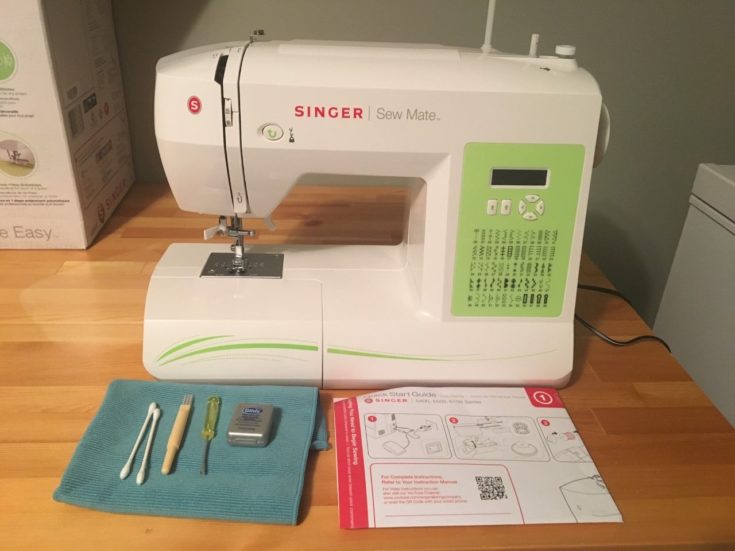
First of all, arm yourself with patience, because this process can take some time if you’ve never done it before. Make sure that you have everything at hand before getting to work:
- A screwdriver compatible with your machine’s screws.
- Handheld vacuum cleaner (optional for if you have neglected machine).
- A clean soft brush (they often come with one).
- A soft cloth.
- Your machine’s instruction manual.
- Cotton buds or Q-tips.
- Oil (if your machine requires it).
- Some dental floss.
Step-by-Step Instructions:
Before you start cleaning your machine, make sure that it’s turned off and unplugged. You don’t want any electrical current running through the machine when you’re taking it apart. Another thing you want is to grab your manual and read it before you actually remove anything from your machine. The manual provides plenty of useful information (like the name and location of each component, and how you can remove and clean it), so make sure you have it next to you through the entire cleaning process.
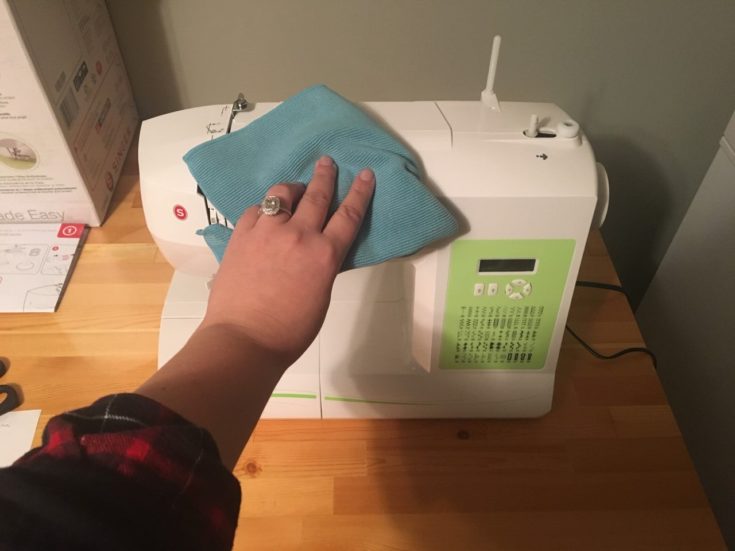
Step One: External cleaning
- The first thing that you’ll need to figure out if you have a top-loaded machine. These machines don’t require removing the accessory stay so often, as opposed to front-loading machines, which require removing the tray with every bobbin thread change.
- Clean the external case of the machine before moving you proceed to remove the components. Use a soft cloth and gently rub the surface of the machine clean.
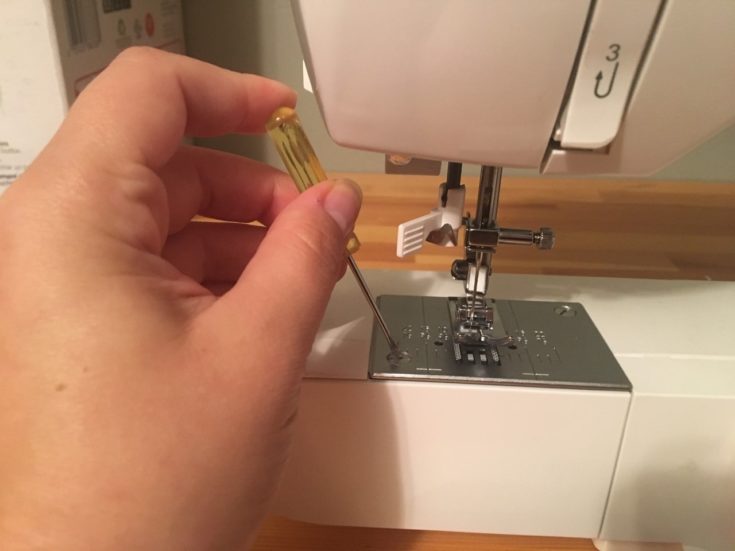
Step Two: The bobbin area
- You want to remove the needle and the foot in order to access the needle plate. You can use your manual for instructions that are catered to the specific sewing machine model you own.
- In case you own a machine that comes with lower feet teeth, you’ll have to remove those as well.
- Use your lint brush to remove the lint from the feed teeth.
- The tweezers might come in handy if you have to remove balls of dirt or lint.
- When you’re done using the lint brush, proceed to using a cotton bud to remove any residual dirt.
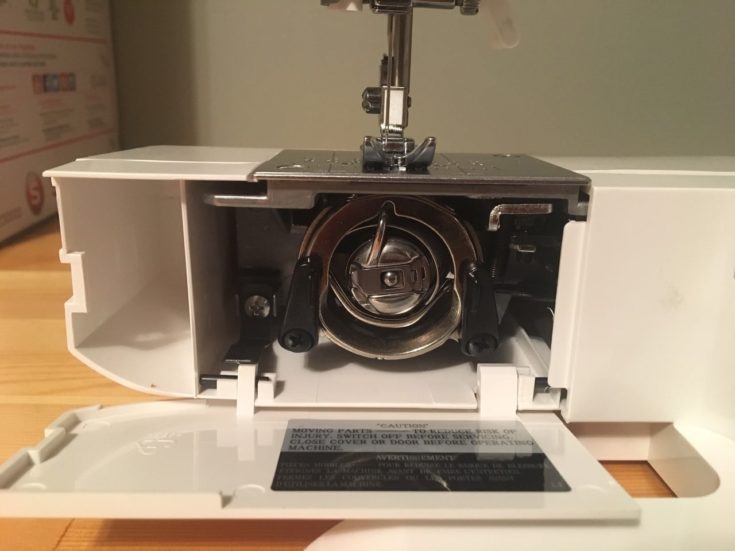
Step Three: The under-bobbin area
- Take a picture of your bobbin holder.
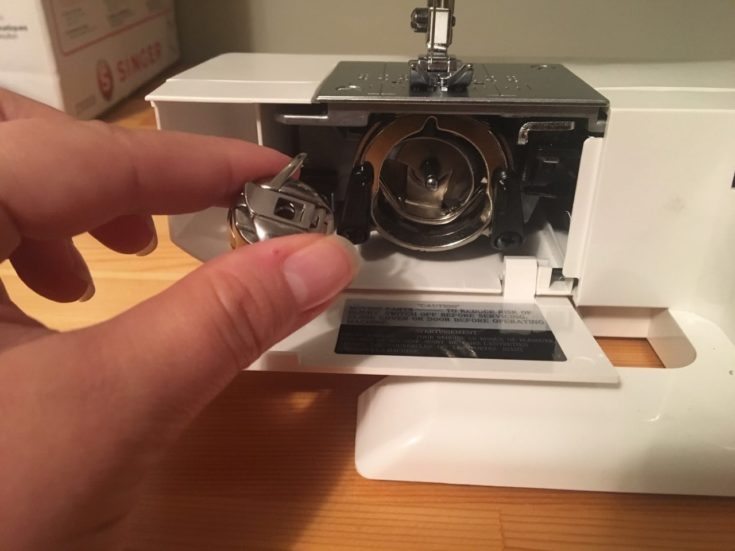
- Remove the bobbin holder, making sure you don’t misplace any of the components you’ve taken apart so far.
- Using the same process as described in the step above, proceed to remove the lint.
- Use your handheld vacuum to clean the hook race.
Step Four: The tension discs
- Thread tension can be a real enemy that eventually causes plenty of sewing machines to malfunction, so pay really close attention to how you proceed to the next. You will discover that there is plenty of dirt or lint trapped between the discs, so you have to remove all of it. If you notice that your machine has a side cover for the thread path, open it and clean it.
- There are many different ways of cleaning the tension discs. A method that actually works implies disengaging the discs by raising the pressure foot.
- Take a piece of dental floss and use it back and forth to clean the space between the thread channels. If you don’t have dental floss, don’t run out and buy some just for the sake of sewing machine cleaning. You can also use a string of cotton thread.
Step Five: The oil
- As mentioned, oil a super important part of having the machine run smoothly. It is also really important to read your instruction manual to see if your machine actually needs any oil or not.
- Newer computerized models like mine don’t require any oil application.
- If it does, you want to apply the oil to the center below the bobbin.
Step Six: The reassembly
- Now it’s time to put your machine back together. Make sure that your bobbin case is lined up. To do this, you have to turn the hand knob back and forth until you’ve nailed the position.
- Put the needle plate and all of the screws back in the original place.
- Then, proceed to put back the pressure foot.
- At this point, it’s a good idea to change the needle as well (unless you’ve recently done that, in which case you can skip this step).
Conclusion
Cleaning your sewing machine will not only prolong its lifespan, but it can also make sure that your projects render flawless results. In the meantime, know that there are parts of your machine that are best left to professionals, even when it comes to cleaning. For example, the engine part of the sewing machine is not something you want to mess around with.
The frequency of cleaning your sewing machine really depends on how often you use it. People that rarely use their sewing machines won’t have to clean them more than once per year. However, people that use their machines on a regular basis should consider cleaning it every other time when changing their bobbin thread.
We’d also advise you to invest in a cover for your sewing machine (there are some sewing machines models that are actually sold with hard plastic covers to keep them shielded when not in use). Your machine is bound to attract plenty of lint and dust as you’re sewing, so why not avoid more dirt by covering it when not in use?