Breaking a mirror is considered bad luck, but you can turn your luck around by replacing the pane and putting it back into use. Cutting mirror glass is simple and inexpensive, and is a great skill to master as you can use it to cut window pane and crafting glass as well. In fact, mirrors are also a great addition to your crafting projects, and knowing how allows you to be versatile in your creativity.
This step by step tutorial shows you how to cut a mirror with a glass cutter so you can easily create, replace, or craft with this reflective surface. Since I have been lucky enough to not have a broken mirror in my house, I cut some hand mirror sized panes to use in homemade tiles and hanging locker mirrors for the kid’s lockers.
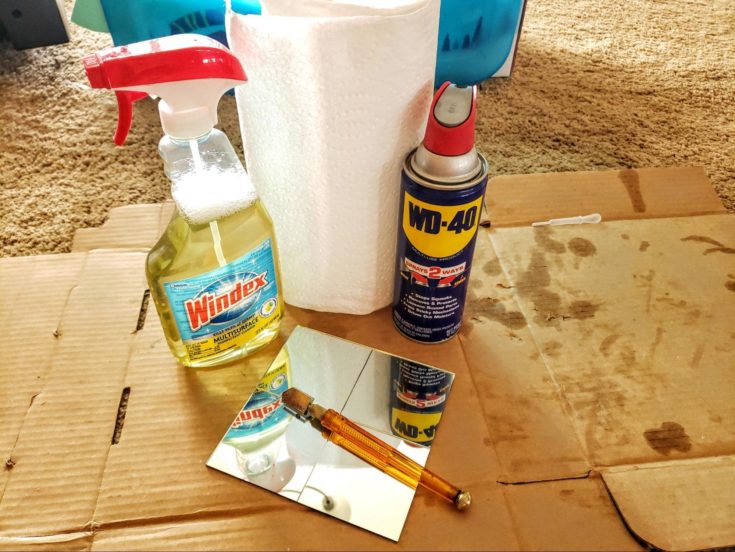
What You Need to Cut Mirror Glass
When cutting glass of any sort it is best to work on a flat, stable surface. I prefer the floor as I know I can get the leverage I need for the final break, and it won’t shift on me at any time (or be bumped by one of my children). I also prefer to place a piece of cardboard or a small tarp under my work area to help collect any small shards of glass that may come off in the cutting process.
Mirror Glass
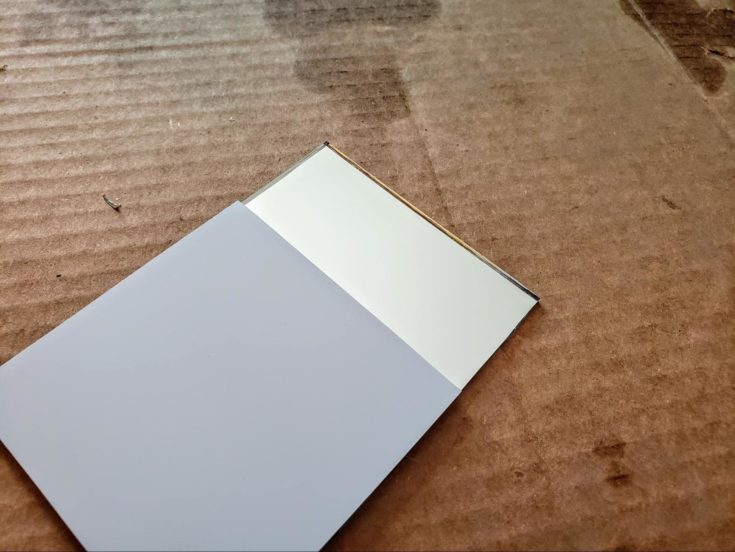
Mirror glass is easy to find at local hobby stores and online. You can generally find a wide variety of sizes to use for whatever job you have on hand. Personally I find the larger pieces often used for replacement bathroom mirrors are easier to work with and are a better value since it does cut in such a clean manner. For this tutorial I bought a few 4 x 4 inch pieces I had previously cut for a craft to help show how this task is done, and because we decided to craft some more with them after getting them down to size.
Glass Cutter
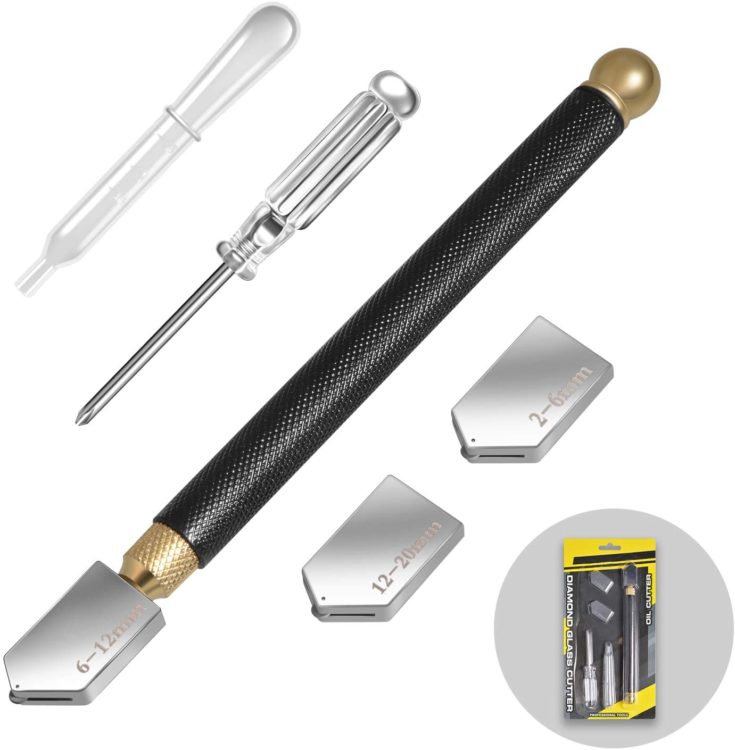
A dependable glass cutter is a must for this task, but luckily they are an inexpensive tool that you more or less only need to buy once- unless you are into cutting glass professionally. They come in a few various shapes to provide the grip and pressure you need to cut, but what you choose is entirely up to you based on personal preferences.
Oil Lubricant
A lubricating oil of some sort is an absolute must for this task. It is very hard to get a good clean cut on ‘dry’ glass, so you want to be sure to use a special cutting oil, or in a pinch you can use sewing machine oil or even WD-40. I have great luck with WD-40 and find it goes on easily and also cleans up well.
Ruler or Straight Angle (or solid straight guide of some sort)
Always be sure to measure your cut in advance and then measure again – especially if you are replacing a broken pane. However, if you happen to have a pre-cut piece of mirror that is the right size, you can use this as a guide as well. The point is to have a good edge to help keep your score straight.
Thin Wooden Dowel
A thin wooden dowel, or something similar, can help make sure your score breaks even. This simply sits along the cut and works as a fulcrum to allow your break to stay clean when you apply pressure.
Safety Equipment
Safety glasses and protective gloves are strongly suggested to help keep you safe. When breaking the mirror sometimes small pieces of glass can shoot upwards. Plus, the edges can be sharp and you should protect your hands.
Step 1: Clean Mirror
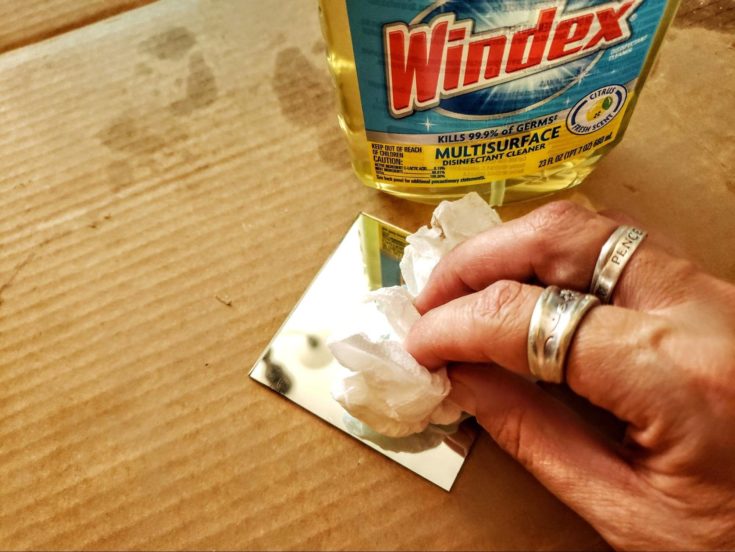
Always work with a very clean surface since any dirt or dust left on the mirror can interrupt the cutting process and influence cracking or jagged edges when you break. Soap and water or specialized glass cleaner is the best choice. Be sure to wipe it dry afterwards so water doesn’t repel the cutting oil.
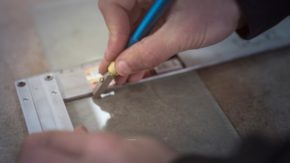
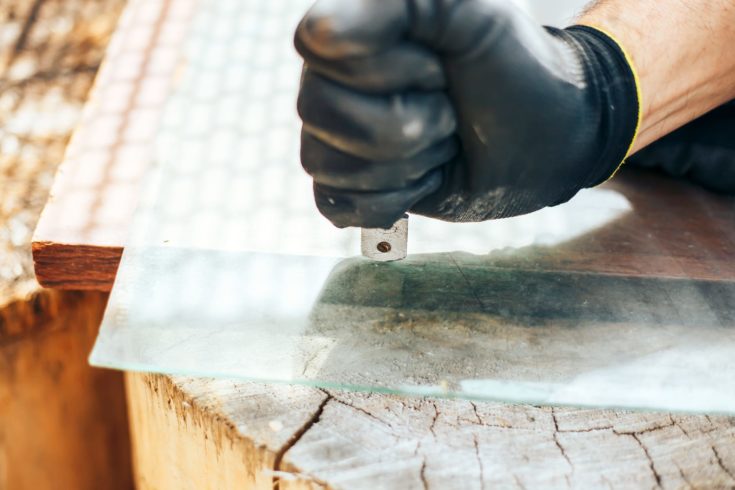
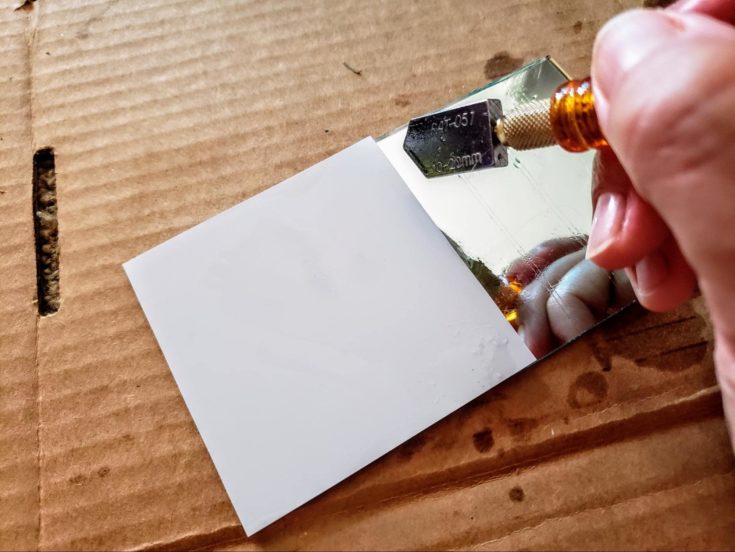
Step 2: Measure and Secure Your Cuts
Always carefully measure your cuts and use a straight edge to help keep your glass cutter stable while cutting. Do not try and free hand your cut as it is very easy to get off line without even knowing you are doing so. I used a previously cut piece of glass to help make a stable line on the piece I was working with.
Step 3: Oil Your Glass Cutter
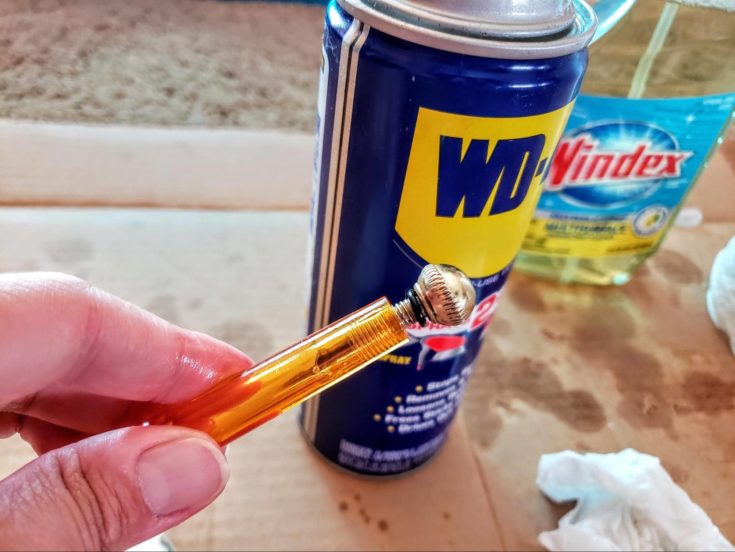
Be sure to fill your oil reservoir if you have one, or oil along the edge you plan on cutting. This lubricates the cutting wheel and allows it to move smoothly over the glass surface. If you make a dry cut, you run the risk of splintering, jagged edges, or a poor break.
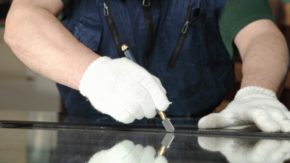
Step 4: Score With a Consistent Pressure
When you make your ‘cut’, you want to apply approximately 6 pounds of pressure in a consistent manner. If you are new to this place your hand on a scale to feel what 6 pounds feels like. It isn’t much, but you want to learn how to feel it out.
Your cut is actually scoring the glass surface which weakens it and allows you to make a clean break later on. As you move your glass cutter you should hear a ripping sound. If you hear a sound that is similar to dragging grit on glass, you are applying too much pressure. You don’t have to start again, but be sure to decrease the weight you put behind the cut.
Step 5: Split the Score
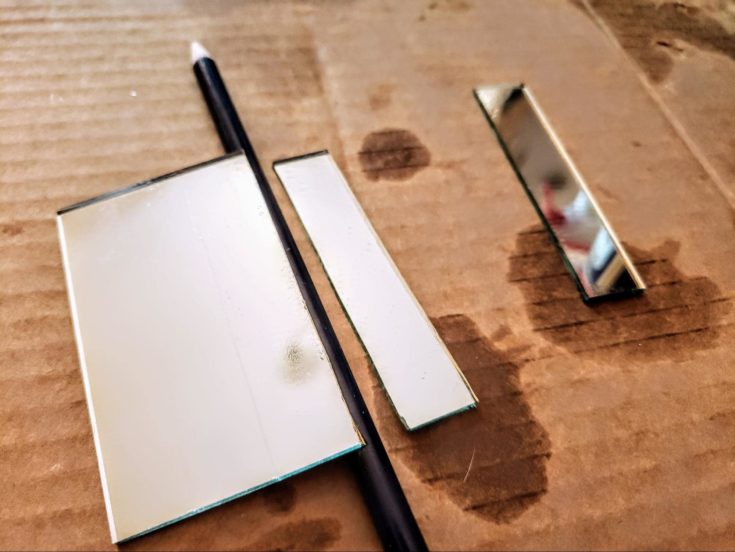
When you split the score you are actually breaking the mirror along the ‘cut’ you made. To do this effectively without breaking it, you need consistent pressure. Spaller pieces of mirror can more or less be picked up and snapped between your two hands. However I find using a dowel, or in this case a pencil, placed under the score allows a fool proof way of getting a perfect break every time.
To use this technique, place your pencil, dowel, or similar straight edge under the score and apply equal pressure to both sides. If your mirror is thick, you will need a larger dowel and more pressure, but it will split. Be sure to commit to the break and apply an even push with both hands at the same time.
Step 6: Set or Create!
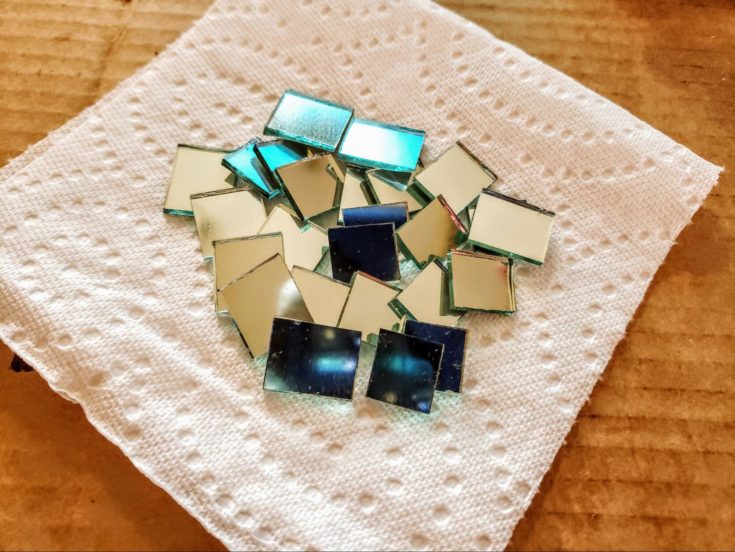
As you can see, it was incredibly easy to cut my mirrored pane into smaller crafting square tiles. Mirrors tend to cut very nicely since they are often not very thick, and you get a very clean break when you apply the techniques I described above.
Conclusion
Cutting glass and mirrors is a great skillet to get comfortable with as it opens up a ton of new crafting techniques and also makes home repair a lot more affordable. It is also a skill your children can learn with some adult supervision, and results in some great materials to create with.
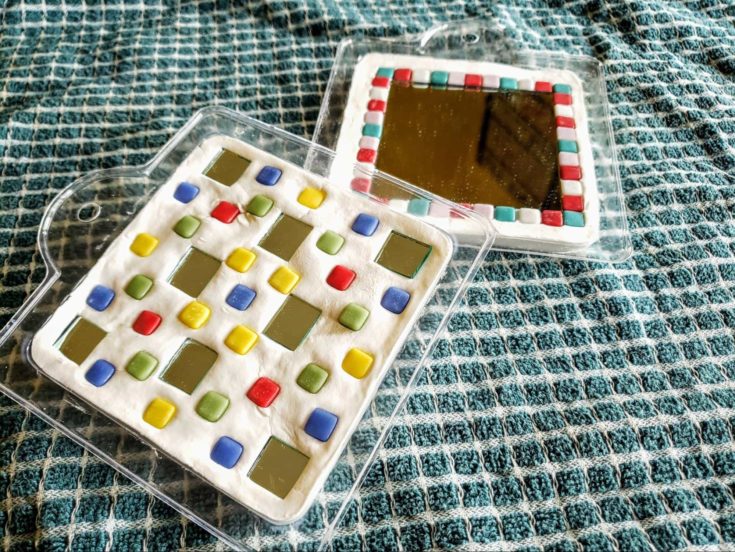
My kids were interested in making tiles (which I will clear coat at a later date) and locker mirrors. A bit of air drying clay, a mold, cut mirror, and some fun crafting tiles were all we needed to get crafty. These also make great ideas for personalized coasters and plaques for future gifting!