Glass cutters are amazing tools that provide you the opportunity to both craft and work on home improvements when needed. They are simple, and inexpensive, and can make short work of various glass, tile, and other hard, ceramic surfaces that need shaping or cutting.

If you follow along with this tutorial, you will have the basic skills pertaining to how to cut glass. I also decided to get creative and show off what type of things you can do once you are comfortable cutting glass. I love to learn how to create new, inexpensive, simple- yet complicated-looking end results. In this case, I made a stained glass window, but have some future projects to help replace a few small broken panes of glass ready at home for me as well.
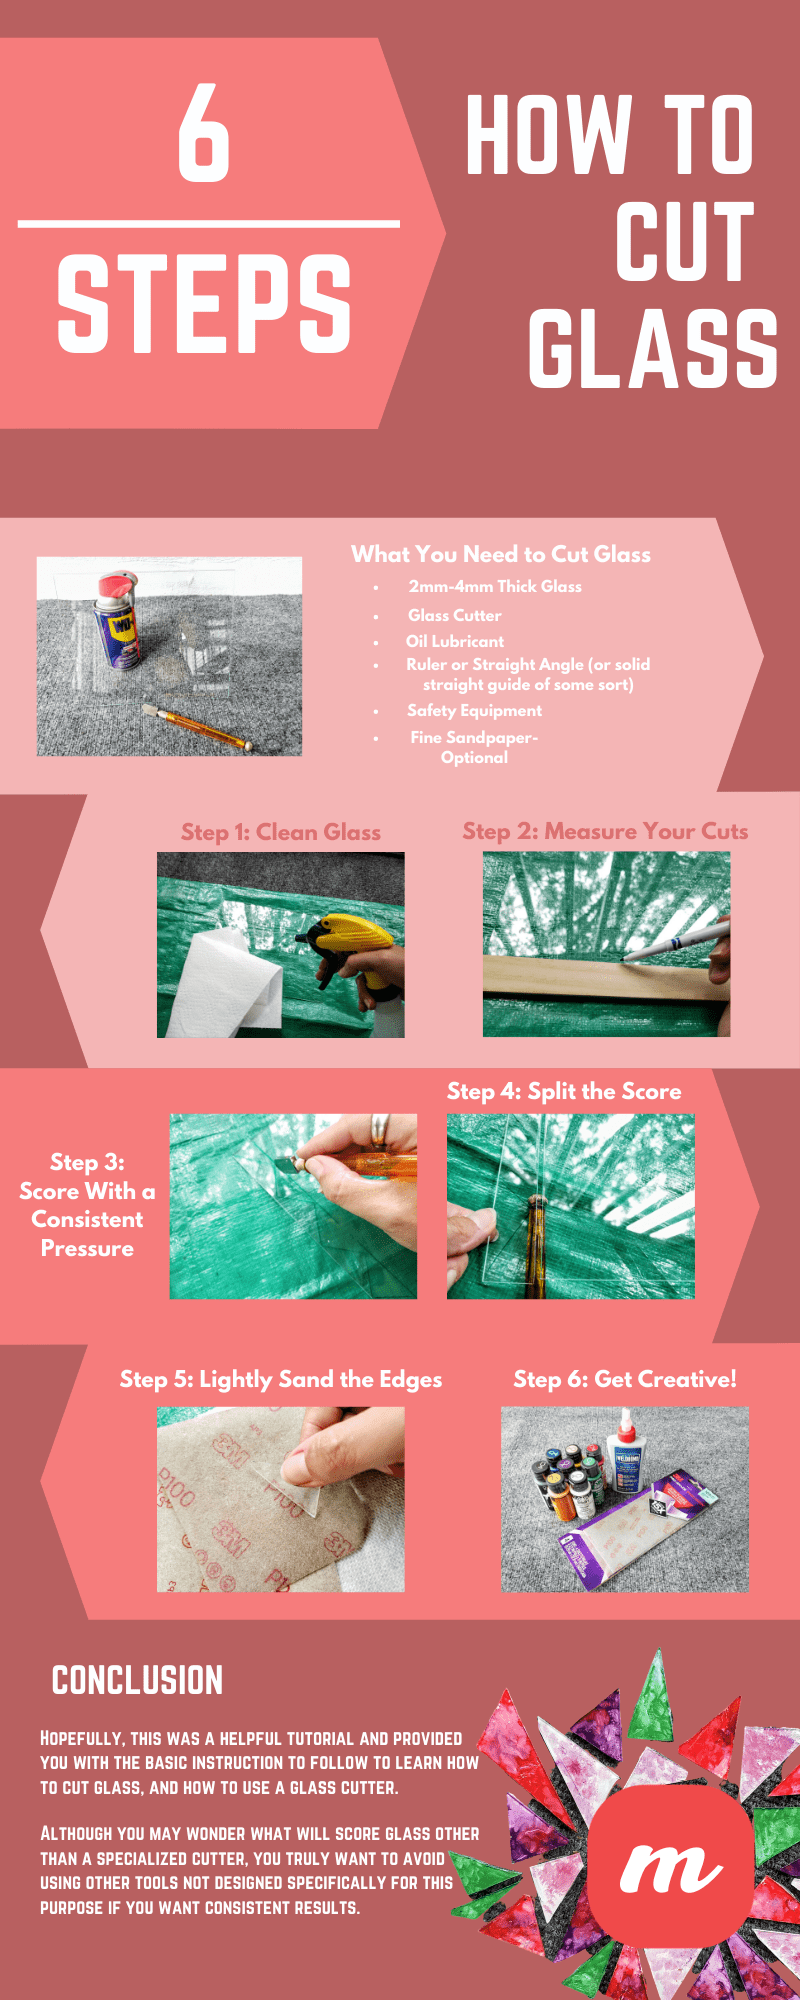
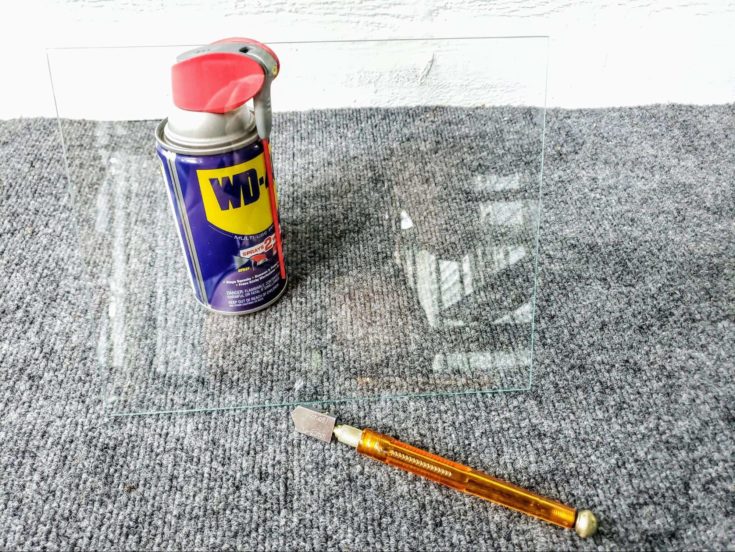
What You Need to Cut Glass
First off, you want to work with a sturdy flat surface. Either a good, flat floor; or a sturdy, flat table is ideal. This is important to allow you the room to work, and the stability of a surface that can handle your pressing against while scoring and breaking the glass. I also suggest you place a plastic tarp or other durable material under your cutting surface. This helps you to easily collect any glass shards or slivers that may break free.
2mm-4mm Thick Glass
When first learning how to cut glass, it is suggested to work with an easier plate or sheet for practice. Frame glass or interior decorative glass is generally 1/16th to 1/8th of an inch thick and is generally easy to score and break. If you are looking to cut something thicker, such as ¼ inch glass, you may want to get a professional.
Glass Cutter
There are multiple types of glass cutters you can use, but all are similar in design and work on the same premise. Look over these various glass cutter types to determine which you feel is best for your preferences and project. If you use it often, you may find it becoming dull after a time. Most glass cutting tools are so inexpensive it is more cost-effective to replace them than try and sharpen them.
Oil Lubricant
You don’t want to dry cut your glass as you won’t get a good score or clean break. Glass cutting oil can be found online, but you can also use sewing machine oil, or, in a pinch, WD-40. If you are seriously hard up, even a vegetable cooking oil will work (but requires a much more intense cleanup). The oil goes right in the handle of most cutters to help oil as you cut.
Ruler or Straight Angle (or solid straight guide of some sort)
Depending on the type of job you are attempting to complete, you may want to have a straight edge, ruler, or straight angle to help keep your hand and cutter steady. These also serve as an excellent guide.
Safety Equipment
Gloves and glasses are highly suggested as well to protect your eyes from broken glass, and hands from cuts as you work.
Fine Sandpaper – Optional
I like to smooth out the edges of the glass, especially if you are using the glass for an artistic project. Remember that there is always the potential for a very sharp edge or glass shards when working with glass, so always proceed with care.
Step 1: Clean Glass
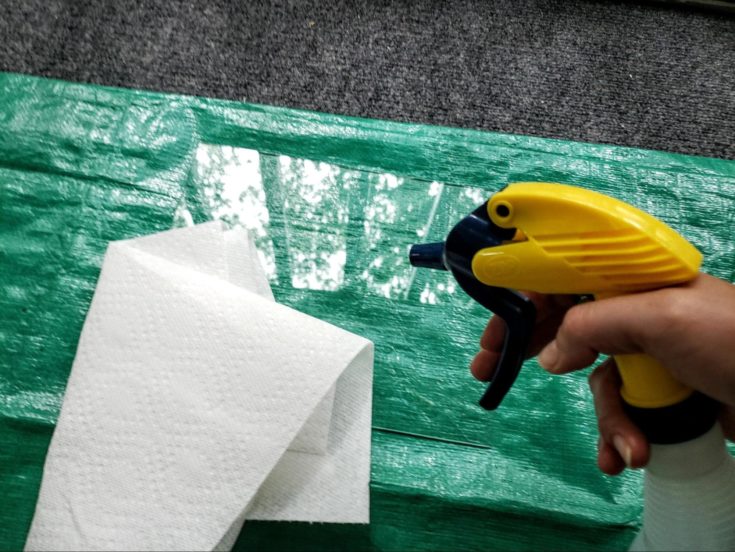
Always work with a clean pane of glass prior to making a score. Clean both sides thoroughly to ensure there are no residues or materials that may interrupt your cut. Soap and water or a simple glass cleaner is fine for this. Also, be sure to dry it completely before getting started.
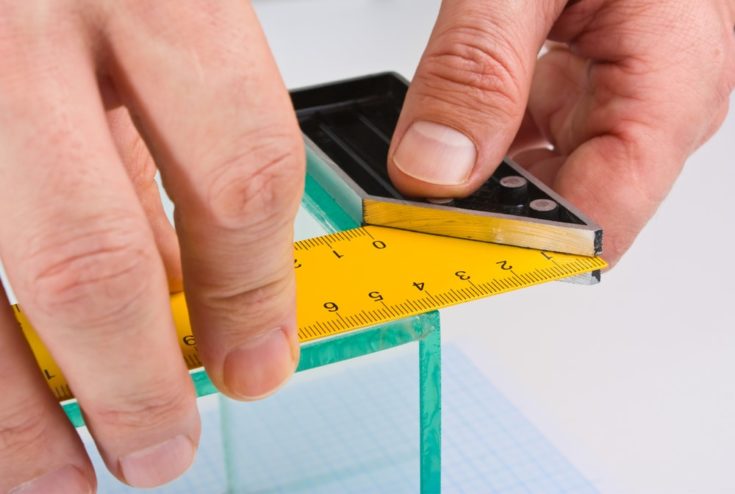
Step 2: Measure Your Cuts
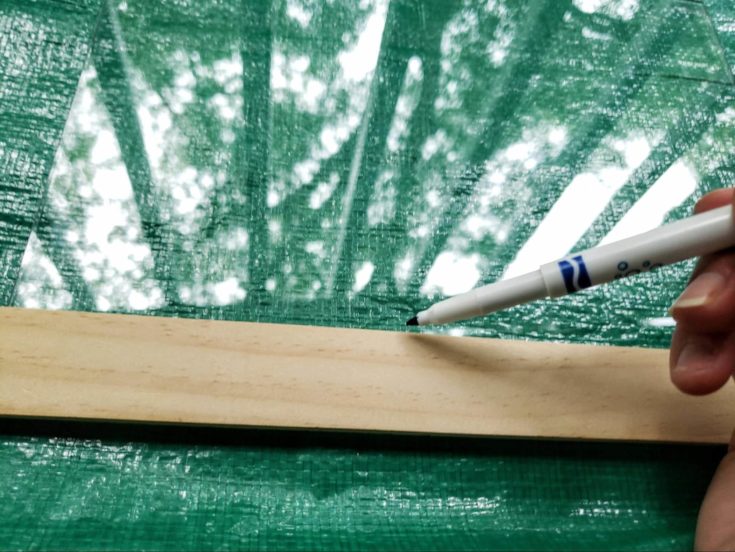
Depending on the size of your cut, you may want to carefully measure and then measure again for accuracy. Once cut you cannot erase the score. I prefer a dependable straight ruler rather than a measuring tape simply to ensure consistency – which might not always be achieved with a more flexible tape. For my project I was making very loose, small, artist cuts and was not worried about perfection, but still made sure to mark out how I wanted to place my cuts for simplicity and ease.
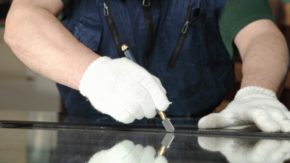
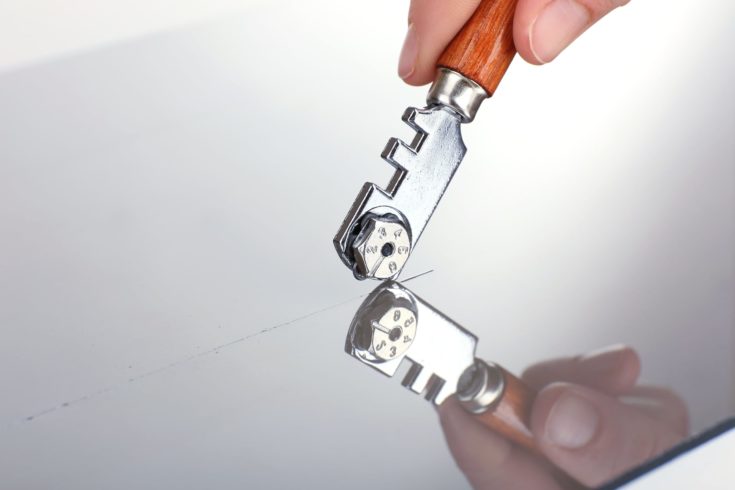
Step 3: Score With a Consistent Pressure
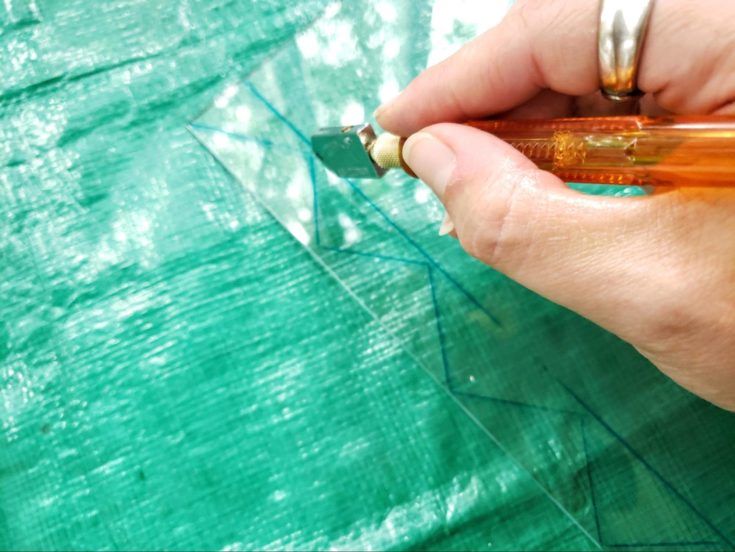
Cutting glass is a bit of a misnomer as you aren’t actually cutting glass, but rather scoring it to break the glass along this weakened line. The best way to get comfortable with this is by practicing. Simply pull the glass cutter, held at an angle (often similar to a pencil) along the lines you want cut.
In general, those who do this regularly provide a 100 ounces of pressure average along the length of your cut. If you have a bathroom or kitchen scale, consider this to be approximately 6 pounds of pressure, and practice what this feels like.
Step 4: Split the Score

Splitting the ‘cut’ is the moment of truth. If you provide pressure to both sides of the score you can generally split the seam without breaking it. You can also place the handle under the score (or something similar) and then press on either side. Most people find that they prefer one method over another and just need to practice to get comfortable. Don’t be afraid to provide the pressure, and also don’t be upset if you crack the glass- it happens to even the best from time to time.
Step 5: Lightly Sand the Edges

Using a fine sandpaper, you can lightly sand the edges to take off any sharpness. This might not be a step you care to take if the edges will be covered or protected depending on where they will be placed. However, if you plan on using it for any crafts, this is a step well worth considering.
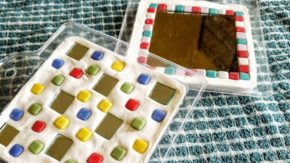
Step 6: Get Creative!
You can make all sorts of cool crafts with a glass cutter. Use a dremel tip to create holes and make windchimes, place pieces together for a stained glass effect, create mosaics, or anything else you can think of!
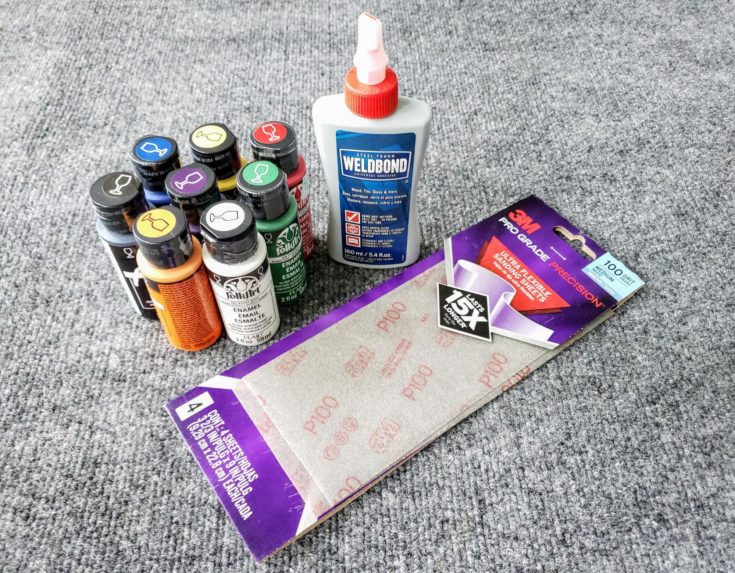
To copy something similar to my own project, use a glass friendly paint and a clear drying, all-purpose glue! I simply painted my pieces, baked them according to the paint directions, and then glued them to another glass surface in the pattern I desired!
Conclusion
Hopefully, this was a helpful tutorial and provided you with the basic instruction to follow to learn how to cut glass, and how to use a glass cutter. Although you may wonder what will score glass other than a specialized cutter, you truly want to avoid using other tools not designed specifically for this purpose if you want consistent results.
We would love the chance to see what projects you have in mind concerning glass cutting! Please explain your ideas below, and, as always, please share!