Cutting glass is a relatively easy skill to master and can be done with an inexpensive tool and some quick prep work. This is well worth knowing since broken glass happens from time to time, and rather than spend a lot of money to hire a professional to come measure and cut a replacement, you can do it yourself.
If you have ever wondered how to cut window glass, this article is for you. A few simple tools and a place to work is all you need to effectively measure and cut the pane size you need. This step by step guide keeps instructions simple and provides the tips and tricks you need to get the job done.
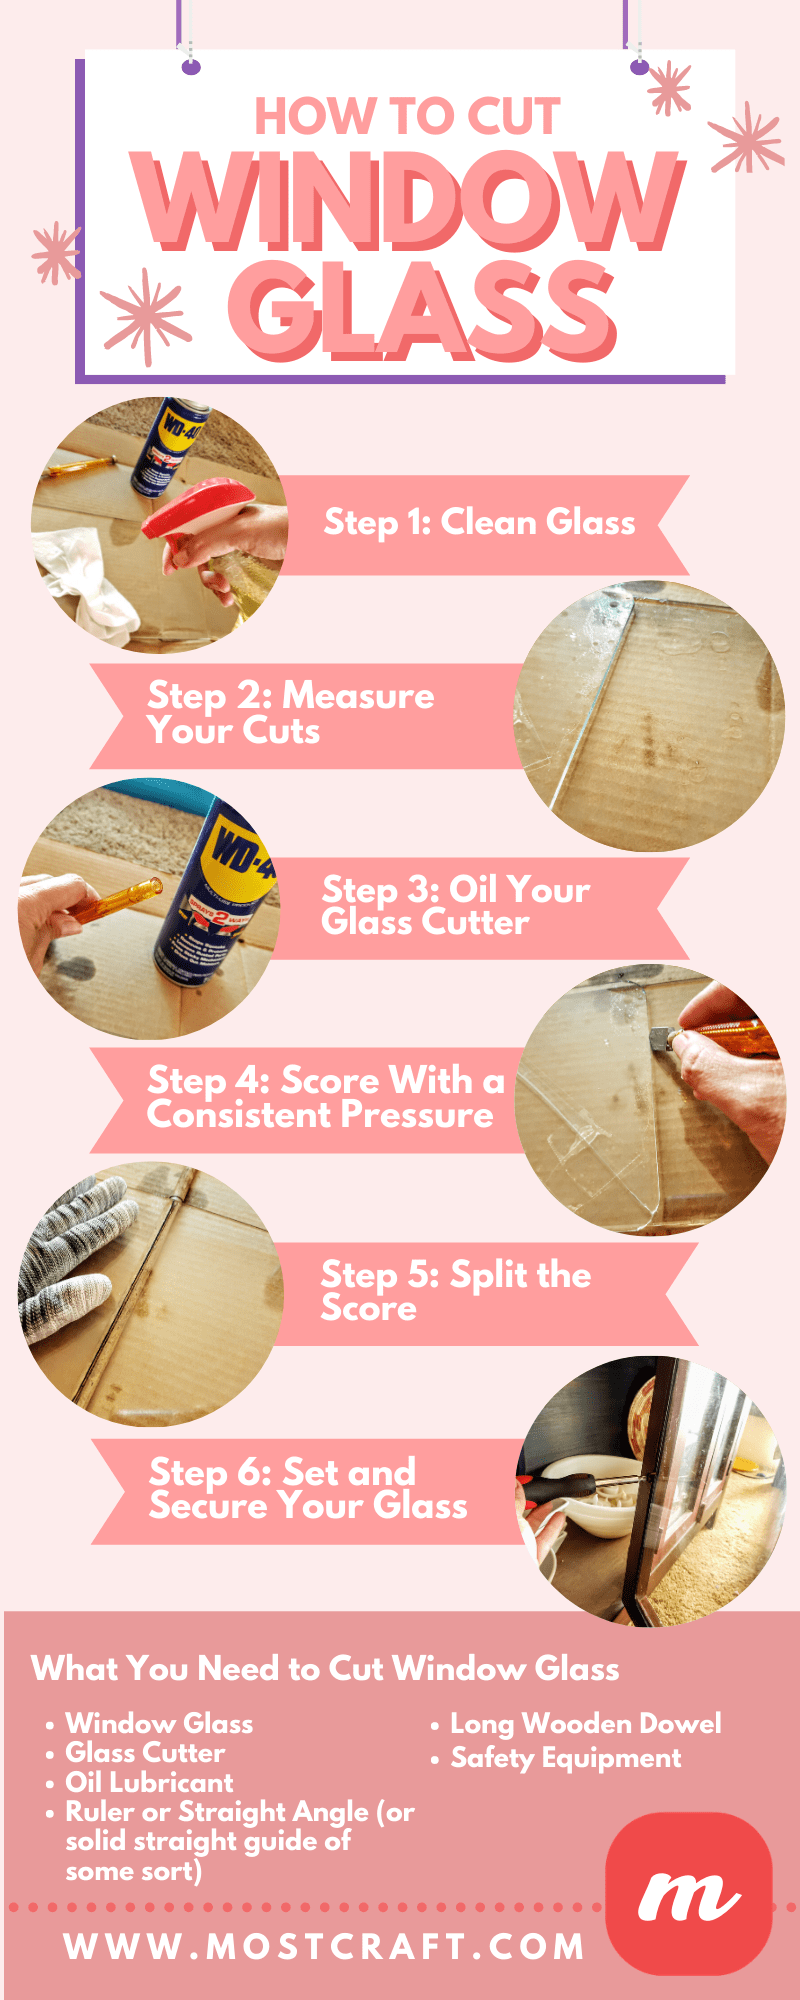
What You Need to Cut Window Glass
A flat, stable work surface is a must to effectively cut glass. You will need to provide quite a bit of pressure and you also need room to make a continuous cut. A good workbench, or even a flat, clean floor provides a strong enough surface for this kind of work. I also suggest laying down a tarp, cardboard, or newspaper to collect any glass shards or slivers that may occur.
Window Glass
Before getting started, remove the pane of glass that needs replacing to ensure you purchase the same thickness of glass to replace it. Most home repair stores have window glass on hand for you to check against. For the most part, window glass is 3/32 inches or ⅛ inches thick. Thicker glass generally denotes larger panes of glass which are usually already cut to size or require professional installation.
Glass Cutter
There are various types of glass cutters available for use, but all are designed with the same premise in mind: to score glass for breaking. Some are considered more comfortable than others to hold, and personal preference should be part of your decision when determining which is the best glass cutter for you.
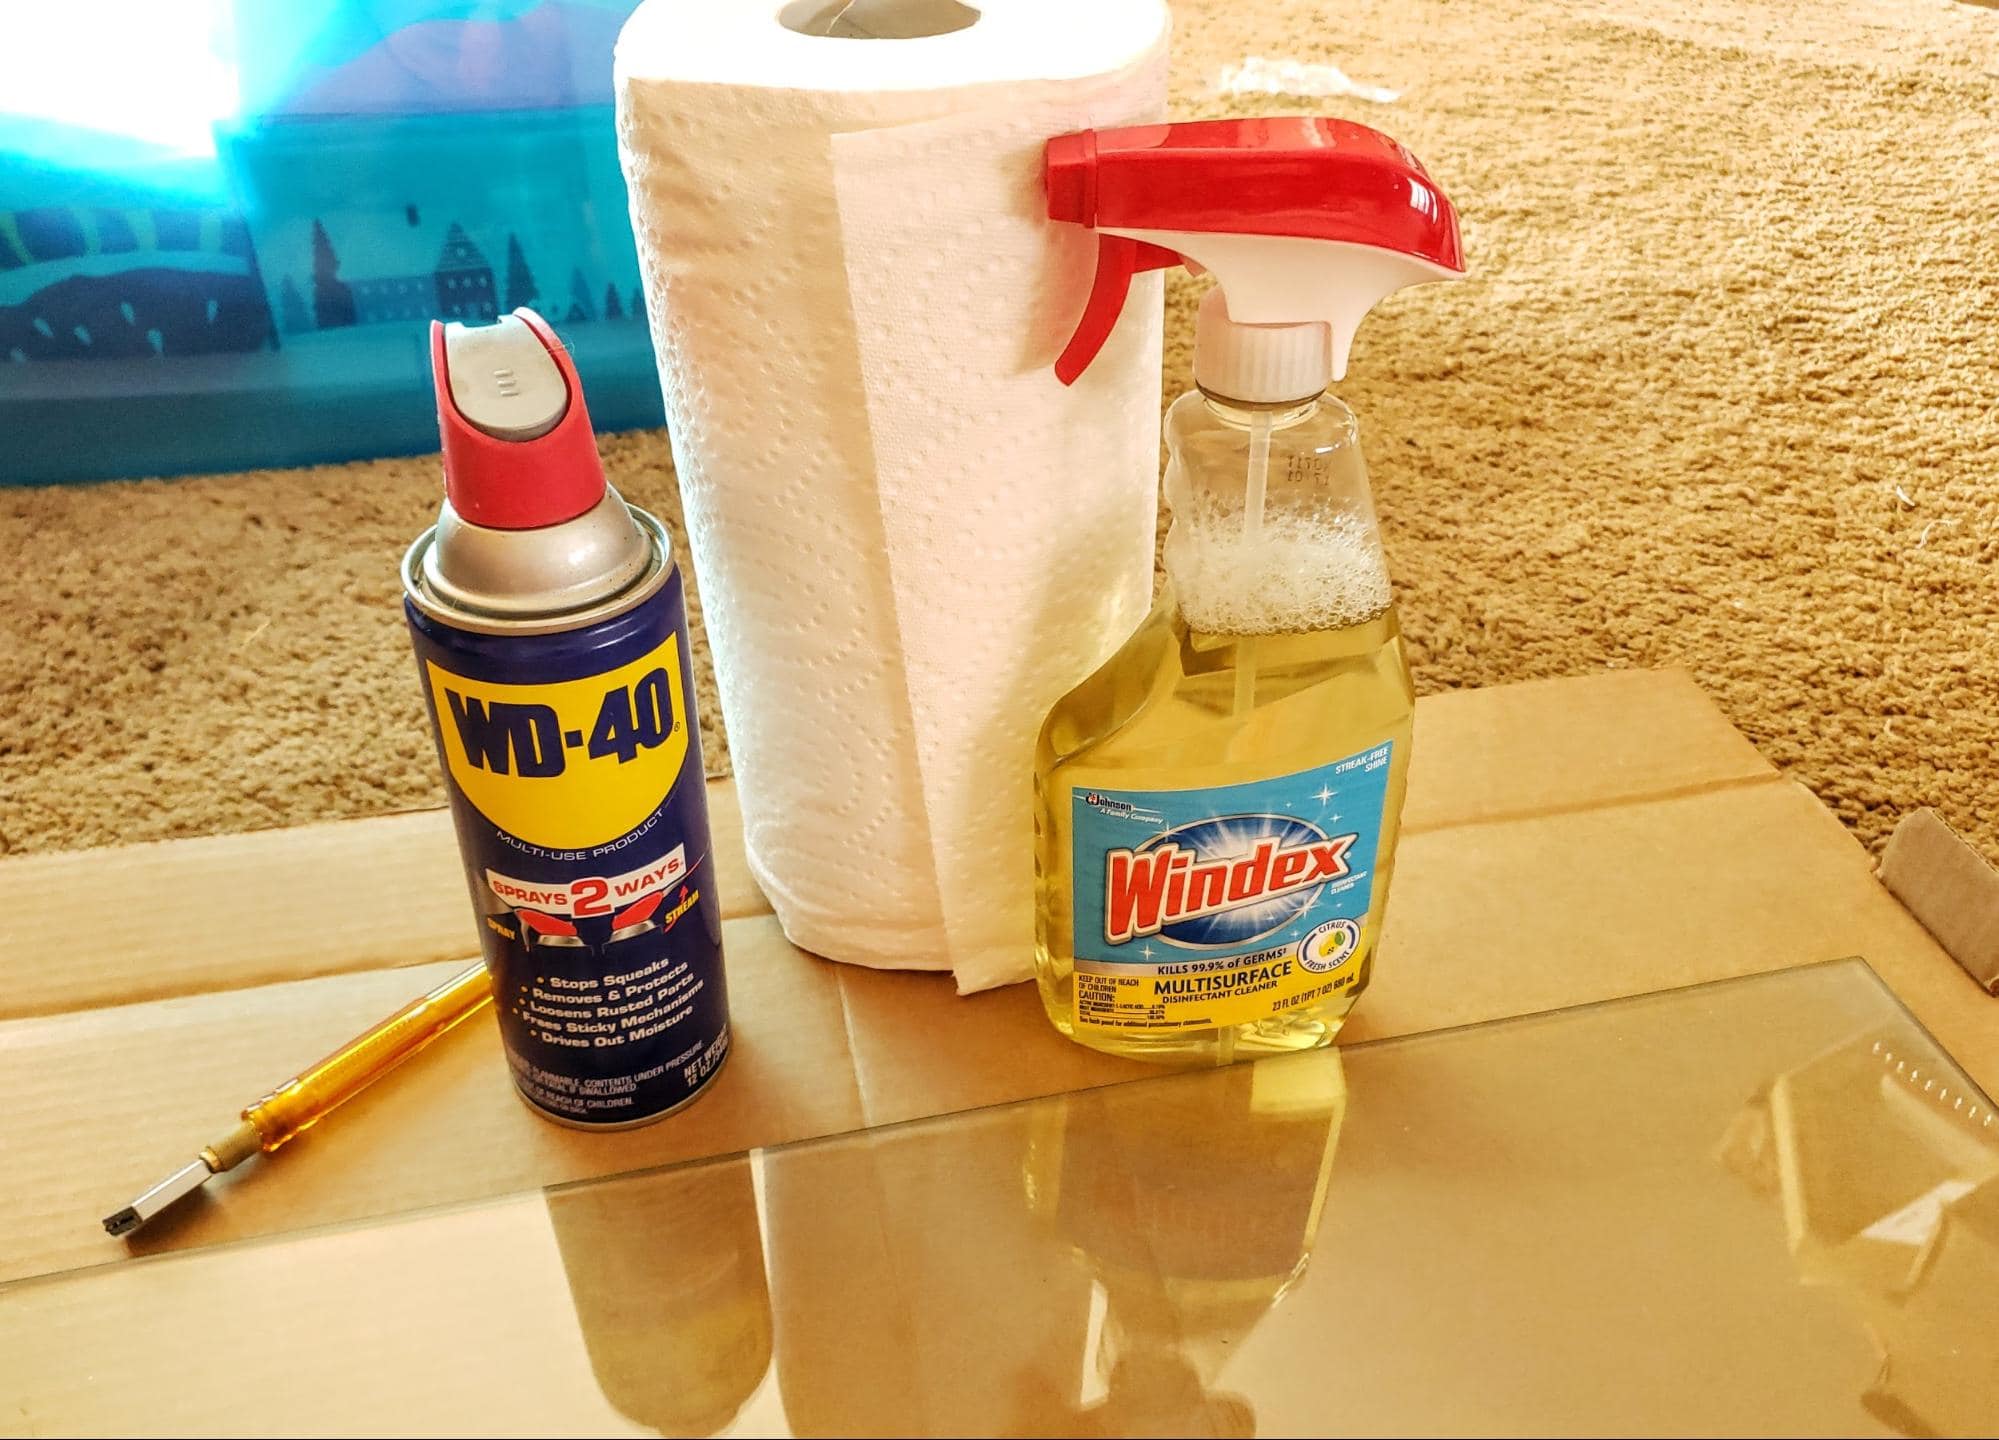
Oil Lubricant
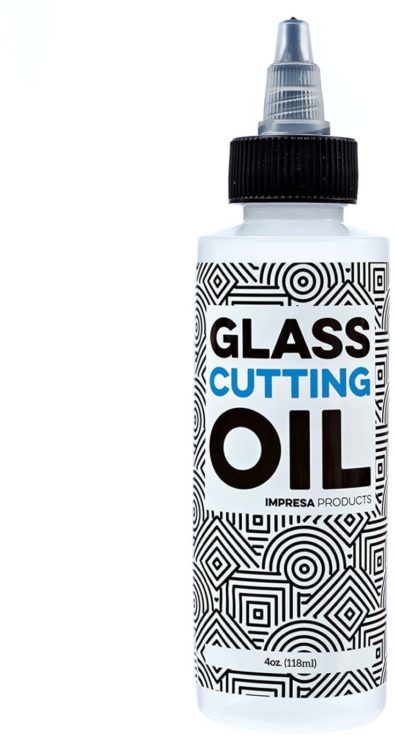
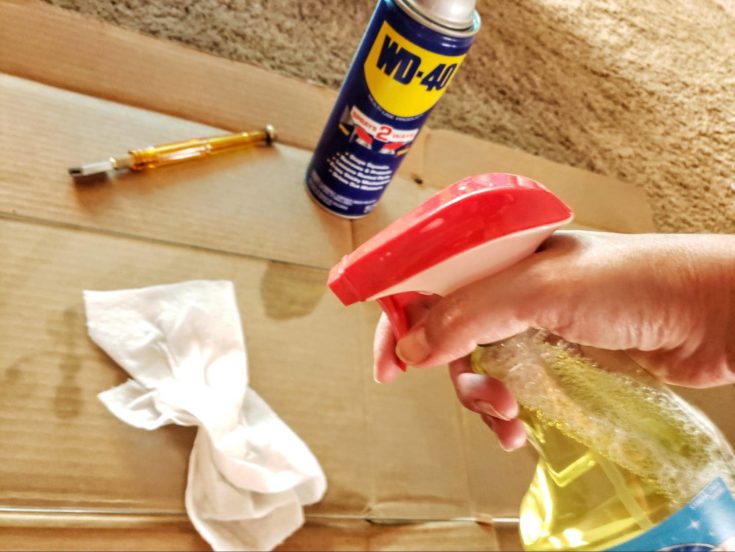
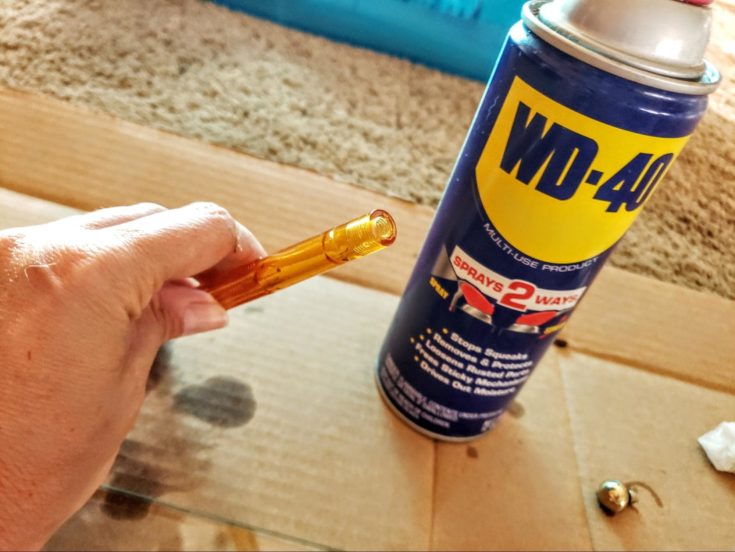
It is difficult to score and break the glass that has been ‘cut’ dry. There is a special glass cutting oil you can use, but sewing machine oil is an excellent alternative. In a pinch, you can also use WD-40, which is my go-to as it is always on hand and I have always had good luck with its use. Most glass cutters have a reservoir for the oil, but if your cutter is lacking one, simply apply oil along the glass where you plan on breaking it before cutting.
Ruler or Straight Angle (or solid straight guide of some sort)
You can’t go back over your cut if you want to avoid jagged edges, so it is important to make a clean, consistent score the first time. Measuring your glass cut is important, but having a straight edge to cut against helps as well. If you are cutting glass to replace a pane, you can also use an old piece of glass as a guide.
Long Wooden Dowel
Placing a wooden dowel under your cut will help ensure that the score breaks even. It helps provide pressure in an even manner when you push on the glass. For longer or larger pieces of glass, this is a great way to avoid mistakes.
Safety Equipment
Be sure to wear safety glasses and gloves to help protect your eyes and face when you break the glass. Small pieces can pop out, and edges are sharp.
Step 1: Clean Glass
Be sure your glass is very clean before getting started. Small bits of dust and dirt can get caught in the way of your score and create an uneven cut, or even influence cracking and jagged edges when you break the glass. Soap and water or glass cleaner are very effective. Be sure to leave it dry as well.
Step 2: Measure Your Cuts
Since I had a complete pane of glass to work with, I was able to use it as my cutting guide rather than measure and mark where my cut belonged. Try to avoid free cutting your glass as it is easy to slide off a pre-marked, and measured, line as well- especially if it is longer. Always work up against a solid, straight line if you can for stability and accuracy.
Step 3: Oil Your Glass Cutter
If your glass cutter has an oil reservoir, add oil to it so it will lubricate your cut as you work. You can also oil the area you are going to cut directly. Be sure to have a well oiled cutting wheel and surface to help move your tool along the glass and make a clean score.
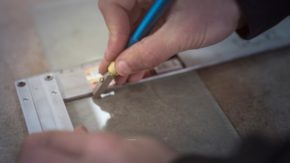
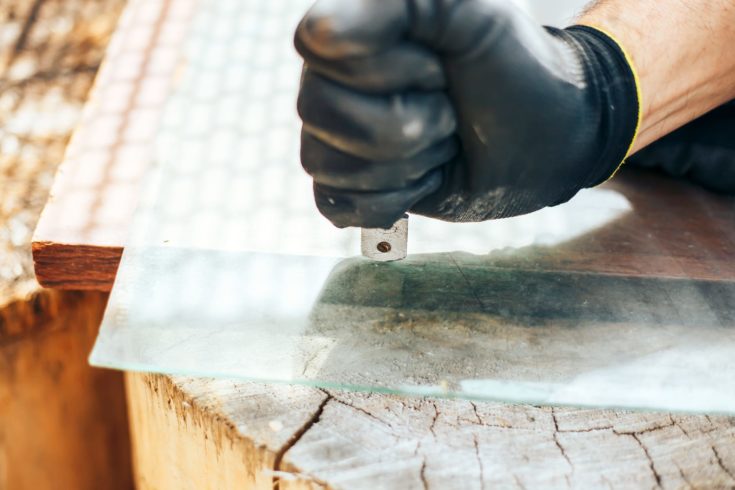
Step 4: Score With a Consistent Pressure
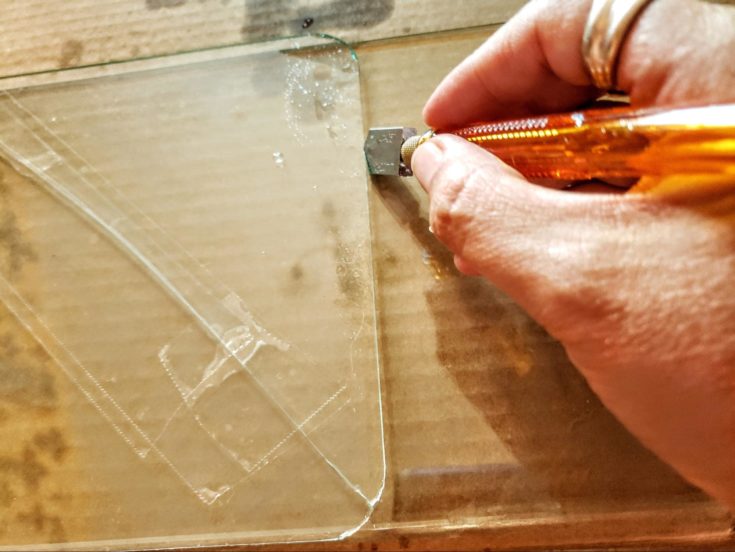
This is incredibly important and may require a bit of practice if you are new to the task. When you ‘cut’ the glass, you are actually scoring it with the glass cutting tool. This line is weakened and allows you to ‘break’ the glass along the score to create your actual separation. You will hear a slight ripping sound, which means you are doing it right. If you hear a grit on glass sound, you are applying too much pressure and need to ease up a bit.
In general, you are applying approximately 6 pounds of pressure along the cut as you go, which is why having a stable, flat work surface, and room to move is essential. You also do not want to go back over a score to attempt to deepen it or straighten it. This increases your chances of a bad break.
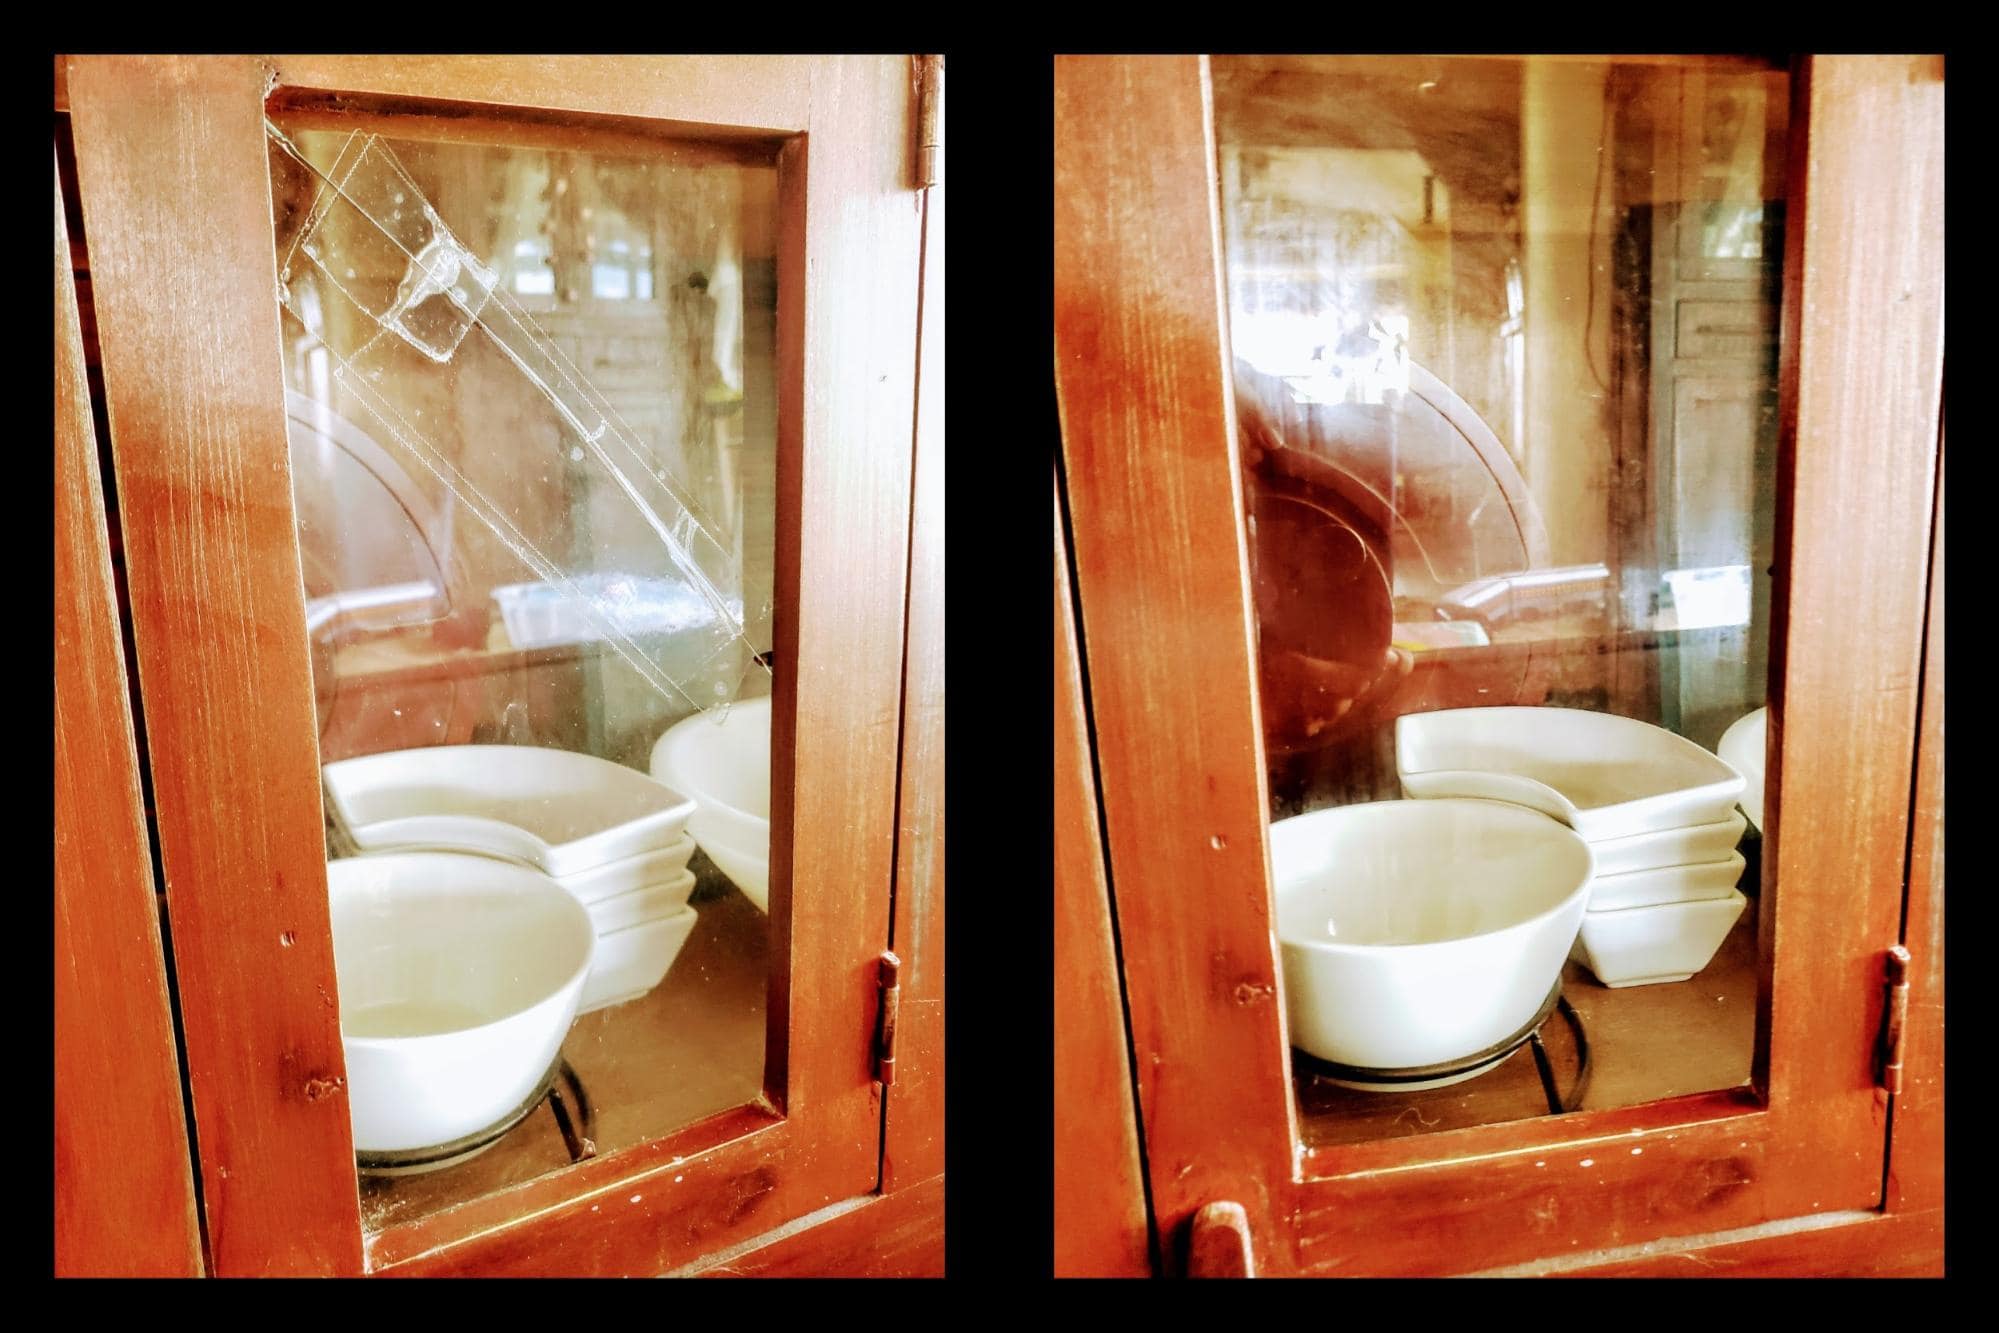
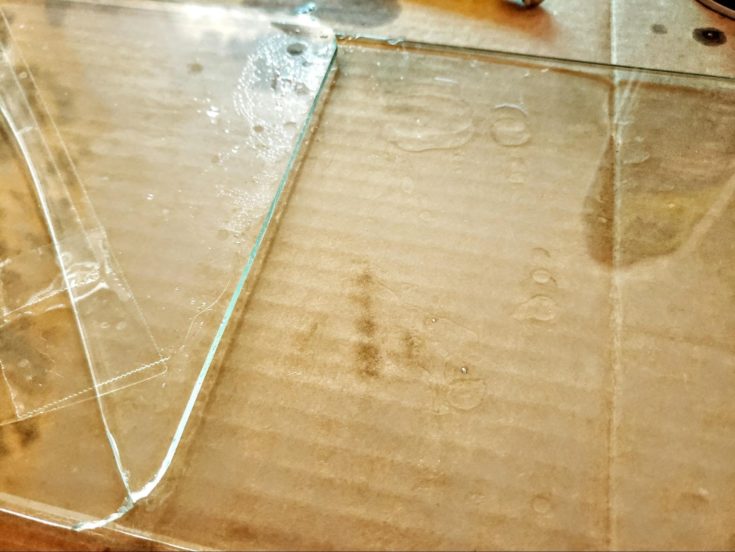
Step 5: Split the Score
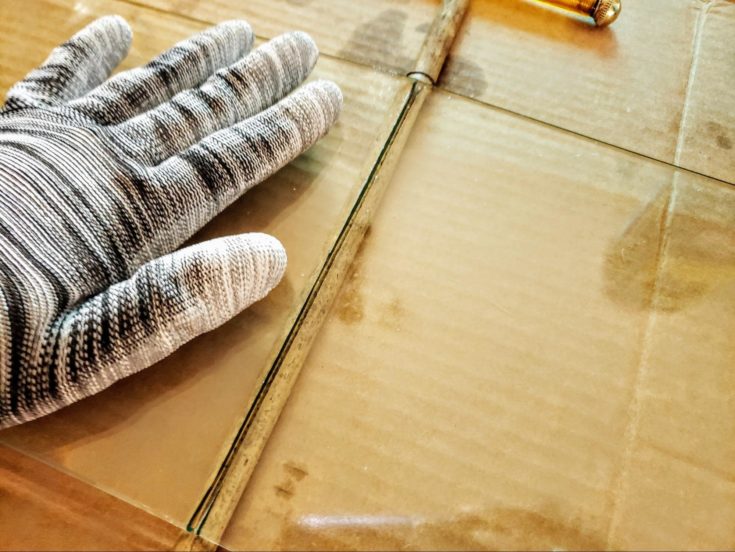
Splitting the score is the separating the glass along with your ‘cut’. The easiest way to do this is to place a dowel (or similar tool) along the length of the cut and then press on either side of the score with your hands. This is the preferred method and is easy to do.
Many people shy away from applying too much pressure, but you have to commit to the break and push firmly on both sides of the split. Occasionally the glass will break in an unexpected spot- so don’t worry as it happens to experienced glass cutters as well. SImply try again.
Step 6: Set and Secure Your Glass
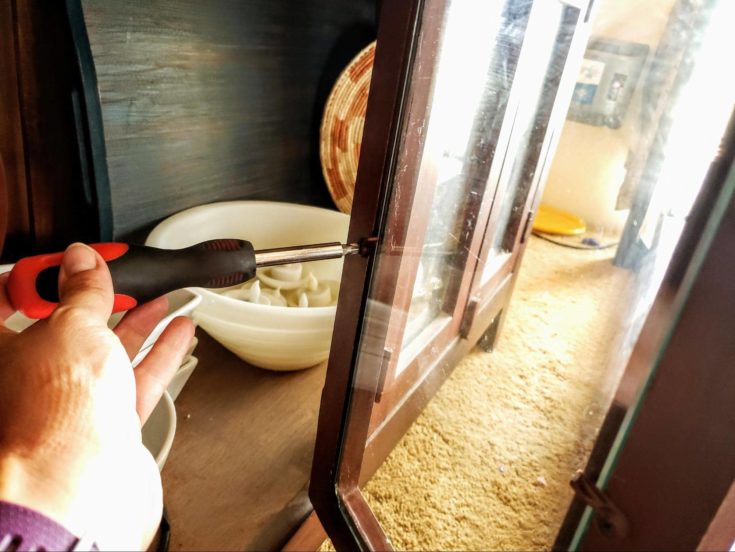
Once you have a good clean cut, go ahead and set it where it belongs. Depending on the type of window pane you are replacing you may also need caulk or other securing materials. Be sure to handle the pane gently and have somebody hold it securely while you fasten it into place to avoid breaking.
Conclusion
If you have a pane of glass to replace, there is no reason why you cannot do it yourself with some simple tools and a little bit of practice. This is also much more affordable than having somebody do it for you- which may be quite a bit of money depending on the number of cuts that need to be made.
We’d love the chance to answer any questions you have below, and please share your own window cutting tips and tricks. And, as always, please share this article.