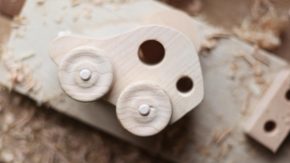
Dating back to the Stone Age, carving wood is a form of art that literally represents sculpting in wood. The wood itself is both a benefit (because it is widely available) and a drawback (because certain types of untreated wood are likely to perish fast), but the universal truth is that wood carving can be really satisfying. If you’re wondering what some good carving tips for beginners are and what you need to know before you go at it, you’ve come to the right place.
Best Wood Carving Tips
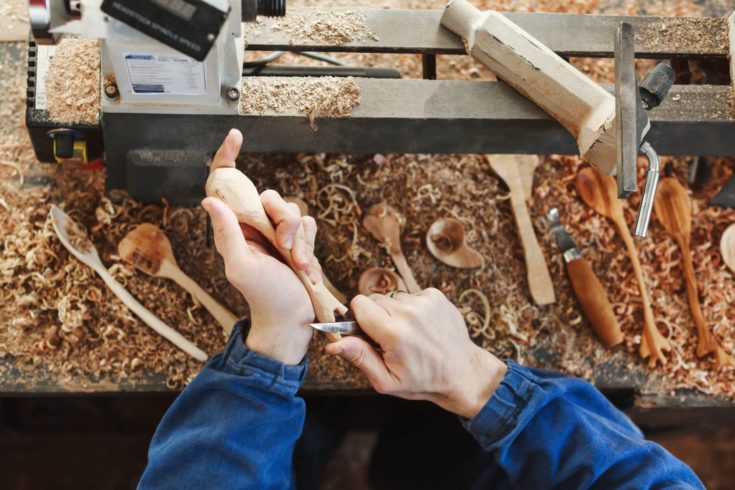
Wood carving can be a really fun and productive activity, but beginners do need to know a few things about the world of carving before diving into it. The thing is, unlike other crafts, wood carving requires that you buy quite a few tools upfront, depending on what exactly you want your projects to be and what tools are required to meet your goals.
If you have never tried wood carving before, the following basics are more like important recommendations for anyone who wants to learn this hobby. So, check them out before you jump into a tutorial blindly.
Safety First
As a beginner, you have a high chance of injuring yourself, which is why it’s important to take all the safety measures you can in order to prevent that from happening (more on safety in the upcoming section of this article). Investing in a pair of carving gloves is a really good idea because they are made from highly resistant fibers and materials that prevent you from cutting into your skin if you mishandle the knife. These gloves are worn on the hand that holds the piece of wood you’re trying to cut and not on the hand that holds the knife, as you are less likely to injure that one.
Understanding the Grain
If you look at a tree section under a microscope, you will notice that it’s formed out of a bunch of vessels. These vessels will carry water and minerals to feed the crown. All of these vessels form the wood grain. Grain can be really nasty unless you learn how to make it work in your favor. It has a deep impact on the carving process and the end result, and we have many examples of that. There are different ways to work with it. For instance, working against the grain means making a splintery cut through angle cutting, while splitting with the grain means tearing the wood by cutting between the vessels.
Know Your Tools
Two things are super important when you start carving: having a properly sharpened knife and knowing how to handle it. There is a right and wrong way to hold a carving knife, and you need to make sure that you are using the right tool to begin with. Note that you need to work with tools that are comfortable to hold, otherwise wood carving will turn into a very unpleasant activity.
Sketch First
Sketching can actually go a long way in this kind of wood art, and it will help you follow the lines and the design that you want to see in the end. It can help with cutting and carving in a more precise manner and you are less likely to throw away a piece of wood because something went wrong, and you don’t like how it looks.
Wood Carving Safety
Just like any other craft that involves working with sharp objects, wood carving can go really wrong if you don’t know some of the basic safety measures that you have to take in order to ensure no unfortunate events occur. You are responsible for educating yourself when it comes to your personal safety, so here are some of the things that you have to know in order for you to be able to carve wood in a safe environment:
Sharpening Your Tools
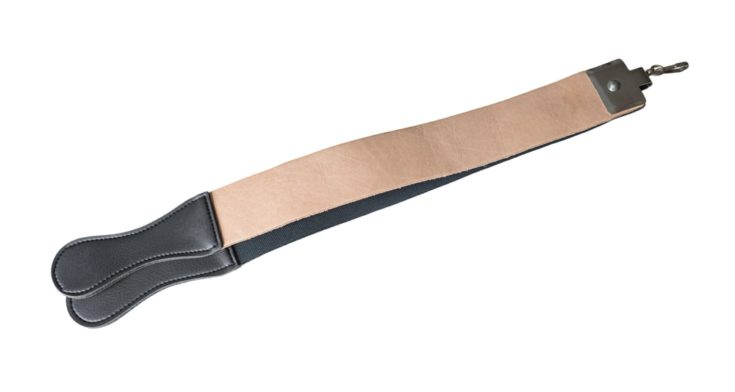
One of the most dangerous things isn’t actually carving itself, but rather mastering the safe way to sharpen your wood carving knife. That means that you have to master the correct way to sharpen your tools, and we can tell you that most people prefer using either a flat stone or a leather strop.
While there are different movements that people do when sharpening their knives, one of the most common ones is having the blade almost flat against the sharpening stone and pushing it away. Imagine that you’re trying to cut a thin slice of the stone off its long side. And here is another very important thing to keep in mind: sharp tools are the safest. There are plenty of chances of something going wrong if your knife is dull and you have to apply a lot of pressure to make the cut.
Wear Gloves
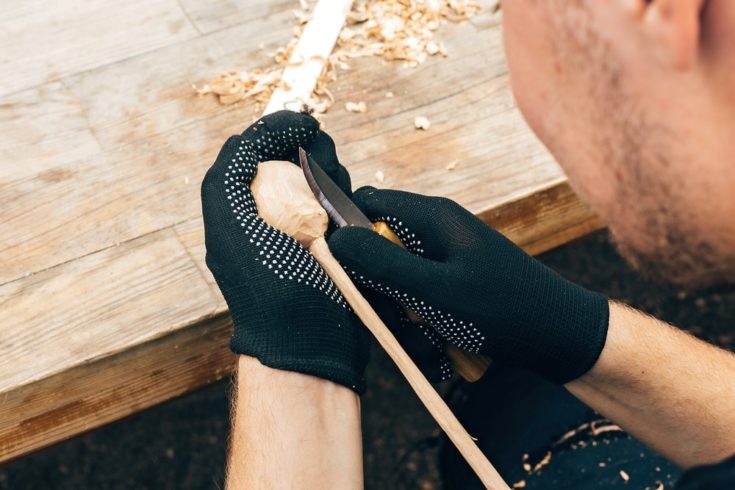
Carving gloves are actually a very important safety precaution that you should get used to having ever since the first time you start trying to carve wood. These are special gloves that are made with fibers that are resistant to cuts, to make sure that you don’t injure yourself all that easily.
They are also designed to have rubber grippers to make sure that you can firmly hold the wooden piece you are carving into your hand. Some carving gloves are bulkier, others are thinner, but the most important thing to keep in mind is that they need to offer a decent level of protection and comfort.
Thumb Guards
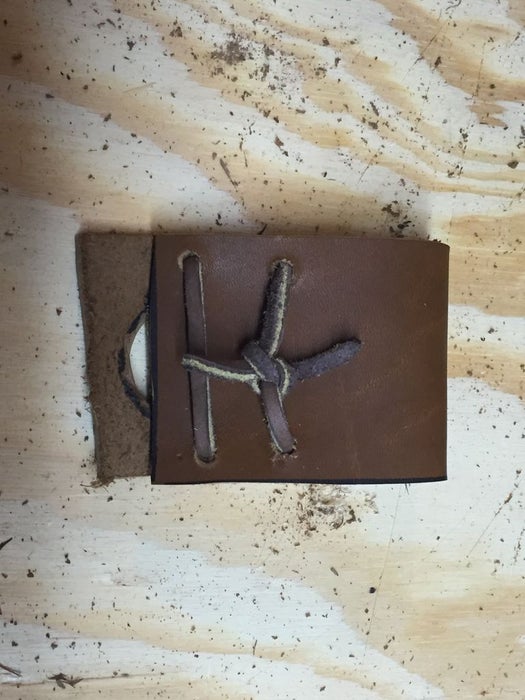
The thumb of the hand that holds the knife could also use some kind of protection, which is a thumb guard is a really good idea. What you basically need are special thumb guards that are made from leather. They are designed to protect the thumb, which is the finger most exposed to potential knife cuts whilst carving.
If you haven’t bought a thumb guard and need to work on a carving project, you can also use multiple layers of safety tape wrapped around that finger. For added safety, you can also put a pad on your thumb underneath the tape (this will come in handy if you’re working on rougher pieces).
Masks
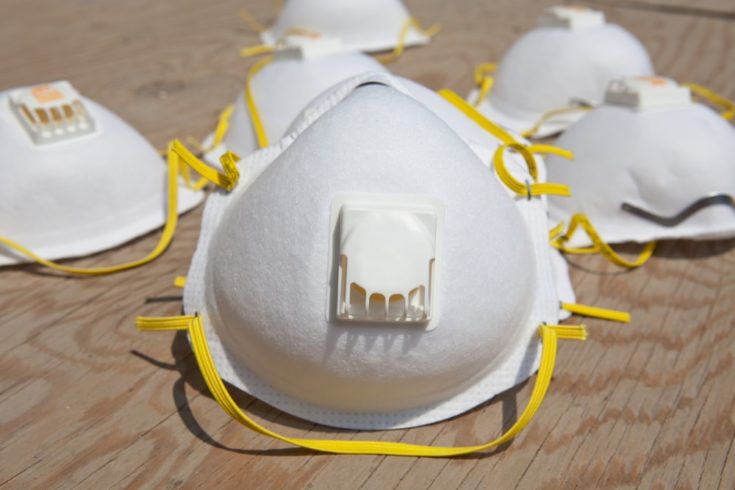
Professional woodworkers will always wear a dust mask, so it might be a good idea for you to use one as well. This, of course, also depends on the exact type of wood project you’re working on and what carving method you’re using (for example, if you’re doing chainsaw carvings, a dust mask is a mandatory safety item, whilst whittling might not really require using a mask).
Here is the thing: wood carving is a craft that exposes you to wood dust particles that can take a toll on your health at some point, or make current health conditions worse (for instance, this type of exposure can easily trigger an asthma attack in people who suffer from it). You can find disposable dust masks at almost any hardware store (or you can purchase them online). However, there are some things that you should know about choosing such a mask. Masks that come with a single strap aren’t good for wood carving because they aren’t as close to the mouth as they are supposed to be, so they don’t offer that much protection.
Even more, they probably have a single layer of material. Two-strap masks are a much better idea, as the dual straps will help pull the mask closer to the face and seal more “entrances”, not allowing wood dust to come in contact with your nose or mouth. In general, these have multiple filtration layers, such as an outer layer for trapping coarser dust and an electrostatic layer underneath which helps trap odors and finer specks of dust.
Types of Wood Carving
There are plenty of people who claim that wood carving is as old as time, and that people have been practicing it ever since the first tools appeared. While wood carving gives one the possibility to experiment with all sorts of shapes and designs, there are already some established and common types of wood carving that every beginner should know about. And, if you follow instructions, it can be done by anyone.
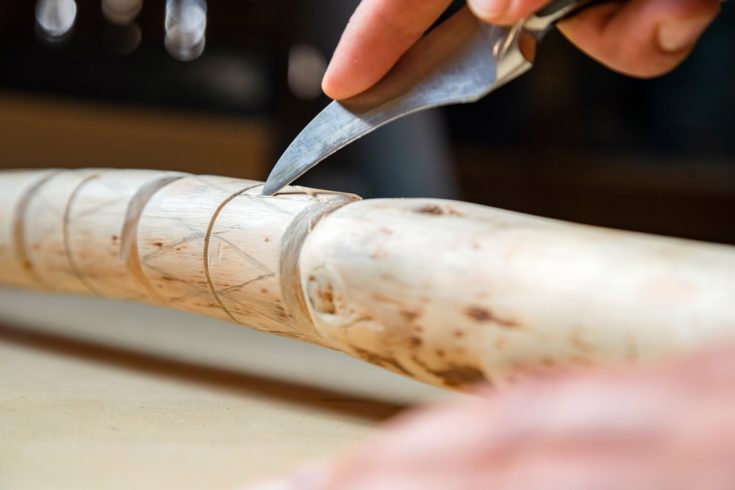
Whittling
Whittling is, by far, one of the oldest forms of carving that humans have known. As you can imagine, people used whittling to create hunting tools and weapons but today, whittling is also applied in the creation of small sculptures and figurines.
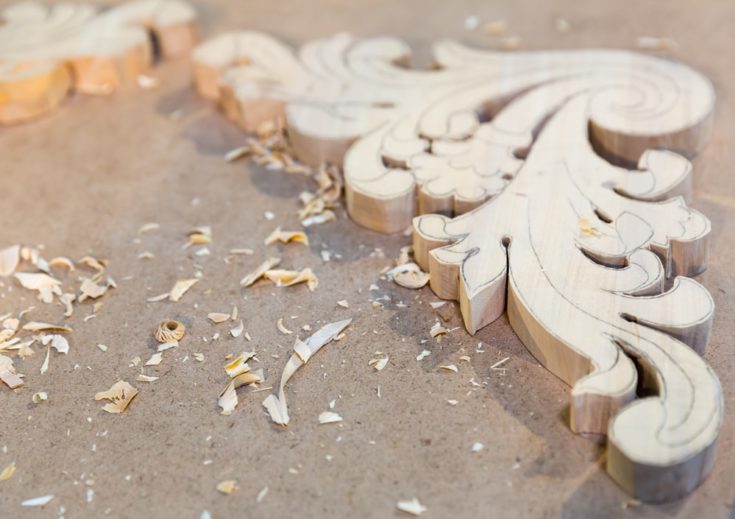
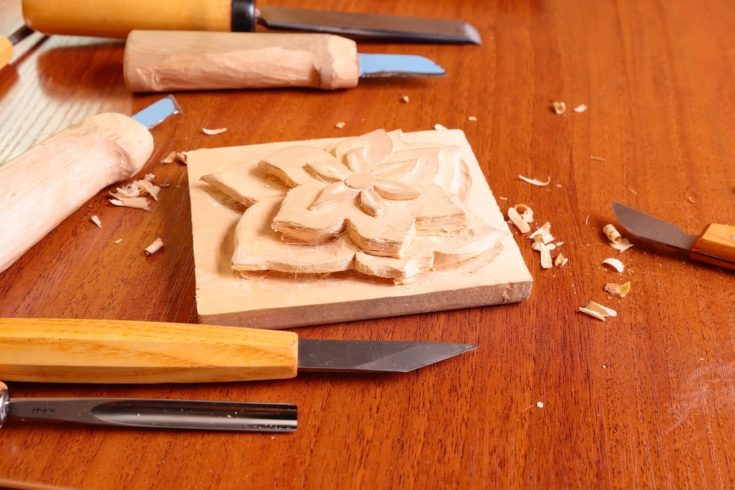
Relief Carving
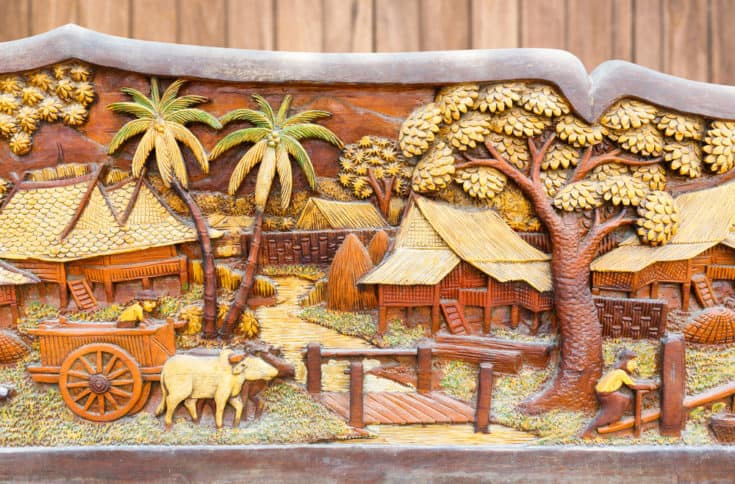
The good thing about relief carving is that it delivers excellent results and allows you to work on smaller portions of a given piece of wood. However, it is generally something done by people who have more experience in wood carving, as there is a huge number of details to pay attention to and it typically requires using a variety of different carving tools that not all beginners have become acquainted with.
Carving in the Round
The idea around carving in the round is similar to that of creating objects using clay, only the material you’re “molding” in this case is wood. This carving method allows you to create very beautiful ornamental objects with very smooth surfaces.
Chip Carving
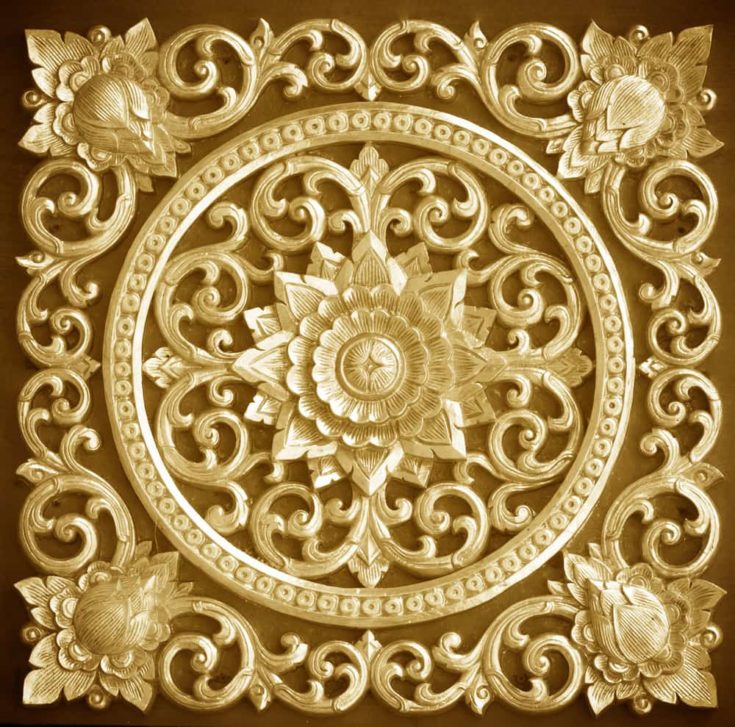
Despite the difficulty, chip carving can be mastered with patience and the unique results are definitely something to talk about. With chip carving, you can create amazing decorations, personalized items, and more. However, make sure that you don’t get frustrated if you ruin a considerable number of wood pieces while trying to master this technique.
Chainsaw Carving
As you can probably imagine, this requires using a chainsaw to create larger ornamental wood carvings. Chainsaw carving is definitely something best left in the hands of experts, as maneuvering a chainsaw can be really dangerous if you have no idea what you’re doing.
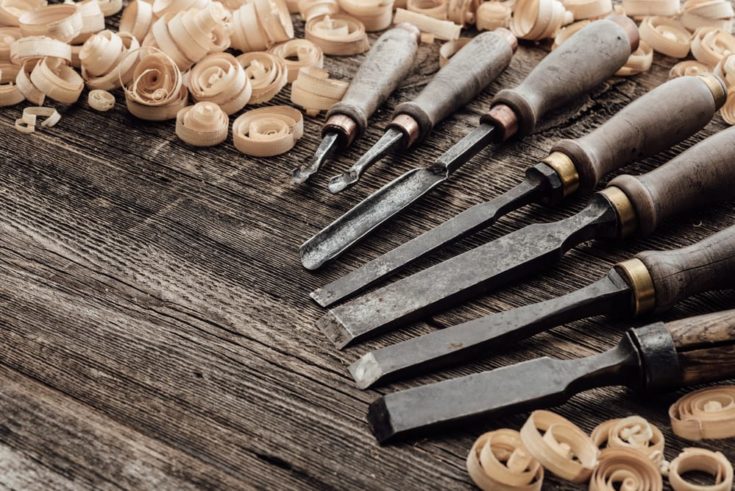
Common Wood Carving Tools
We’re not going to lie, there are a lot of different tools that can be used in the carving process (I mean, you can literally use a chainsaw, so that says enough). But as a beginner, you won’t really be interested in all the nooks and crannies of the wood carving tools currently available on the market. Instead, let’s focus on the most common wood carving tools and have a quick guide to what they are used for.
Knives
Knives are the primary tool in carving but don’t assume that you have just a single type of knife. Carving knives, for example, are used for whittling, butting, and paring. They come equipped with different types of blades that have a saying in how the details will look like. These knives have to be sharp considering the fact that they are mostly used to carve out details, but you have to be really careful with how you use them.
Chip carving knives come from the handle in a downward angle and, unlike other types of knives that are used for shaving away wood, this one comes with a steeper angle and is made of thinner steel to serve its purpose. Bench knives are another category, and they are easy to recognize because of their scalpel-like blade, which typically measures about ¾ of an inch.
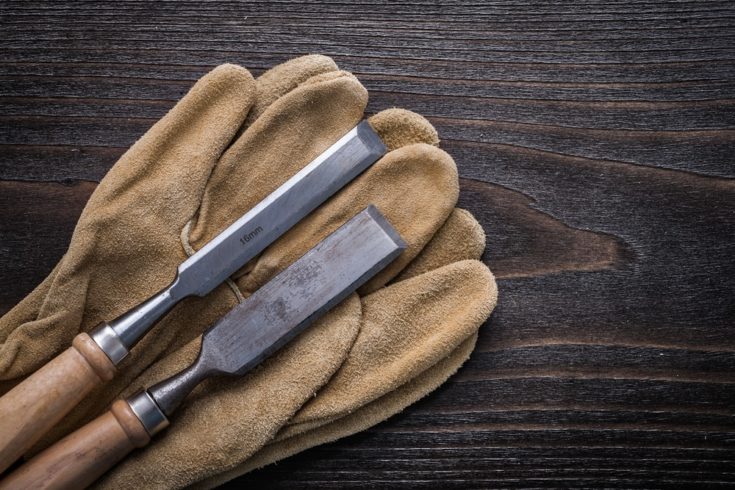
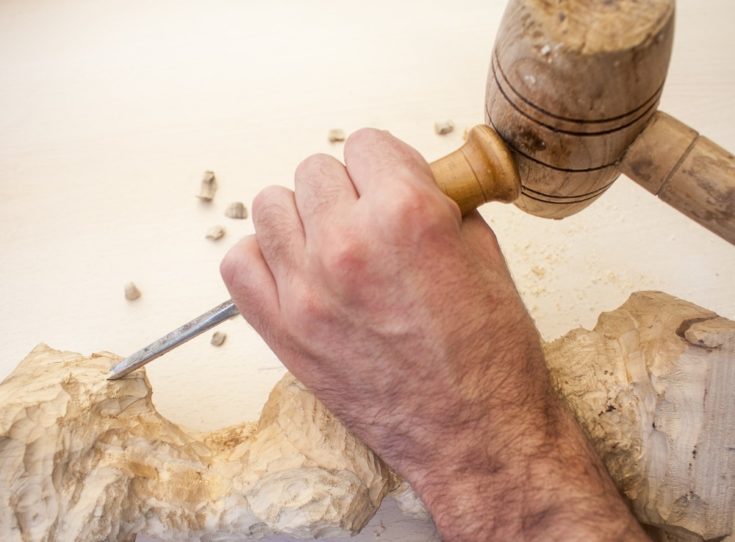
Chisels
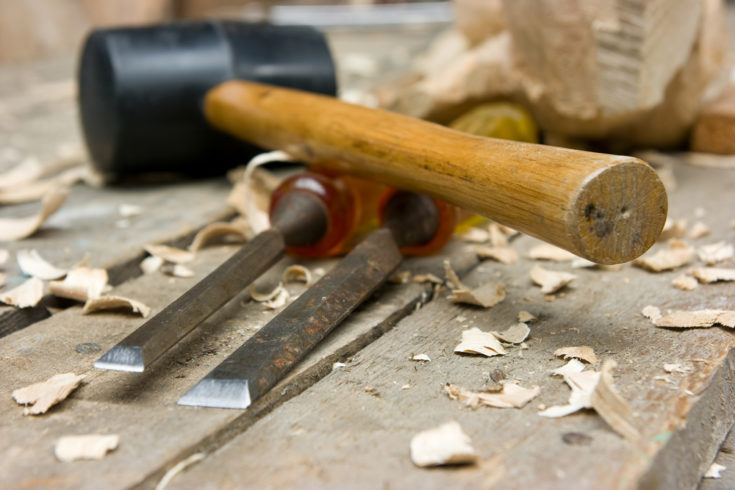
Chiseling is another common form used in carving. They come in many different shapes and sizes and have a sharp cutting edge and a wooden handle. There are two ways to use a chisel: by either striking it with a special carving mallet or pushing it (you need to know how to hold it properly to do this).
Gouge

When you first look at a gouge, you’ll think it’s a chisel. To the untrained eye, it really does look like one. However, a gouge has a curved cutting edge, creating a tiny scoop at the end of the blade. Gouges are used for making deep/shallow holes in the wood.
Veiners
Veiners look a lot like small gouges, only their edges are U-shaped. You will notice that plenty of people call veiners gouges because they technically accomplish the same thing: they can make deep round holes in wood.
Mallets
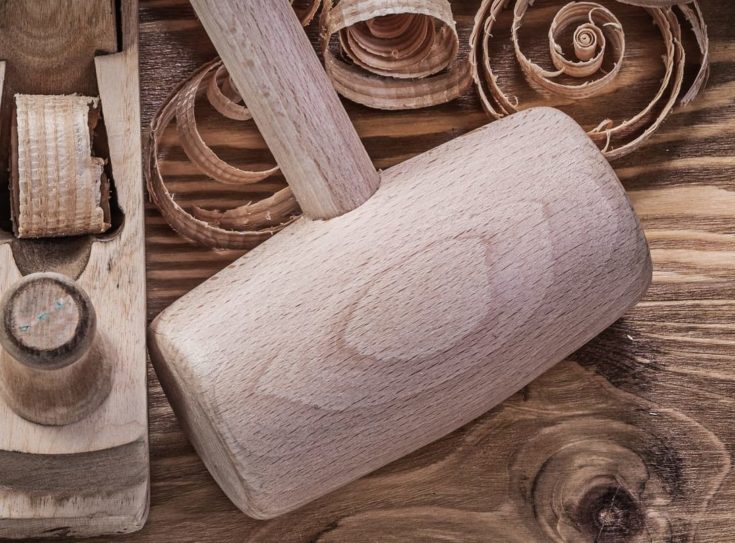
Carving mallets are particularly designed for this craft and are used together with either gouges or chisels. The mallet strikes the wooden edge of the tool to push it deep into the wood.
Coping Saws
Coping saws are also used in carving. They are small saws that are quite easy to maneuver (at least compared to a full-sized saw) and they are great for cutting intricate shapes. They are generally used for trimming work and are preferred by people who like to create wooden sculptures.
Wood Types for Carving
Once you have learned about the most common tools used in carving, and what the common techniques that woodcarvers all around the world use, it’s time to look into the best types of wood for the craft.
Basswood
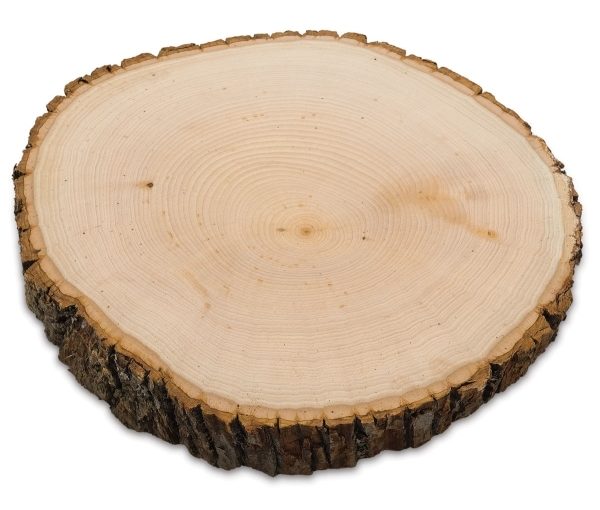
Similar to balsa, this will always be known as one of the best woods for carving. It is a softwood with a specific cream color that is really easy to carve wood if you have never tried it before. Whittling is actually a type of carving that’s best paired with basswood, but once you learn your way around the carving knife, you can experiment with basswood and chisels or gouges. Basswood isn’t all that great for chip carving, but this isn’t actually a method that we would recommend beginners to try either.
White Pine
This is also a very popular choice. Thanks to its medium grain texture, it is recommended for both beginners and expert carvers. It is a softwood that’s really good for whittling and not as good for chip carving. Experts recommend white pine for carving in the round because it is so easy to work with.
Butternut
Another common choice. It has large wooden grains and it’s really easy to carve it, especially if you want to try out whittling. Thanks to its visible grains, it is preferred by people who are interested in getting unique wooden artwork pieces, since no two chunks of butternut wood are alike.
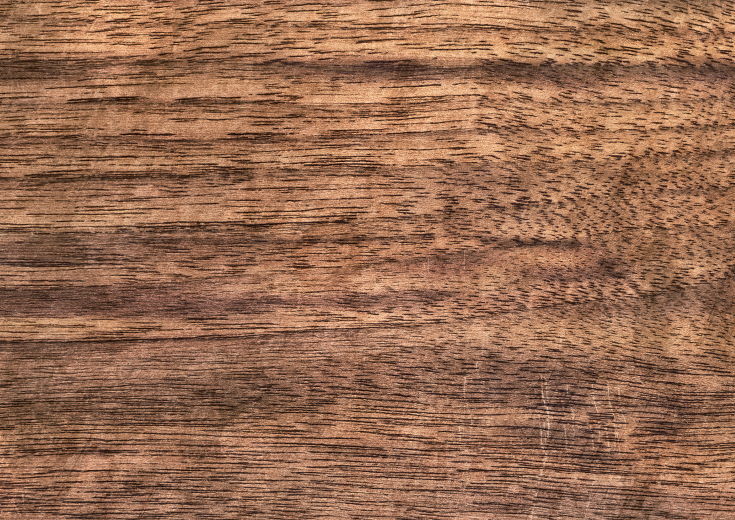
Black Walnut
Known for its dark brown color, but it is harder to carve compared to the other types of wood we’ve included in this article. The finish on the black walnut is absolutely amazing, and the results will look really professional. It is good for just about any type of carving, but considering the fact that it is hardwood, after all, it’s best to pick something else for whittling.
Mahogany
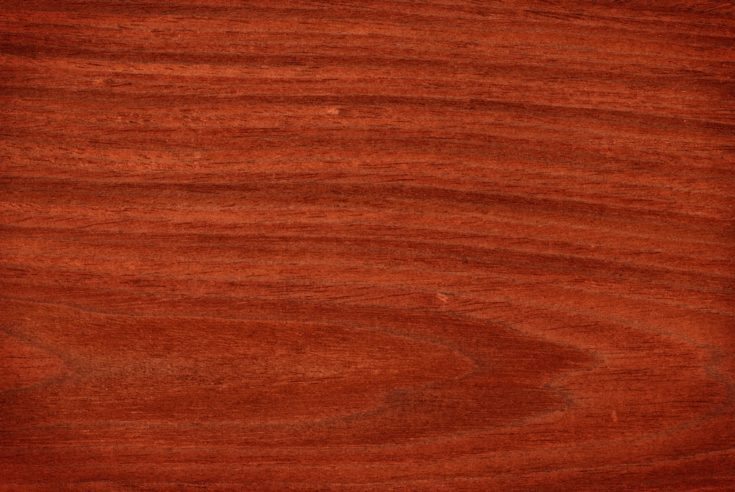
Right at the border between softwood and hardwood. It is a really great type of wood to use for multiple wood carving projects and techniques, and it performs really well when chip carving too. Mahogany is a wood used by professionals because the color of the wood itself is amazing (reddish wood, very aesthetically pleasing).
Conclusion
When you are new to the world of wood carving, it’s true that you have to do a little bit of research to understand what are the most common tools used, what is a mandatory investment at first and what can’t wait for you to gain more skill, how to use different tools and how to sharpen them, and what are the best types of wood for carving.
But one of the most important things when wood carving is your safety, so whatever knives, chisels, or gouges you invest in, make sure that you get a carving glove to accompany them, and use a dust mask every time you work and especially if you have any respiratory problems. Check out our Pinterest board for more beginner wood carving ideas, or for wood carving projects.