If you have young children or grandchildren you know they love to see themselves getting taller.
At first I made simple ones just painting balloons, trucks, and tractors on them with their initial on top. As time went on and my youngest grandchild was born I thought of a little more elaborate growth chart – Jack and the Beanstalk. Whichever you choose, I am sure your children or grandchildren will be very pleased.
What You Will Need:
- 1 – 1 X 6 board 5 ½ ‘ tall
- Wood Filler – sawdust and glue
- Sand Paper
- Acrylic Paints and paint brushes
- Varnish – clear
- Magnets – .4” (10mm)
- Paint Marker
- Hanger
Optional:
- ¼” scrap wood for Jack/Jackie
- Wood Initial or 3/8” to ½ “ X 4” wood scrap to cut for initial
- Scan /n cut for phrase or name
- Scroll Saw
How to Make It
Step 1 – Preparing the board
First of all, you need a 1 X 4 or 1 X 6 board 5 ½ feet tall. I used lumber that was leftover from our older home that we took apart and saved.
Make sure you sand it down before anything else. Fill holes if necessary. Glue and sawdust mixed together works great. You will have to sand it again once dry. Put a primer on and paint whatever color you desire. Left over paint? Perfect for this project.
Step 2 – Decide on the theme, copy onto board or draw freehand.
Next, download or draw pictures that can be painted on one side, or down the middle of the board. Make sure they are not too big. Inches or centimeters, feet need to be marked on one side if for one child or on each side for two children.
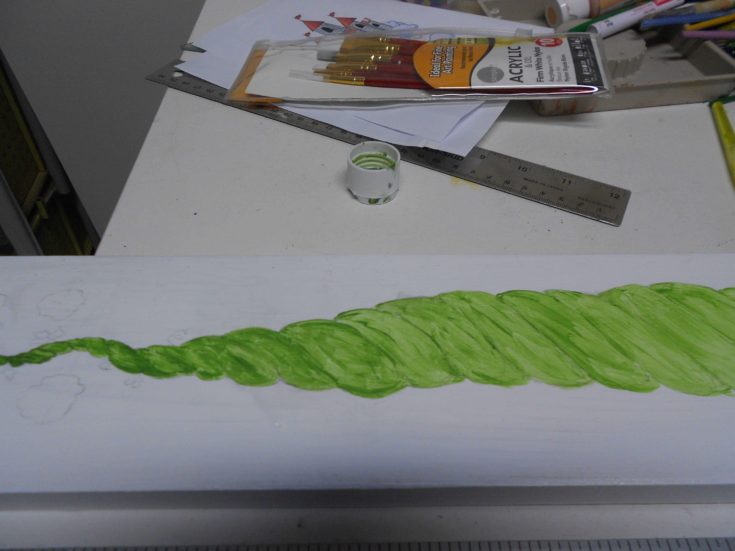
Trace or carbon copy your pictures on to the board and paint away. I’m not the greatest painter but it looks not too bad in the end. For some I painted air balloons, then trucks and tractors and then for this one I painted Jack and the Beanstalk. Other ideas could be circus animals, clowns, balloons. If you want gradients effects and fine lines for your themes, you can use brush pens.
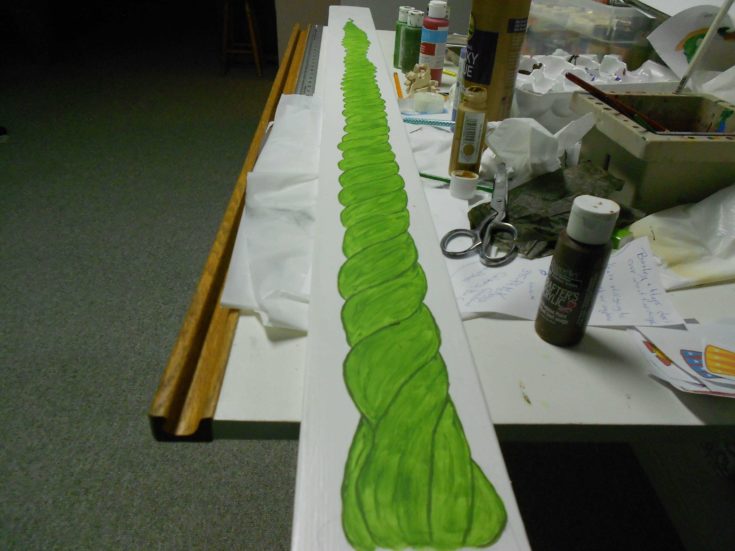
Pro Tip: When tracing your pictures don’t trace the detailed areas until you have the main picture painted. It is easier to paint on top rather than fine lining it all. It becomes a longer and more tedious paint job if you try to paint it all at the same time. Let the paint dry before adding the detail. Acrylics dry fast so you don’t have to wait that long.
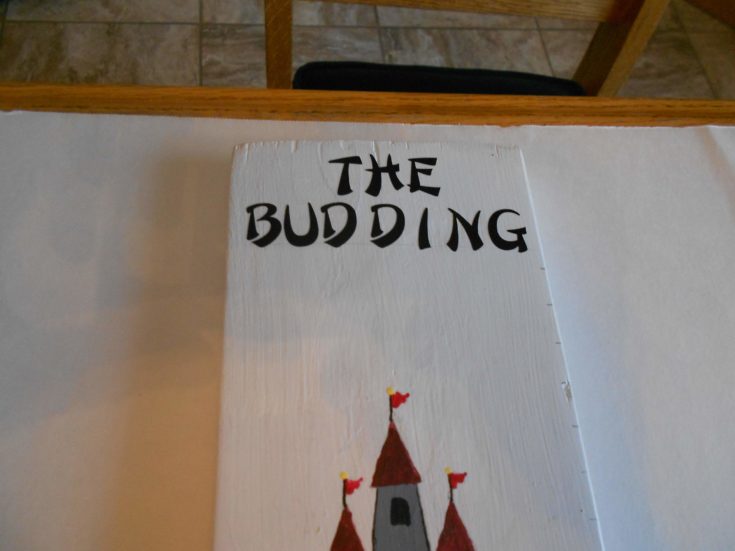
Step 3 – Adding an initial or saying
If you have a scroll saw you can cut their initial or you can buy the children’s initial and glue it on the top of the board to make it personal. Or you can paint the initial or a little saying.
Step 4 – Placing the inch or centimeter markings on your board
When you put the inch or centimeter markings on you have to remember how far from the floor the markings are going to start. So, I have the parents hang the growth chart bottom by measuring 1 foot or 1 ½ feet from the floor. You will need to know this before placing the marks on the wooden chart.
You can paint with acrylic paints or buy a paint marker to do this. The Paint marker works the best. You can buy that a craft store. If you are not into painting the pictures you can buy rub-on stencils that will work just as well.
Or you can use a can and cut machine to make the markings and numbers. This is what I decided to do for the phrase on top. I used the paint marker for the inches and feet. Once it is done I varnished the whole board with the clear varathane.
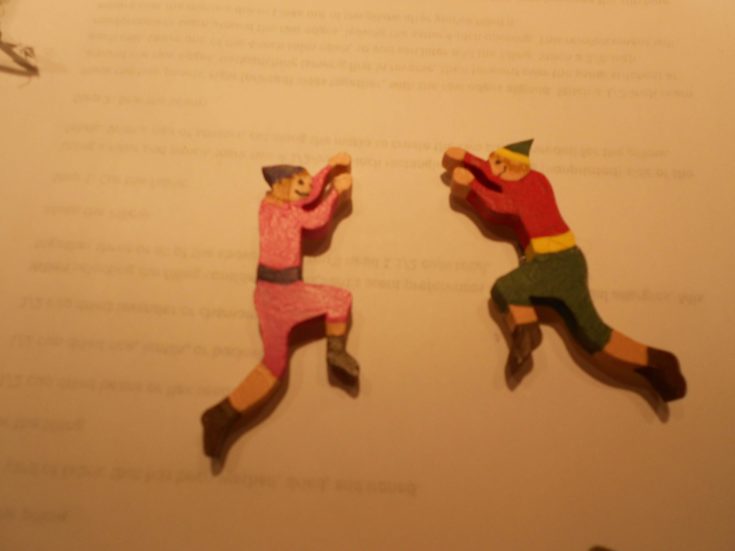
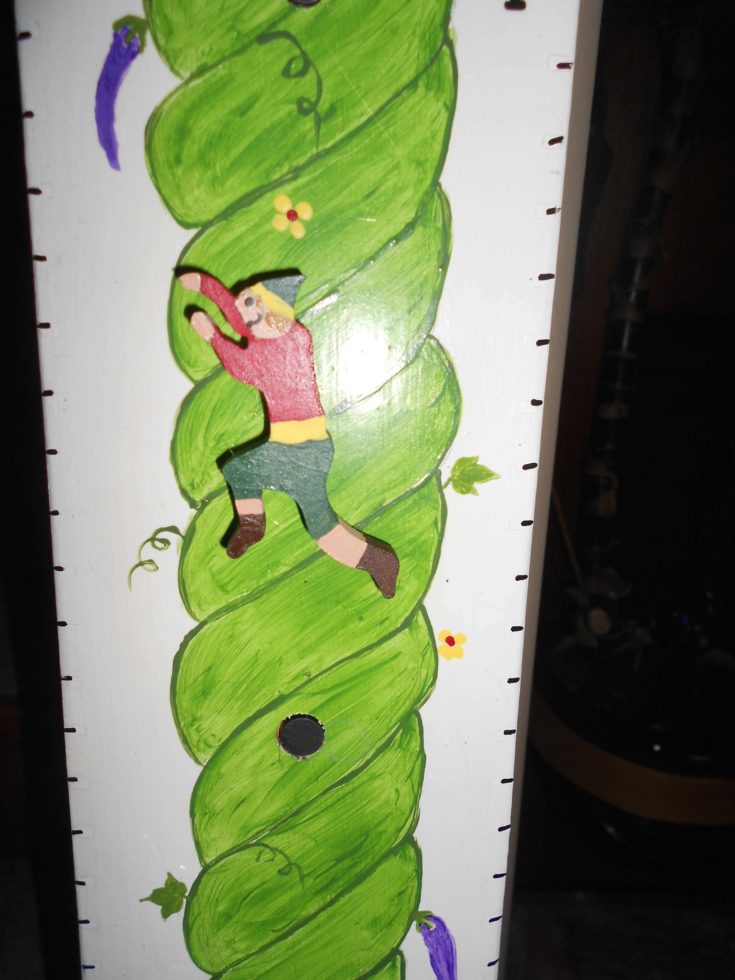
I thought it would be fun to cut out some small boys and/or girls – Jack/Jackie. I’m going to put small round magnetic buttons on the back of the cut outs and onto the beanstalk so the children can move Jack up the beanstalk as they grow. To place the magnets on the board itself I drilled a hole (countersunk) just enough so the magnet is countersunk to the top of the board so the magnet is level with the board.

Pro Tip – Magnets – I had a difficult time finding the right magnets in stores. They are available online here.
These I glued into the board and on the back of Jack with a glue gun. Please make sure that the magnets are turned the proper way on the board and Jack so they do stick together.
Once all is dry and ready to go attach a hanger on the top back of the growth chart for hanging on the wall, door or wherever is intended.
This was a fun project for me especially when I visit my grandchildren and they take me to their growth chart, with huge smiles on their faces showing me how much they have grown.
Conclusion
I hope you enjoyed this tutorial. Follow these easy steps and you’ll have your own children’s growth chart with a Jack and the Beanstalk theme in no time! Be sure to let us know, and feel free to share pictures of your creation! If you have any questions, just comment below!