Owning a sewing machine is something that can prove to be very rewarding when you learn how to repair your own clothes or how to make new ones. Be it for clothes-making or crafts, sewing machines are quite the intelligent investment, but can also prove to be a little tricky when you’re on the path to figuring out how they work.
While it might seem intimidating, learning how to change the needle on your sewing machine is a ridiculously simple process. As long as you figure out the correct position for inserting the needle, the rest of the process is pretty intuitive, so you’ll master it in no time.
When to Change the Needle
Whether you have a cheapie model or a Singer Talent sewing machine, there are things you need to know first. Before discussing the actual process, it’s important for you to know how to identify when your sewing machine’s needle requires changing. Naturally, the most obvious answer is to change it when it breaks, but that’s not the only scenario that should be covered.
In time, needles wear out as you repeatedly use them. They can also get nicked or bend tugs on the fabric, both of which are signs that you’re in need of a new needle. If you fail to change it, it will bring a series of other problems before you, like the fact that your stitch decreases in quality and could even damage the fabric you’re sewing.
The frequency of changing the needle is variable. It really depends on your sewing style, as well as on how often you actually use the machine. In time, you will realize without any other instructions when it’s time to change the needle, but for those of you just beginning to use a sewing machine, it’s best to replace the needle when you’re working with a completely different fabric compared to the last one, or when you start a new project.
Here are some other rules to keep in mind:
- If you are quilting, which basically means working with a thick layer of fabric, you will need a new needle after every eight hours of sewing.
- You can change the needle once you’ve sewn through three full bobbins.
- Always change the needle when you’ve finished a project where you worked with thick pieces of fabric, like leather or heavy fleece.
Parts of a Sewing Machine Needle
The second most important thing that you should know before you change the needle is the terminology related to this delicate sewing machine component. Knowing what each part is called and what it does will help you identify the right needle position for placing it in the sewing machine. A needle meant to be used with a sewing machine is made from:
- A shank – The upper part of the needle which is thicker than the other parts. The shank will be inserted into the sewing machine.
- A shoulder – The area that transitions between the shank and the shaft of the needle.
- A shaft – This is the length of the needle that starts at the shoulder and goes down to the tip of the needle.
- An eye – A small hole for the sewing thread to pass through, keeping it safe from damage while the machine is sewing.
- A scarf – This is the portion located across the faces of the needle. You will find it right above the eye.
- A tip – Also known as the point of the needle, the tip is the part that penetrates the fabric to create the stitch. Different tips are needed for various fabrics and textiles.
What You’ll Need
Changing the needle of a sewing machine is really a quick and easy process. It might seem tricky at first, but it’s pretty much like riding a bike: once you’ll learn how it’s done, it’s basically an automatic process that you can finish in the blink of an eye. In order to make the switch, you will need:
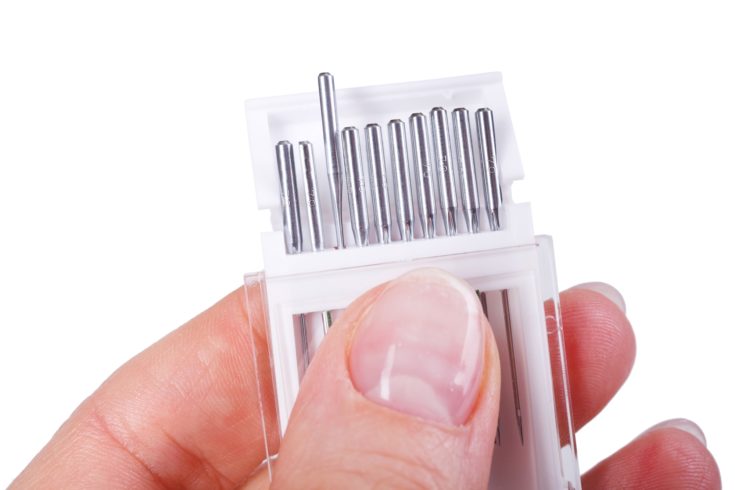
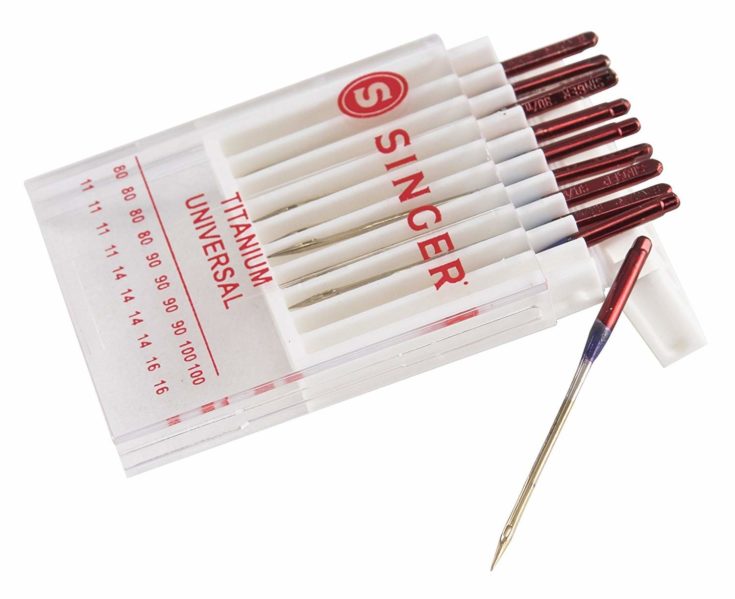
- A needle that’s of an appropriate size.
- Optional: the instruction manual of your particular sewing machine model, although the generic steps will be presented here and should be enough to guide you through the process.
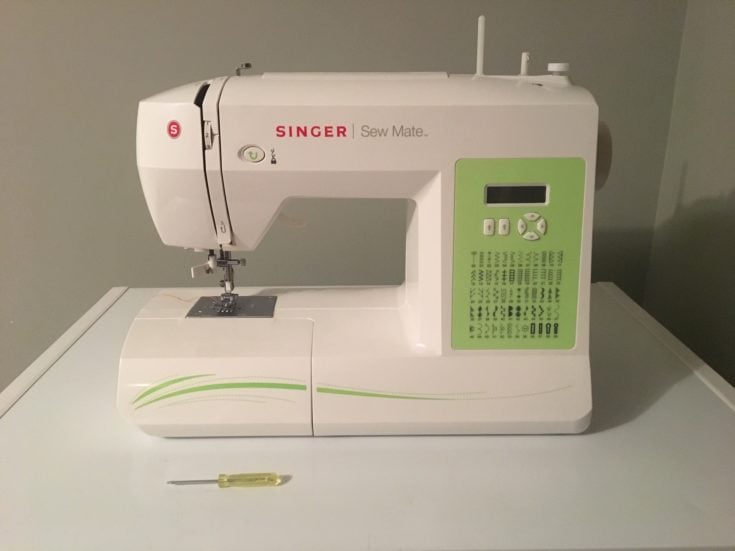
- A screwdriver to remove the screw located at the top of the needle on your sewing machine (depending on the model you own, your machine’s accessory kit may already come with an included screwdriver for replacing the needle).
Step-by-Step Process
For making the switch, you will need to memorize the parts of the needle because we’ll be further using the necessary terminology to guide you through this process.
Step One: Safety First
Every time you’re ready to change the needle on your sewing machine, make sure that it’s disconnected from every possible power source. Turn off the machine using the power switch, remove the plug from the power outlet, and remove the batteries from inside the machine, if any. Always do this when you work with electronic pieces of equipment. If required, make sure that you lower the presser foot lever.
Step Two: Remove Old Needle
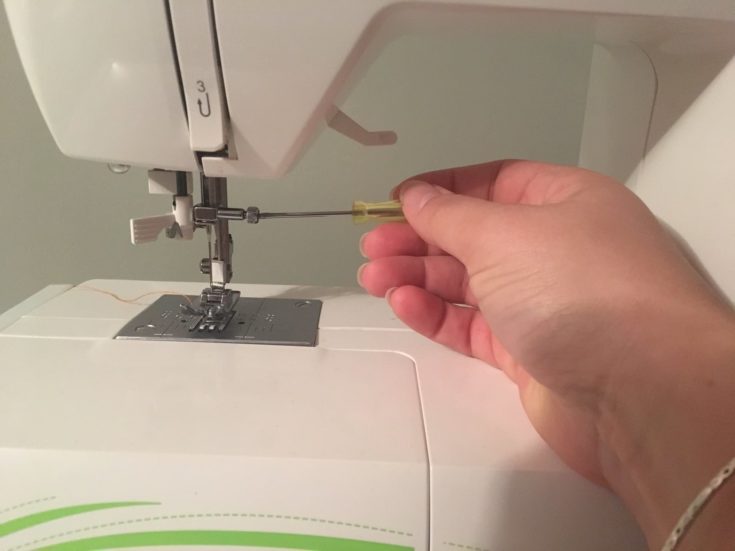
Remove the old needle from its designated space. In order to do so, hold it using your left hand. With the special screwdriver, remove the screw that’s holding the needle in place. This screw is typically located at the top of the needle, but the instruction manual for your sewing machine model should specify its exact location, in case you have any doubts. Use your right hand to unscrew this needle. As you are holding the needle, you will notice that it comes off as you loosen the screw. In order to remove the needle, you will have to pull it down and away from its slot.
Step Three: Insert New Needle

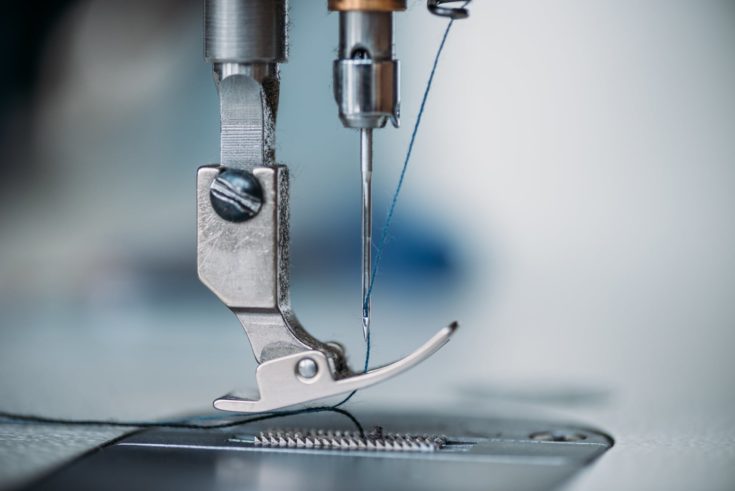
To insert the new needle, pay close attention to its upper side. Needles have a flat side of the shank that has to be placed towards the back of the machine. When you have positioned the needle with the flat side facing the back of the machine, push the new needle up inside the clamp. Make sure you’re holding it with your left hand because you will use your right hand to put back the screw.
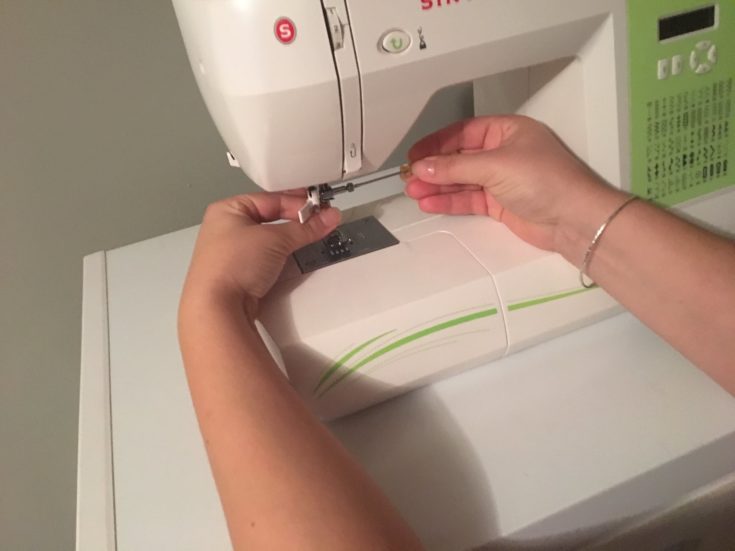
Push it slowly, but make sure it’s located as high as it can go. Otherwise, you won’t be able to fix it in place. Grab the screw that you’ve removed earlier, and wind it back in place using your fingers. Then, use the screwdriver you’ve used earlier to tighten the needle clamp screw. Remember that this has to be really tight in order for the needle to stay in place.
Conclusion
As you can see, ditching your old needle for a new one is a process that can be done in less than a couple of minutes once you get the hang of it. It’s important to hold the needle while you’re removing it. As an additional safety measure, you can cover the hole in the needle plate. In case you drop the needle, covering the hole will prevent it from falling inside the machine.
Also, keep in mind that it’s super important to disconnect the sewing machine from any potential power source in order to avoid accidents.