One of the things I love most about crafting is the satisfaction that comes from transforming something simple into something extraordinary. Upcycling is so rewarding because it’s all about transforming old, worn-out household items into fresh and unique pieces that express your unique creativity. It’s an environmentally sustainable, budget-friendly option for anyone with an interest in DIY and an eye for possible projects. To get started, check out this guide to upcycling for beginners!
Finding a Project
Start with things you need
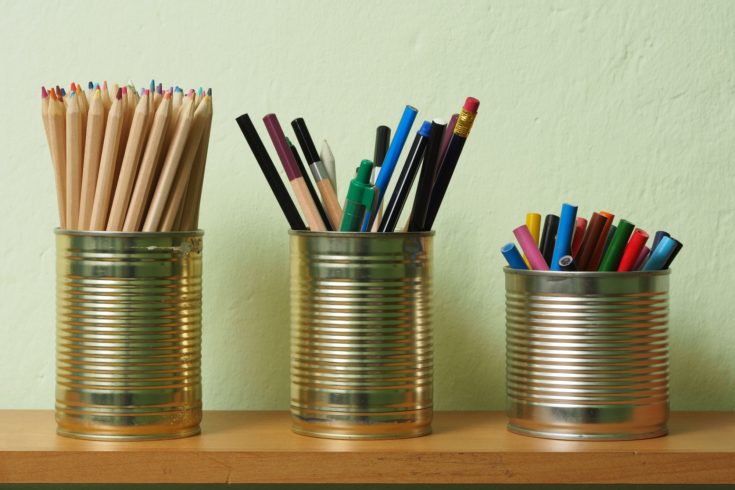
Opportunities for upcycling are everywhere. Before you go shopping for that new picture frame or that vase to hold flowers from your garden, stop to consider the potential for making something of your own. With a little bit of creativity, almost anything can be made out of recycled and repurposed materials. Instead of buying a bookshelf, try using a ladder to build your own unique, rustic piece. Or check out some of the creative ways other crafters have made stylish wall hooks out of a variety of repurposed materials. DIY projects are a simple and effective way to save money and create household pieces that reflect your individual style. Use your imagination to find the things you need in everyday items and materials.
Always keep an eye out for new pieces
Even if you don’t have a specific project in mind, you should always be on the lookout for potential upcycling treasures. Antique shops and thrift stores are full of old items, the majority of which stay on display for years without ever being sold. Most of the time, worn-out antiques simply need a fresh coat of paint or a new color of varnish to be restored to their former glory. While you may not find that priceless piece of jewelry hidden at the back of your local pawn shop, it doesn’t take much to transform a simple antique item into something truly beautiful.
Your friends and family members are other great sources of hidden upcycling gems. Keep an eye out for any unwanted items your loved ones may be willing to give away. Their junk can easily become your treasure.
Consider upcycling anything you plan to throw away
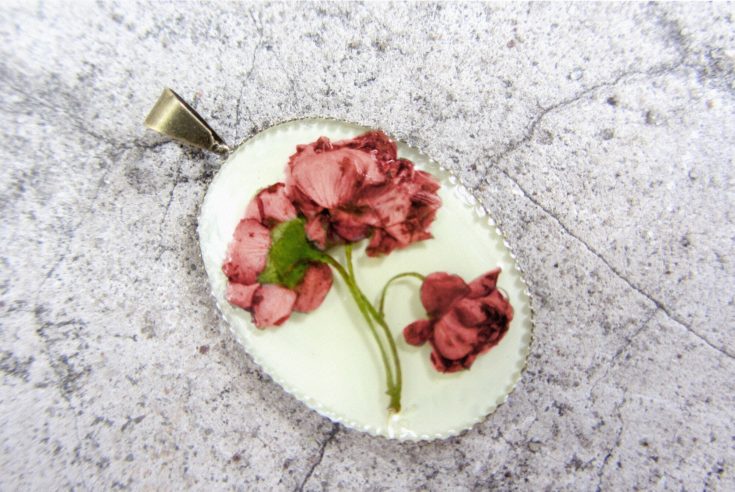
One of the most beautiful things about upcycling is that it gives a second life to objects that have fulfilled their original purpose. Marie Kondo knows full well just how difficult it can be to throw away the objects that have sparked joy in our lives. But before you toss away all your sentimental things, ask yourself if there’s anything else you could use them for. I’ve always been reluctant to toss flowers from special occasions. I want to hold onto all the memories the flowers represent the graduation ceremonies and anniversaries and family events that meant so much to me. Now, I keep all of those valuable memories by turning a few stray petals into pieces of hand-made jewelry.
Look for inspiration
If you want to get started upcycling but aren’t sure where to begin, you can always turn to the internet or your local craft store for inspiration. The internet is full of upcycling tutorials and project ideas that are perfect for individuals of all skill levels. If you’re short on time, there are plenty of upcycling projects that can be completed in less than a day.
There really is something out there for everyone. So whether you’re a home-owner on a tight budget, a college student struggling to find dorm room decor, or an environmentally conscious person trying to be more sustainable, there are all kinds of project ideas to inspire your own upcycling adventure.
Preparing to Achieve the Best Results
Maintain a consistent style profile
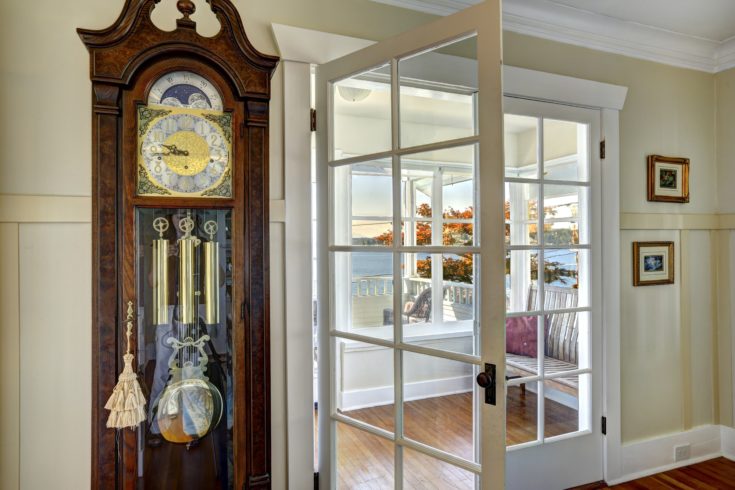
One important rule when upcycling is to always match the style of the original piece. An antique grandfather clock will never look good if it’s painted in neon colors and incorporated into a room with a modern, minimalistic aesthetic. Keeping in mind the original style and era of what you’re working with will lead to the best results. An antique piece will look best when sanded and varnished to reveal its original beauty, while simpler materials can be stylized with bolder colors or reinvented with patterned wallpaper.
Prepare the piece
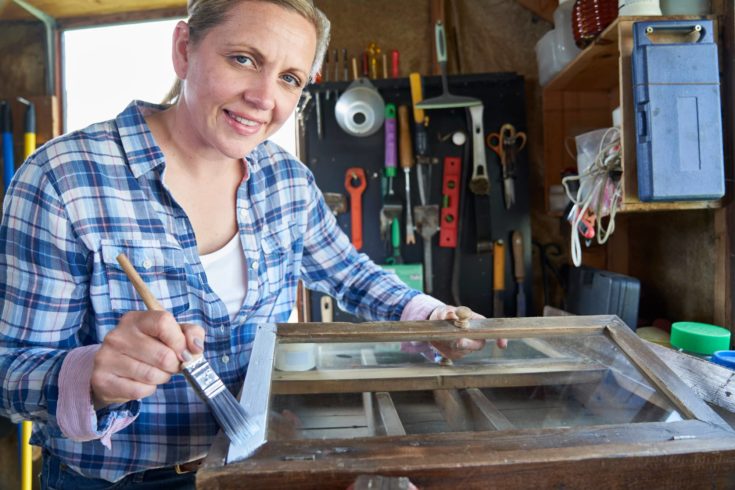
The most important step in any upcycling project is to properly prepare the piece you are working with. Plan ahead by procuring all the tools and materials you need well in advance. This includes auxiliary supplies you may not think about like painters tape, cleaning supplies, or rags for applying wax to furniture. It is similarly important to fully prepare the surface of your piece. This might include wiping down old materials or sanding wooden surfaces. You may also need to break out the measuring tape to make sure that your piece will fit into your desired space when you’re finished with it!
Set a budget
Upcycling is all about adding value to unwanted and ordinary objects. It’s a great way to get creative while simultaneously saving money. However, it is easy to get carried away while purchasing raw materials and supplies. Set a strict budget before you begin a new project so that you don’t end up spending more than you initially intended.

If you have extra room in your budget, invest it in quality supplies you can reuse in future DIY projects. Tools like high-quality paintbrushes can make a big impact on the overall piece and can be used for years to come. Avoid splurging on novelty products you only plan to use once.
Upcycling
Practice your technique
Whenever you begin a new project, it’s important to practice your technique on a test piece. Before you start painting your dresser, perform a test swatch to ensure the color you’re using is the one you want. It’s much easier to troubleshoot problems before you begin than it is to remedy them afterward.
This becomes especially important if you are trying something for the first time. Even though upholstery is fairly straightforward if you’ve never done it before you’re going to want to practice on some scrap plywood or cushions before you start tackling that vintage loveseat your grandmother gave you.
Paint in sections
Anytime you find yourself working with wood stain, paint or decoupage take care to paint each piece individually. One of the worst mistakes you can make is trying to paint around a drawer knob or a door handle and ending up with gaps or paint drips all of your pieces.
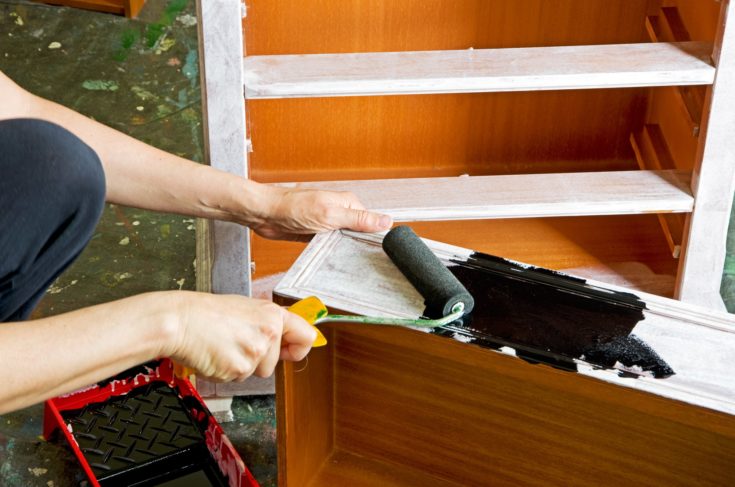
For smaller furniture pieces, remember to turn the item upside down and paint the underside first. This ensures the most even coverage from top to bottom and helps you to get a handle for the paint before tackling the presentation side. Also, be sure to wait several hours between coats in order to get an even finish.
Finish the piece for longevity
When you’ve finally completed your project, consider applying a varnish, topcoat, or finishing spray in order to preserve the longevity of your new piece. Taking the extra time to add polishing touches can really impact the durability of your work and can give it a professional quality appearance.
Have fun
Most importantly, upcycling is about having fun. It is a simple, low-cost, family-friendly activity than anyone can enjoy. There are lots of upcycling projects specifically geared towards young children and families looking to learn about sustainability and practice creativity. Upcycling is all about unleashing your creativity and imagination. So even if you have to start out small, don’t be afraid to take risks and try something new. There are no true mistakes in upcycling because even your mistakes add value to the piece.
Don’t be afraid to get started
When I first started upcycling, I was terrified of making mistakes. I was worried about ruining sentimental objects or ending up with finished pieces that looked like poorly-made craft projects. But upcycling, like any art form, just takes a bit of practice. Now, I find myself looking at the world differently. I see objects as having hundreds of potential functions and appreciate the beauty in ordinary things. Sometimes all it takes is a bit of upcycling, some paint or scrap strips of fabric, to help that beauty shine through.
What did you think of this list? Do you have any great ideas for upcycling projects? Let me know in the comments, and if you enjoyed this article be sure to share it on social media.


A grandfather clock could totally look cool in neon. Just depends on the execution of the work. Unfortunately most people stick to bland and neutral tones these days due to the fear of being judged by others.
If a neon grandfather clock in a room isn’t a major focus or talking point then it’s time to get new friends! Mixing a classic piece with dynamic colours and accents is way better than a great thing of technology and age gathering dust or being sent to the scrapheap because its deemed outdated. People need to stop being afraid of using colour in their home!