Let’s look at some project ideas you can use it for, starting with a couple of heat transfer ideas, and then moving onto other materials
Designing a Mug with Heat Transfer Vinyl

via practically functional
A personalized mug adds some fun to your morning coffee, or makes a great birthday present for a friend. This project only requires the following:
- A mug in a solid color
- Your heat transfer vinyl
- An iron (or mini iron)
- A towel
- Cricut cutting machine
Now, it’s time to choose a design for your mug. Metallic or glitter vinyl looks great for this project, but you can use whatever you want. Then follow these steps:
- Cut and weed your design.
- Wash the mug in soapy, hot water and make sure it’s completely dry. Then swab it with some rubbing alcohol. This will ensure that the vinyl sticks better.
- Iron on the design using either a regular iron or small craft iron. The small iron will take longer but makes it easier to be precise.
You should work using a towel so you don’t burn your hand. The mug will get very hot! If you use typical smooth heat transfer material, you will probably want to coat the mug in clear varnish so that the design stays on after going through the dishwasher. If you want ideas for other fun, homemade mugs, check out this article.
Making a Heat Transfer Design on Glass
You can use heat transfer vinyl for making a customized glass cutting board, personalizing a beer mug, or for DIY coasters.
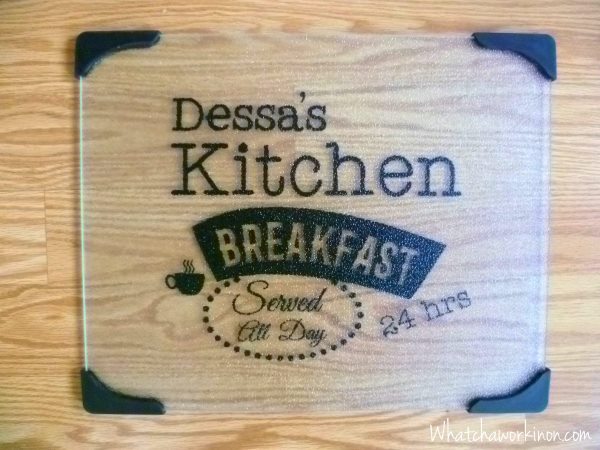
via whatcha workin on
How should you go about applying the material to glass? First of all, make sure you’re extra careful doing this, as the glass will get extremely hot while you work. Here are the steps:
- Use your Cricut machine to make your design, then weed it with a hook.
- Line your image up onto your surface. This part can be hard, so use the lines on your cutting map to make sure it’s straight, if necessary.
- Press the design on using a handheld iron. You will want to lay a sheet of nonstick paper onto the image, then gently press across the image until it sticks. Keep in mind that this won’t take as long as it does with fabric.
- Let the glass sit so it can cool before peeling off the paper.
Again, don’t forget to exercise caution when dealing with glass and heat. Now that we’ve gone over a couple of heat transfer vinyl projects, let’s get to some other ideas you can use your Cricut machine for.
An Easy Flower Wall Decoration
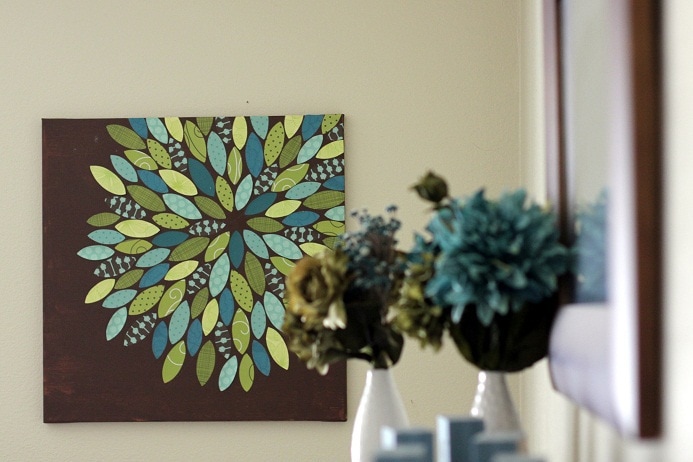
via vanilla joy
For this project you just need a canvas, paint, some construction or card stock paper in whatever colors you want, and some glue. You can also use a heat transfer printer to get more complex or detailed designs to add. Heat transfer vinyl sticks well to canvas, so this could be your bottom layer or the center of the flower before adding petals.
- First, you should paint the canvas in a solid color (before adding any heat transfer vinyl, of course). This will make the petals and leaves stand out more and the overall design pop.
- Use your Cricut machine to cut out at least 30 leaf and petal shapes. Make sure you mix up the colors and sizes to add depth to the final product.
- Arrange the leaves on your canvas and glue them down. You can also coat the canvas in clear varnish if you want, as this will make it last longer and look more polished.
Homemade, Personalized Magnets
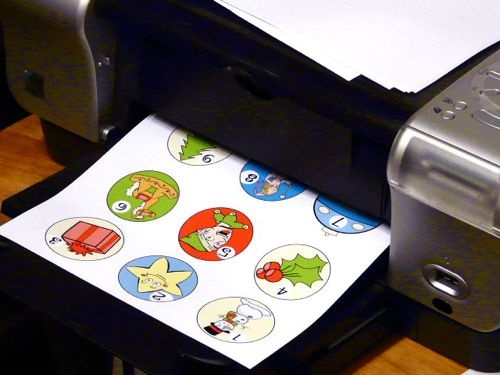
via magnetic paper
Decide on the shape you will use for your magnets, then design your project. Once you’ve done this, load a magnet sheet (ensuring it’s printable) into your printer. Then follow these steps:
- Follow the prompts on the Cricut Design Space for printing. Family photos make great magnet pictures.
- Line the magnet sheet’s top left corner to the cutting mat’s top left corner, and then load into the machine. Make sure the printed side of the magnet sheet is facing up.
- Next, turn the machine’s dial to the “Custom” option and choose “Magnet sheets.” Now, all you have to do is select CUT.
You could also cut the magnet sheet and add crafty materials to the material, such as beads or paint.
Make Your Own Cards
Instead of buying cards for special occasions like everyone else, create your own, at home, using your Cricut machine. This project is quite self-explanatory and versatile. It helps to have some holiday-themed stencils already on your machine, along with some nice card stock paper.
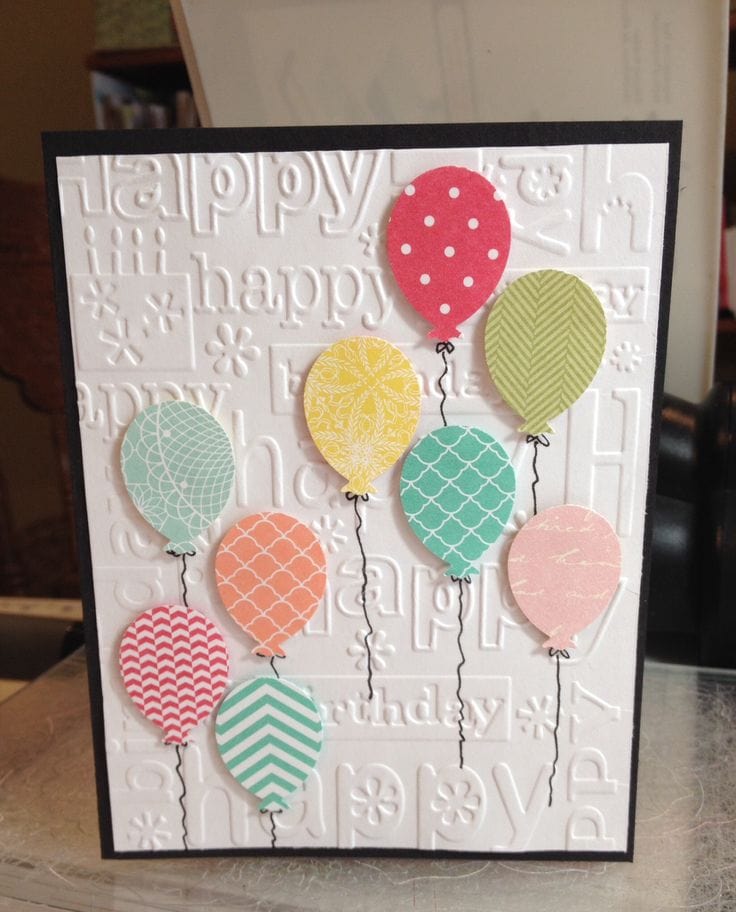
via pinterest
Simply load up the designs and cut them, then glue them on a folded sheet of card stock paper. You can add extra designs or a personalized message inside by hand.
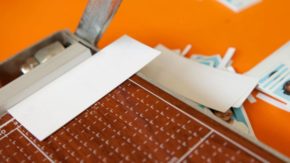
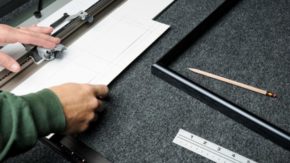
Using the Right Cutting Mat for your Project
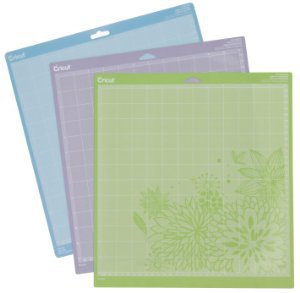
There are countless materials you can use in a Cricut machine, including canvas, aluminum foil, and more. Cricut cutting mats are custom made to work with common craft materials. Each mat has the right amount of traction for holding the material in place while it cuts, and for easy material removal.
- Light Grip: You will find Light Grip mats for vinyl, construction paper, thin card stock, and standard printer paper.
- Standard Grip: Next, there’s Standard Grip mats meant for vinyl, iron-on materials, embossed card stock, and pattern paper.
- Strong Grip: This is for cutting heavier materials such as stiffened fabric, poster board, magnet sheets, glitter card stock, and thick card stock.
For more information on changing the size of the mat, and more about cutting mats, click here. Read up on the best cutting mats. Now you’re ready to get imaginative with your machine and create some beautiful crafts!