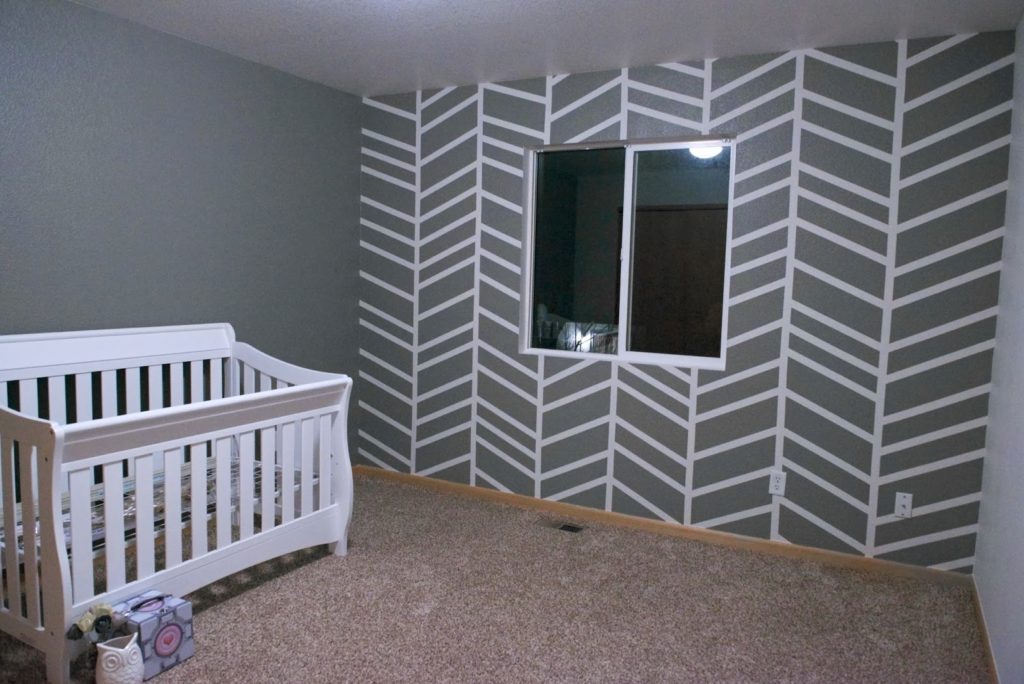
We’re expecting twins early next year, so we recently tackled the nursery, and specifically, the herringbone-style accent wall that we’ve had our eyes on for a while. We saw a few projects online and on Pinterest and new we wanted to do it for our twins.
About a month ago, we found out we were having two girls, so we decided to do the nursery with three gray walls and one pink accent wall. The pink we chose is very subtle and we know it’s difficult to fully see the color in the pictures on this post. But, you can see the process and if you use a darker color, then you’ll be able to see the contrast on your accent wall even better.
We’ll go through what we did, and then include some links to other herringbone accent wall designs we love.
Step One: Get Yo’ Self Prepped
To do your accent wall, you’ll need the following:
- Paint you like or at least think you like, until you see it on the wall
- Painter’s tape
- Measuring tape
- Matte medium
- Paintbrushes
- Paint roller brush thing
- Level or straight edge
- Patience
- Beer*
- Respirator
*optional
You’ll want to do all the typical paint prep stuff like clean your painting area, wipe down the walls, give yourself some thinking room, etc.
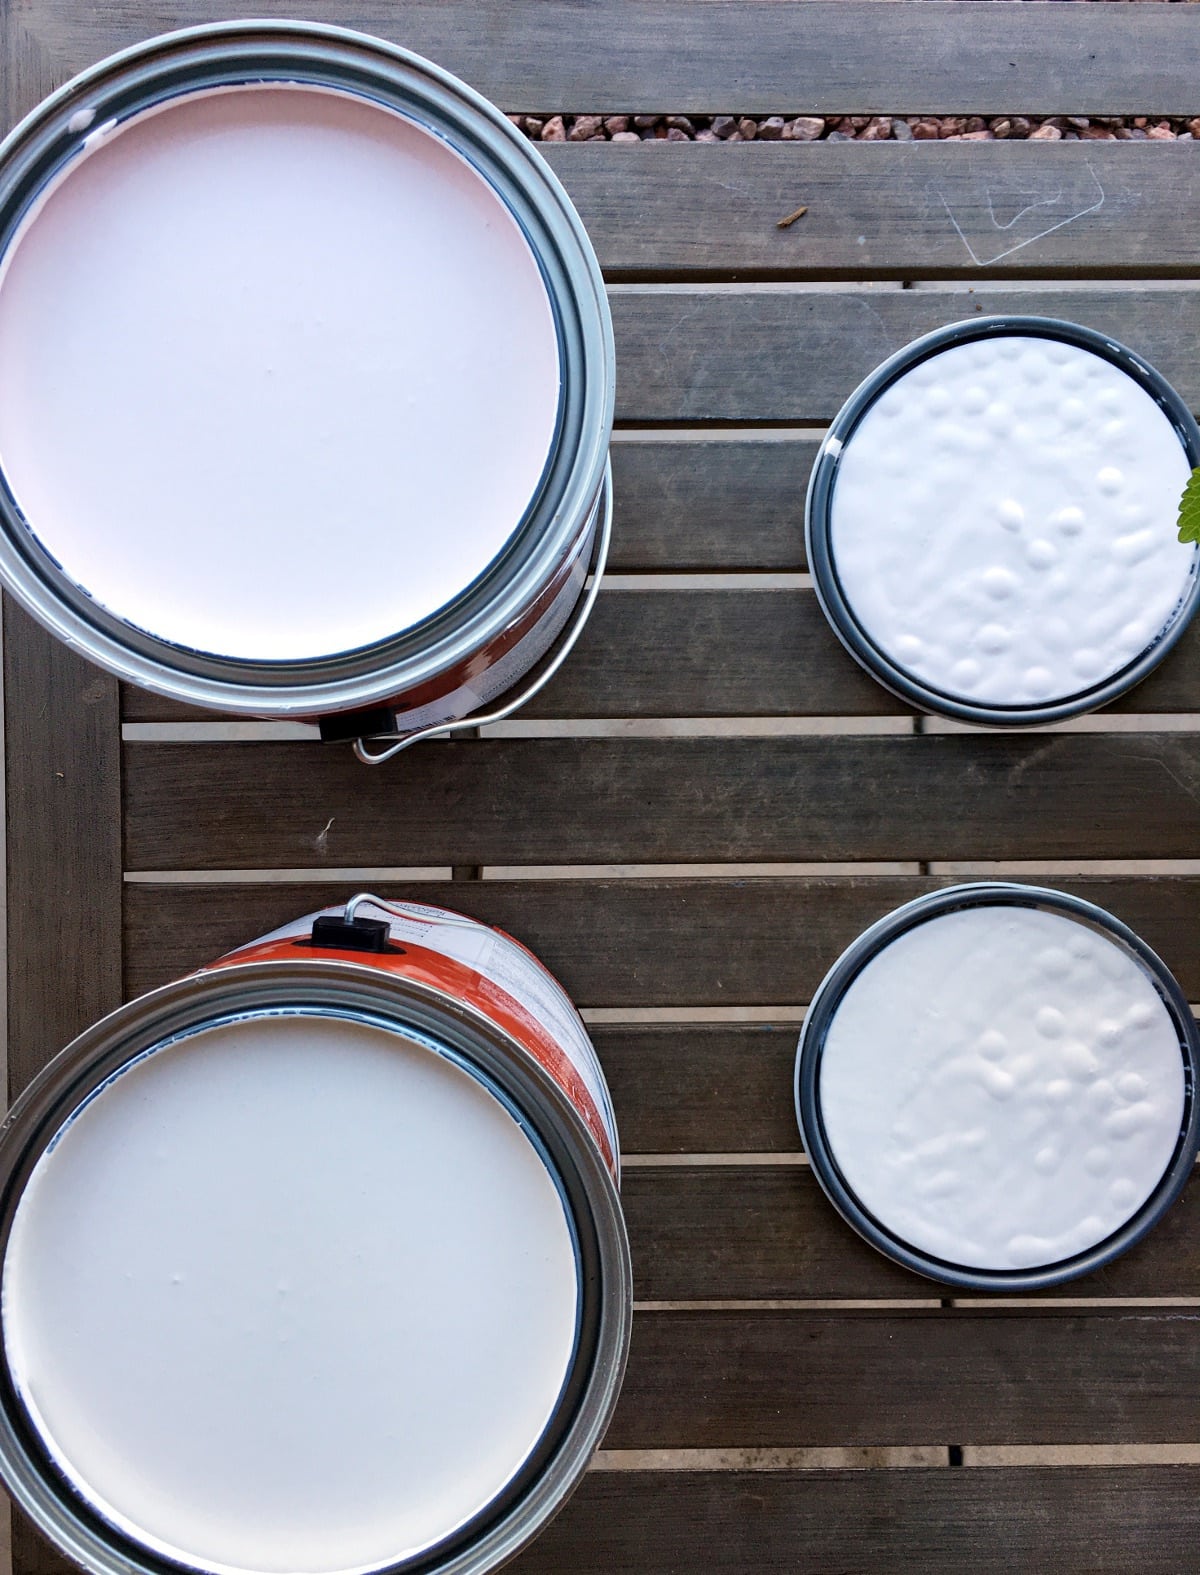
We wanted to use a “barely shows up in pictures” pink, along with gray.
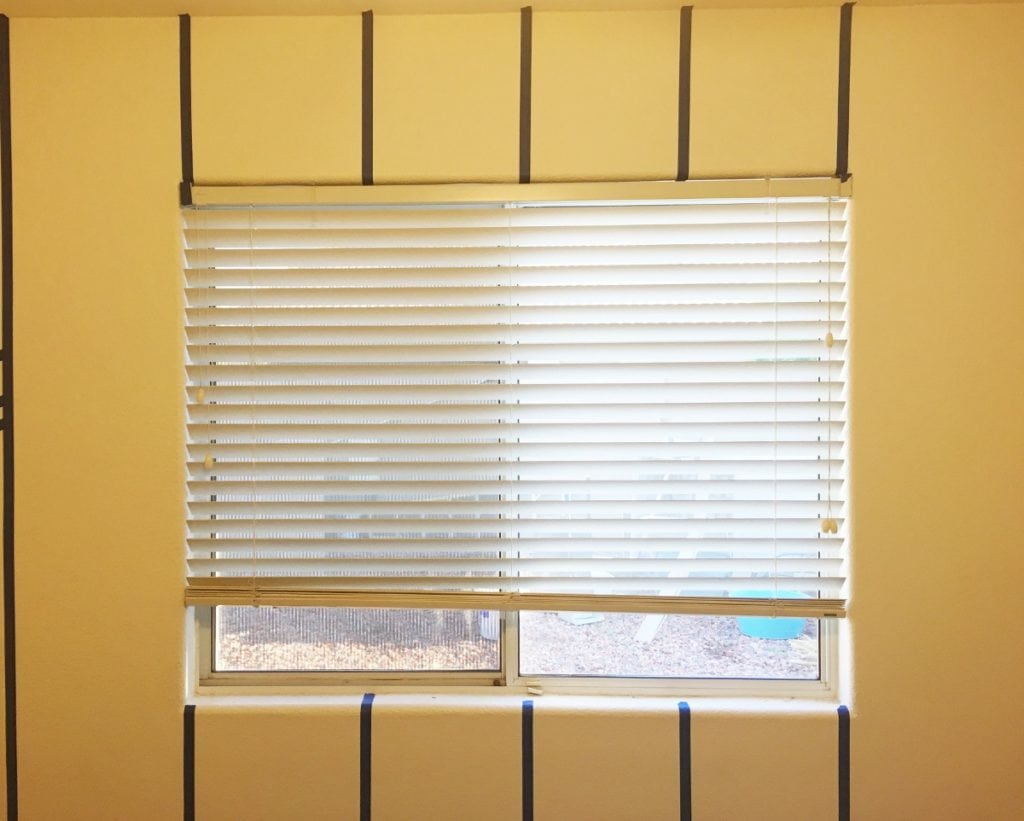
Step Two: Make Your Columns
The first thing you’ll want to do is decide how many columns you want on the wall. We liked the look of eight columns, though we originally set up four and it looked too sparse. This is all a matter of personal preference.
What matters is getting the columns evenly spaced and straight. I measured the wall, divided the length into eight columns and used a straight edge and/or level to pencil off all the columns.
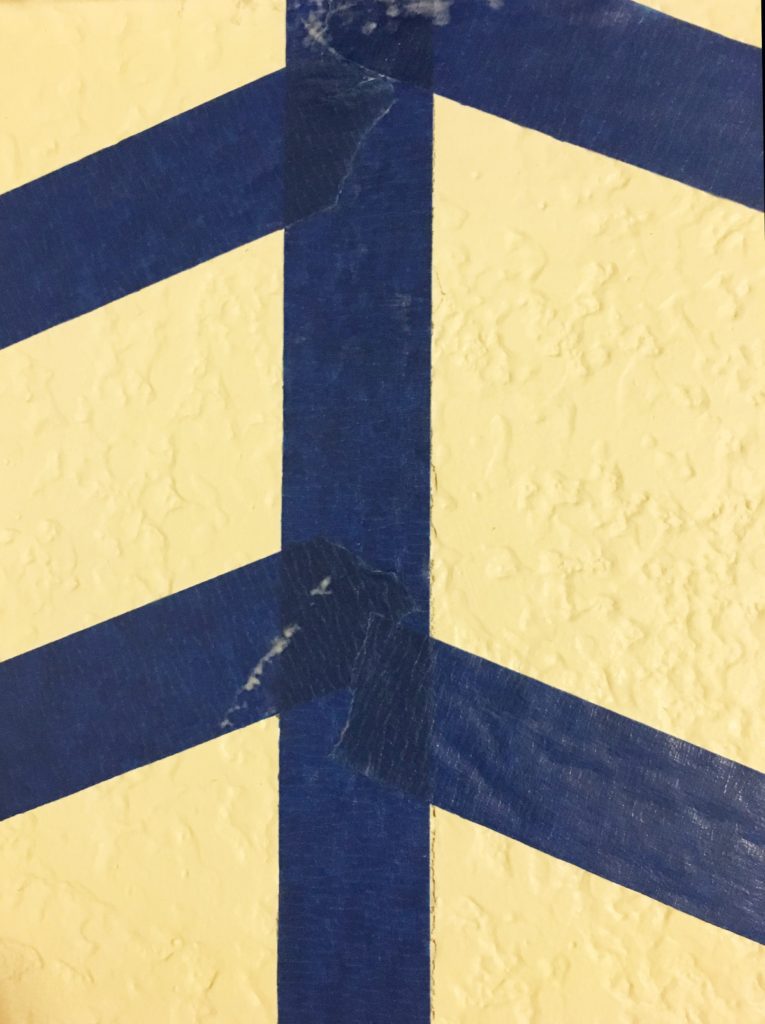
Then, I went back and taped off the columns. Something to keep in mind: make sure that your pencil markings are outside of the tape so that the paint covers it up. Some of the columns I penciled were covered by the paint, so I had to do a lot more erasing than if the lines would have been completely painted over. When in Rome.
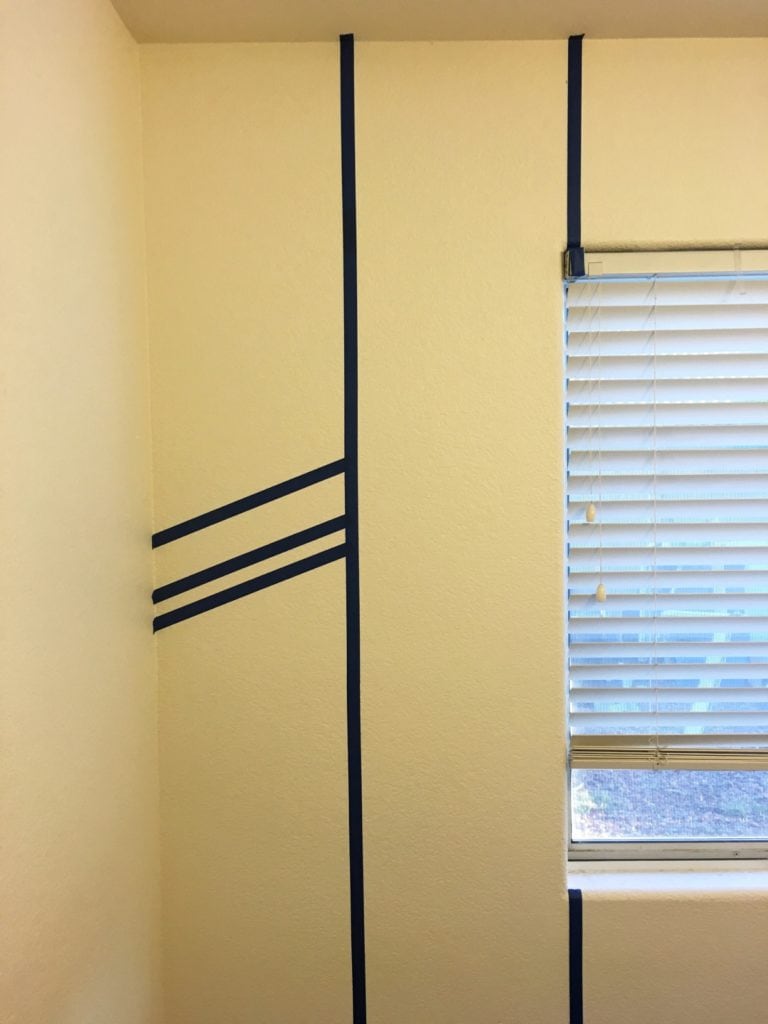
Step Three: Making Your Angled Lines
This is where things can go downhill really quickly. Just kidding. All you have to do is keep your angled lines parallel, which sounds like it’s some kind of math thing and I guess it is, but really all you have to do is keep the lines at the same measurements.
In this case, I measured something like 25″ from the top of wall/ceiling to the lefthand side of the angled tape, and on the other side, I measured 19.5″. So there was a 5.5″ difference between all the lines.
At first, I measured each subsequent line perfectly, but then I realized that that was probably somewhat unnecessary, so I started eyeballing a few lines that were close together. I would suggest measuring a few lines with your measuring tape, and once you get the hang of it, freestyle from there. But it’s your wall, do what you want.
My wife didn’t want a uniform, perfectly patterned accent wall, so we purposely chose to make all different measurements for the herringbone parts. The good part about doing something like this is that 1) it doesn’t have to be perfect and 2) if there are any lines you don’t like, you can just remove them as needed.
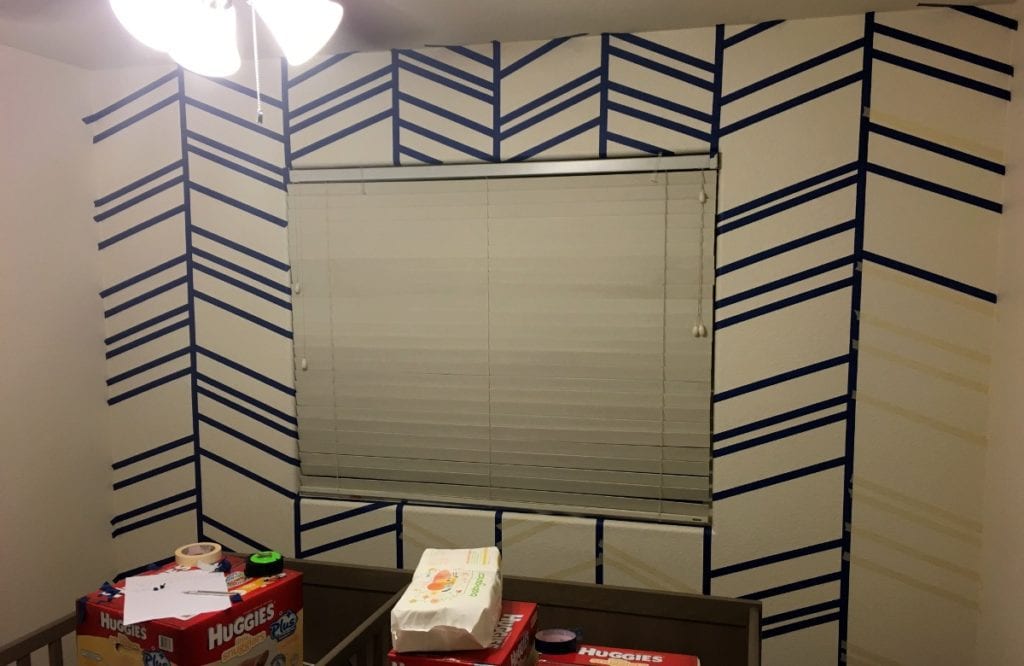
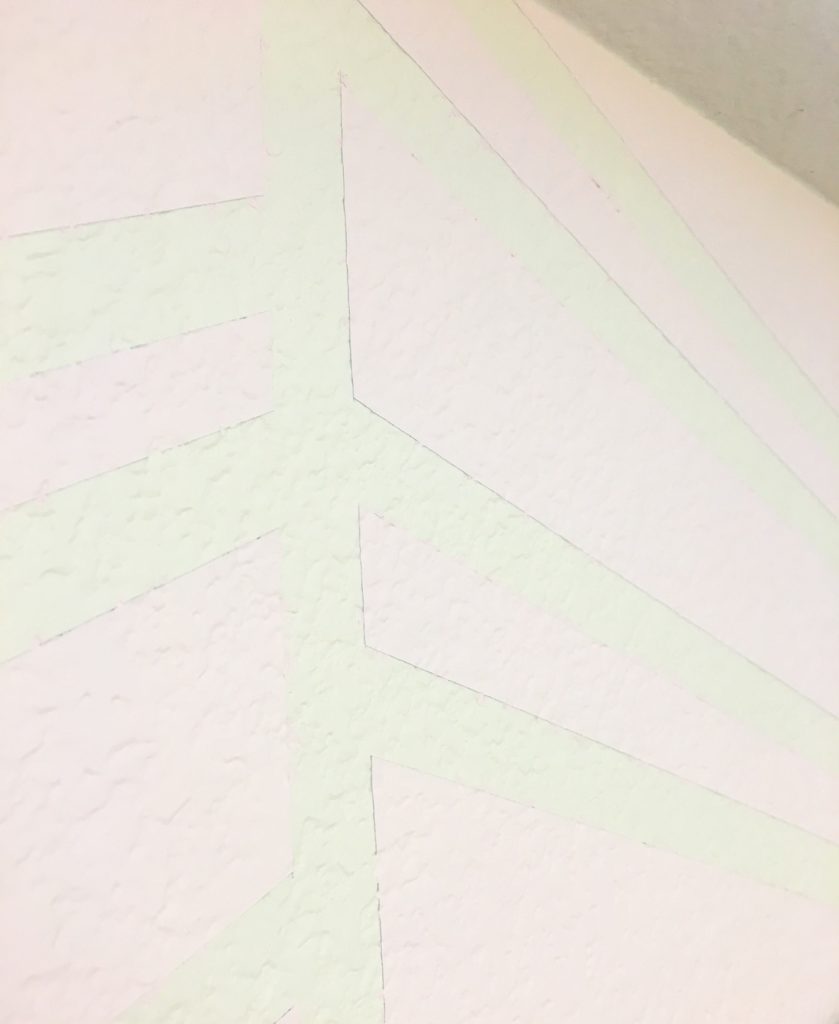
Once you do one column, you’ll switch the pattern for the next column so that the angles are facing the other way (down instead of up, or vice versa).
Again, because we purposely chose to make a random pattern, I just started the next column at a spot that seemed to be “in between” the painted parts of the previous column. This way, we were able to vary the sizes and heights of all the parts so that it looked truly random.
If you’re doing more of a formalized pattern, you’ll want to make sure all your lines line up properly so people don’t come to your house and, once you’ve left the room, give each other rolly-eye looks like, oh do you think they know that herringbone accent wall is off?
Just when it seems like you’ll never be done, and you’ve spent more time with painter’s tape than you ever thought you’d be comfortable with, you’re done!
Mo lines, mo problems.
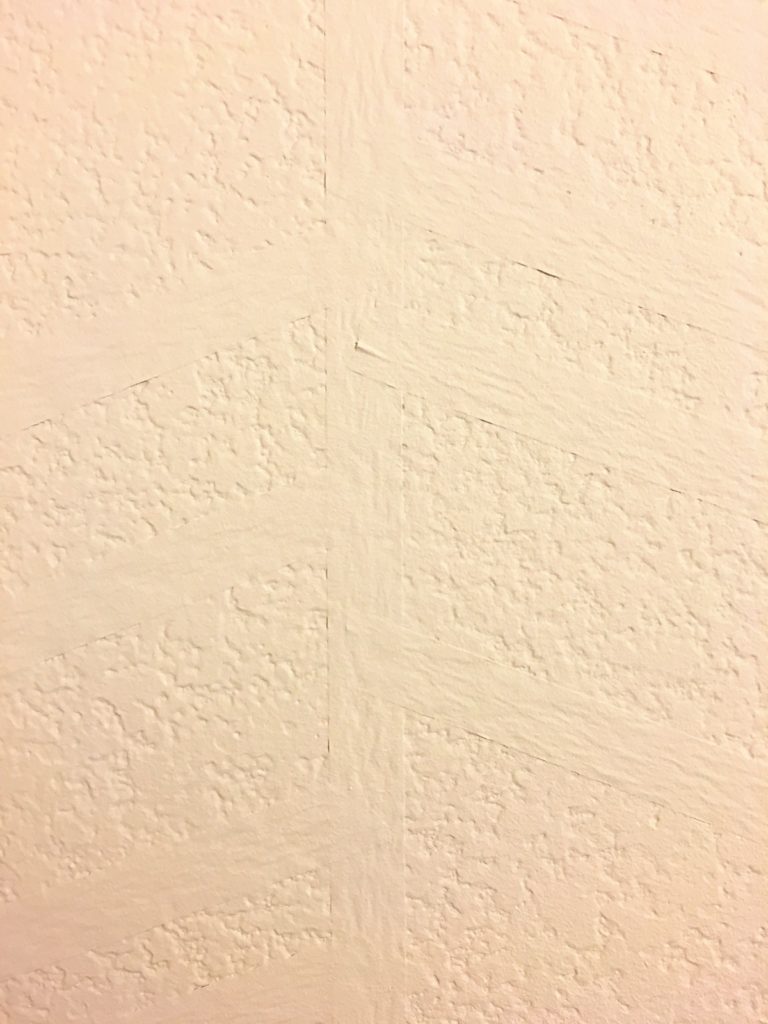
Step Four: Add Matte Medium
We got this pointer from View from the Fridge: add matte medium to your lines to make the lines crisp and clean when the paint comes off. We did a separate “test” wall to see if it really was necessary, and we saw a noticeable difference between the lines that used matte medium and those that didn’t. So we definitely recommend it.
The matte medium can be brushed on, and it doesn’t have to go on thick. It will dry and vanish after a few minutes, and it will create a nice layer on the wall. It won’t mess with your paint at all, and really all it does is keep the painter’s tape down and crisp so that when you pull it off, it comes off cleanly.
Matte medium on the wall: looks kinda gross.
Step Five: Do Some Paint Work
The prep work’s done, the lines look nice and glue-y, and now it’s time to get to work. Use a roller brush, paintbrush – whatever you want – to cover your wall. We gave our wall a good three coats to make sure the pink stood out against the wall, but you might not need as much depending on your wall and paint situation.
Step Six: The Fun Part
Taking all the tape off your wall is more fun than it sounds, and it sounds (to me) pretty damn fun. We started off by removing each angled tape, but then realized that if we pulled the column tape off first, it took off the angled tape and it went a little bit faster.
You might have some areas that don’t come off as easy, so go slow and steady and remember: this isn’t a race. Unless you make it one.
There were a few areas where the painter’s tape left very slight blue marks, so it might be worth using the white/beige tape so that that doesn’t happen. But it also might be the paint you use, who knows.
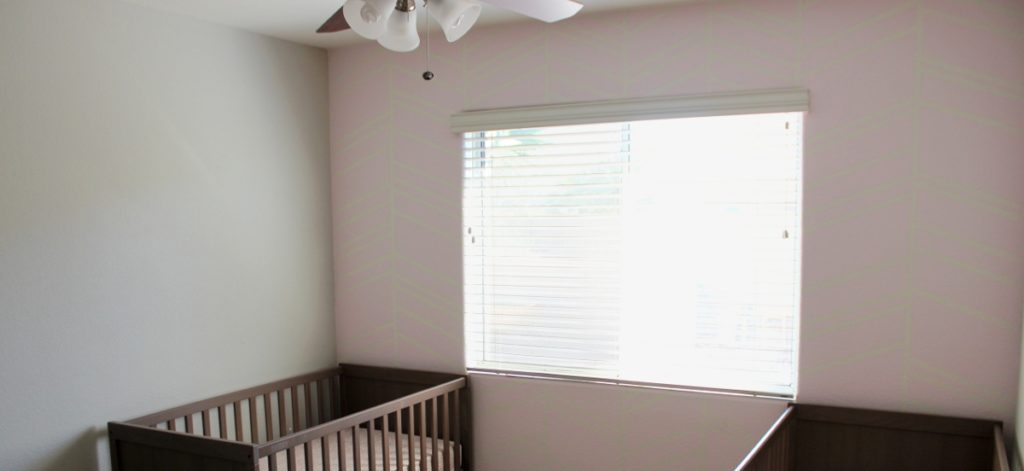
Because we put on three good coats of paint, the pink seems to “pop” against the white background, but we don’t mind the affect, which you can only see close up.
Who knew a wall could be 3D?
Step Seven: Cleaning Things Up
After taking off the tape, we cleaned up some lines and edges that needed a little sprucing up. I erased the pencil marks and used the pink paint to touch up some lines left over from the paint tape, as I mentioned. Other than that, she was ready to go.
We were going for a subtle accent wall, but if you check out Pinterest or the Internet at large, you’ll find all sorts of herringbone accent walls that have different contrasts, colors and so on. So even though it’s difficult to see the pink of our wall, the process and results were the same, just not as noticeable.
Check Out More Herringbone Accent Wall Projects
We got plenty of inspiration online – here are a few accent wall projects we found particularly cool before we tackled our own.
Mixed Angle Herringbone Design
Via Amalia Misc.
This project has a great funky look and we like how the angles themselves aren’t perfectly parallel. It can get a little wild if you go this route, but they did this perfectly and we really love the effect it made.
Color-Crazy Herringbone
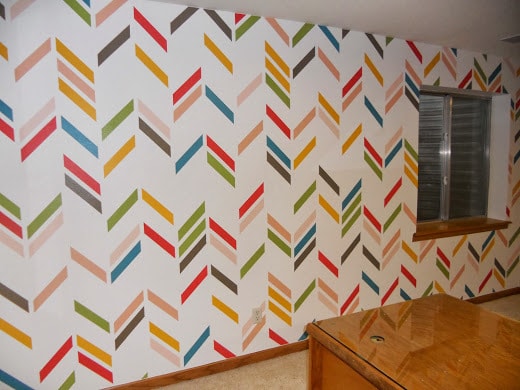
This herringbone wall is awesome because it’s not your typical straight-laced pattern. We love the variety of colors and randomness that actually goes really well together, and it seems to bring some brightness and cool vibes to this room.
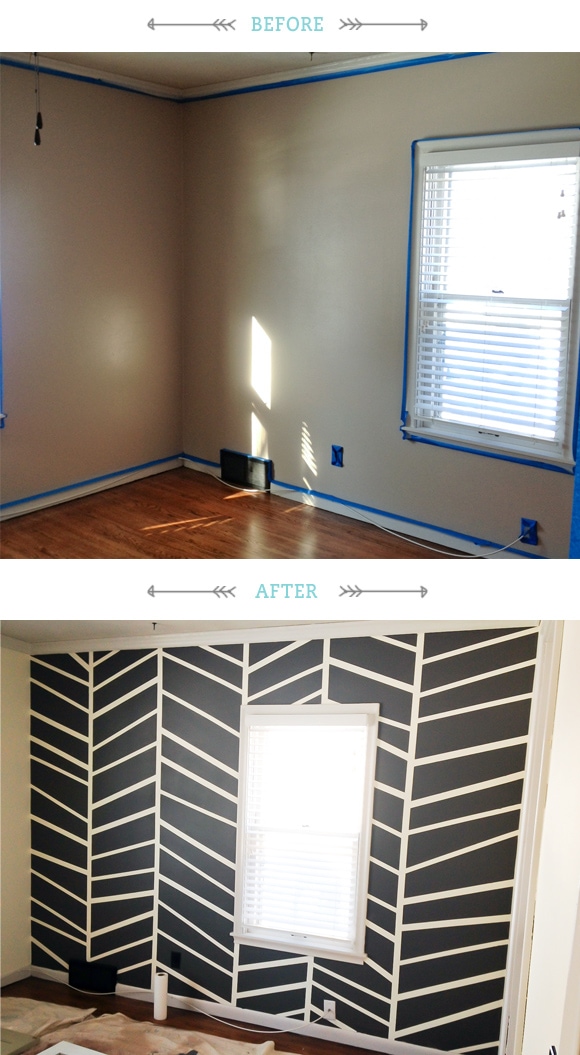
Dark Color Herringbone
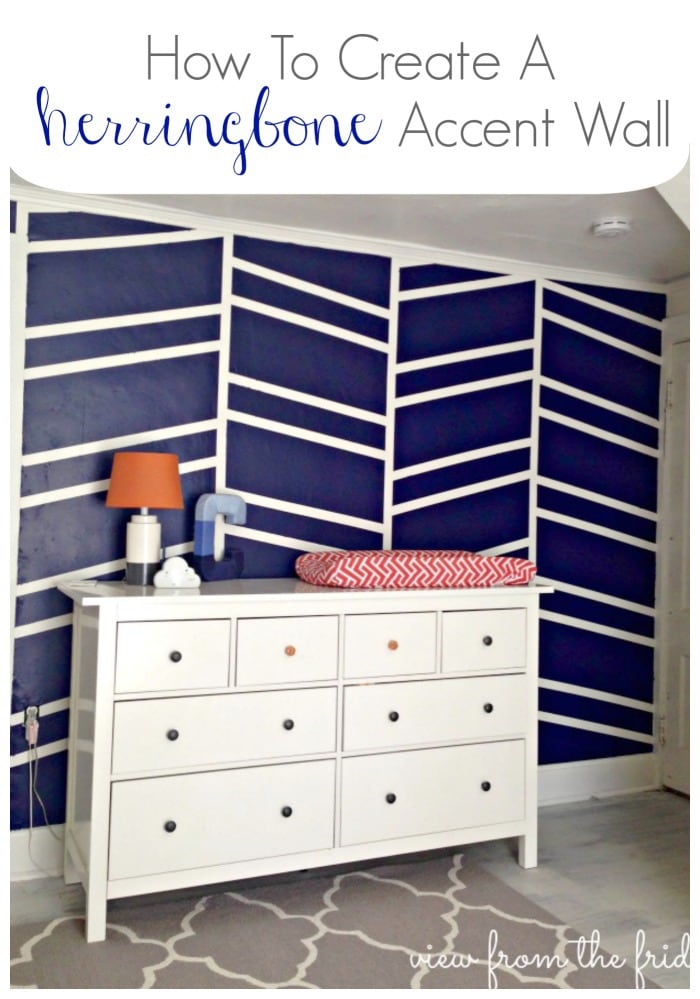
Via View from the fridge
Love this project from View from the fridge – they did a great job of finding a color that contrasts really well with the white, and in that way they took the opposite approach from our color scheme. It looks great and makes us want to do a darker accent wall in another part of the house!
White as the Main Color
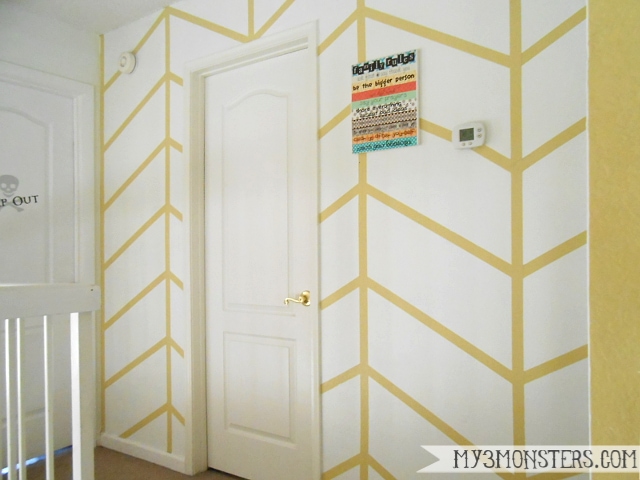
Via My 3 monsters
This herringbone accent wall has the opposite effect of the other projects we’ve seen so far. Instead of the color making up the bulk of the wall, this one uses color as the smaller accent, and it looks amazing.
Gray Herringbone with Gray Walls
Via Nerd gone domestic
This one is really similar to our own, but with darker colors and the sections look a little more uniform. Overall a great look and we love how this wall goes with the other walls in the room.
Magazine-esque Herringbone
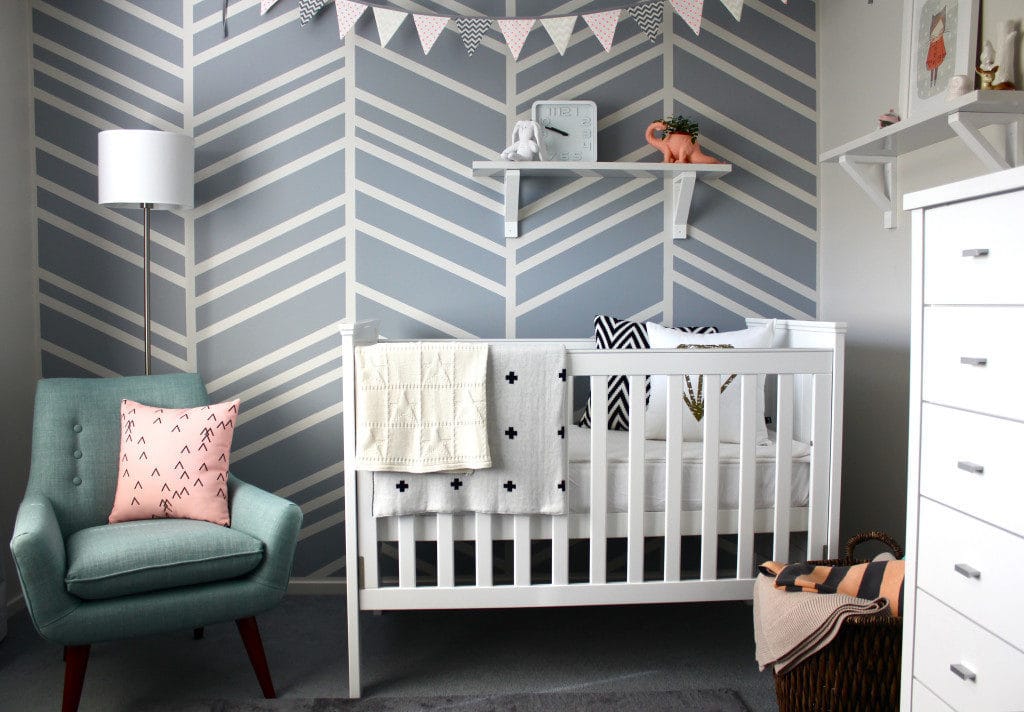
Via Project nursery
This is probably the first accent wall we saw online, and we fell in love at first sight. Just gorgeous.
Perfectly Lined Herringbone/Chevron
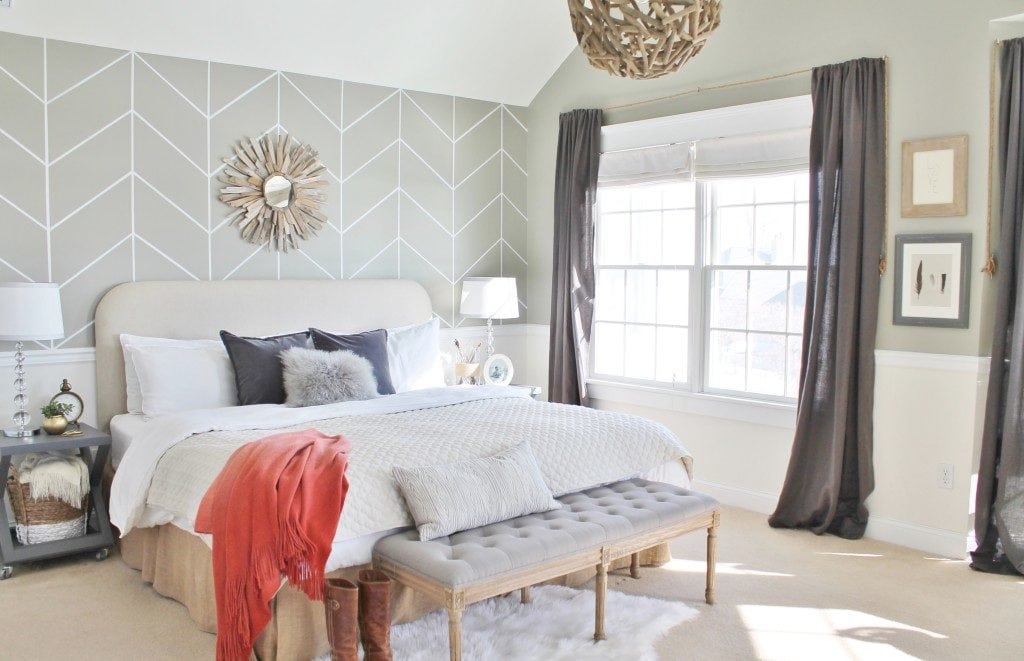
Via City farmhouse
This elegant herringbone design from City farmhouse has a more formal, regular pattern that looks beautiful with the simple, clean lines and colors of the room. Love the effect it has in this space.
The Rules of Herringbone Designs
If you thought there were any rules, you’re fooling yourself. Get out there and make your own wall!