Ghosts, ghouls, zombies, and critters, Halloween is just around the corner, and it’s one of fall’s most anticipated holidays. With Halloween, it’s all about raising the spirits (and the dead, if you’re into that sort of stuff), and you can accomplish that with two things: spooky decor elements and the right candy.
While I can’t actually send out candy to all of you, I can teach you a few last-minute crafts that aren’t just super easy to make, but also really inexpensive compared to the cost of buying ready-made decorations. With just a spare hour and a few bucks, you can make any of the projects below (I suggest going full ham and making all three), so bear with me as I show you three of my most favorite DIY Halloween decorations.
**Also check out our diy guide on how to make paint jar luminaries for Halloween!**
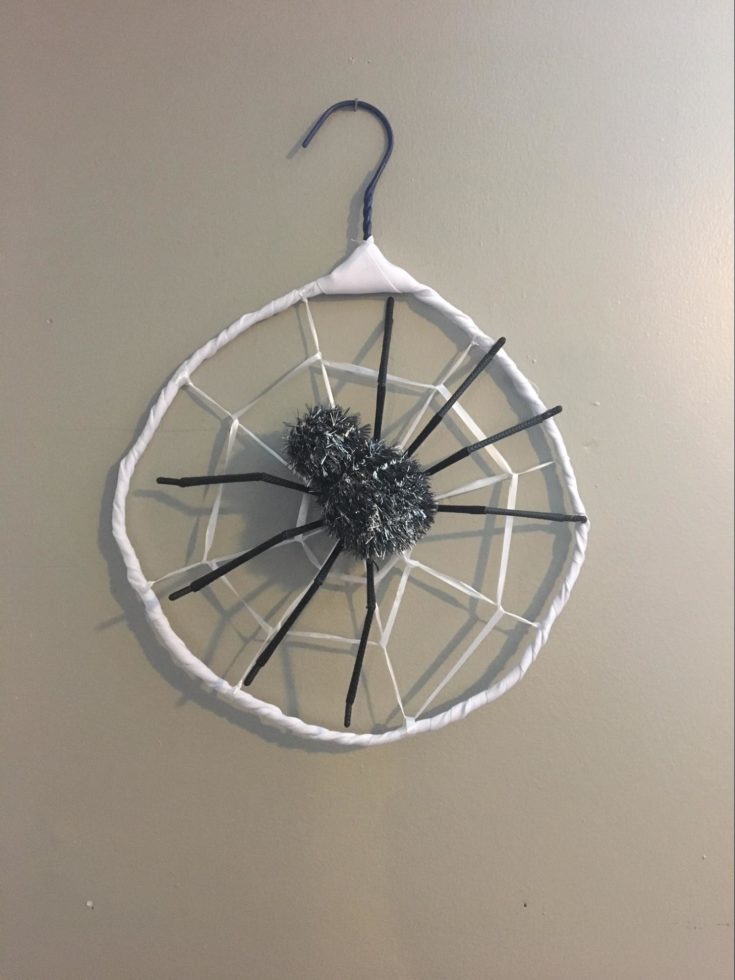
How to Make a Spiderweb Dream-catcher
What You’ll Need
This is actually a super-fun project which is not expensive to make and offers you the chance to play around with some cool Halloween colors. For this project, you’ll need:
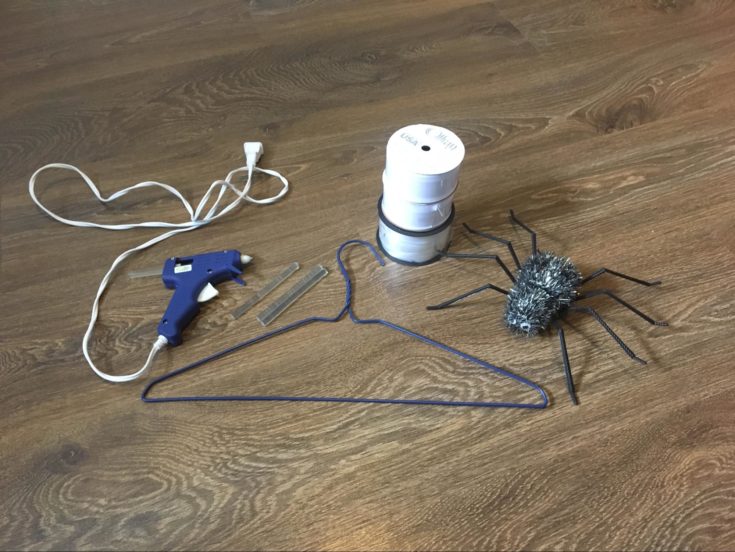
- A wire hanger
- Black or white string (you can choose other colors, but for a more realistic/spooky approach, you want the spiderweb to be either black or white)
- A pair of scissors
- Plastic spider
- Glue gun and glue sticks
Step-by-Step Instructions
Step One: Making the hoop
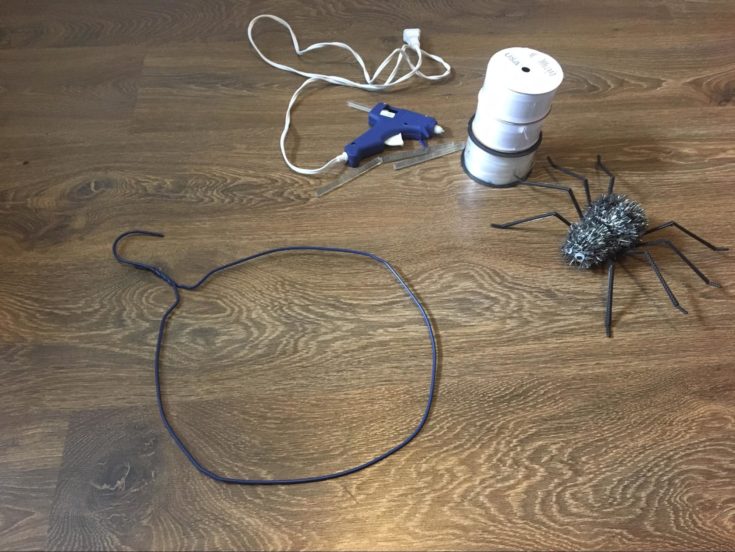
- Take the wire hanger and stretch it into a loop so you have a circular hoop to work with.
Step Two: Dividing the hoop
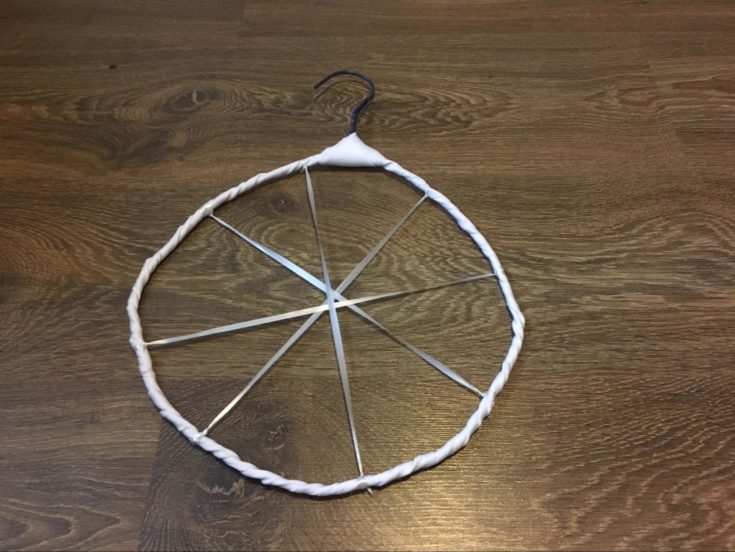
- If you want your wire hanger to look really spooky but couldn’t find on in Halloween-themed colors, the first step will be to wrap the edges of the hanger with specifically colored string or twine (I used a wide white ribbon).
- To make the spokes of the web, start off by stretching the string over the diagonal of the hoop, making sure you tie the ends.
- Repeat the step above, but this time make sure the second string of string is perpendicular to the first one.
- Repeat the process two more times, creating a crisscross pattern. You should now have four long pieces of string that traverse the hoop and divide it into eight parts of identical dimensions.
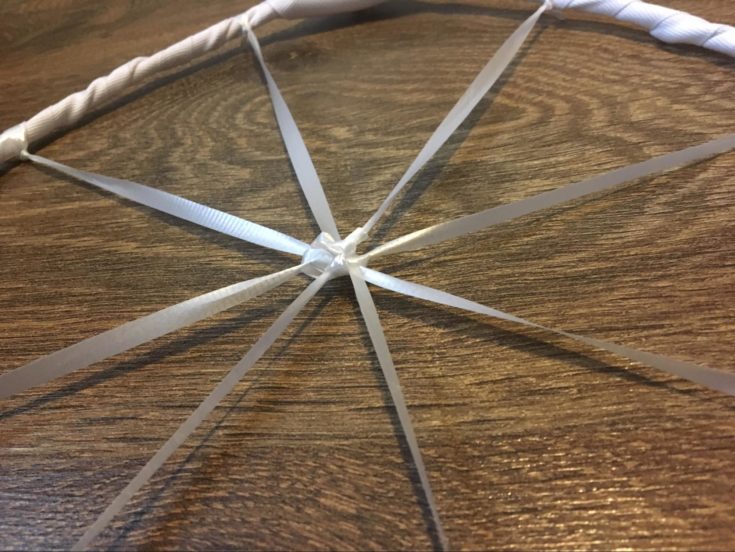
- To make sure the string stays in place, tie a knot at the intersection of the strings in the middle of the hoop.
Step Three: Finishing the web
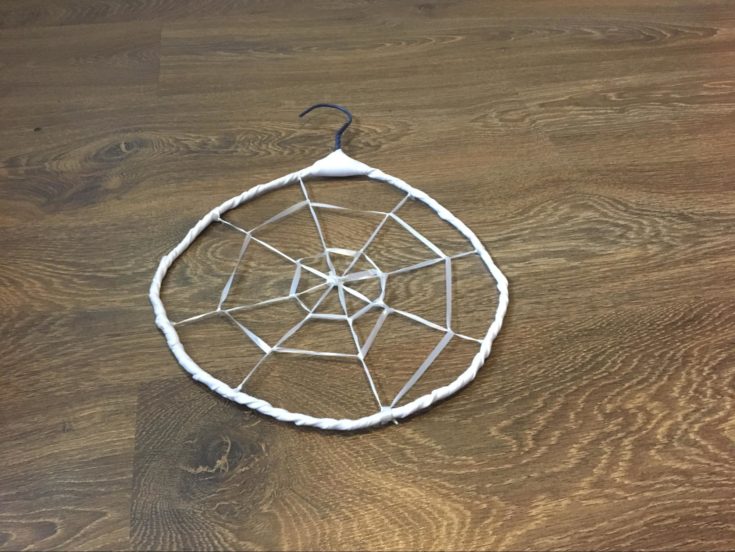
- You can now start making the rest of the web. You can either spin the web starting from the center knot or right at the inside of the hoop.
- When you’re done spinning, make sure you secure the loose end, or the web will come undone.
How to Make a Spooky Door Wreath
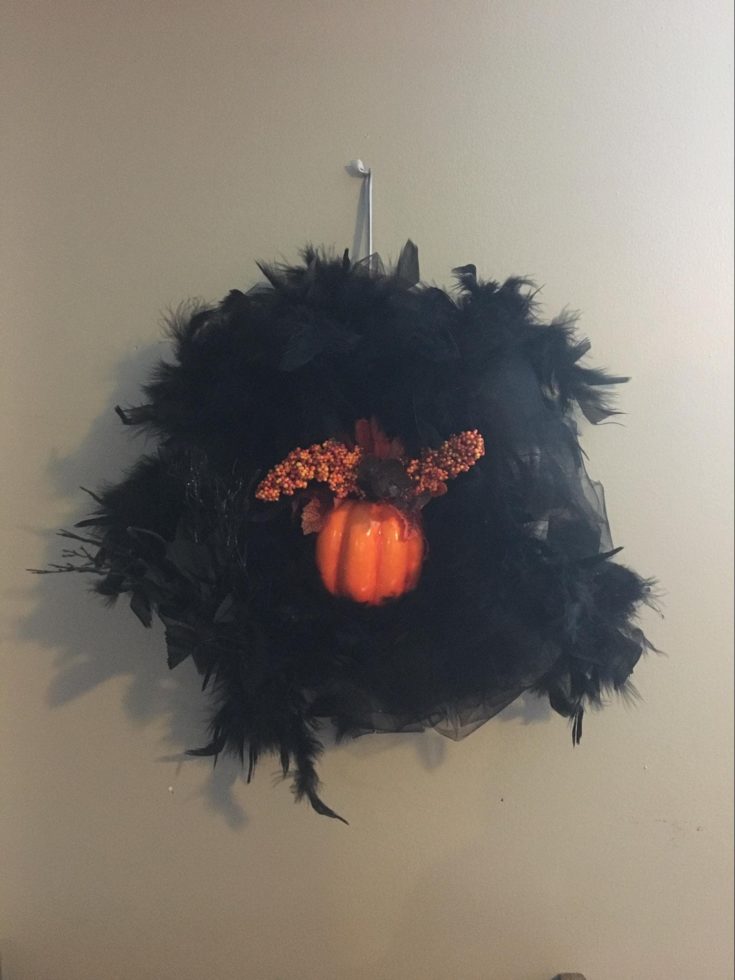
Halloween door wreaths are super-easy to make because they leave plenty of room for imagination and versatility in terms of what materials and fabrics you can actually use to make one. To keep the process fairly simple, I’ve chosen to show you a spooky, yet stylish wreath made from black feathers. It has a very Edgar Allan Poe’s raven thing going on, and your trick or treaters will love it. Bonus: if you’re into goth decor elements like me, you can hang it inside the house for the rest of the year.
For this spooky door wreath, you’ll need:
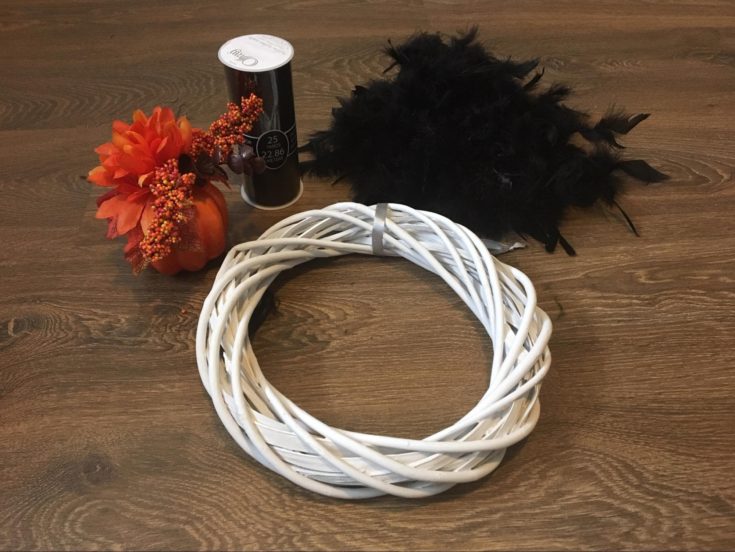
- A circle of some kind. Styrofoam, wood, or wicker. I used wicker.
- Black satin ribbon or black mesh (in fact, just about any thin black fabric should do the trick)
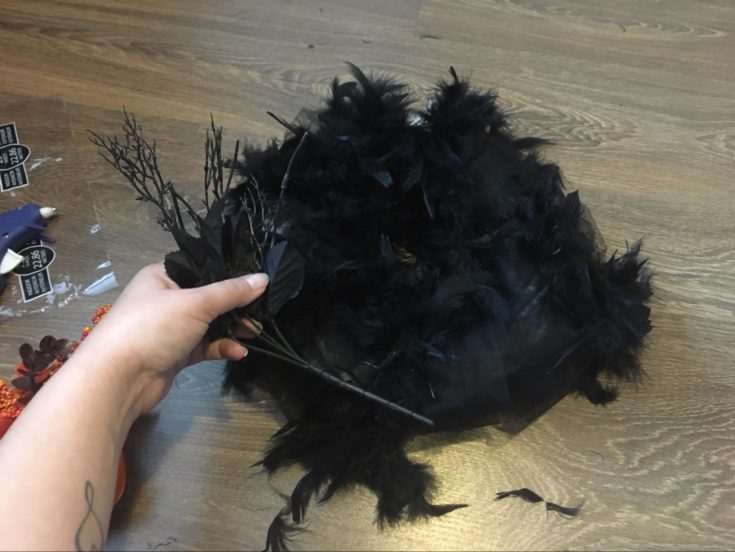
- Black feather boa (about two should suffice, but this depends on how big you want the wreath to be)
- One black faux tree branch (you can literally grab a small-size regular tree branch by sawing it down and spray paint it in black)
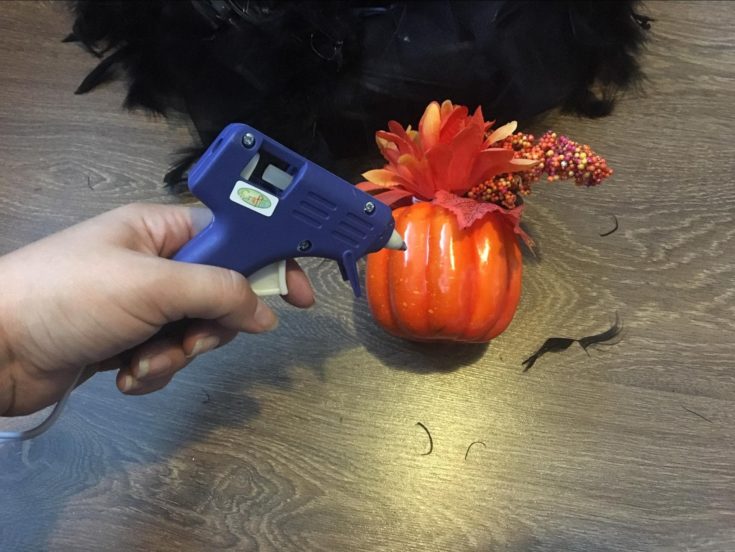
- A Halloween ornament. Make sure it’s not too heavy. I used a plastic pumpkin.
- Glue gun and glue sticks
If you really want to take your project up a notch, you can try shopping for an artificial feathered raven (you can find one here). Also, you might want to use some black ribbon to hang the wreath, but you can also hang it with the help of a nail. Whatever works.
Step-by-Step Instructions
Step 1: Making the wreath
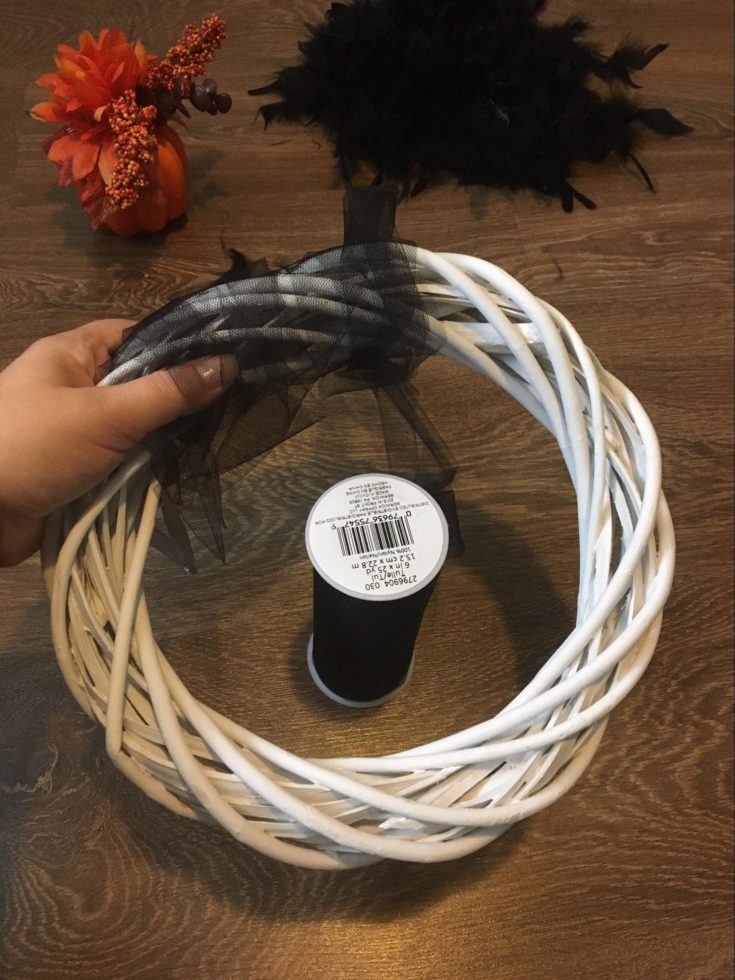
- You’ll find that it’s very easy to work with styrofoam and wicker when you’re making Halloween-themed decorations. For this one, just grab the crude version of your wreath and start wrapping the black mesh or fabric around it. While this fabric won’t typically be 100% visible underneath the feathers, it’s best if you wrap it around in layers, to avoid imperfections that people might see.
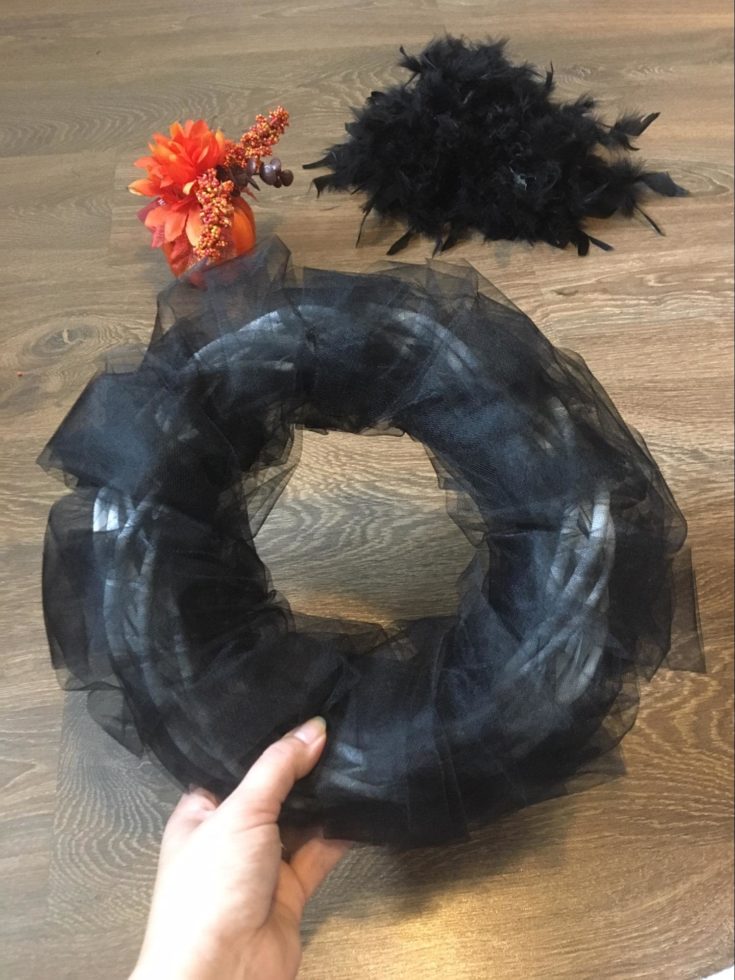
- For the maximum efficiency and to make sure that the fabric actually stays in place, put a pin in the back or secure with hot glue where you first start wrapping and secure it with another when you’re done.
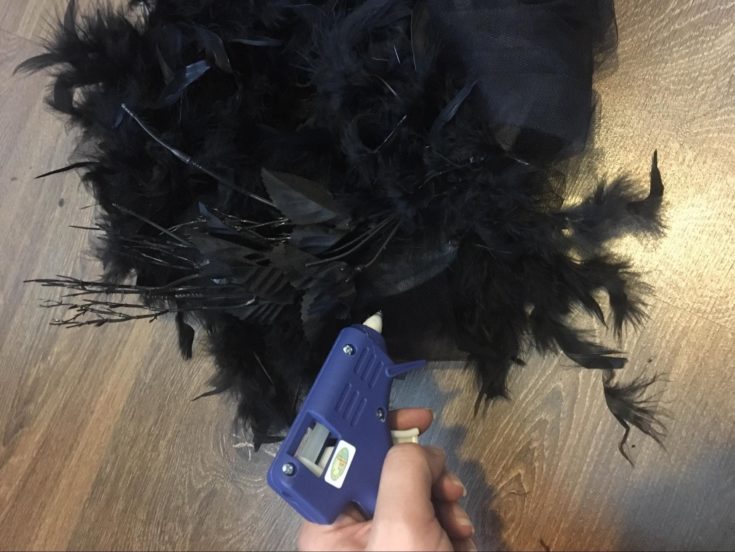
Step Two: Adding the feathers
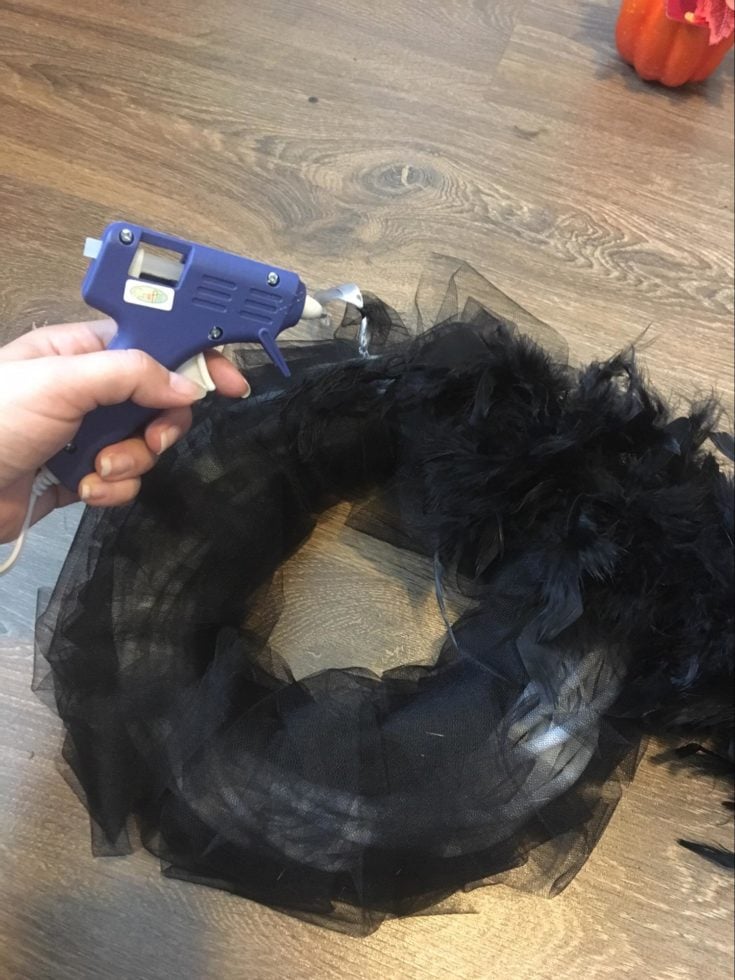
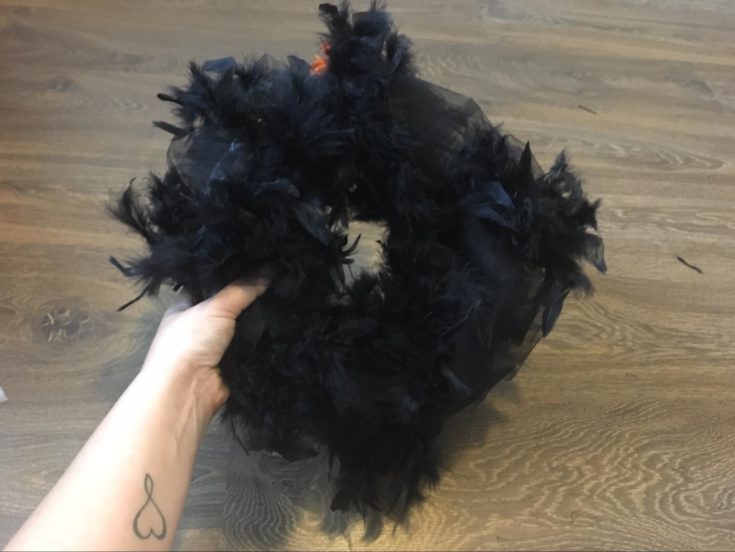
- Once your wreath is covered in black mesh or fabric, it’s time to start working with those black feather boas. Simply wrap the boas around the wreath, just as you did with the ribbon. Make sure that you secure the feathers in place using black-headed pins or hot glue, so they won’t be too visible.
Step three: Adding the fine details
- Let’s move onto the tree branch. If you can’t find black branches, remember that you can paint some regular shrub branches yourself. What you want to do is to make sure that the branches that you choose are small and rich, for maximum visual effect. Use canned black paint or spray paint, but about colors that could be washed away or that fade away in the sun.
- When your branch is ready, use hot glue to attach it to the bottom side of the wreath.
- If you’re using an ornament, you want the branch to be positioned on the lower side of the wreath, so that you can attach the ornament above it.
How To Make a Skull Candle Holder
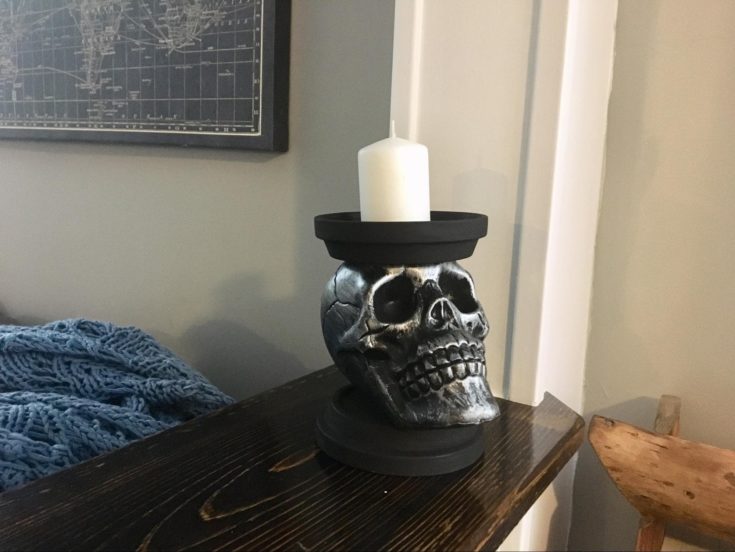
Buying a Halloween-themed candle holder will probably cost you roughly $30. But why would you spend money on one when you can make one for half the cost, plus twice the fun of working on a little project that you can take pride in. I’m going to show you just how easy making a candle holder can be, particularly if you want a spooky one.
What You Will Need:
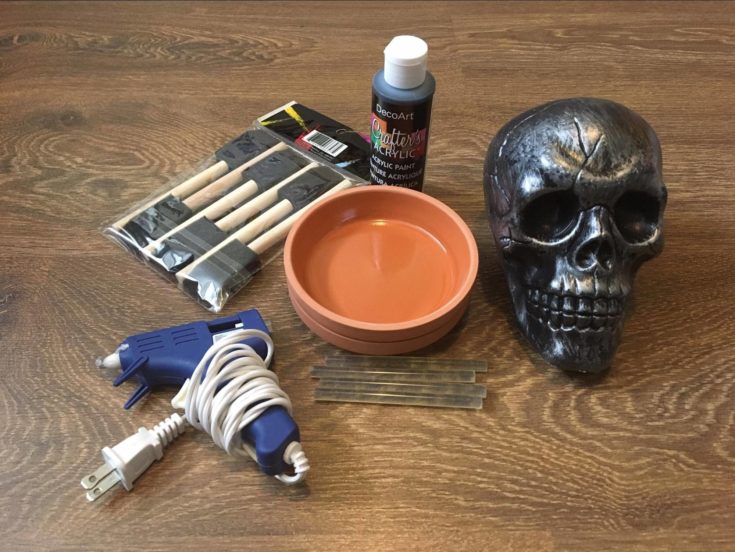
- Two terra cotta saucers
- 1 plastic or Styrofoam skull
- Hot glue gun
- Black paint and a brush
Step-by-Step Instructions
This skull candle holder centerpiece is so easy to make, I won’t even have to divide your tasks into various steps, as it can literally be done in minutes.
Step One: Paint the terra cotta
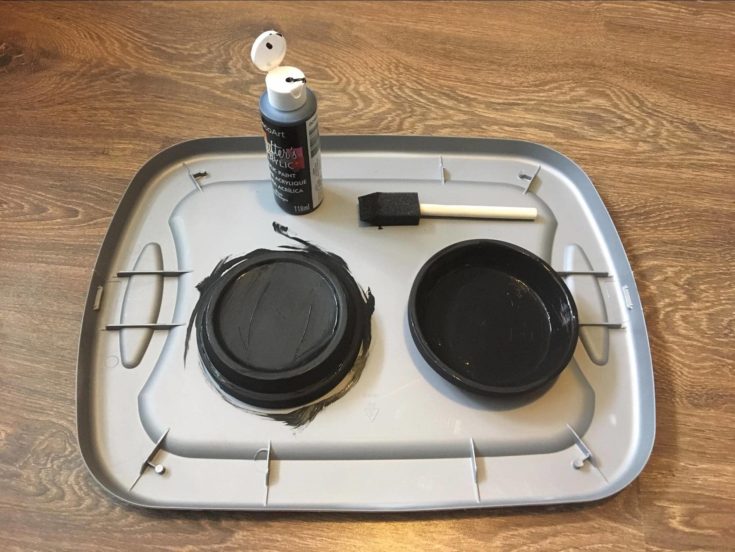
- Flip one of the two terra cotta saucers upside down, as this will be the base of your candle holder. Keep the other right side up. Then paint both of them. Let dry.
Step Two: Adhering the skull
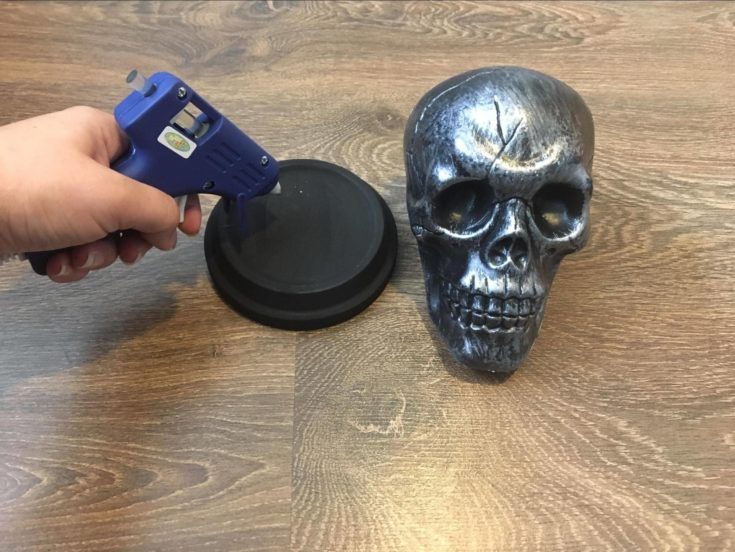
- Grab your hot glue gun and glue the skull on top of the upturned terra cotta plate. (I luckily found a black skull, but if you can’t, a Styrofoam one is fine if you paint it.
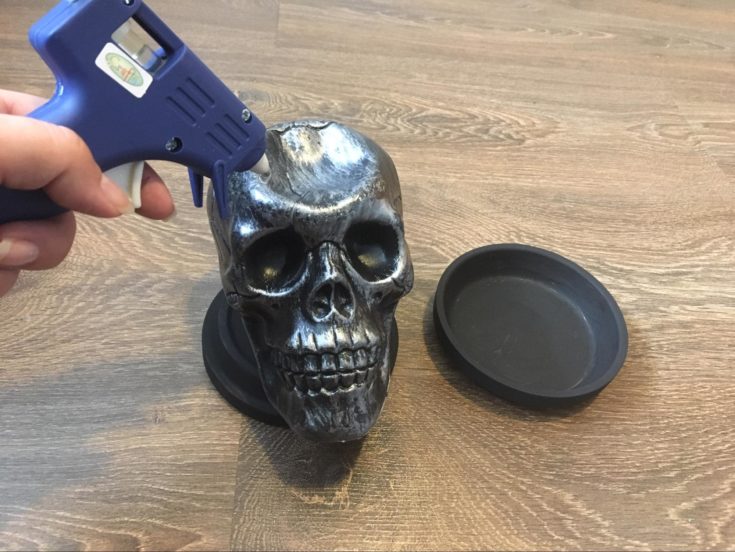
- Then, glue the other saucer on top of the skull, but make sure that it’s leveled so that it can actually hold a candle on top of it. I had to even out the top of the skull to make it work.
Conclusion
I really hope you enjoyed these last-minute crafts as much as I enjoyed making them. They’re really great projects to try on your own or with the help of your family (provided you keep children away from pins and spray paint). Have you ever tried making your own Halloween decorations up until now? If you did, care to share what they were and how long it took you to make them?